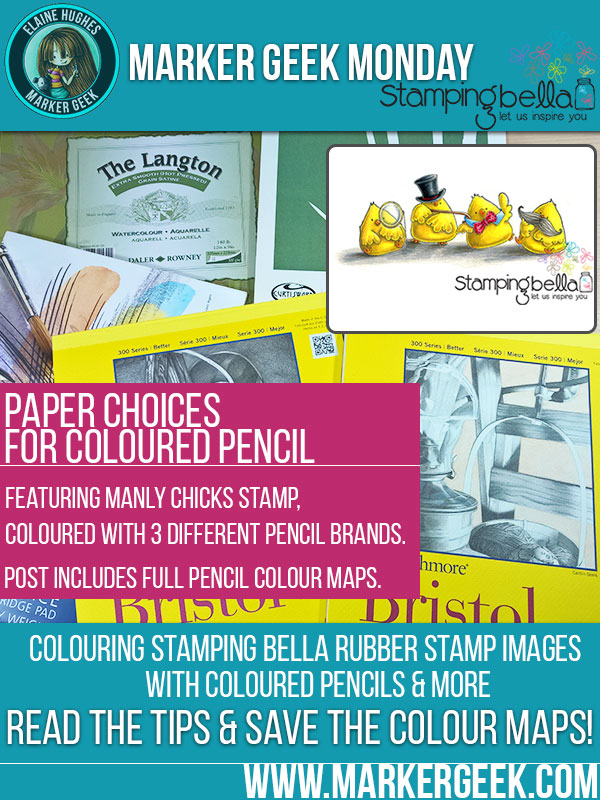
Marker Geek Monday: Paper Choices for Coloured Pencil feat. Manly Chicks
Hey folks! Elaineabella here with another Marker Geek Monday post to kick off a week of colouring fun.
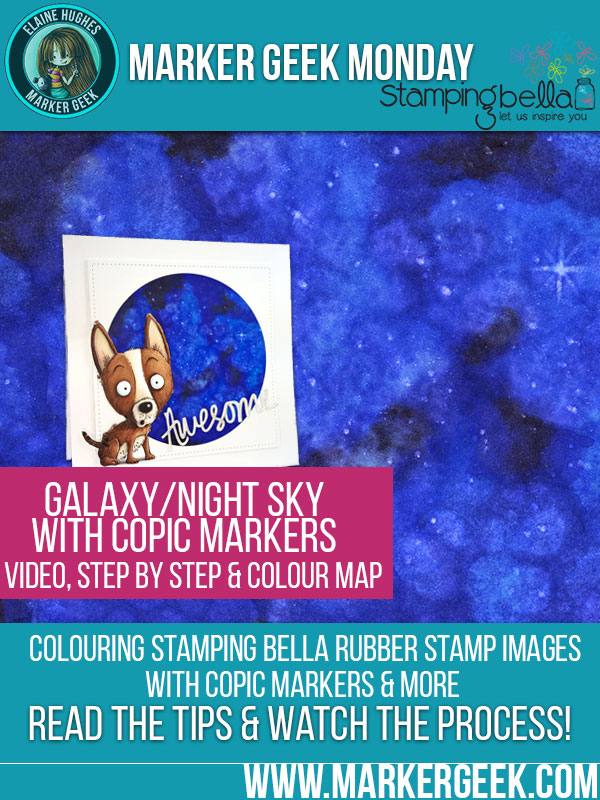
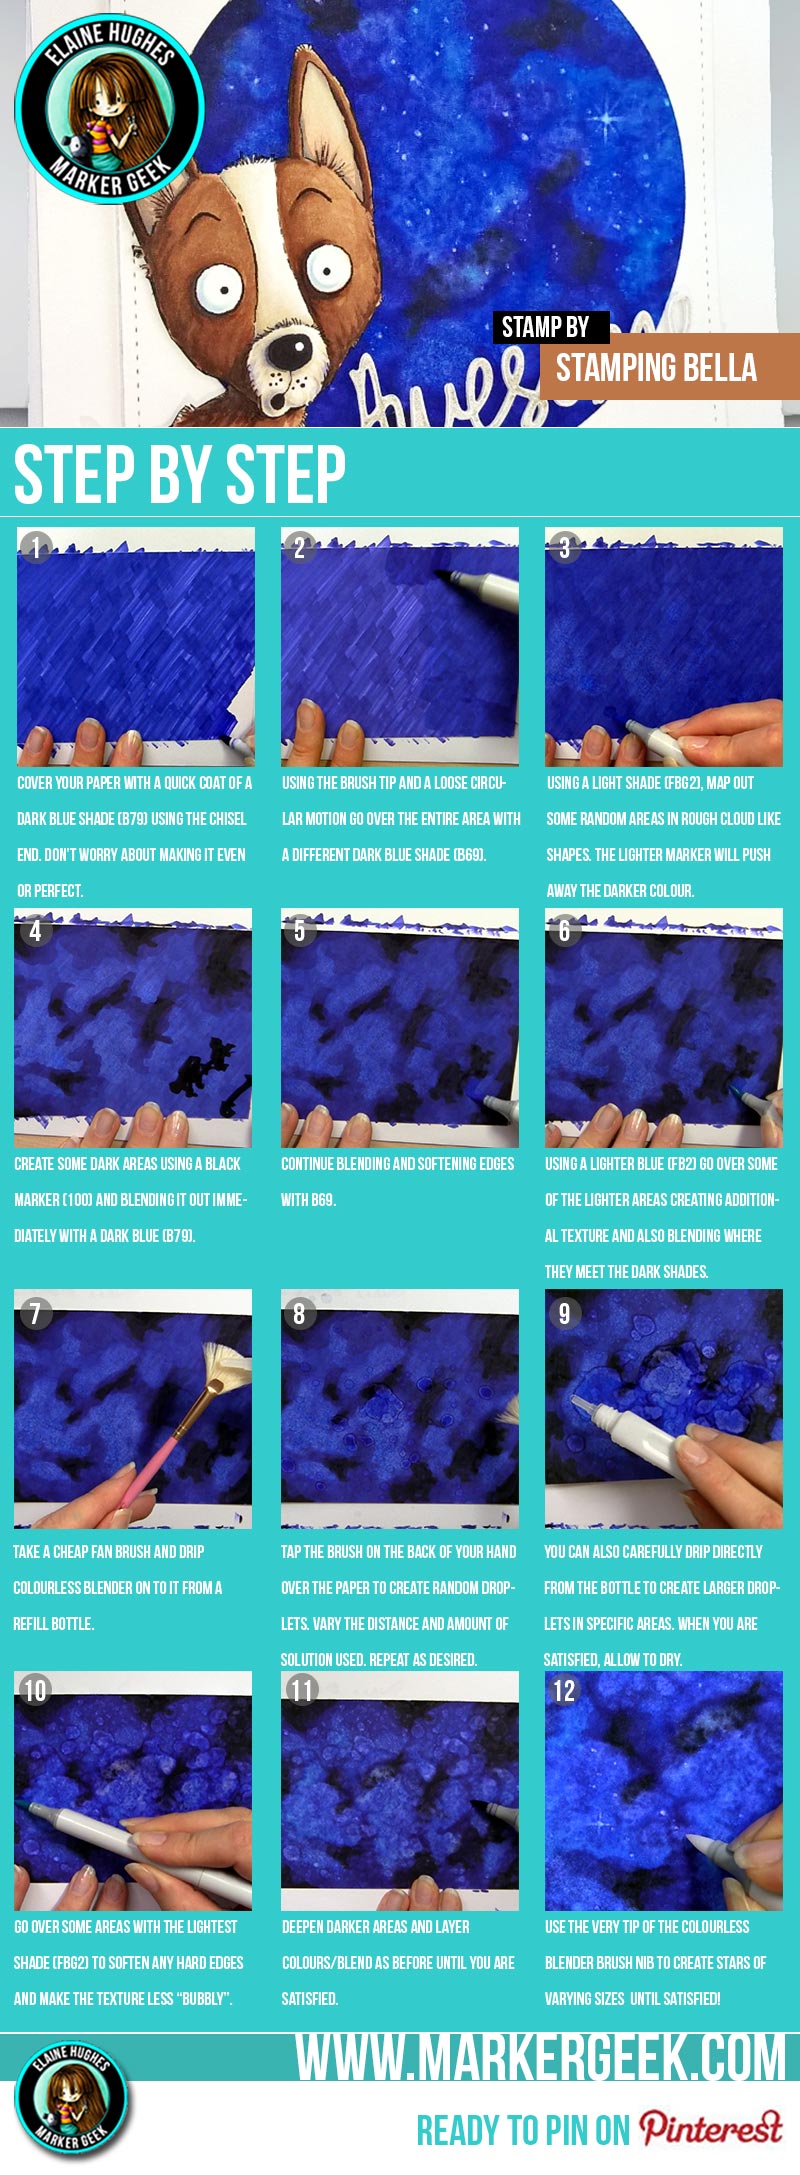
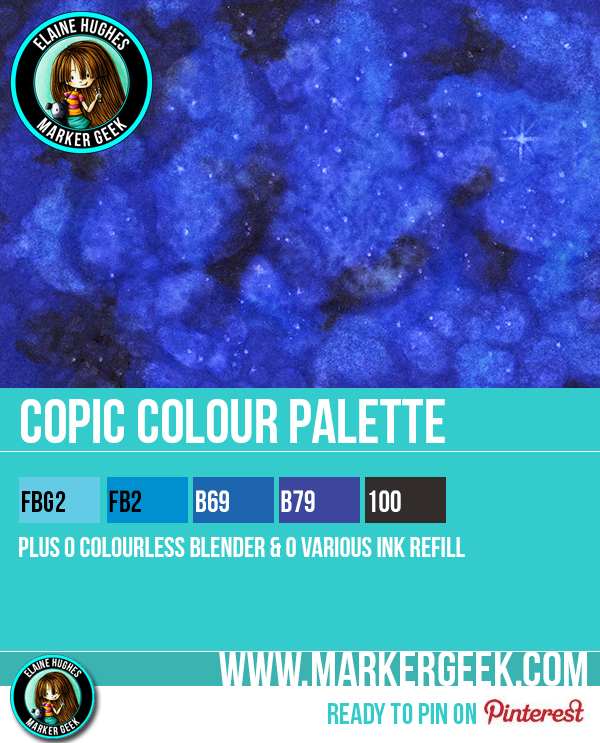
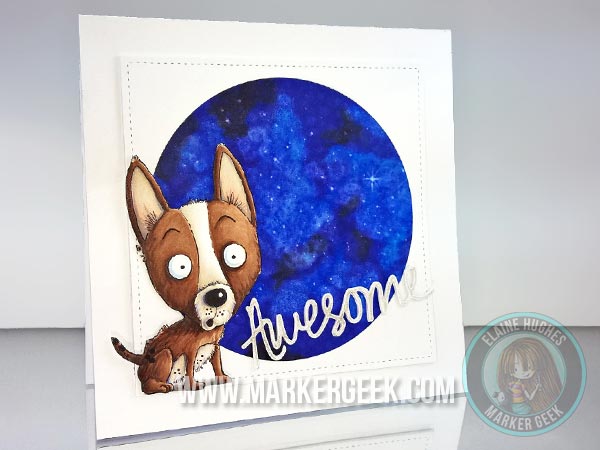
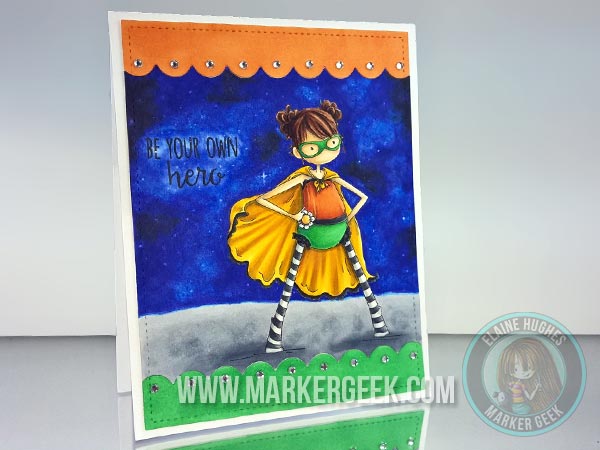
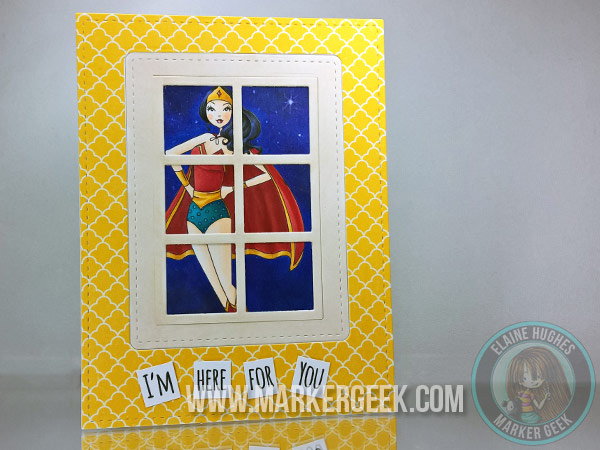
If you missed last week’s post you may want to click through and check it out – Marker Geek Monday: Give Your Cards the WOW Factor with a Galaxy Background. In the post I shared my step by step technique for colouring a night sky or galaxy effect background using Copic markers, along with a video that includes audio commentary. I also shared some card samples and suggestions for other images in the Stamping Bella range that would look amazing with a similar background.
Today I’m taking a break from my markers and sharing some inspiration and tips for working with coloured pencils. Because it is so important in the colouring process, I’m focusing on PAPER CHOICE.
Choosing Paper for Coloured Pencil Work:
As with most mediums, when working with coloured pencils the paper you use will make a huge difference to the results you can achieve. Choose a paper suited to the medium you have chosen, and you will more than likely see an immediate difference in how well you are able to work with it.
If you usually colour with alcohol based markers like Copics and are now branching out into colouring with pencils, you will almost certainly want to choose a different paper to work with. The smooth papers that work so beautifully with markers are not ideal for pencil work, as they don’t have much for the pencils to grip on to. Laying down colour and blending will be tough. This doesn’t mean you can’t use pencils in conjunction with your markers – if you are enhancing your marker work and adding finer details on top, the paper shouldn’t present a real problem, but for colouring an entire image, you would do better to select a more pencil friendly paper.
Papers which are suitable for coloured pencil work will have some “tooth”.
What is “Tooth”?
When referring to paper, “tooth” means that the paper surface has some texture. The texture gives something for the pigment to catch on and allows you to build up a nice rich coverage of colour. The paper has tiny hills and valleys on the surface. As the pencil hits the hills or ridges in the surface, they catch the pigment.
A rough texture will allow for more layering, but will also require more layering to ensure an even coverage. A very smooth paper will take less layers before the pencil has nothing to hold on to. Something in between is ideal, allowing for layering but not having a visible texture that will be hard to cover.
TOP TIP: Don’t forget to keep your pencils sharp – this will help greatly with laying down colour, especially on a paper with some texture as it will allow the pigment to get into the valleys.
The paper that actually works for you will depend greatly on your colouring style, and what you are colouring. Papers with more texture will allow for more layering of colour, but may not be good for colouring details.
Different types of coloured pencil will also be best suited by different papers. Wax based pencils like the Prismacolor brand may be better suited to a softer textured paper, whereas oil based pencils like the Faber-Castell Polychromos brand may work better on a harder surface. Whether this difference will be greatly noticeable when colouring stamped images is debatable.
Paper Recommendations:
As always, I recommend testing as many papers as you can, in order to find the one that works best for you. The suggestions here include only papers which I have tried personally. Try papers you already have, inexpensive options and those readily available to you before going on a spending spree!
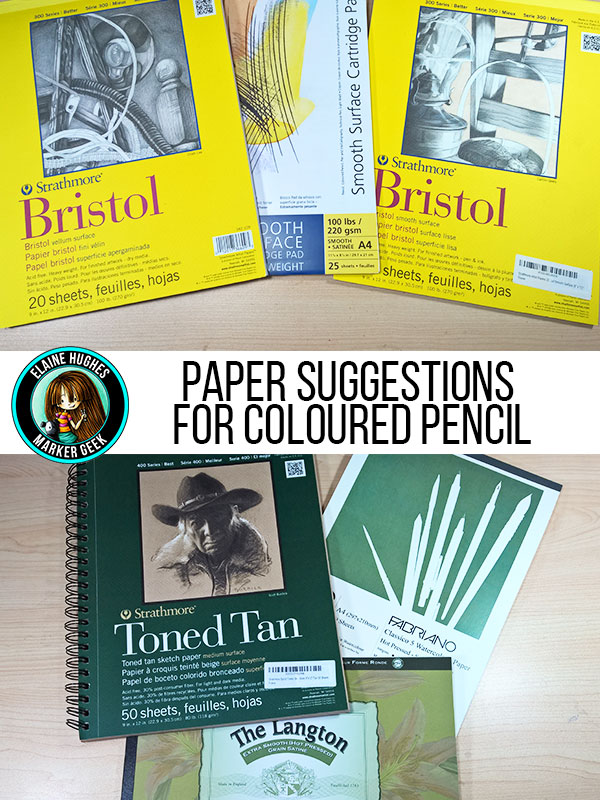
- Smooth surface cartridge paper – here in the UK I use the Winsor & Newton brand. In the US I believe Strathmore produce a similar paper. These are available in different weights. Personally I prefer to use a heavier weight. The Winsor & Newton pad I have is 100 lb/220gsm. This paper has a fine tooth. I like using it and have achieved some nice results, but find that I can’t layer quite as much as I would like.
- Bristol Board – Strathmore produce both Smooth and Vellum surfaces of Bristol Board. “Smooth surface” as the name suggests has a very smooth surface. This is not ideal for layering lots of colour, but is great for fine detail (this one also works quite nicely with alcohol based markers). “Vellum surface” has more texture and I far prefer it for use with coloured pencil.
- Hot Pressed (HP) Watercolour Paper – this can be a nice choice for working with coloured pencil, as it is smooth but has some tooth. I like the Daler Rowney Langton paper and Fabriano Classico 5. Both papers provide a nice surface for working with coloured pencil and are heavy weight. The Fabriano paper is a brighter white than the Daler Rowney.
- Toned Tan paper – this is a nice choice for colouring on a non-white surface, which can give stunning effects. I have also achieved some nice results with coloured pencil on Bazzill kraft cardstock, so if you have some available to you give that a try first!
If using a blending solution with a paper stump or brush to blend your pencils on the paper, you may find that you can happily use a smoother surface than if you use just the pencils to blend on the paper.
If you also have some favourite papers for coloured pencil work, please do share them in the comments section below!
Pencil Colouring Inspiration:
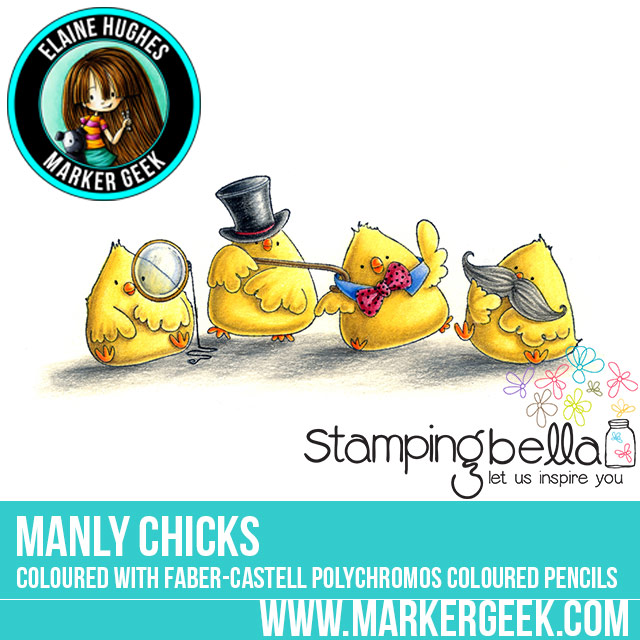
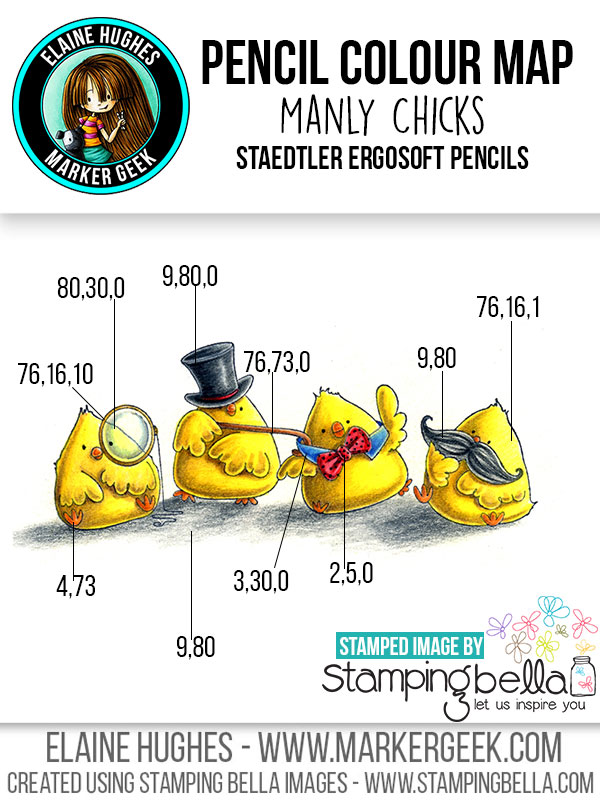
I had some fun colouring up a favourite stamp from this year so far – Stamping Bella Manly Chicks – using three different brands of coloured pencil, including one budget friendly option – Staedtler Ergosoft Coloured Pencils, to show that with decent paper you can achieve nice results even with inexpensive pencils.
TOP TIP: If you’re not satisfied with the results you’re getting in your coloured pencil work, rather than giving up or rushing to blow your budget upgrading your coloured pencils to a more expensive range, try evaluating and changing your paper first.
All three versions of the image were coloured on Daler Rowney “The Langton” hot pressed watercolour paper. No solvent/blending solution was used, just coloured pencils working from dark to light.
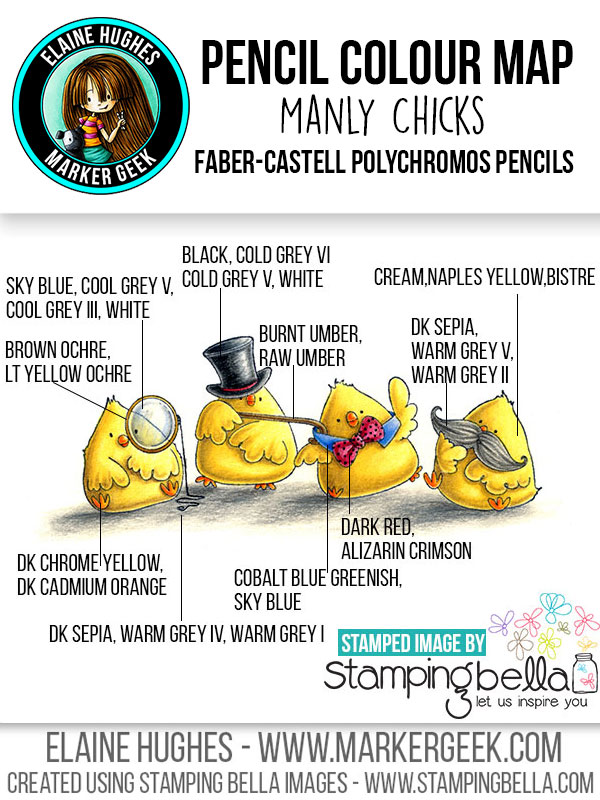
Stamping Bella Manly Chicks in Faber-Castell Polychromos Pencil:
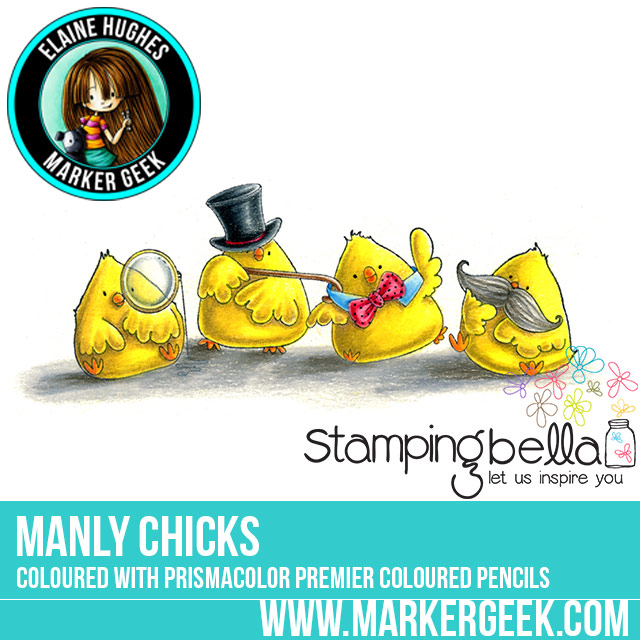
Stamping Bella Manly Chicks in Prismacolor Pencil:

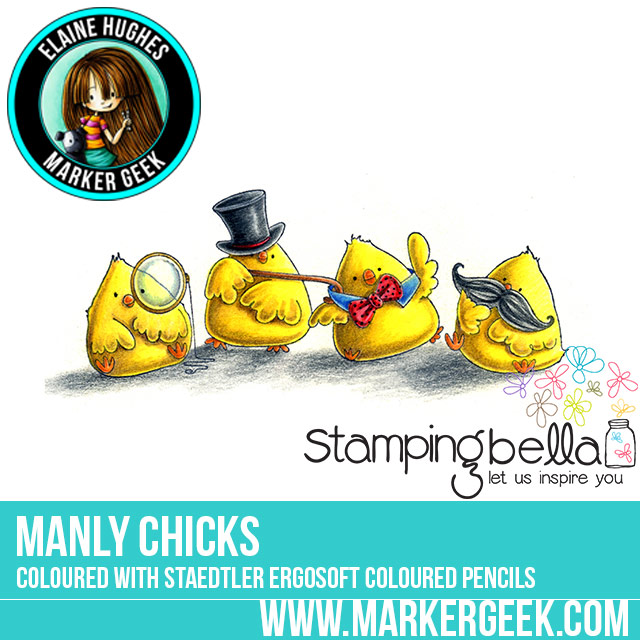
Stamping Bella Manly Chicks in Staedtler Ergosoft Pencil:
More Discussion on Colouring with Coloured Pencils:
For more information and inspiration regarding working with coloured pencils, please see these earlier Marker Geek Monday posts:
- Marker Geek Monday Pencils & Markers #1 (Coloured Pencils vs Coloured Pencils over a marker base.)
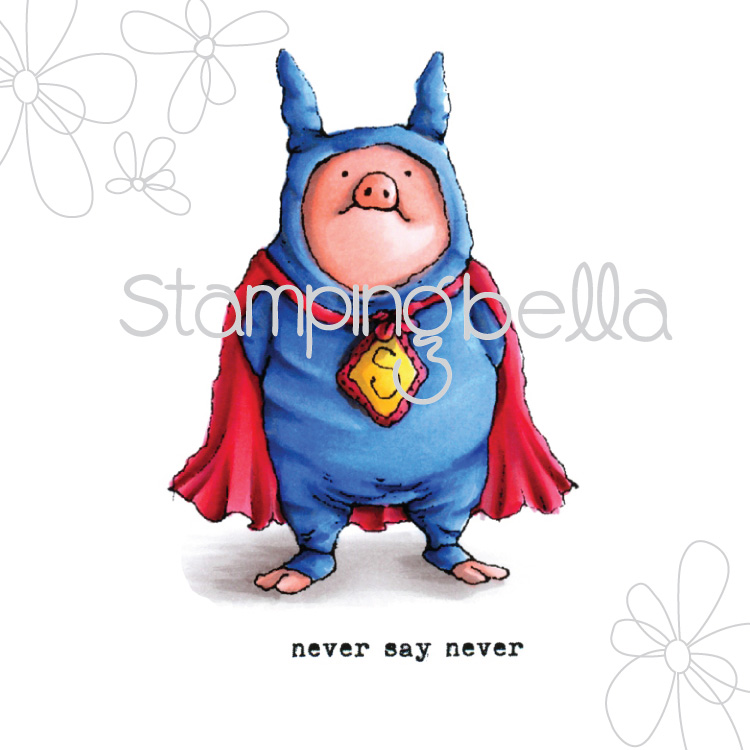
- Marker Geek Monday Petunia Pig in Coloured Pencil
- Marker Geek Monday Budget Colouring with Crayola Pencils
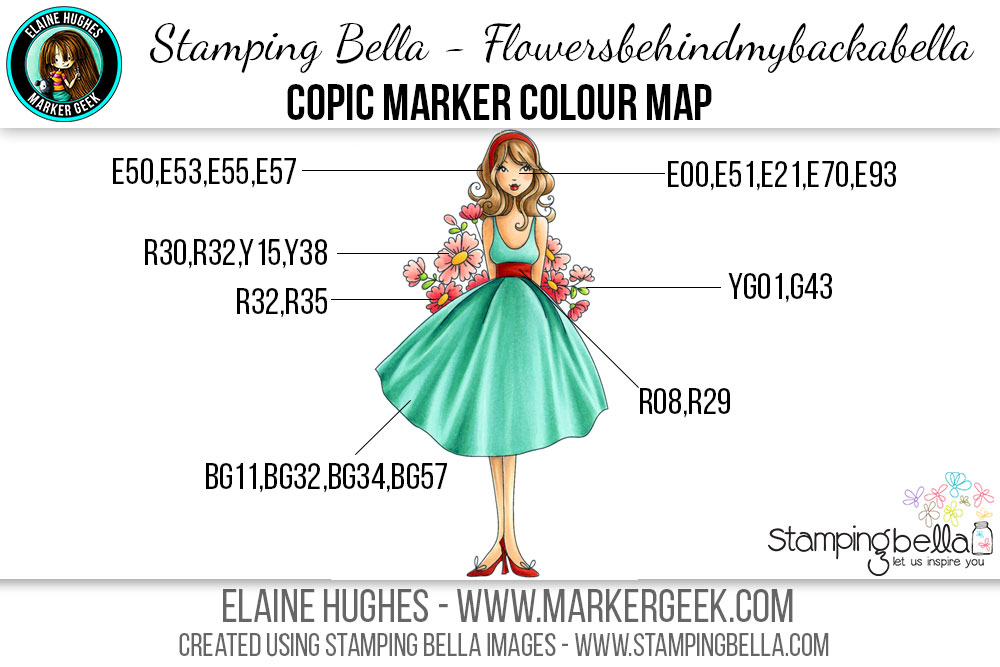
Over on my own blog – Marker Geek – I also have a recent post discussing some of the differences between Prismacolor pencils and Faber-Castell Polychromos pencils, and my personal preference. The post includes a pencil coloured version of Flowersbehindmybackabella along with a full colour map showing the pencil colours used. Click through to read: Flowersbehindmybackabella Colouring with Polychromos Pencils vs Prismacolor.
You can also watch me colouring Flowersbehindmybackabella using Polychromos pencils in the video below or in HD over on YouTube.
Over To You!
If you try out the techniques shown in this post with your Stamping Bella stamps, be sure to share! Take a look through your collection, or add some more from the website and see what you can come with! We would love to see the results and hear how you feel about them. Show off your creations in the comments below and even better, share your own favourite tips with us. Let’s talk colour!
If you are posting your images online, we would love to see them on Instagram and all the platforms mentioned above. To make it easier for us to find you just use #markergeekmonday and/or #stampingbella as a hashtag. Even better tag me @markergeek and @stampingbella . We love it when you connect, so don’t be shy!
If you’re on Facebook join us in our private chat group Stamping Bella Sistahood to share your creations there and chat all things Stamping Bella related!
Until next time, HAPPY COLOURING!
MWAH
Elaineabella