WELCOME TO BLOGABELLA

it’s WONDERFUL WEDNESDAYS WITH OWL BE CRAFTY- Making your own fun embellishment!

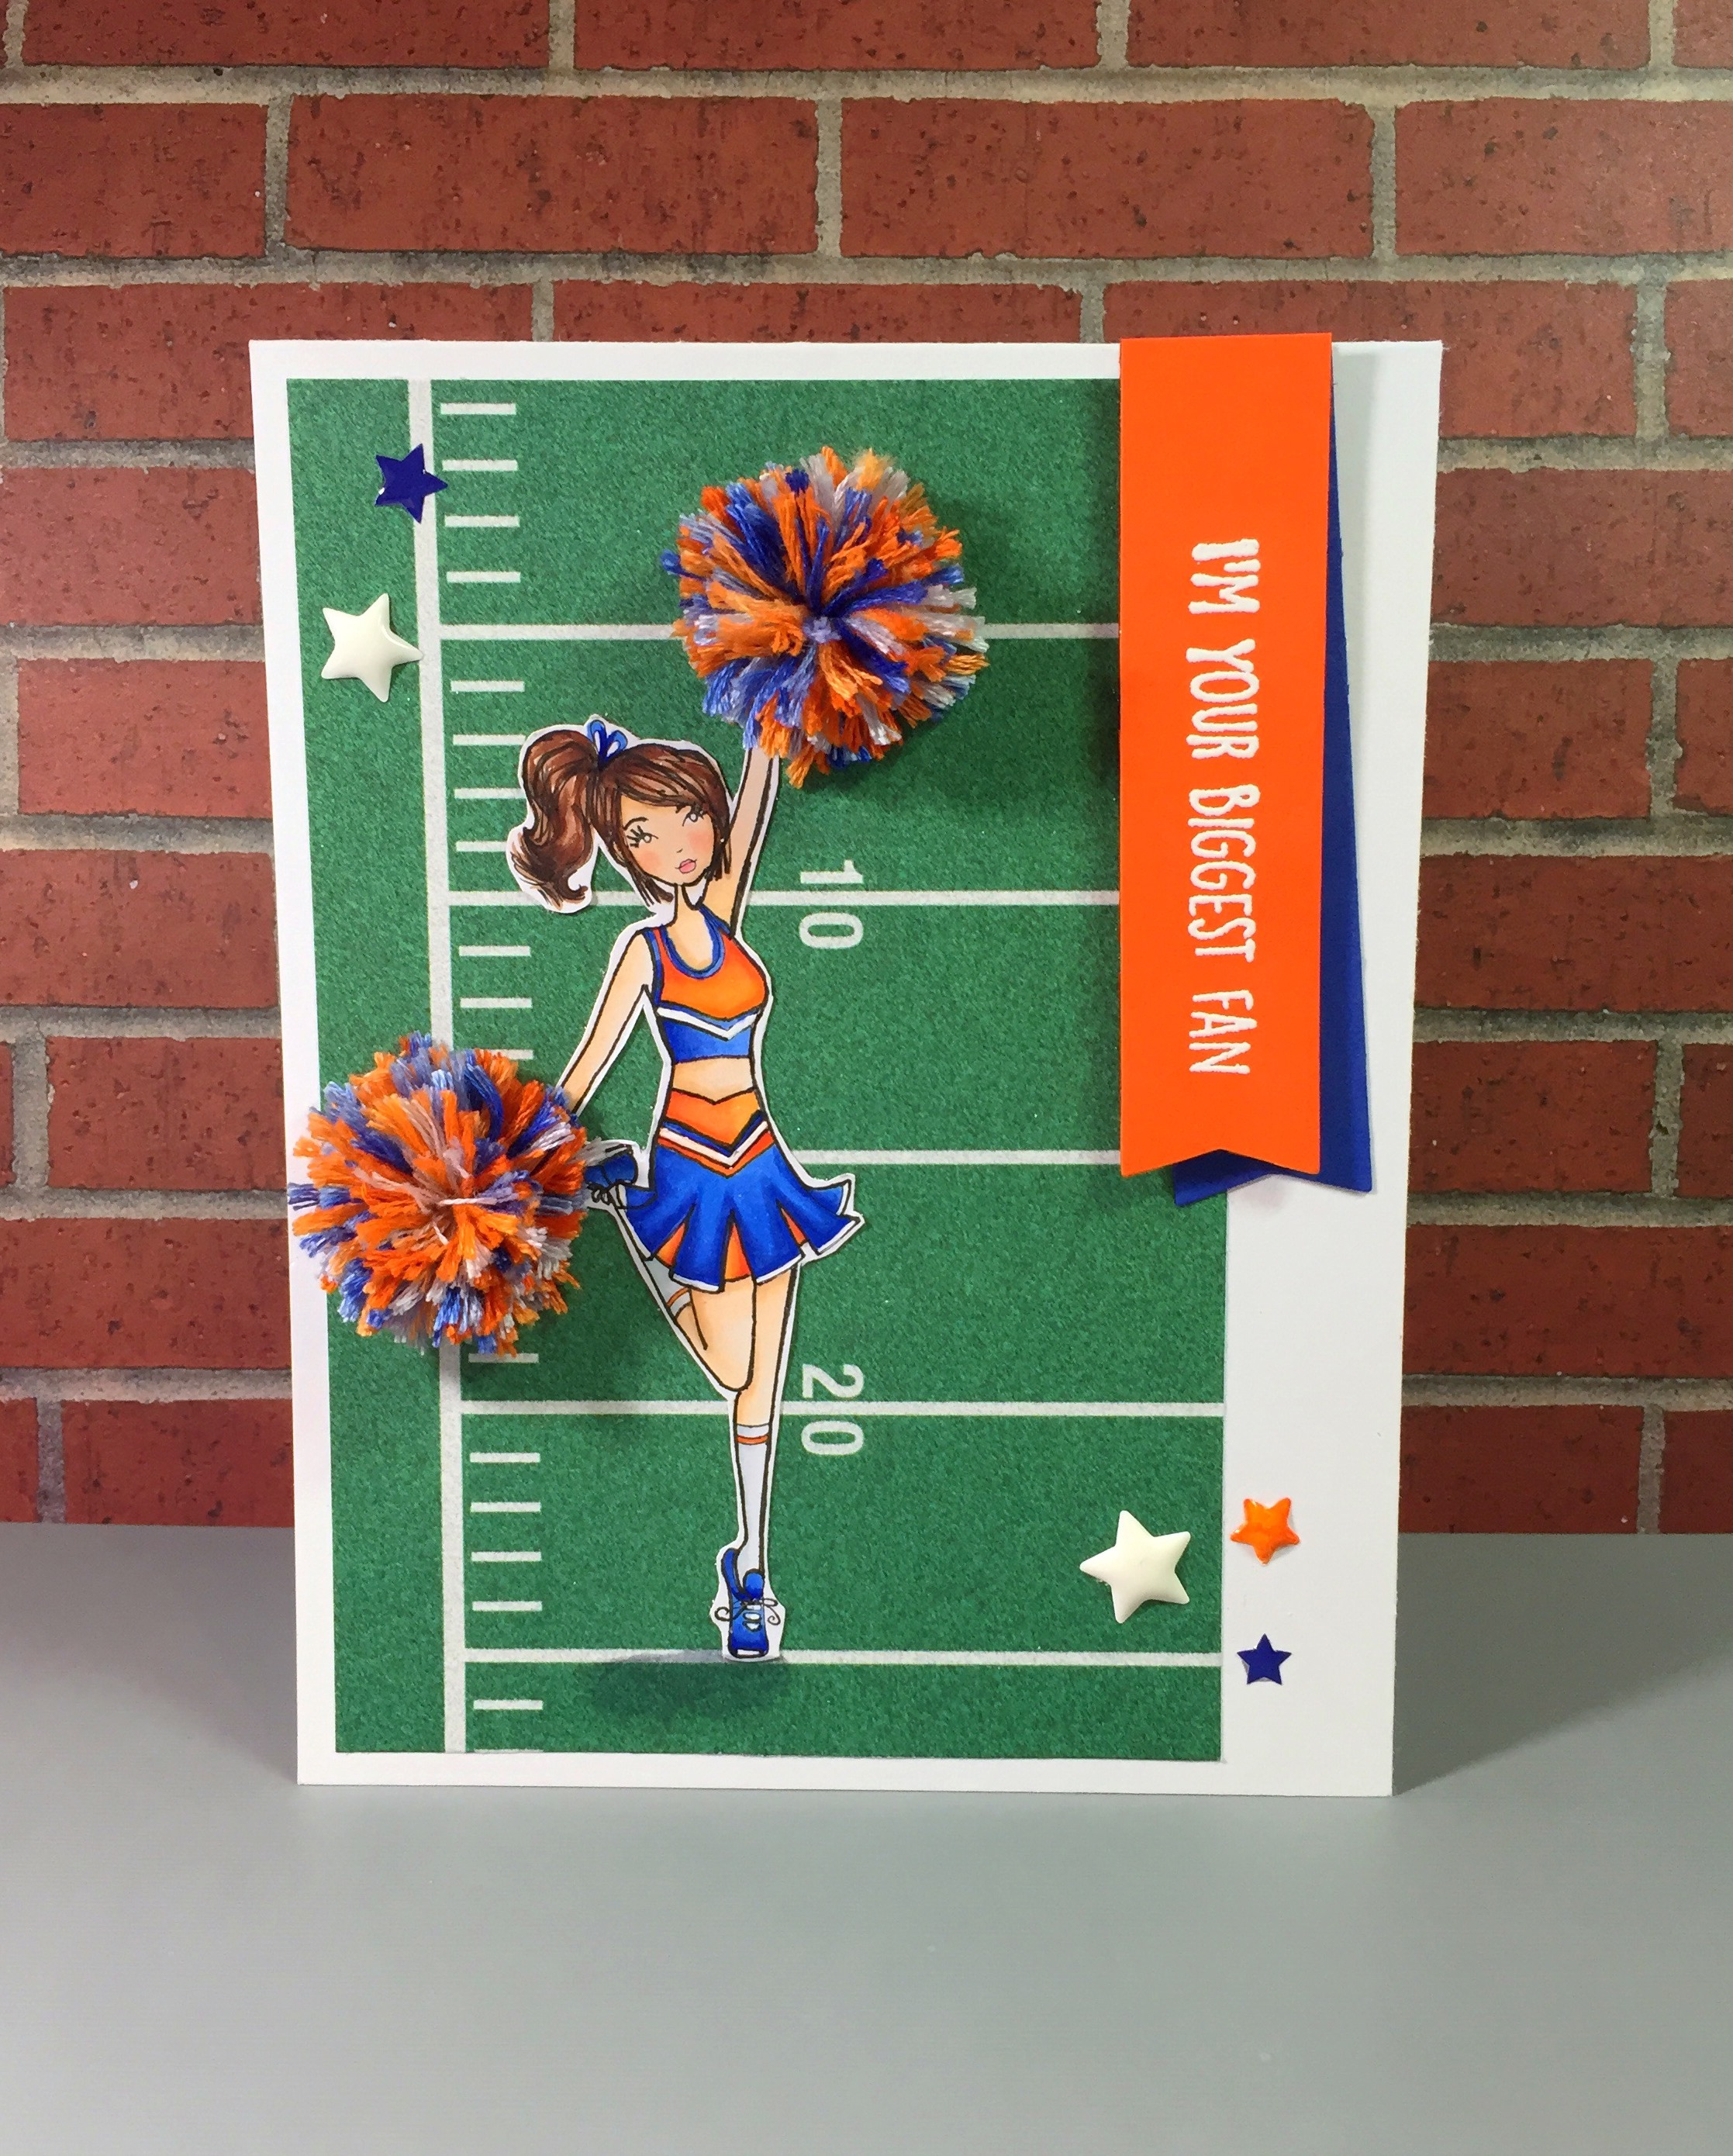
Hello Sistahs! I hope you are all having a wonderful week! This week I wanted to highlight one of my favorite times of the year, American football season! Pre-season games start this week and with that in mind, I knew I needed to use one of the new Bella 2.0 stamps, POMPOMABELLA.

Wonderful Wednesdays with featuring how to make your own POMPOMS for cards!

I started by modifying her cheerleading outfit a bit with a Copic multiliner to better match my favorite team’s uniforms. I colored her up with Copics and then decided to make some fun 3-D pom-poms for her. If you’d like to know how to make them yourself, I’ll have a quick and easy tutorial up on my blog along with all of the supplies I used to create the card. You can hop on over here: www.owlbecrafty.blogspot.com

Looking forward to three more lovely weeks with the Sistahs! Have a great day and I’ll see you next Wednesday!

Jenny

Owl Be Crafty Signature

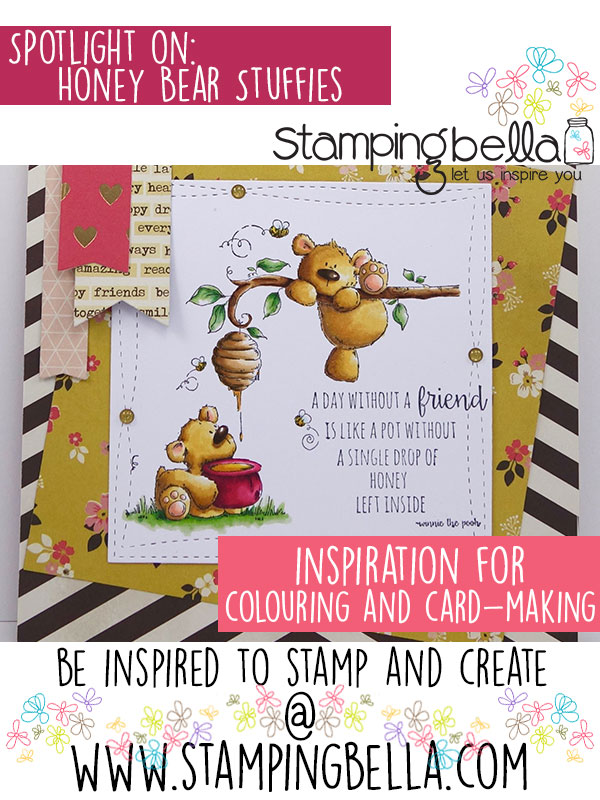
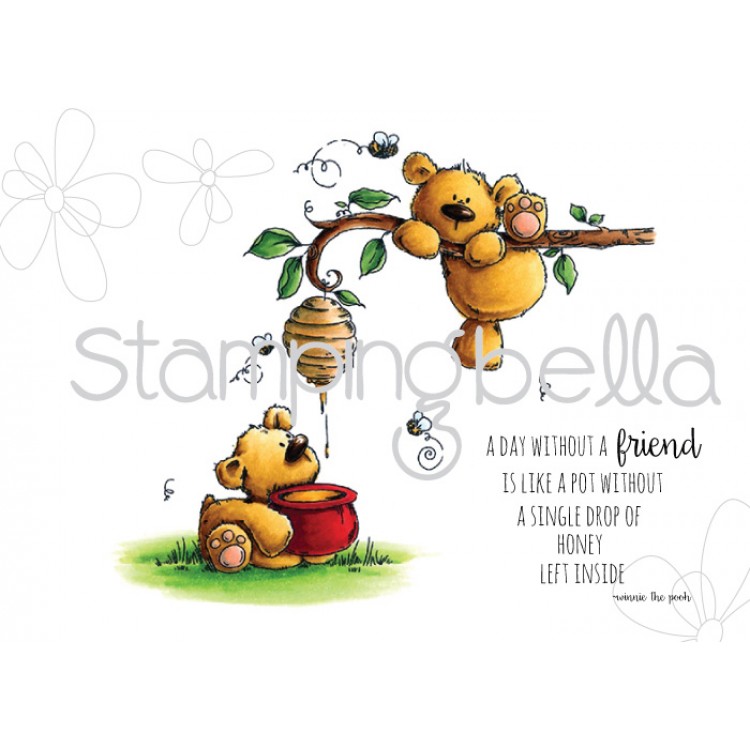
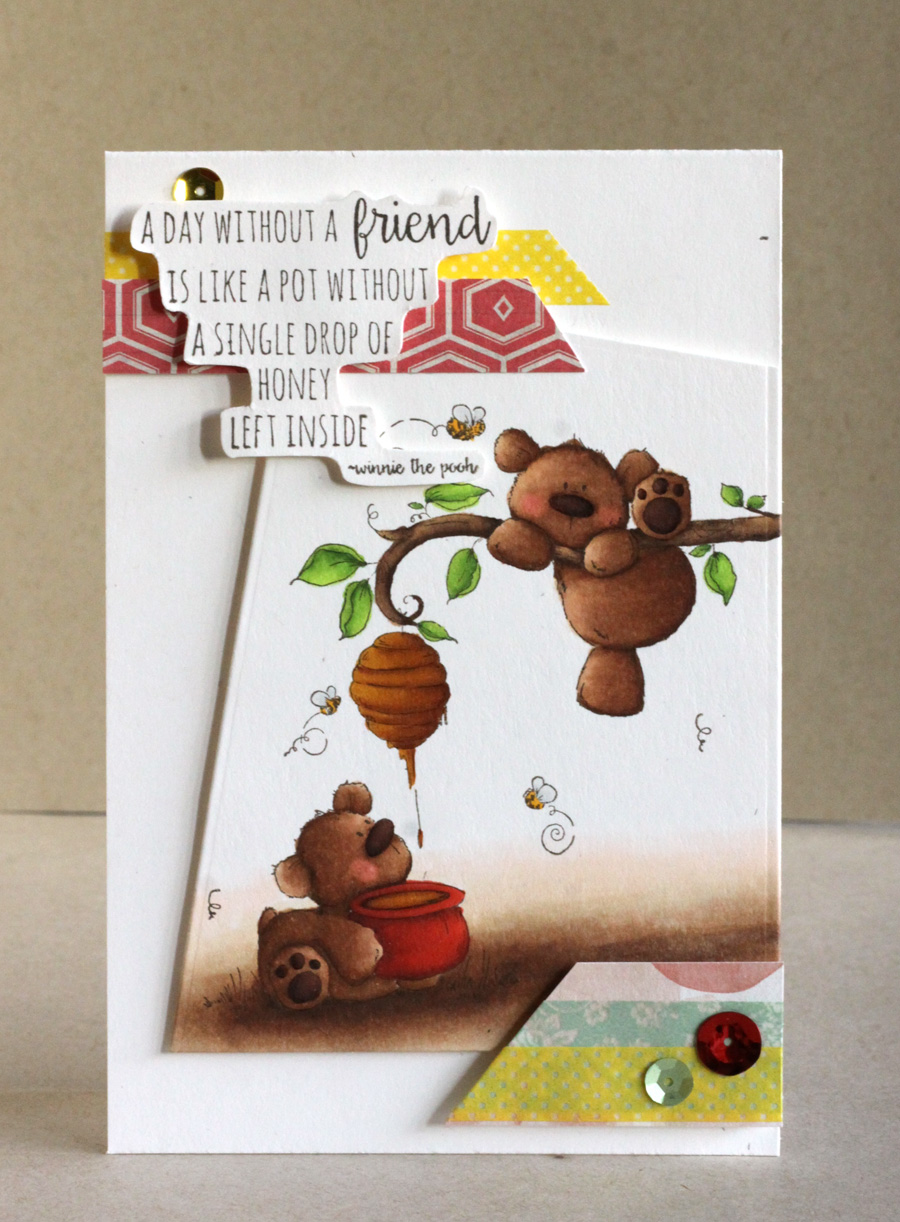
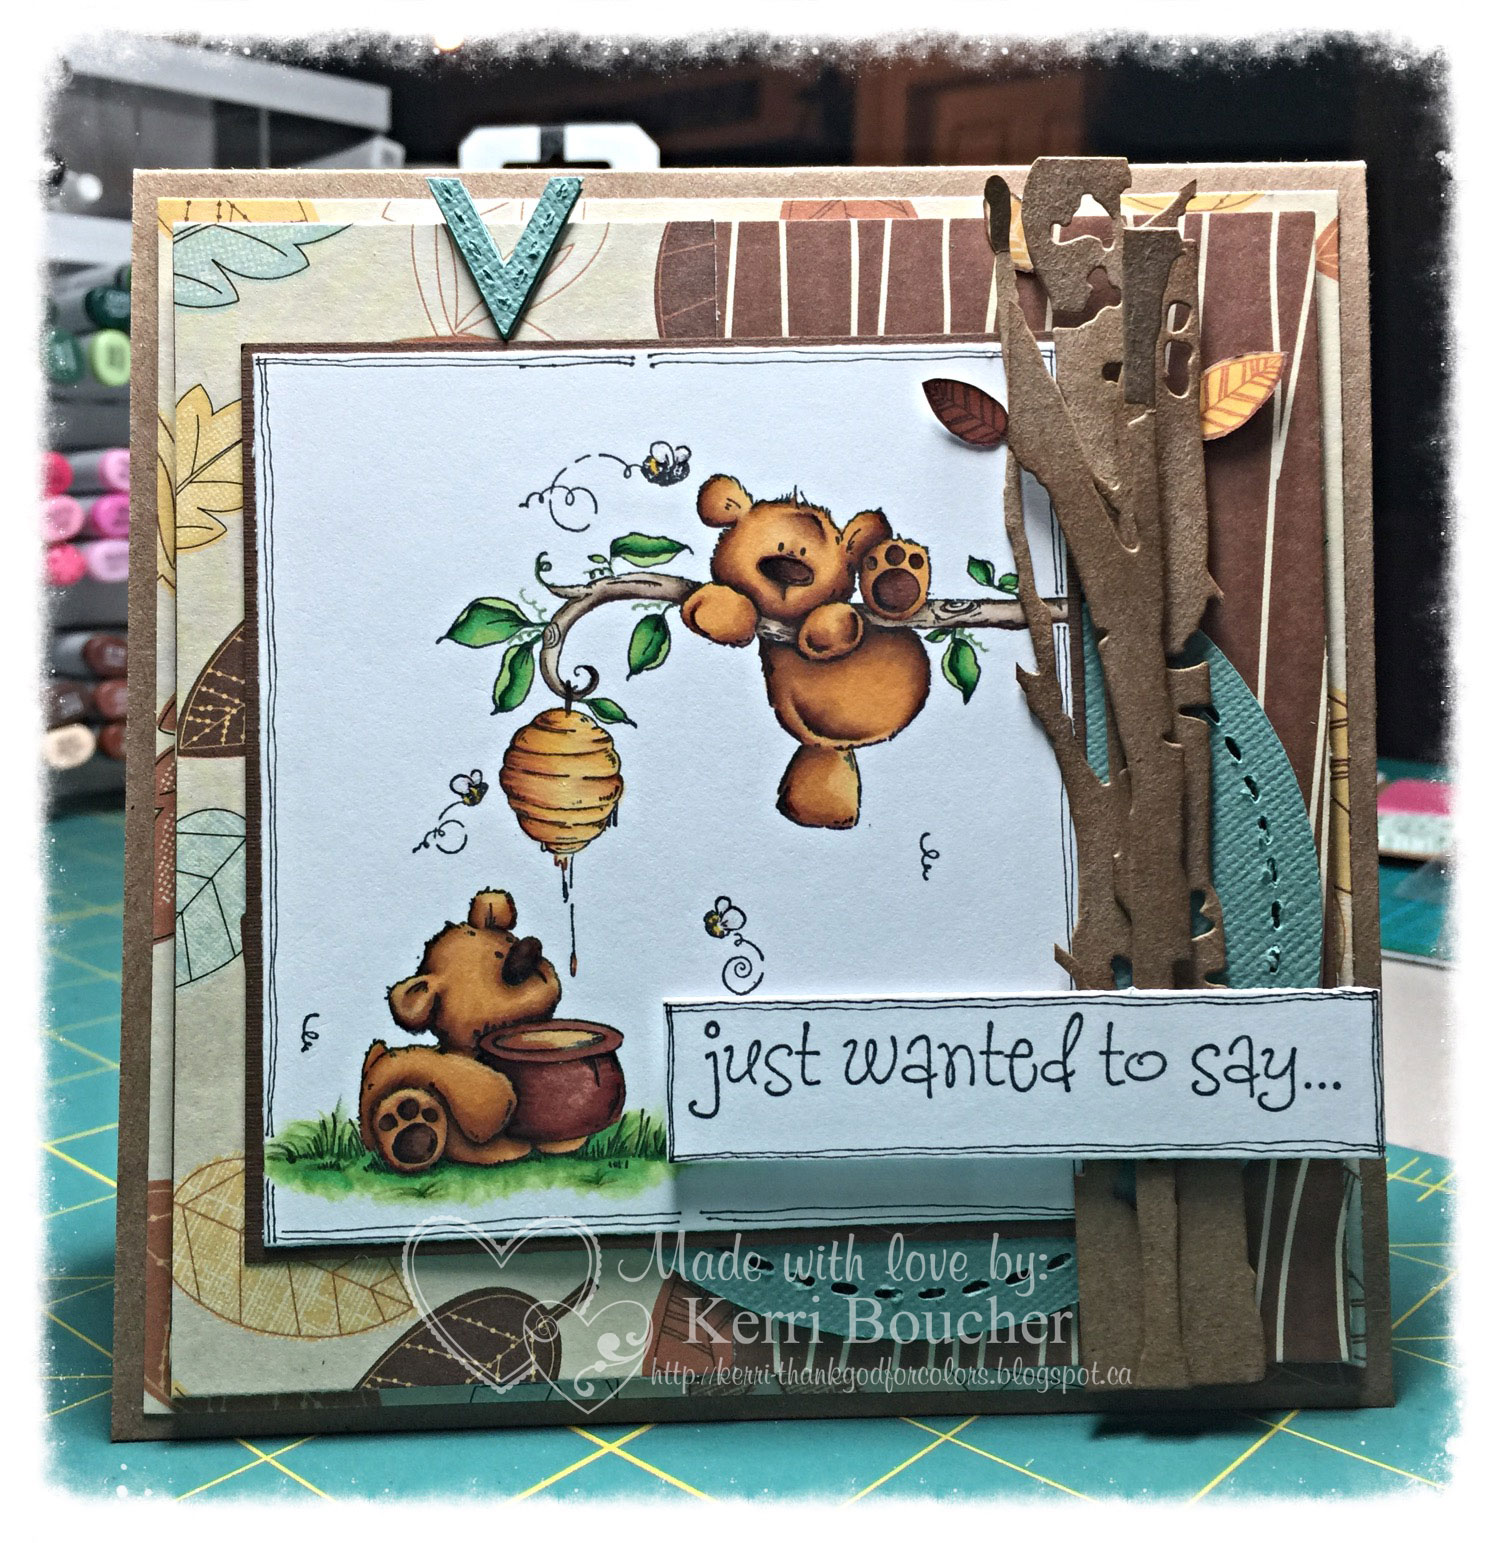
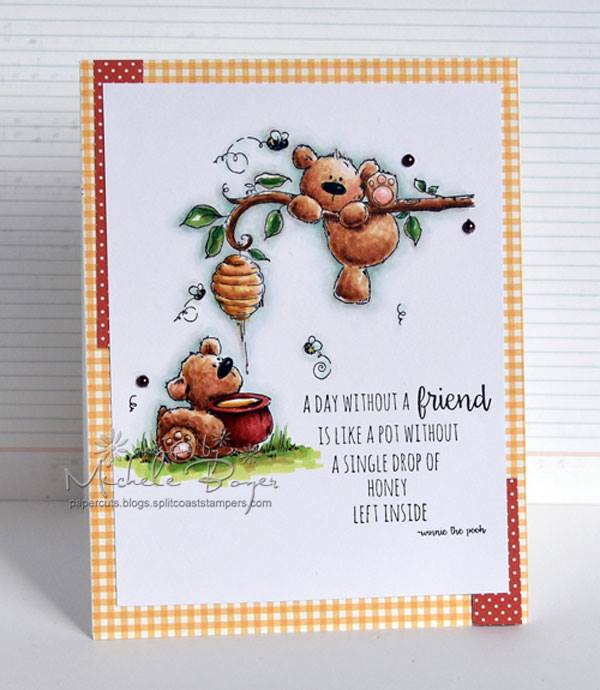
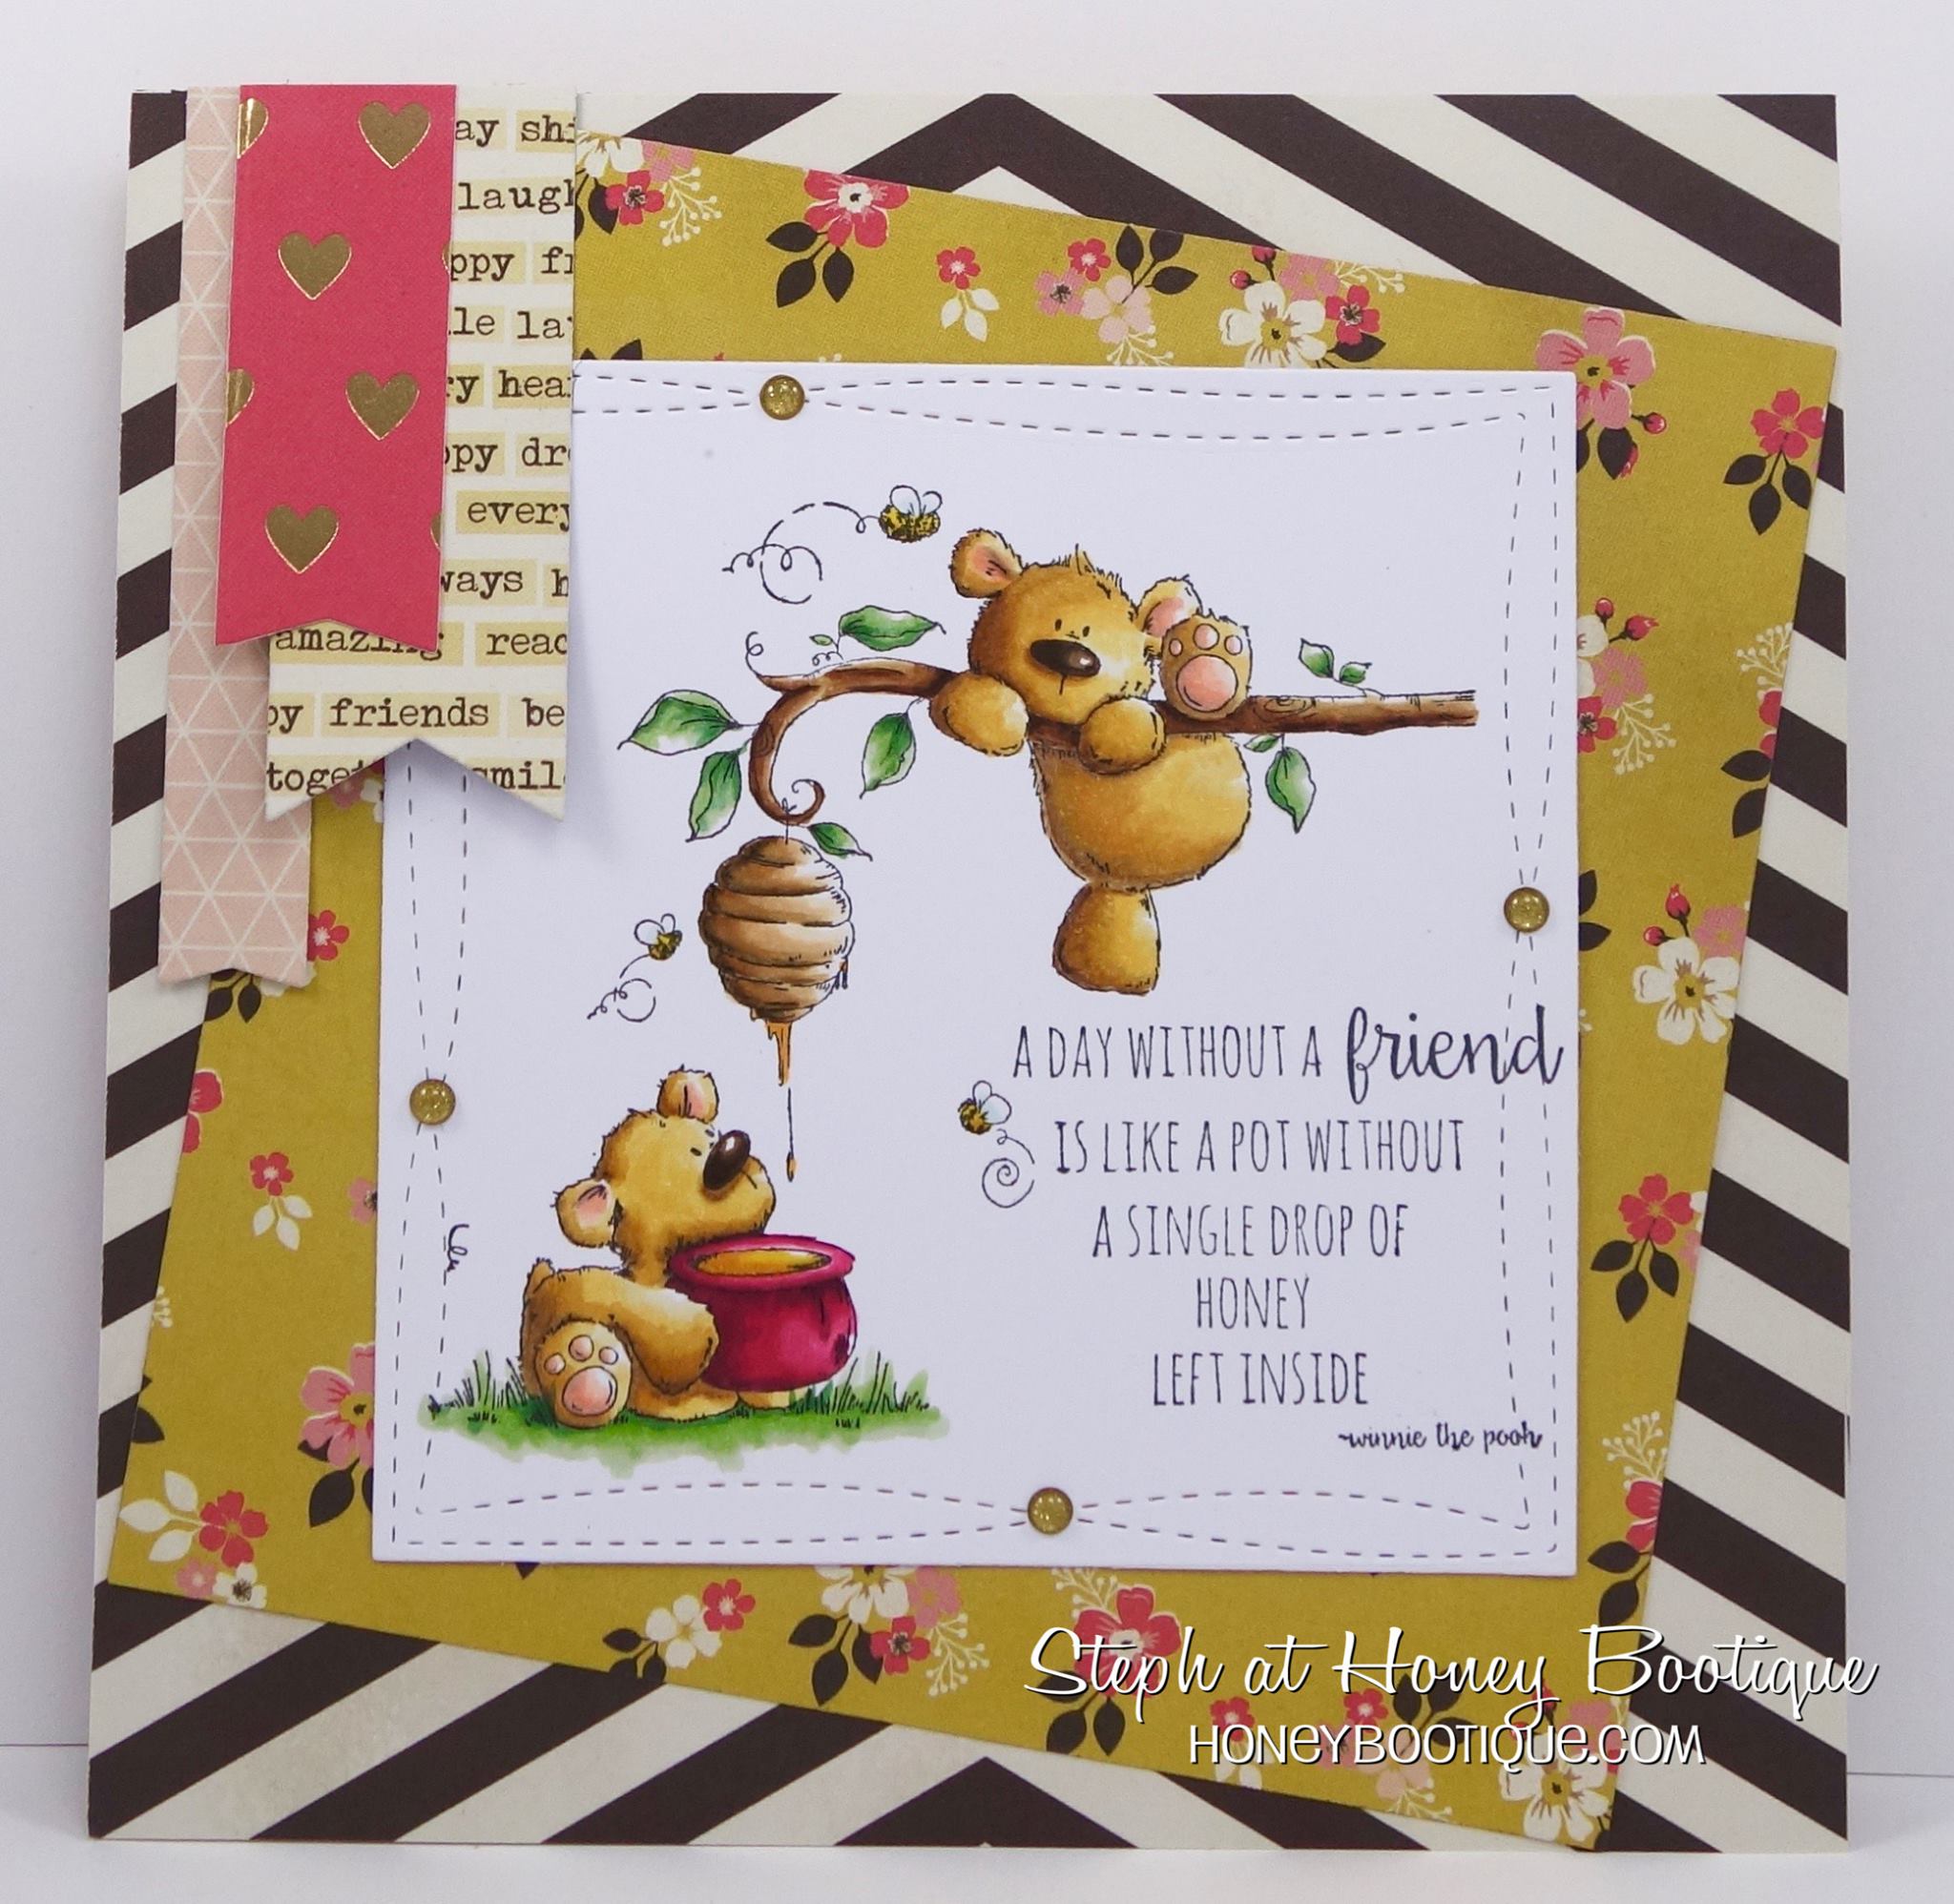
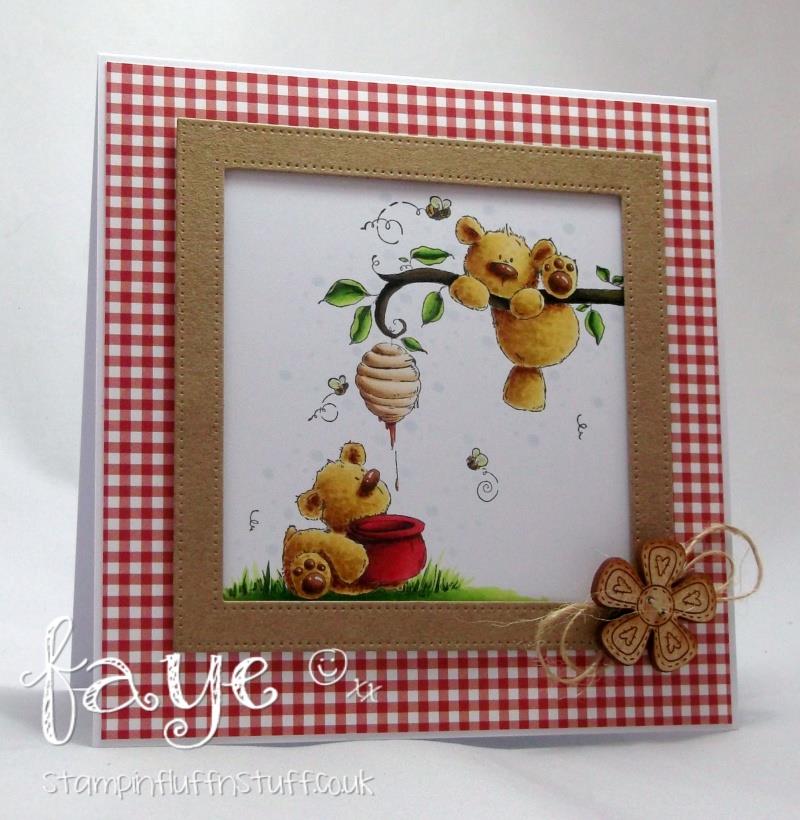
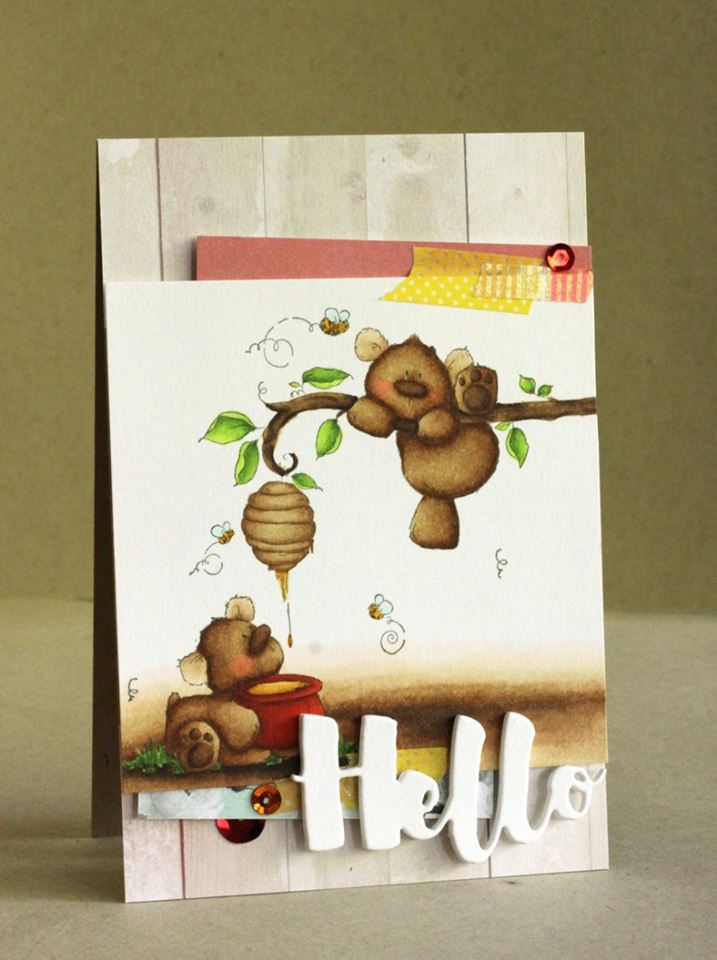
Spotlight On HoneyBear Stuffies rubber stamp at Stamping Bella

Hey folks! Elaineabella here again with the giant spotlight. 🙂 This week I’m shining it on one stamp in particular, which just happens to be our August Stamp of The Month!

Stamping Bella HoneyBear Stuffies rubber stamp. Click through to read the blog post for inspiration!

What is Stamp of the Month all about?

If you are just joining us, or simply haven’t heard of our Stamp of The Month offer, here’s the scoop! Each month we feature one stamp as Stamp of The Month, and for the whole month you can enjoy a fantastic 20% off that particular stamp. No rushing to place your order, you can order whenever you like during the month and take advantage of the offer on that stamp.

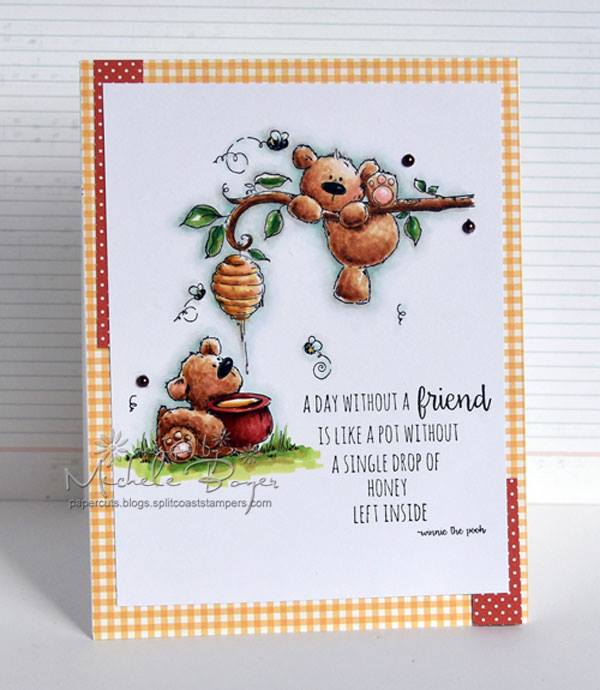
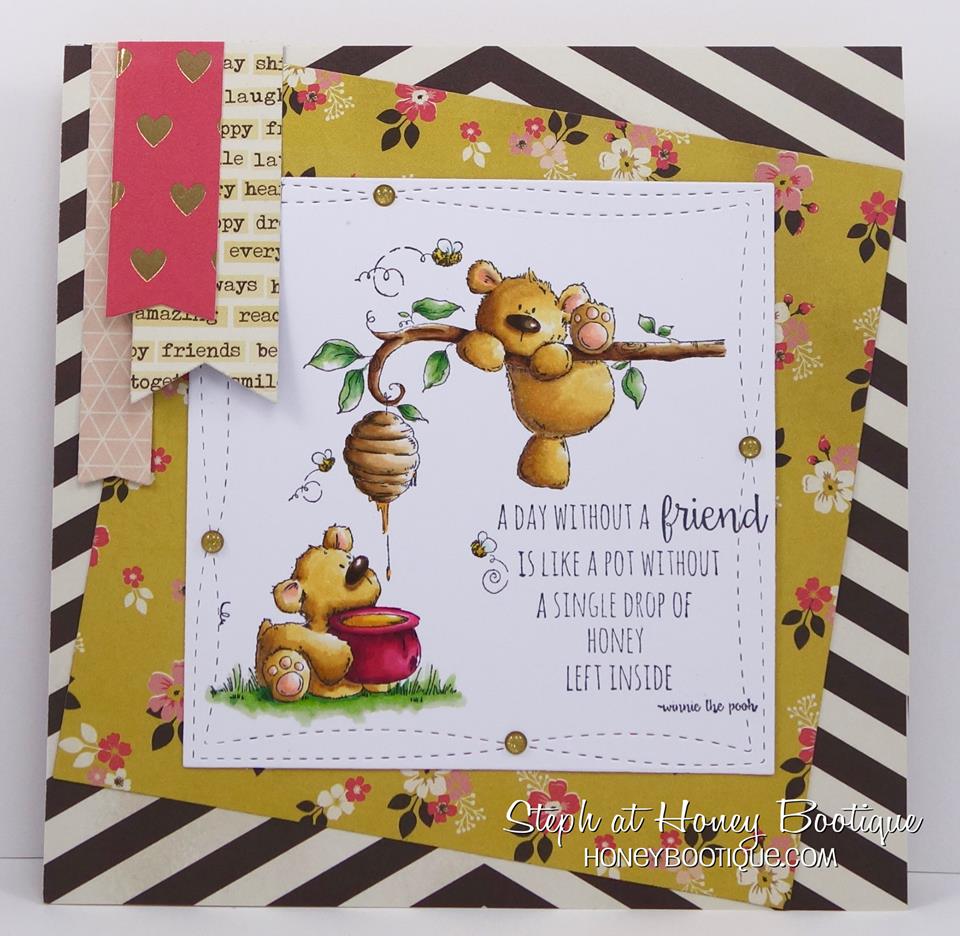
This month’s featured stamp is HONEYBEAR STUFFIES. A personal favourite of mine, and if you haven’t added it to your collection now is the time! Read on to see why I think you need this one. 😉

Spotlight on the HoneyBear Stuffies Rubber Stamp

We have so many sweet and sentimental designs in the Stamping Bella range. Sweet, sentimental and with a little touch of humour. The STUFFIES collection totally embodies that, and perhaps none more so than HoneyBear Stuffies.

Stamping Bella HoneyBear Stuffies rubber stamp. Click through to read the blog post for inspiration!

Just. Look. At. Them. The one hanging on to/falling off the branch… Their little feet. Those bees! Super sweet.

Can I just admit that I am a complete sucker for a good Winnie the Pooh quote? Seriously. This one is perfect – look at these two little friends getting into mischief. Which one are you? I’m the one catching the honey and worrying that the other one is going to fall off and get the stuffing knocked out of him. I may also at one time or another have been the one dangling from the branch wondering how on earth I ended up in such a predicament. Maybe. 😉

Using HoneyBear Stuffies on your Cards!

Like many of the Stamping Bella images, this one is perfect for a variety of occasions. Send a sweet notecard to a friend, or anyone for that matter. The image goes perfectly with the accompanying sentiment, but you could easily pair it with something else. A simple “Hello” or “Oh Hi…” would work beautifully. Use it to say Happy Birthday, maybe get a little punny and wish someone a “Beary Happy Birthday”. Use it for Mother’s Day, use it for Father’s Day (bears are totally unisex y’know), use it for a New Baby card (it would be adorable for twins, don’t you think?). Maybe a Thank You For Being There card! Lots of excuses to colour up this adorable image.

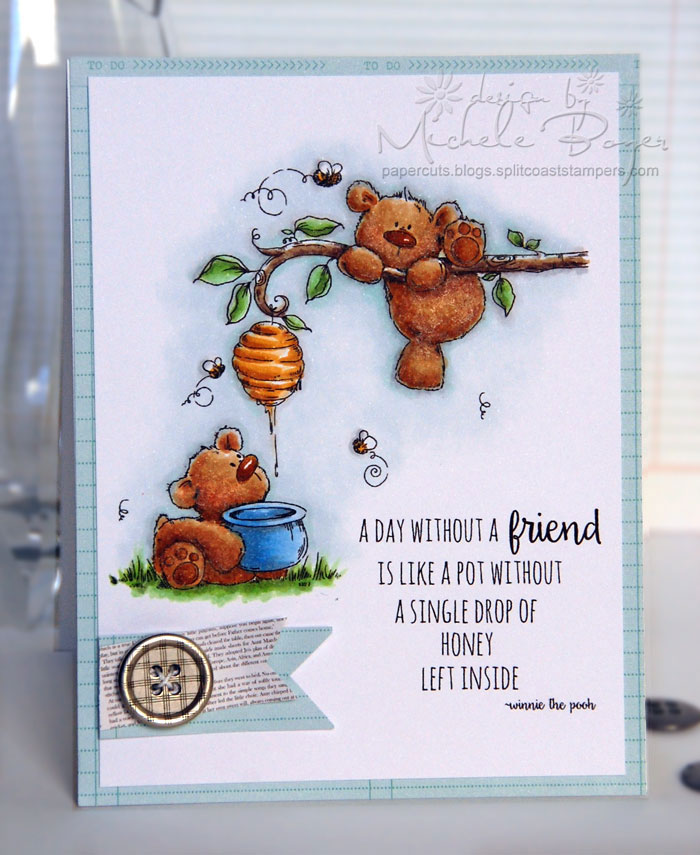
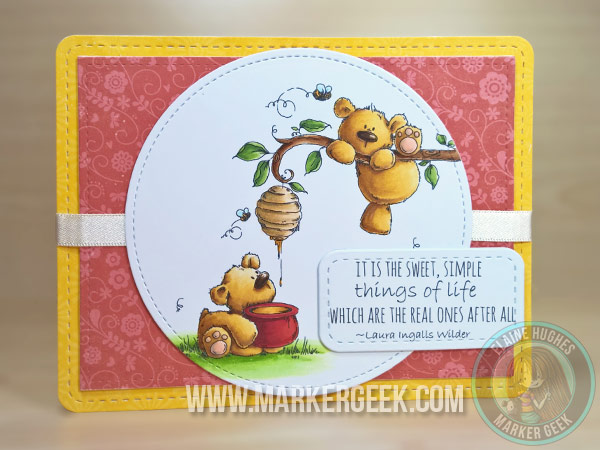
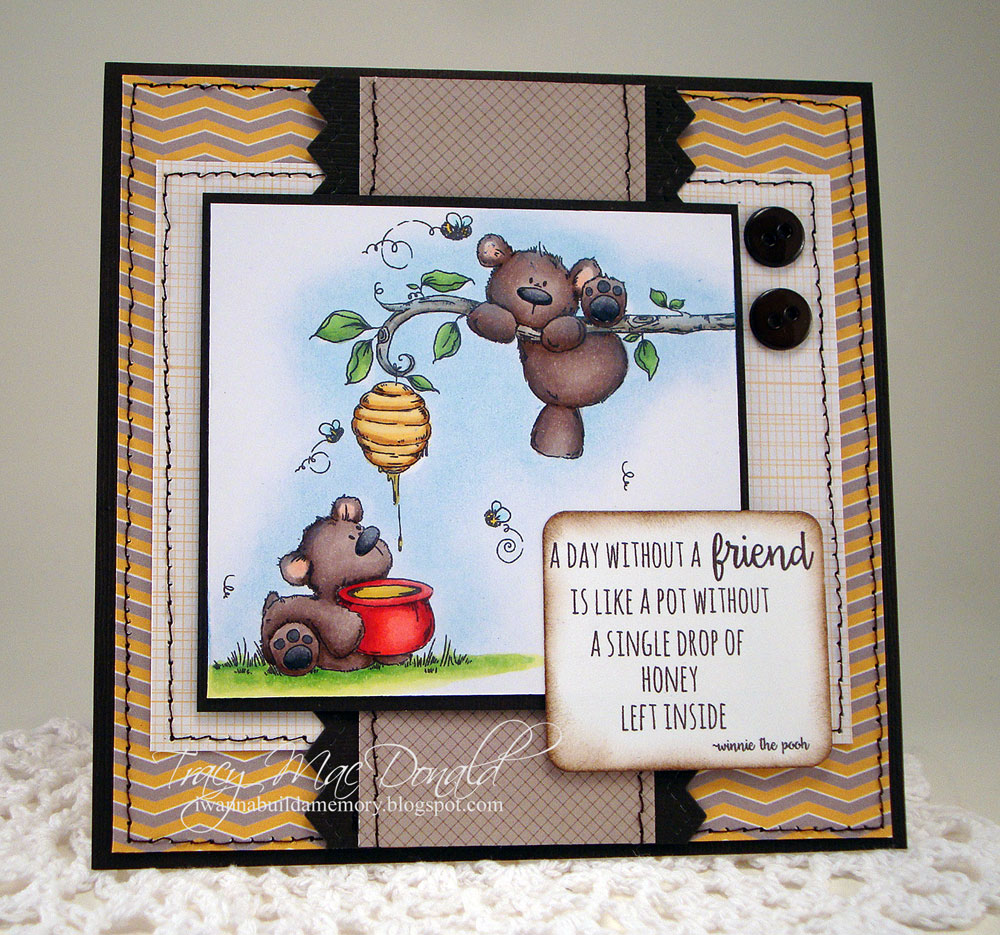
Here’s some inspiration from the Bellarific Babes to get you going:

Stamping Bella HoneyBear Stuffies rubber stamp. Click through to read the blog post for inspiration! Stamping Bella HoneyBear Stuffies rubber stamp. Click through to read the blog post for inspiration!

On my card I paired the image with a sentiment from one of our other stamp sets: Macaron Bouquet.

Stamping Bella HoneyBear Stuffies rubber stamp. Click through to read the blog post for inspiration! Stamping Bella HoneyBear Stuffies rubber stamp. Click through to read the blog post for inspiration! Stamping Bella HoneyBear Stuffies rubber stamp. Click through to read the blog post for inspiration! Stamping Bella HoneyBear Stuffies rubber stamp. Click through to read the blog post for inspiration! Stamping Bella HoneyBear Stuffies rubber stamp. Click through to read the blog post for inspiration! Stamping Bella HoneyBear Stuffies rubber stamp. Click through to read the blog post for inspiration! Stamping Bella HoneyBear Stuffies rubber stamp. Click through to read the blog post for inspiration!

How’s that for inspiration?

Over To You!

Hopefully I’ve inspired you to add Honey Bear Stuffies to your collection, or if you already have to get it stamped up!

Share your personal favourite Stamping Bella creations with us. We LOVE to see what you’ve been creating with Stamping Bella stamps. Share a link to your latest Stamping Bella card in the comments below, or an old favourite you made a while ago. Tell us what your favourite stamps are. Are there any additions you would like to see to the range? Let us know!

Another way to connect is by joining us in the Stamping Bella Sistahood Facebook Group and share your pictures.

If you are posting your images online, we would love to see them on Instagram and all the platforms mentioned above. To make it easier for us to find you just use #markergeekmonday and/or #stampingbella as a hashtag. Even better tag me @markergeek and @stampingbella . We love it when you connect, so don’t be shy!

Until next time, HAPPY STAMPING!

MWAH

Elaineabella

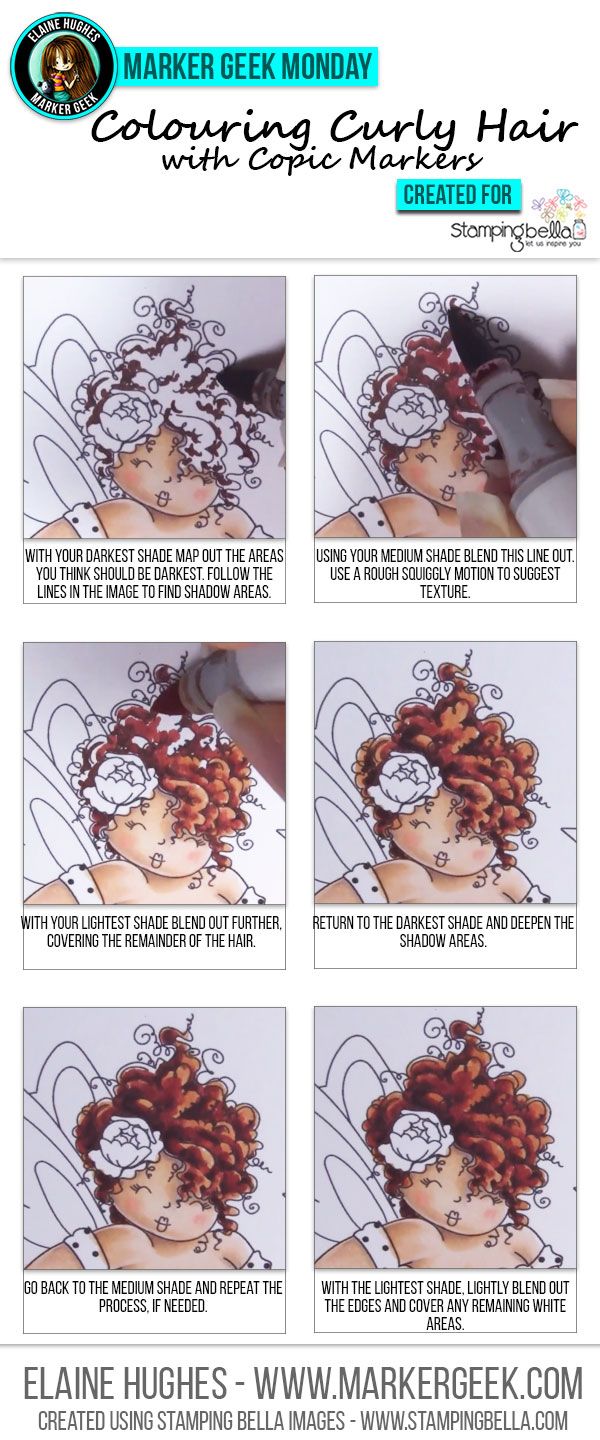
Marker Geek Monday: Copic Colouring Easy Curly Hair featuring Edna!

Hey folks! Elaineabella here with another Marker Geek Monday post to kick off a week of colouring fun.

If you missed last week’s post, check it out – Marker Geek Monday #TheDailyMarker30Day Round Up with Videos and Colour Maps – lots of colouring inspiration and info within, and a handy link list of all the Marker Geek Monday posts so far!

I would also like to draw your attention to a recent post over on my own Marker Geek blog which you might find useful. Click through to check it out (after you’re done here of course 😉 ): Create Quick Easy Texture using Copic Colourless Blender. The post features Stamping Bella Hula Chick and includes a step by step guide and video demonstrating one of the texturing methods I discussed in my Marker Geek Monday Basic Fur Colouring with Copic Markers post.

Marker Geek Monday Copic Colouring Easy Curly Hair with Stamping Bella. Click through to read the post and watch a video!

Copic Colouring Easy Curly Hair Step by Step:

Today I’m sharing a step by step guide and video showing how I colour curly hair  on stamps like our fabulous EDNA. There are also a number of Uptown Girls, Tiny Townies and Bellas that this approach would work for. It’s just a nice easy way to colour curly hair on your stamp images.

Marker Geek Monday Copic Colouring Easy Curly Hair with Stamping Bella. Click through to read the post and watch a video!

Copic Colouring Easy Curly Hair Video:

Watch the video below or in HD over on Youtube.

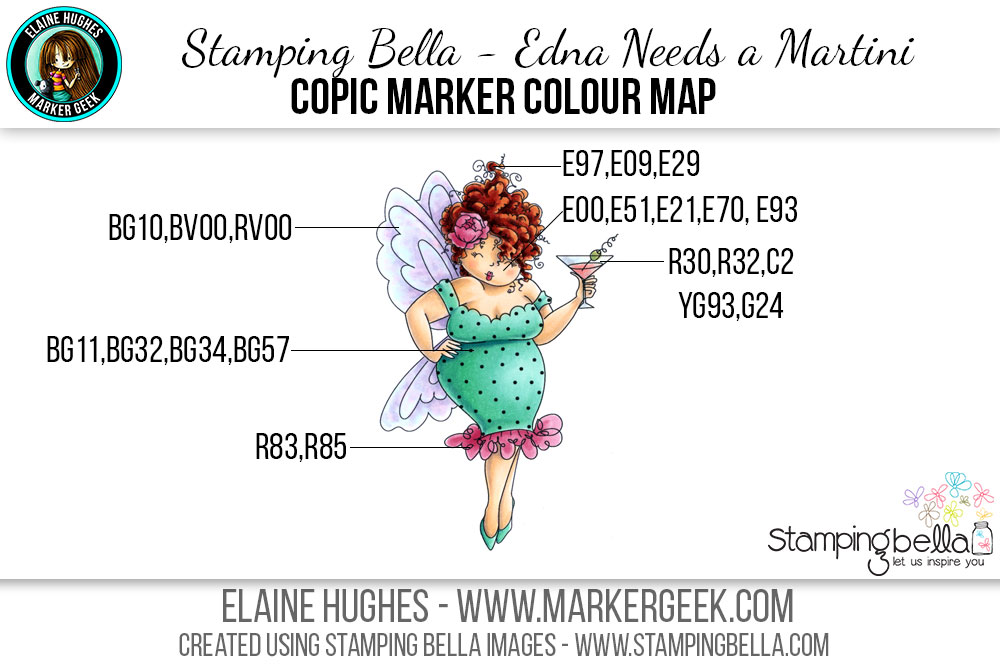
Copic Colour Map:

Here is a full Copic Colour Map for the Edna Needs a Martini colouring featured in the video. Remember that if you purchase Stamping Bella stamps you can obtain colour maps for the versions shown on the product packaging – go HERE to find out how to do that. Between those and the bonus colour maps featured here on the blog, you can build up a great library of colour combinations to try out with your own Copic collection.

Marker Geek Monday Copic Colouring Quick and Easy Fairy Wings. Click through to see the step by step and watch a video!

More Colouring Videos:

You can watch all of my colouring videos featuring Stamping Bella stamps in the playlist below or in HD over on YouTube. Subscribe to my Marker Geek channel so you don’t miss out on future videos!

Over To You!

If you try out the techniques shown in this post with your Stamping Bella stamps, be sure to share! We would love to see the results and hear how you feel about them. Show off your creations in the comments below and even better, share your own favourite tips with us. Let’s talk colour!

If you are posting your images online, we would love to see them on Instagram and all the platforms mentioned above.  To make it easier for us to find you just use #markergeekmonday and/or #stampingbella as a hashtag. Even better tag me @markergeek and @stampingbella . We love it when you connect, so don’t be shy!

If you’re on Facebook join us in our private chat group Stamping Bella Sistahood to share your creations there and chat all things Stamping Bella related!

Until next time, HAPPY COLOURING!

MWAH

Elaineabella

it’s BELLARIFIC FRIDAY- featuring our stamp of the month HONEYBEAR STUFFIES!

Hiya sistahs,

hope you had a great week!  We had a hectic week here because my little 14 year old (sniff) started HIGH SCHOOL.. OMG  HIGH SCHOOL.  yes, it is VERY early.. it’s a specialty sports high school .. I think he is TOO happy with the new FREEDOM… TOO happy.  hmph.  I guess I can’t complain that he is adjusting well (mama isn’t).. let’s hope it continues!  My little girl chicklet is in camp for the next week and then a little relaxing time until her school starts.. so mama has some free time to focus on work and not have her name called every 3 seconds (can anyone sympathize?)

Ok back to BIDNISS.

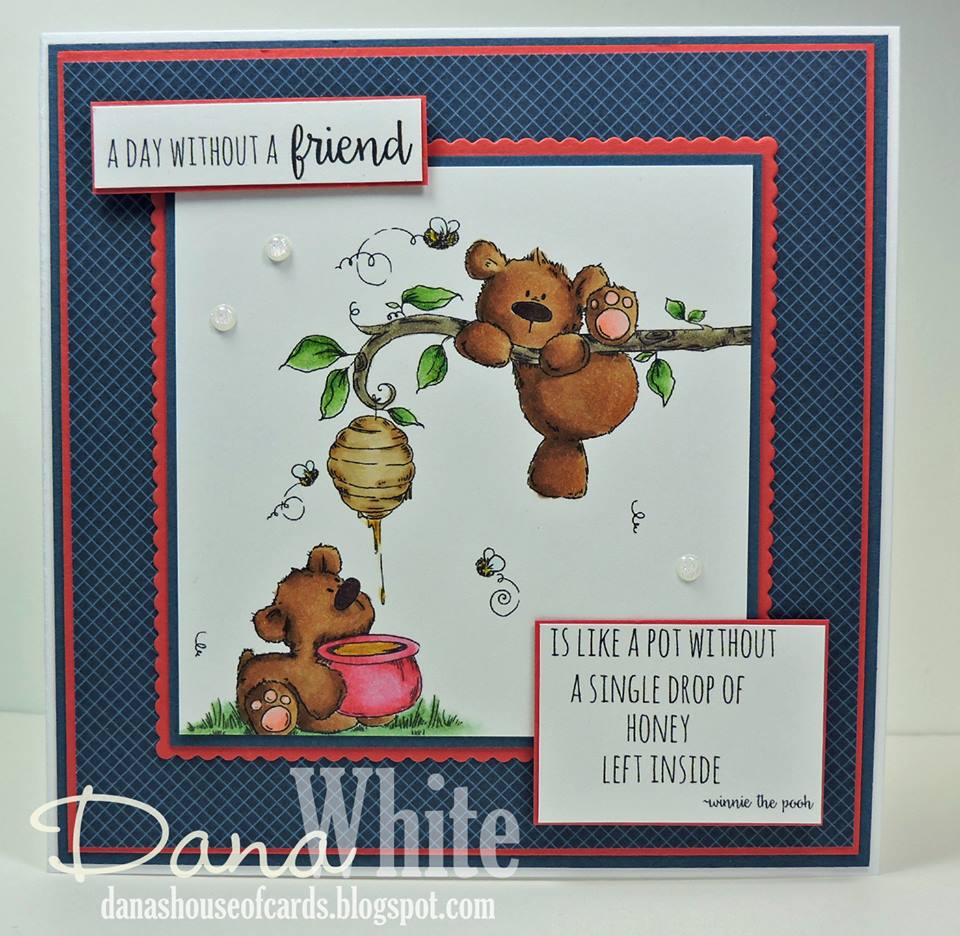
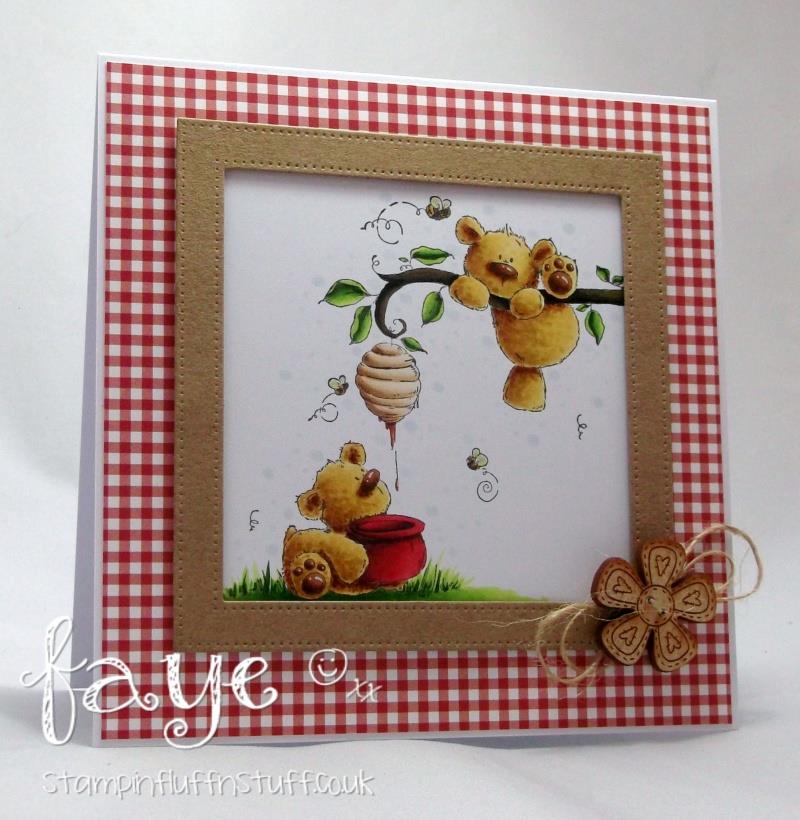
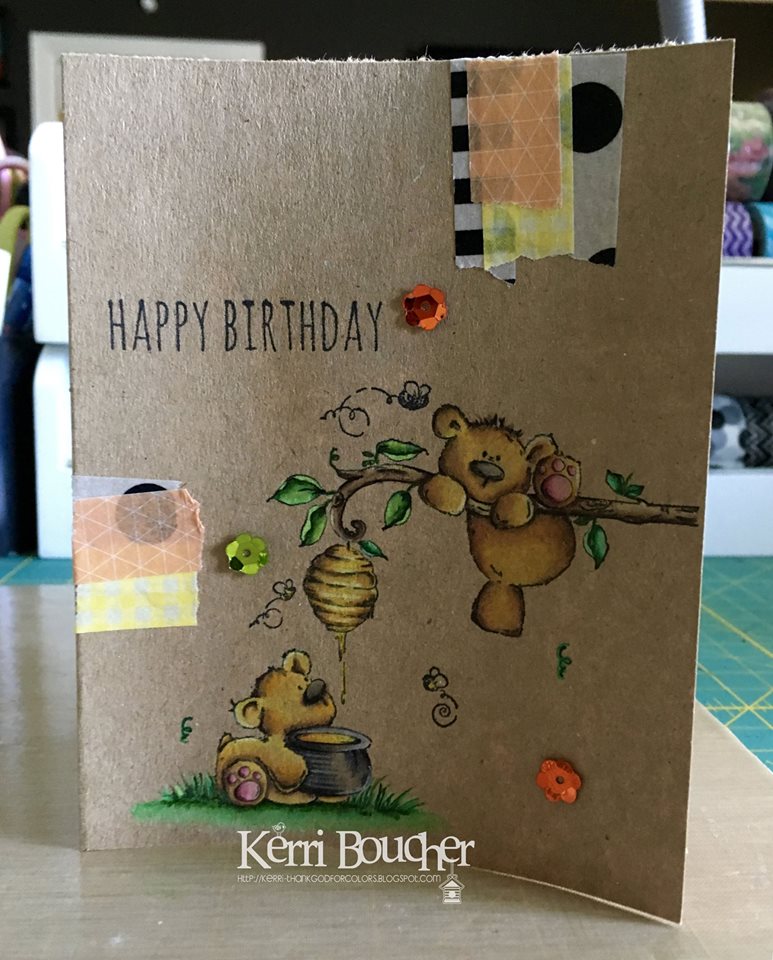
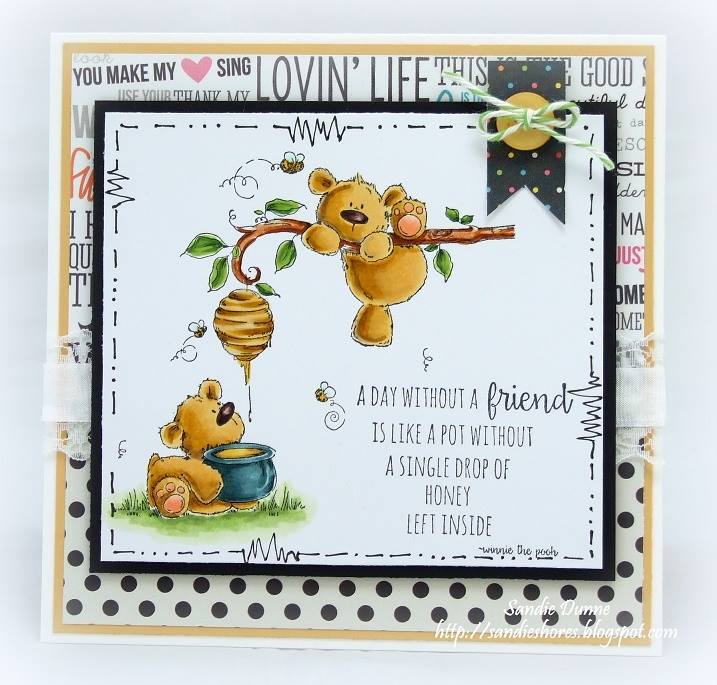
This week’s Bellarific theme was to use SEQUINS, BUTTONS or DOTS on your cards.. and our baberoonis had an EXTRA challenge to show you samples on how to use our STAMP OF THE MONTH- HONEYBEAR STUFFIES!  This is such an inspiring post 🙂

Here’s AliceWERTZabella’s card

Bellarific Friday challenge at Stamping Bella- USING HONEY BEAR STUFFIES our stamp of the month for AUGUST 2016! 20% off all month long

Danabella’s card

Bellarific Friday challenge at Stamping Bella- USING HONEY BEAR STUFFIES our stamp of the month for AUGUST 2016! 20% off all month long

Faye-WJ-abella’s card

Bellarific Friday challenge at Stamping Bella- USING HONEY BEAR STUFFIES our stamp of the month for AUGUST 2016! 20% off all month long

Kerribella’s card

Bellarific Friday challenge at Stamping Bella- USING HONEY BEAR STUFFIES our stamp of the month for AUGUST 2016! 20% off all month long

Sandiebella’s card

Bellarific Friday challenge at Stamping Bella- USING HONEY BEAR STUFFIES our stamp of the month for AUGUST 2016! 20% off all month long

Shelabella’s card

Bellarific Friday challenge at Stamping Bella- USING HONEY BEAR STUFFIES our stamp of the month for AUGUST 2016! 20% off all month long

and Stephabella’s card

Bellarific Friday challenge at Stamping Bella- USING HONEY BEAR STUFFIES our stamp of the month for AUGUST 2016! 20% off all month long

Serious Amazing cuteness happening over here no?

Now for our sistahood!

Check out the INLINKZ contributions at the bottom of THIS POST

and here are our EMAILED contributions !


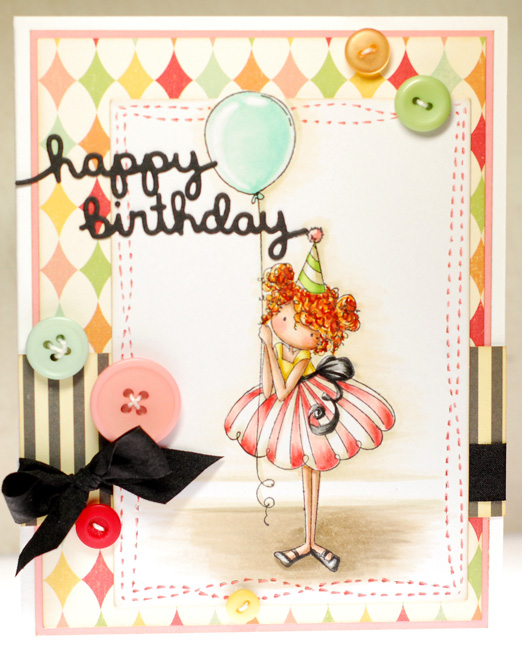
BELLARIFIC FRIDAY CHALLENGE (TINY TOWNIE BIRTHDAY PARTY)- DOTS AND BUTTONS AND SEQUINS on cards

Amy Y. used only ONE of the girls from TINY TOWNIE BIRTHDAY PARTY


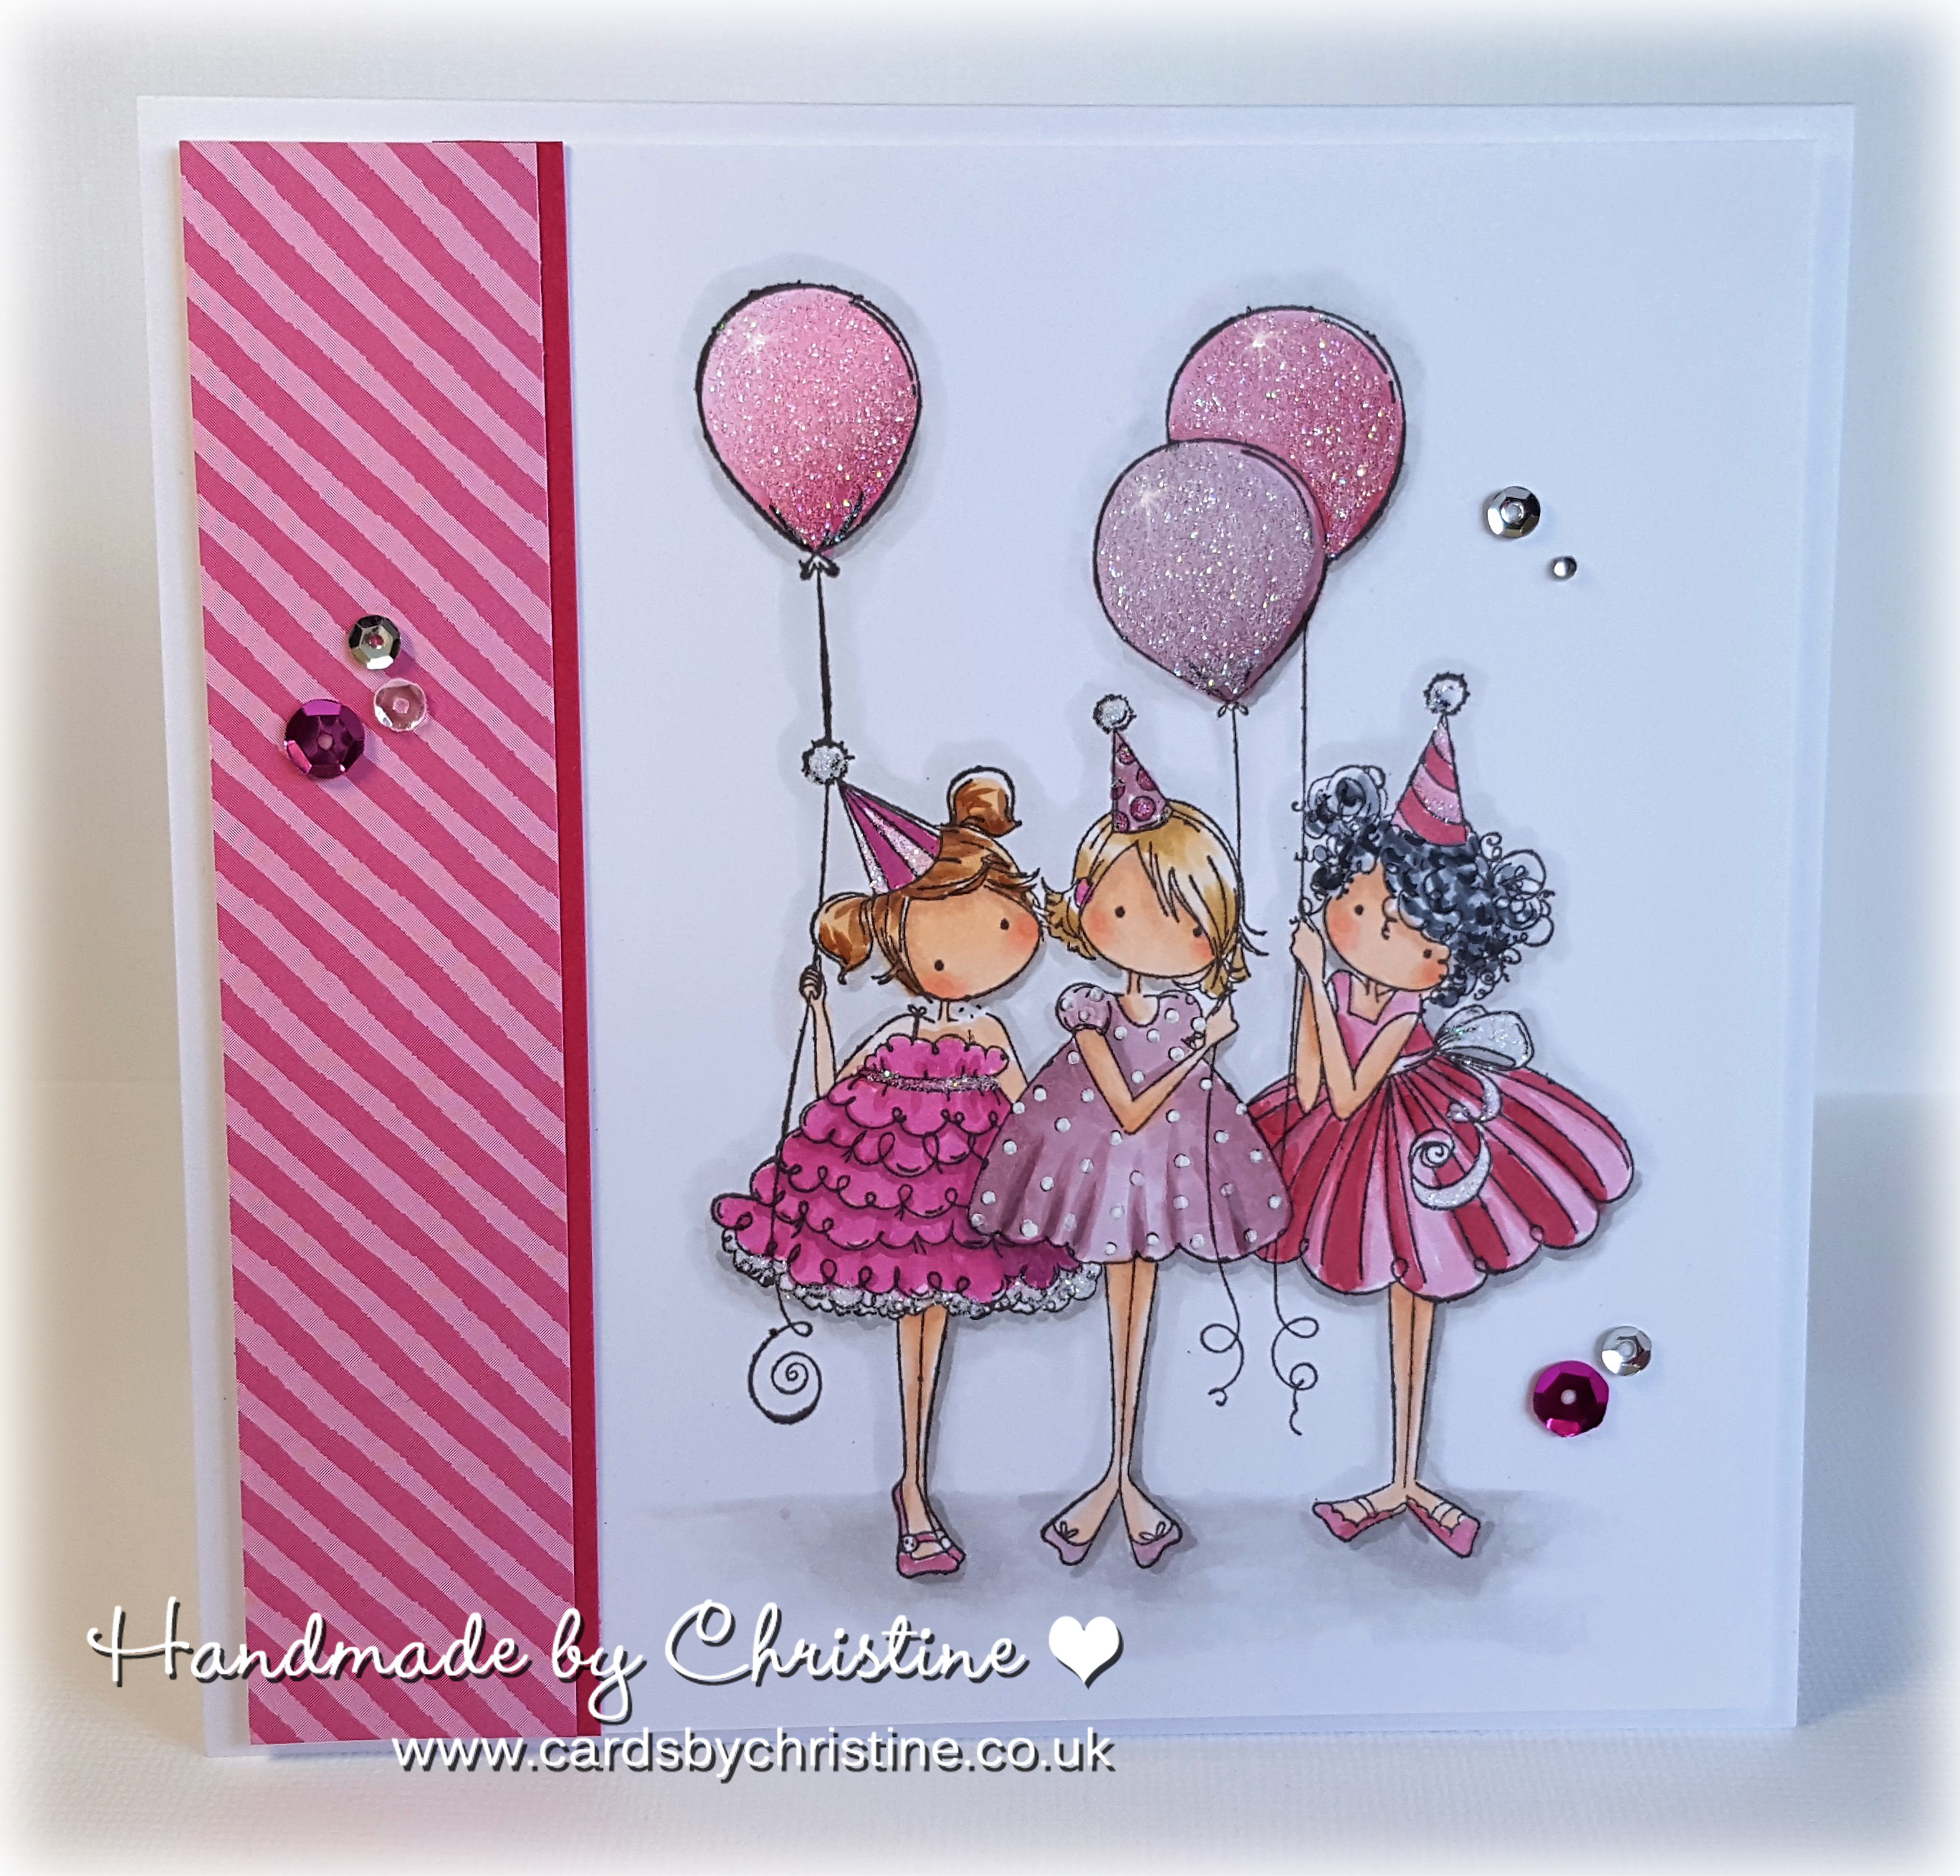
BELLARIFIC FRIDAY CHALLENGE (TINY TOWNIE BIRTHDAY PARTY)- DOTS AND BUTTONS AND SEQUINS on cards

Christine L used the full TINY TOWNIE BIRTHDAY PARTY


Such great work by our sistahood!  LOVEEEEEE

now for next week’s challenge?

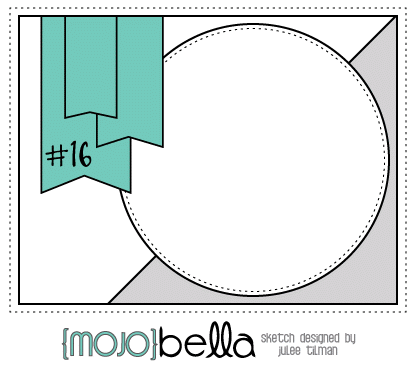
A MOJOBELLA SKETCHYPOO!

MOJOBELLA SKETCH CHALLENGE- BELLARIFIC FRIDAY AUGUST 12th 2016

Just follow this sketch using a CURRENT Stamping Bella stamp, email to me or attach via INLINKZ below and POOF! more inspiration for all of us to share!

Mwah to da sistahs who LOVE Bellarific Fridays!

Em


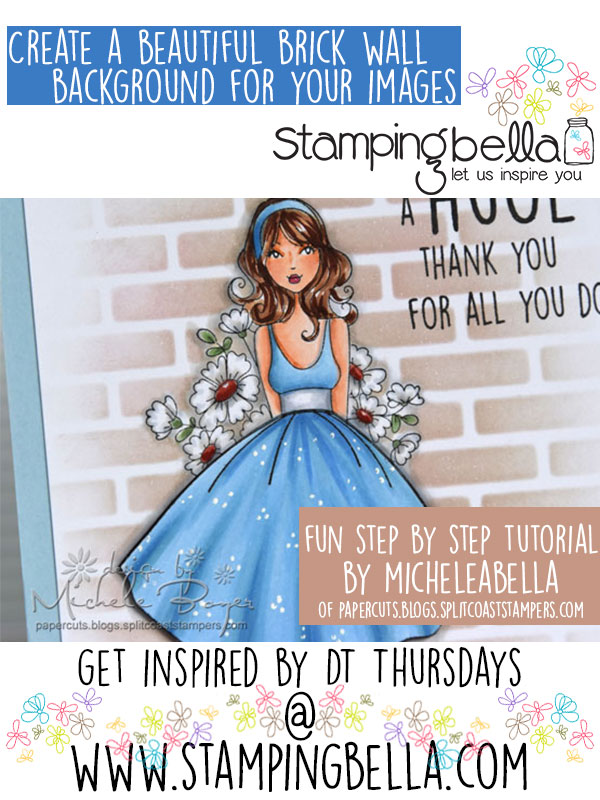
It’s DESIGN TEAM THURSDAY with MICHELEabella – how to make a BRICK background on your cards!

Time for another Design Team Thursday! This week we’ve got a fantastic tutorial for you from our wonderful Micheleabella, sharing how she creates a beautiful brick background for her stamped images.

Stamping Bella DT Thursday: Creating a Beautiful Brick Background. Click through to see the step by step tutorial!

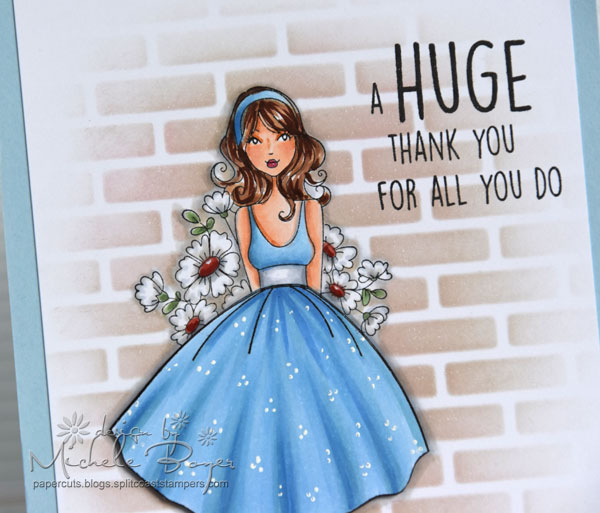
Hi everyone! It’s Michele here today. I had quite a few questions regarding how I created a brick background on a recent Stamping Bella card so I thought I’d share with you how I created that background.

Stamping Bella DT Thursday: Creating a Beautiful Brick Background. Click through to see the step by step tutorial!
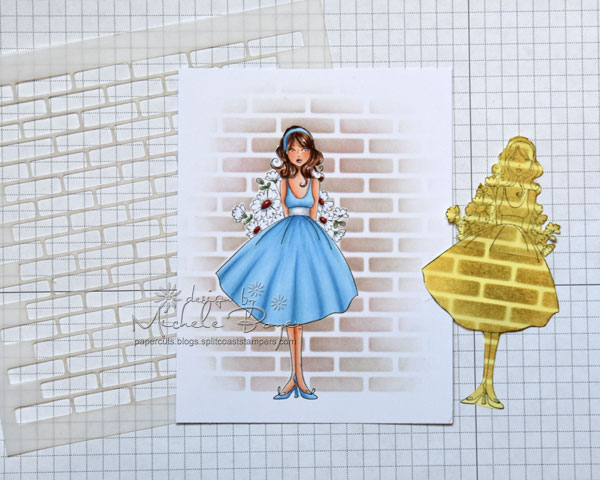
I used new flowersbehindmybackABELLA from the new Bella 2.0 line (LOVE), a couple Post It notes and removable tape, brick stencil, two inks and a blending tool.

Stamping Bella DT Thursday: Creating a Beautiful Brick Background. Click through to see the step by step tutorial!
Stamp the image and color with desired medium.  (I used Copic markers.)  Adhere two Post It Notes together then stamp the image to use as a mask.
Stamping Bella DT Thursday: Creating a Beautiful Brick Background. Click through to see the step by step tutorial!
Carefully cut out the image, cutting directly on the stamped outline. In the areas such as the flower bouquet, it is not necessary to cut in between each flower. (I’ll address that issue in a bit.)..

Stamping Bella DT Thursday: Creating a Beautiful Brick Background. Click through to see the step by step tutorial!
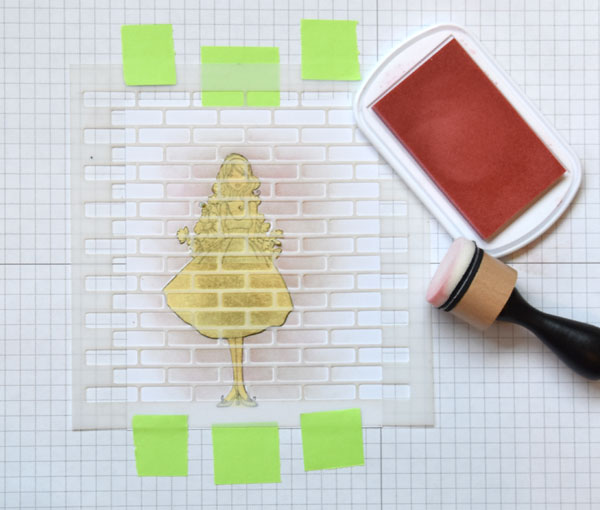
Using removable tape, securely adhere the masked image to scrap paper. Align the stencil over the image and adhere securely with additional removable tape.

Stamping Bella DT Thursday: Creating a Beautiful Brick Background. Click through to see the step by step tutorial!
Using the desired base ink color (I used Natural), begin blending ink over the stencil. I achieved the best results by beginning the blending motion over the mask and moving onto the surrounding area using circular motions. As I moved further away from the image, I applied less ink to create the faded edges.

Stamping Bella DT Thursday: Creating a Beautiful Brick Background. Click through to see the step by step tutorial!
With just a bit of a second color of ink applied to the blending tool (I used a light pink), lightly sweep the blending tool from right to left, applying more ink close to the image. The goal is to apply color to the left side only of each open area to create depth.  Additional colors can be applied if desired.

Stamping Bella DT Thursday: Creating a Beautiful Brick Background. Click through to see the step by step tutorial!
Remove the stencil and mask. There were a few areas where my mask wasn’t exactly aligned but that’s ok. (See the left edge of the dress and left edges of flowers.) I had planned to add shadow around the image anyway to create depth.
In the areas between the flowers where it was too difficult to cut the mask, I used a Copic marker, matched to the brick color, to fill in those white areas. No one will ever know.
Stamping Bella DT Thursday: Creating a Beautiful Brick Background. Click through to see the step by step tutorial!

To create additional depth, I decided to stamp the skirt a second time. I colored, added some dots then adhered the top edge directly to the full image and placed thin, clear foam squares beneath the bottom edge.

Over To You!

We hope you’ve enjoyed checking out Shelabella’s tutorial and are feeling inspired to try it out yourselves. If you do, make sure you drop by and share with us! You can get in touch in all the following ways:

  • On our Facebook page – tag us, post your Stamping Bella creations on the page.
  • In our Facebook Group Stamping Bella Sistahood – share your creations, chat with other sistahs!
  • On Instagram – tag @stampingbella and view our feed HERE.
  • Here on the blog – share your thoughts and links to your Stamping Bella creations down in the comments section!

Happy Stamping!Save

it’s WONDERFUL WEDNESDAYS WITH…….OUR new AUGUST GUEST DESIGNER !

Hello Sistahs! My name is Jenny Bordeaux (aka Owl Be Crafty) and I’m so thrilled to be the guest designer for the month of August! My mother got me started in stamping and card making about 6 years ago and I haven’t looked back. It’s something that provides me an escape from the stress of life and I don’t know what I’d do without. I was honored to be asked by Emily and I’m looking forward to becoming a part of this wonderful Stampingbella community! Also, I could not believe I’m following one of my Copic idols, the fabulous Sandy Allnock! Big shoes to fill so here we go!

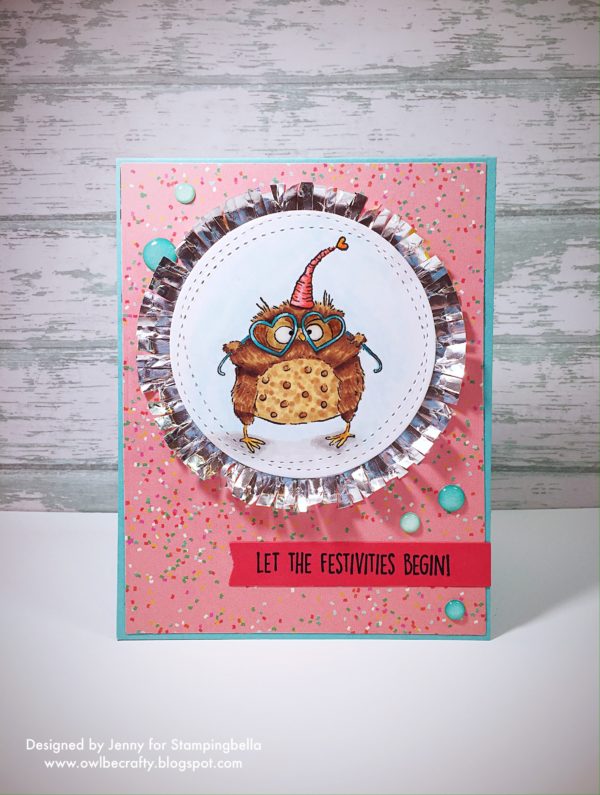
I have a HUGE love of owls and just knew my first card had to use Owliver Loves to Celebrate. I colored him up with my Copic markers and layered him on top of a silver cupcake wrapper. I frayed the edges with my scissors just to give it more texture. I like using unexpected supplies to make it a little extra special. If you’d like to know what supplies I used hop over to my blog for details: www.owlbecrafty.blogspot.com

guest designer OWLBECRAFTY shows us how to make this card using OWLIVER loves to celebrate by Stamping Bella

I hope you enjoyed this card and I’m looking forward to being with you Sistahs for the next few weeks! I would love to have you follow me on Instagram @owlbecrafty as that’s where I’ll share more inspiration throughout August. Have a great day and I’ll see you next Wednesday!

Jenny ?

Owl Be Crafty Signature


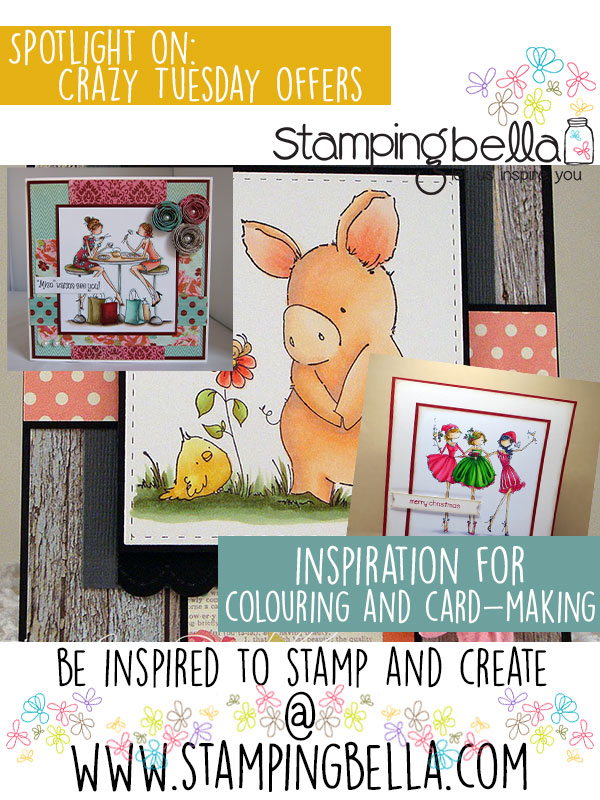
Spotlight On: August Crazy Tuesday Specials at Stamping Bella

Hey folks! Elaineabella here with our weekly “Spotlight On” feature. This week it happens to be the first Tuesday of August. If you’re a regular reader and Stamping Bella fan you will probably be aware that the first Tuesday of every month is CRAZY TUESDAY!

Stamping Bella Crazy Tuesday 2nd August 2016. Click through for blog post with inspiration!

What is Crazy Tuesday all about?

If you are just joining us, or simply haven’t heard of Crazy Tuesday, here’s the scoop! On the first Tuesday of every month we have a set of 24 hour specials. Three stamps are selected from across the Stamping Bella collection and offered at CRAZY prices for just 24 hours. It’s a great way to build your collection of Stamping Bella stamps, or to buy gifts for crafty friends and family at great prices.

Crazy Tuesday 2nd August 2016 Offers:

The offers apply to the stamps only, for the 24 hour period only.

Let’s take a look at the images and grab a little inspiration from the Bellarific Babes to get you going!

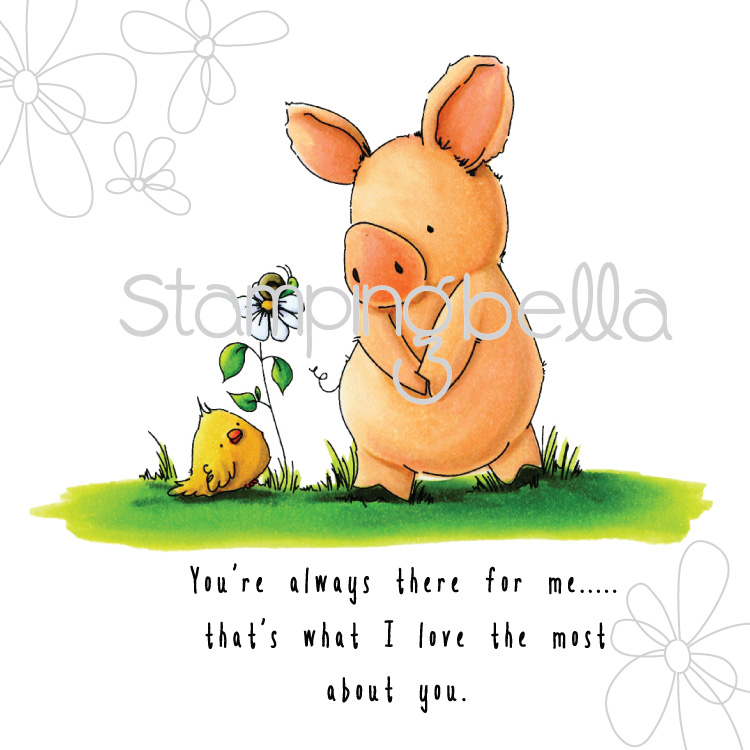
Stamping Bella Especially for You Petunia rubber stamp:

Stamping Bella Especially for You Petunia rubber stamp. Click through for blog post with inspiration!

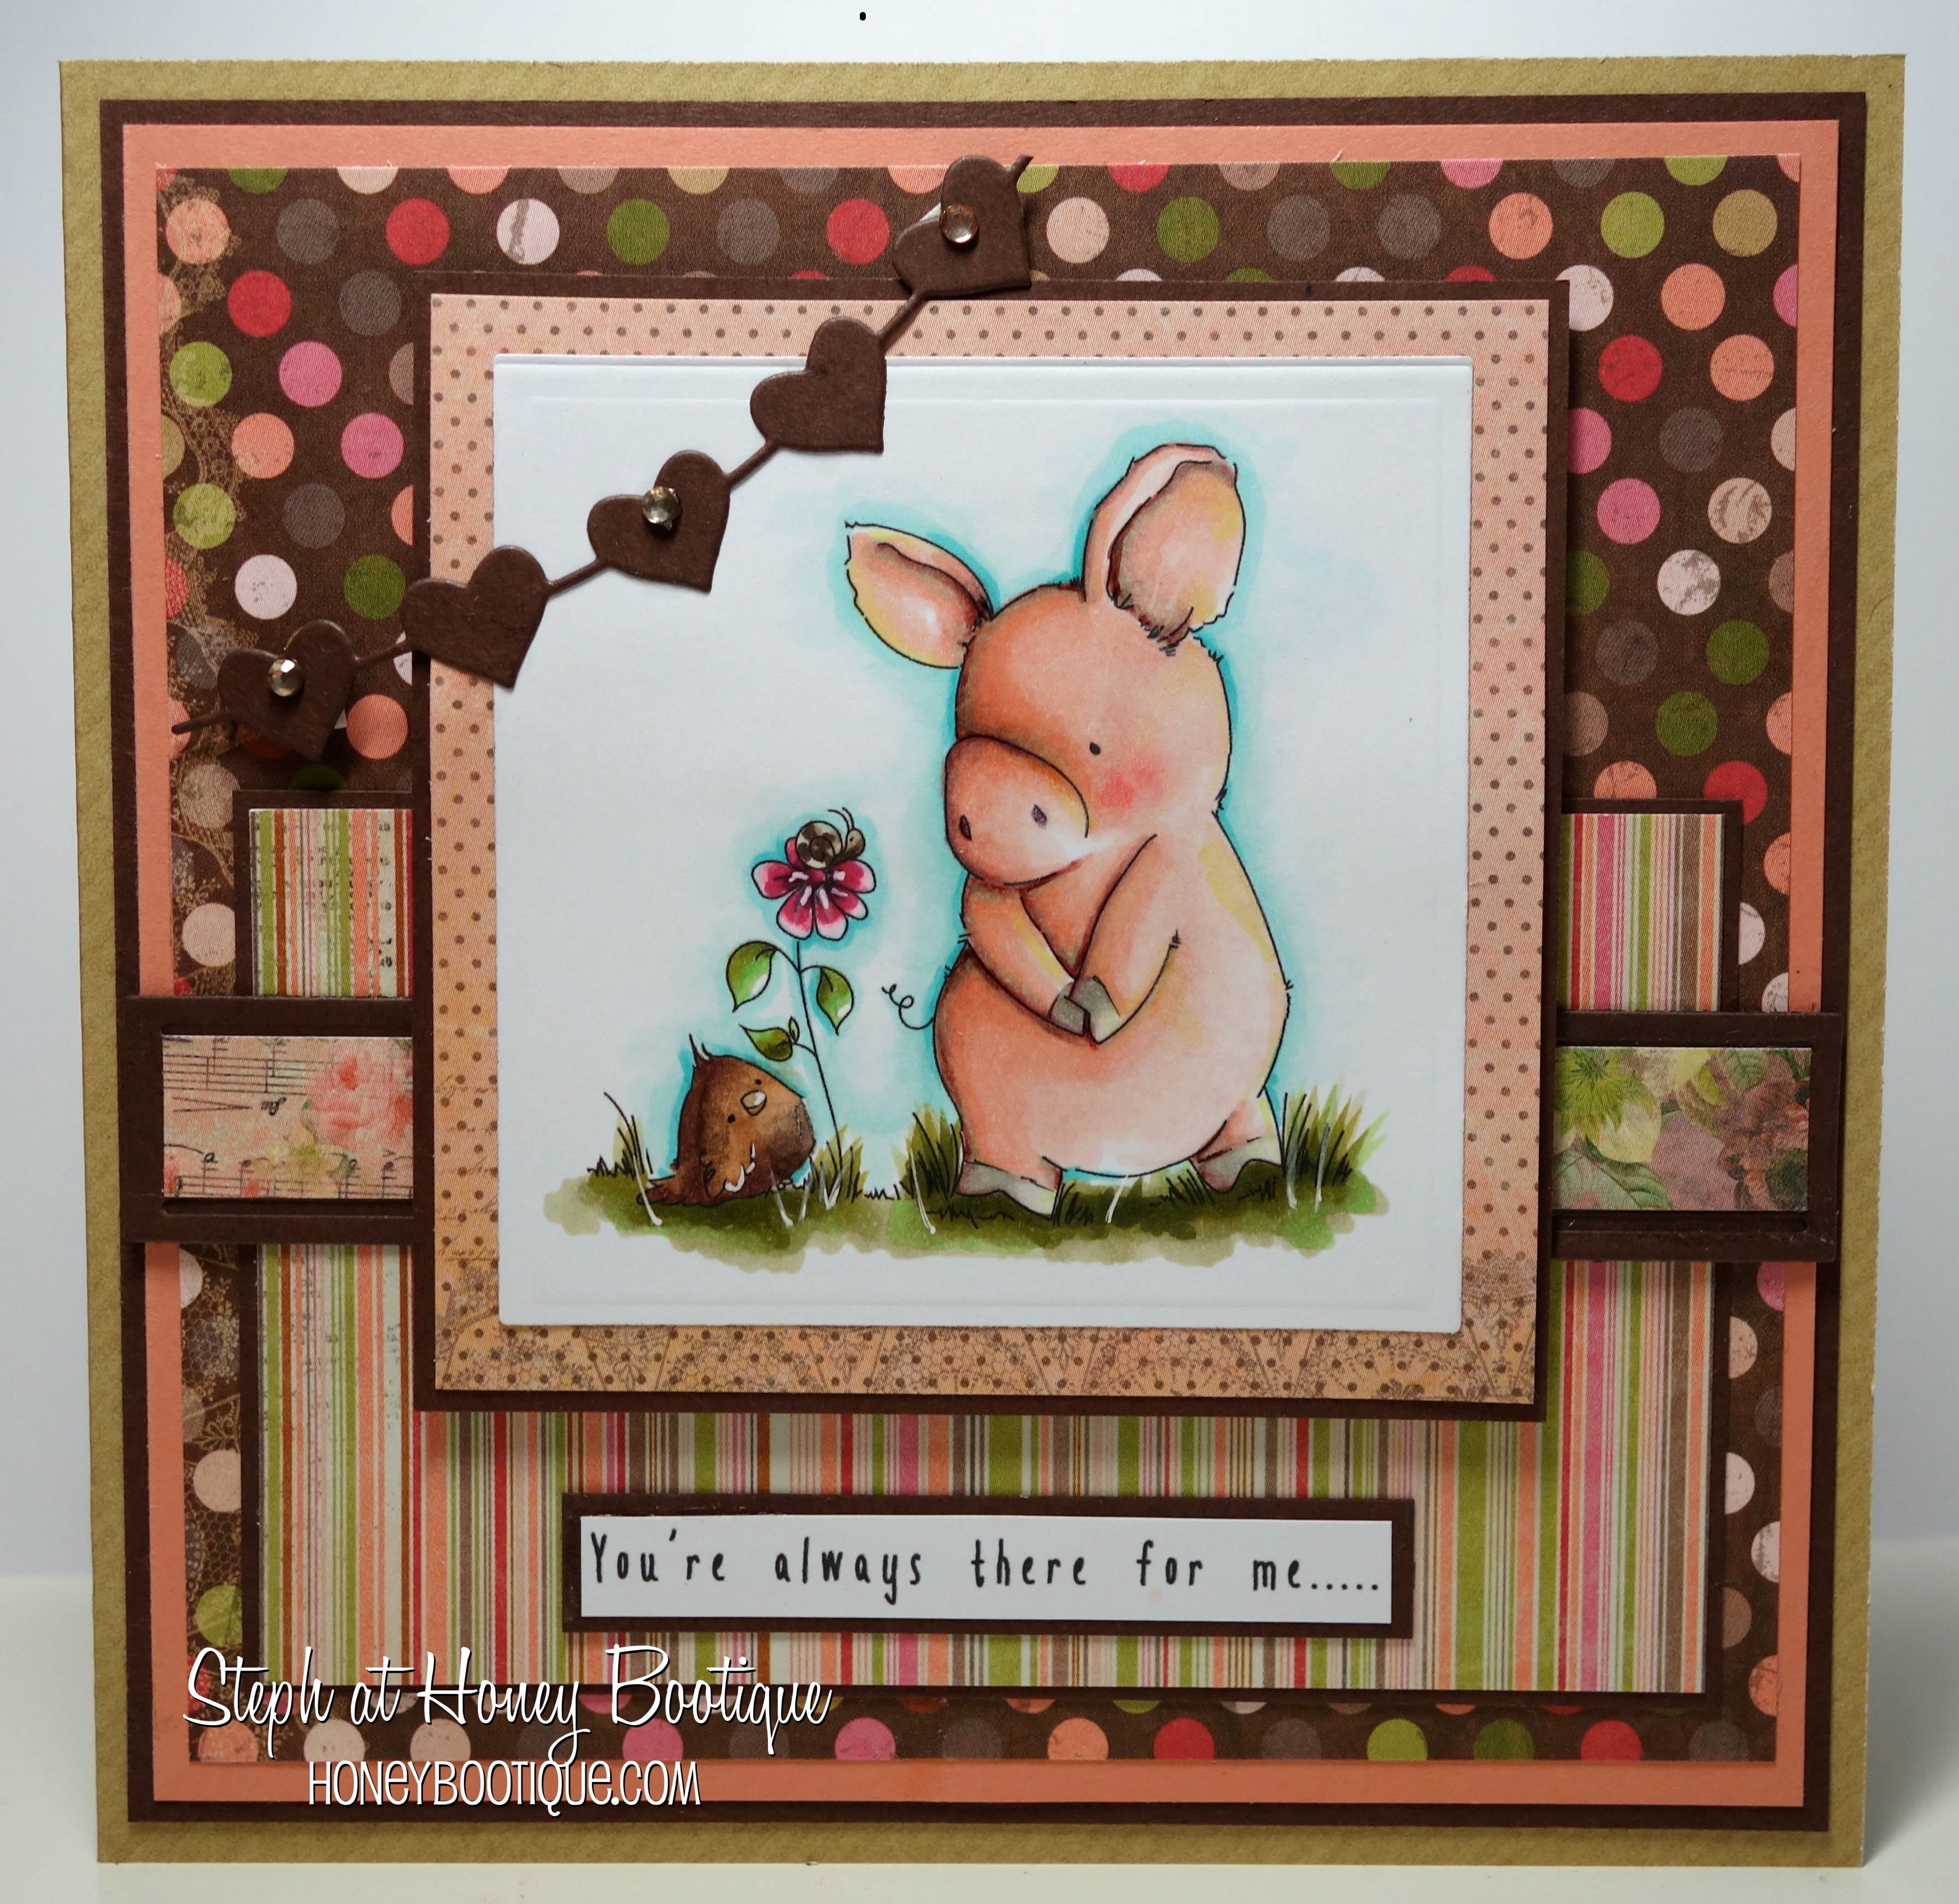
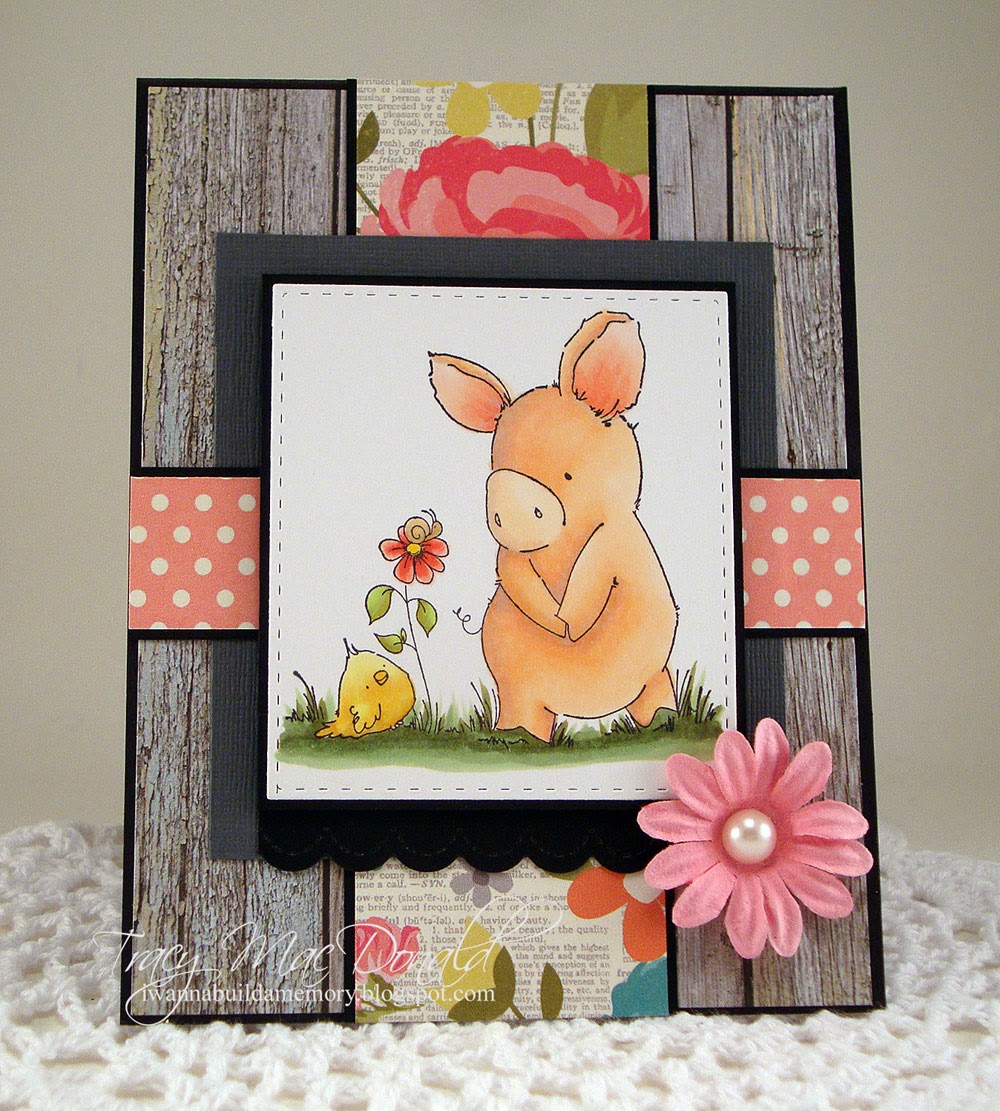
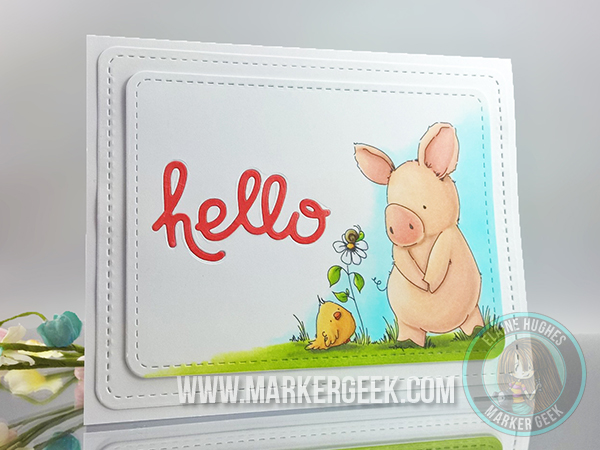
It’s often the little details that really sell me on an image. Like the little itty bitty snail on the flower in this sweet Petunia image. Seriously. Cannot take the cuteness. The chick doesn’t care about the snail though. In fact I think he may be about to shake that flower stem and knock Mr Snail off so the attention is all on His Royal Chickness. Tsk.

If you’re looking for some ideas for colouring Petunia, click through to my Marker Geek Monday Copic Pig Colour Combos post or check out my Marker Geek Monday Petunia Pig in Coloured Pencil post if pencils are more your thing!

Stamping Bella Especially for You Petunia rubber stamp. Click through for blog post with inspiration! Stamping Bella Especially for You Petunia rubber stamp. Click through for blog post with inspiration! Stamping Bella Especially for You Petunia rubber stamp. Click through for blog post with inspiration!

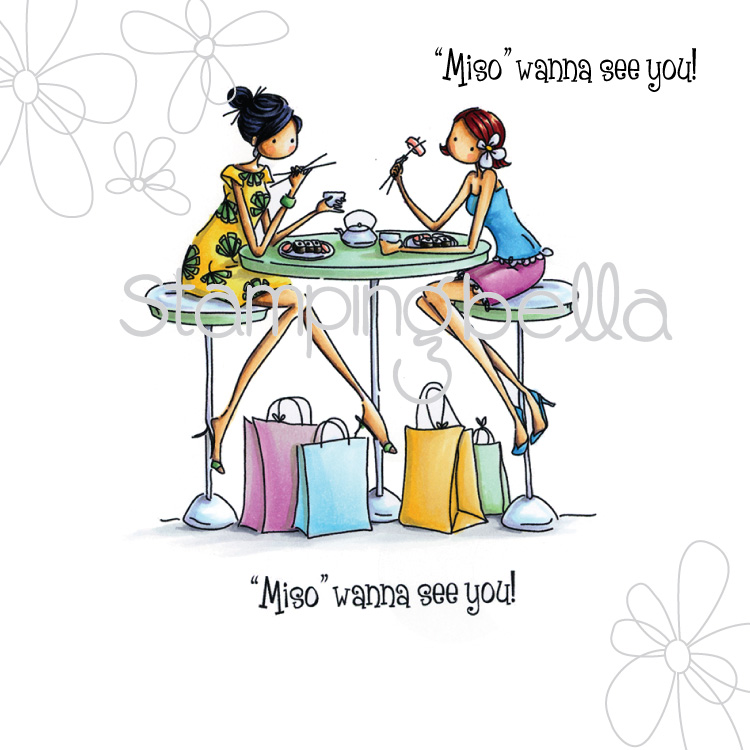
Stamping Bella Uptown Girls – Chelsea and Lauren Love Sushi:

Stamping Bella Uptown Girls Chelsea and Lauren Love Sushi rubber stamp. Click through for blog post with inspiration!

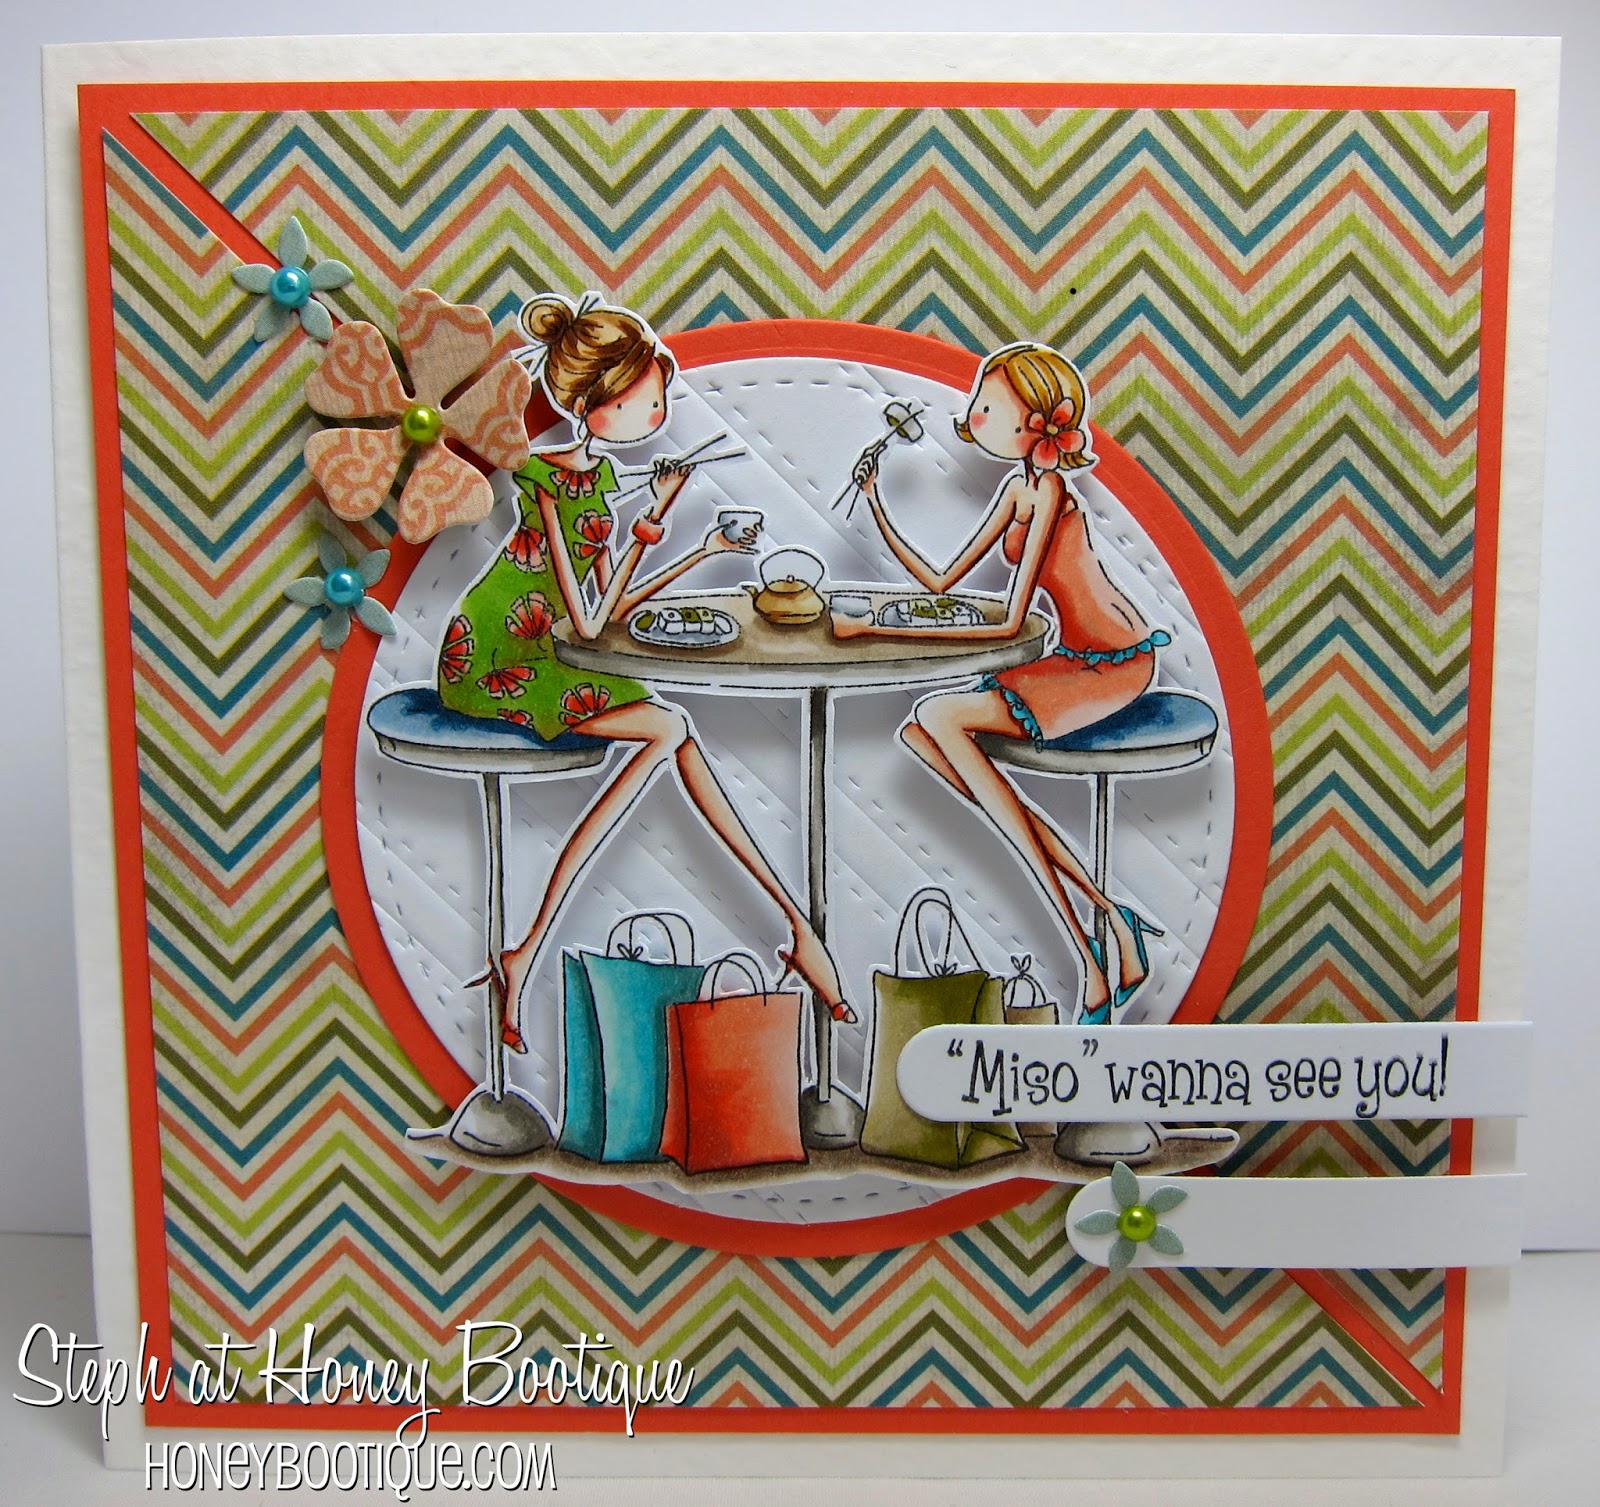
Love this stamp. It’s a lot of fun to colour and looks fantastic when you’re finished. There are some small detail areas, but they are quite easy and quick to colour. It’s just a really cute image to pop on a card for a friend, like Stephabella has done below.

Stamping Bella Uptown Girls Chelsea and Lauren Love Sushi rubber stamp. Click through for blog post with inspiration!

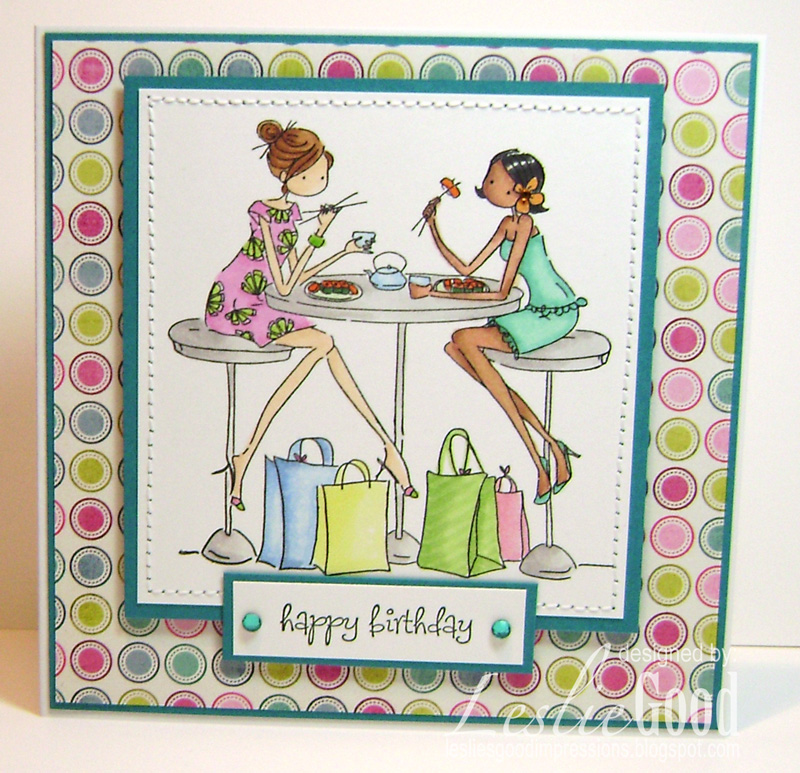
Or a fun birthday card like the one Lesliebella created!

Stamping Bella Especially for You Petunia rubber stamp. Click through for blog post with inspiration!

Stamping Bella Uptown Girls – Three Amigas:

Stamping Bella Uptown Girls Three Amigas rubber stamp. Click through for blog post with inspiration!

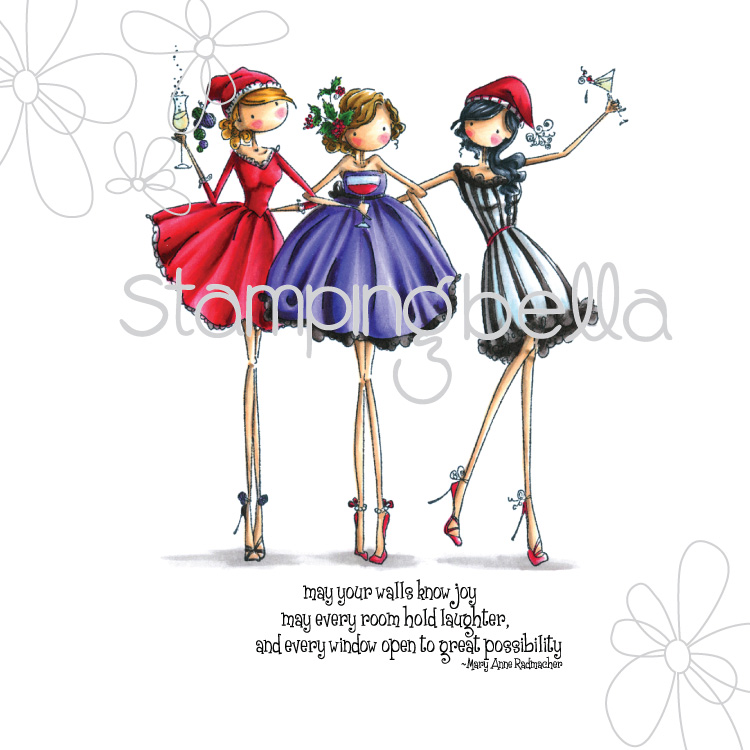
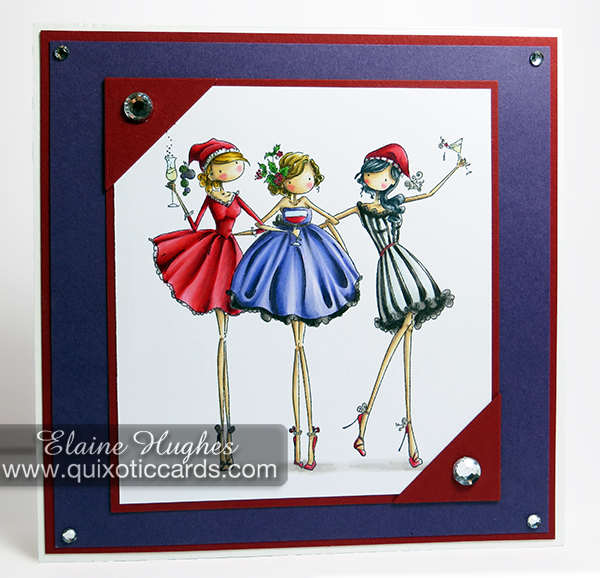
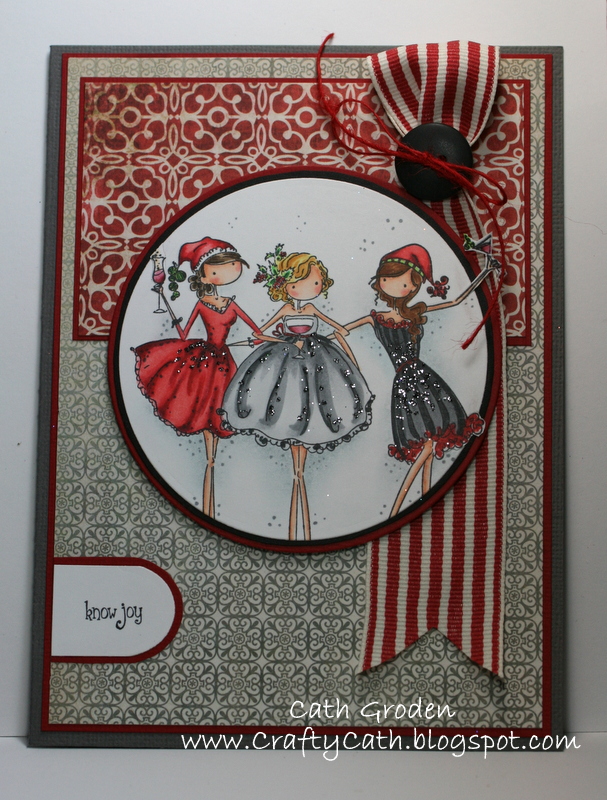
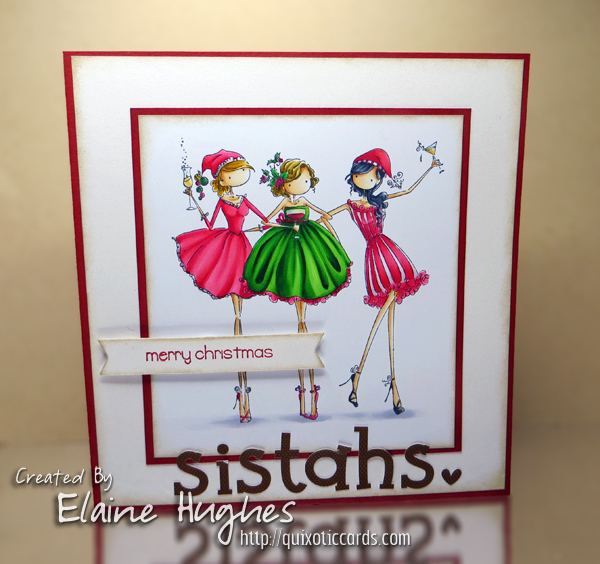
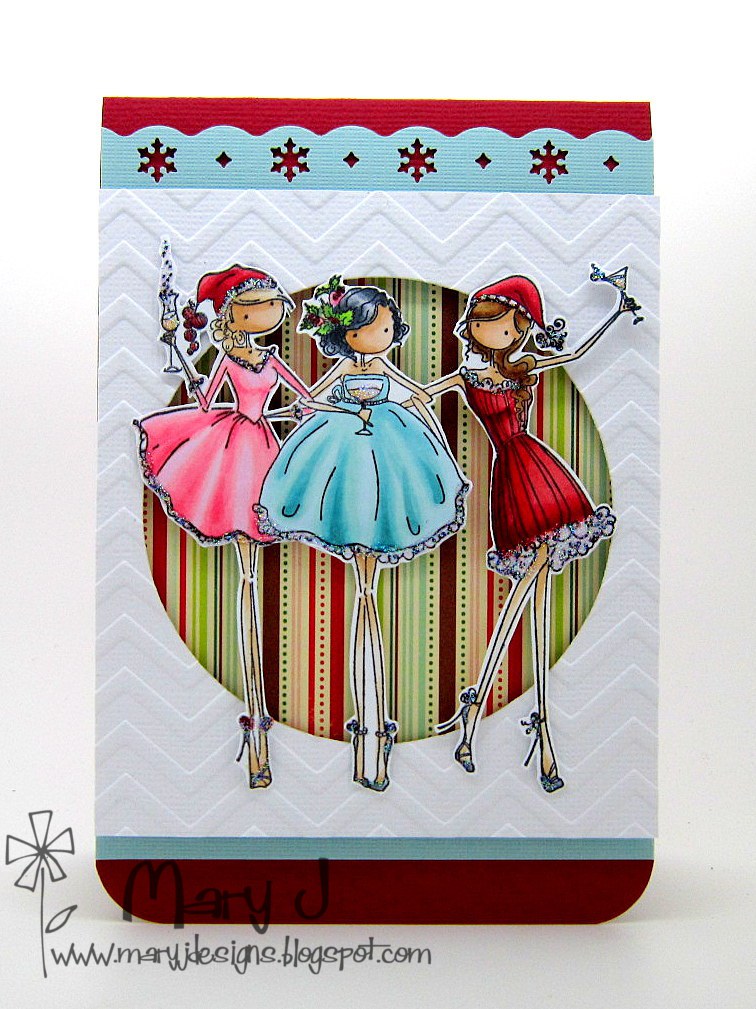
This image just makes me feel so festive! Love these three party girls in their gorgeous dresses, topped off with Santa hats. They have to link arms and hang on, the combination of drinkies and those long legs in killer heels could be lethal.

Stamping Bella Uptown Girls Three Amigas rubber stamp. Click through for blog post with inspiration! Stamping Bella Uptown Girls Three Amigas rubber stamp. Click through for blog post with inspiration! Stamping Bella Uptown Girls Three Amigas rubber stamp. Click through for blog post with inspiration! Stamping Bella Uptown Girls Three Amigas rubber stamp. Click through for blog post with inspiration!

Over To You!

Hopefully I’ve inspired you to add some of these stamps to your own stamp collection, or to stamp up any that you already have! Remember – the Crazy Tuesday offers are good for 24 hours only, today 2nd August 2016.

Share your personal favourite Stamping Bella creations with us. We LOVE to see what you’ve been creating with Stamping Bella stamps. Share a link to your latest Stamping Bella card in the comments below, or an old favourite you made a while ago. Tell us what your favourite stamps are. Are there any additions you would like to see to the range? Let us know!

Another way to connect is by joining us in the Stamping Bella Sistahood Facebook Group and share your pictures.

If you are posting your images online, we would love to see them on Instagram and all the platforms mentioned above. To make it easier for us to find you just use #markergeekmonday and/or #stampingbella as a hashtag. Even better tag me @markergeek and @stampingbella . We love it when you connect, so don’t be shy!

Until next time, HAPPY STAMPING!

MWAH

Elaineabella

Save

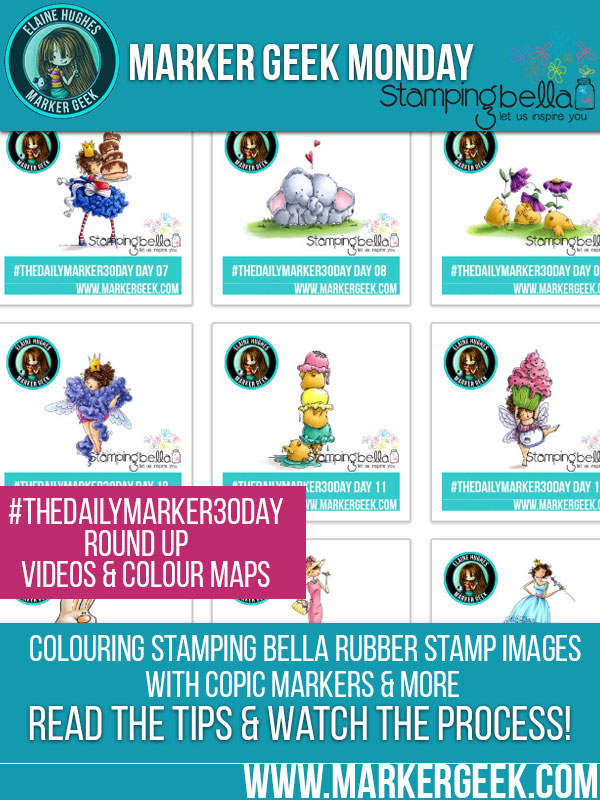
Marker Geek Monday: #TheDailyMarker30Day Round Up with Videos and Colour Maps

Hey folks! Elaineabella here with another Marker Geek Monday post to get the week off to the right start…a colourful one!

This week I’ve got a bit of a round up post for you. You may or may not be aware that I have been participating in the wonderful challenge #TheDailyMarker30Day hosted by the equally wonderful Kathy Racoosin. Every day since the start of July as a little personal twist on the challenge I have been colouring a Stamping Bella image and filming the colouring process. The challenge is almost over, and I have only missed one day. This means that I have a nice collection of videos, coloured images and colour maps to go with those images! Since you may have missed some of the colouring action over the course of the last month, I thought it might be a good idea to share here and make sure you don’t miss out on any of the inspiration.

Marker Geek Monday #thedailymarker30day Round Up. Click through for colouring, videos and colour maps!

Today’s #TheDailyMarker30Day Colouring:

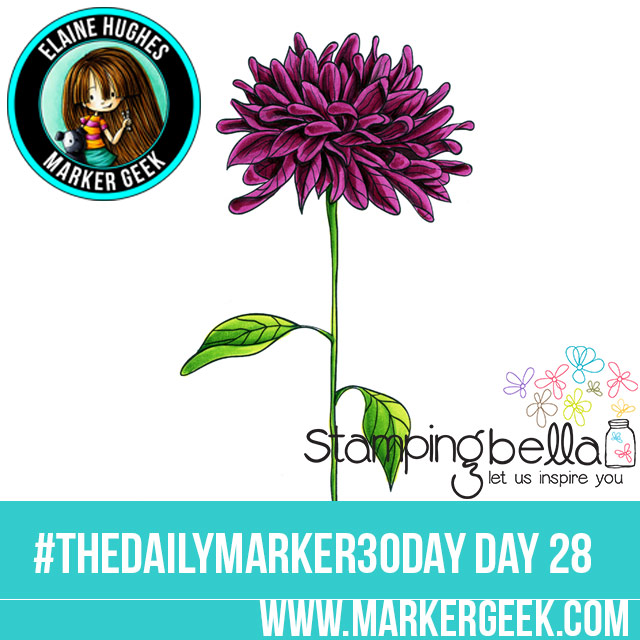
Here’s my colouring for today, Day 28 of the challenge. I decided to have some fun and colour an old favourite. It’s a nice way to loosen up before starting on all the colouring I need to work through for the next release. 😉

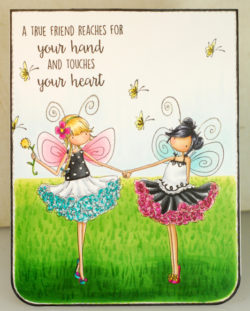
Stamping Bella Flower for a True Friend #thedailymarker30day Click through for Copic Colour Maps and videos!

Stamp: Flower for a True Friend (incl sentiment).

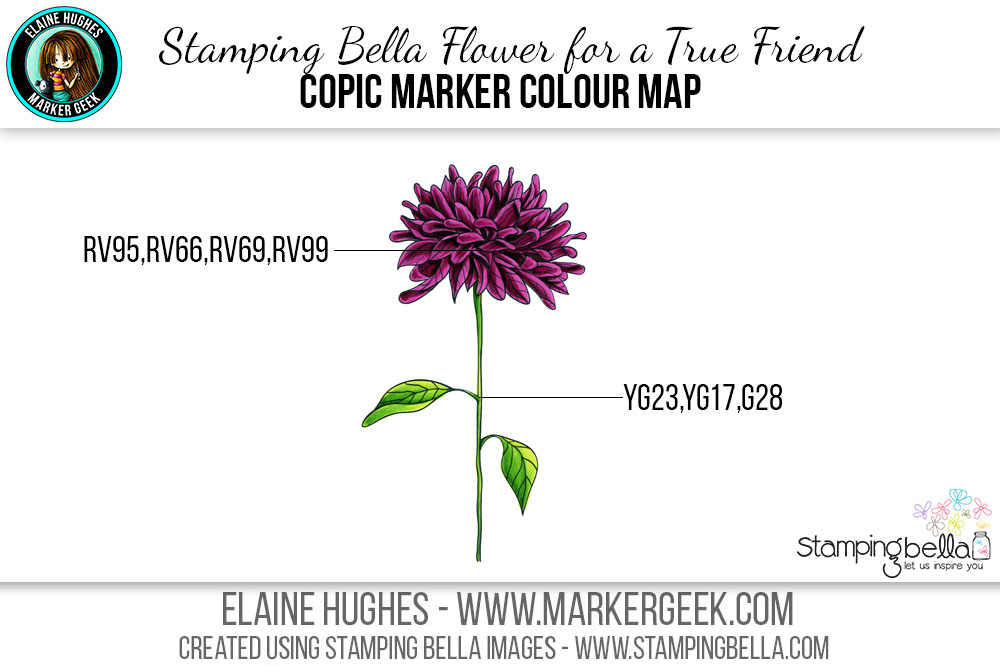
I coloured the image with my trusty Copic markers, and here’s the Copic Colour Map showing all the colours I used:

Stamping Bella Flower for a True Friend #thedailymarker30day Click through for Copic Colour Maps and videos!

#TheDailyMarker30Day Coloured Images & Colour Maps:

The rest of my coloured images and the Copic Colour Maps (and one pencil map) for them can be found on my blog. Click through to my #TheDailyMarker30Day page to view them all in one handy location.

Please feel free to save the images or pin them on Pinterest for reference. Please do not download and share them however – instead direct people to this blog post or directly to the page on my blog so they can obtain them that way. Thank you!

Next time Kathy hosts the colouring challenge, I highly recommend joining in. For me it has been a great way to motivate myself to film more colouring videos and get them uploaded on YouTube. It has also been a great way to get myself excited about social media and sharing again too. Plus, I’ve learned some new things about the filming process and things I’d like to improve as I create more videos and content to share with you. For you, the challenge might be a good excuse to dedicate just a little time to colouring each day, and to get out there and share your work. Remember – it’s all about practice, so any small ways you can get yourself practicing can be a massive help.

My #TheDailyMarker30Day Colouring Videos:

You can watch all of my colouring videos filmed during the challenge in the playlist below or in HD over on YouTube. Subscribe to the channel so you don’t miss out on future videos!

Marker Geek Monday Series:

While I’m providing you with a round up of colouring fun, I thought it might also be a good time to do a round up of all the Marker Geek Monday posts so far this year! That way you can check out any posts you may have missed, and have a handy link to any you may want to revisit.

Posts include pinnable images showing colour combinations etc, videos and general tips/info.

Over To You!

If you try out the techniques shown in this post with your Stamping Bella stamps, be sure to share! We would love to see the results and hear how you feel about them. Show off your creations in the comments below and even better, share your own favourite tips with us. Let’s talk colour!

If you are posting your images online, we would love to see them on Instagram and all the platforms mentioned above.  To make it easier for us to find you just use #markergeekmonday and/or #stampingbella as a hashtag. Even better tag me @markergeek and @stampingbella . We love it when you connect, so don’t be shy!

If you’re on Facebook join us in our private chat group Stamping Bella Sistahood to share your creations there and chat all things Stamping Bella related!

Until next time, HAPPY COLOURING!

MWAH

Elaineabella

it’s BELLARIFIC FRIDAY sistahs! – ONE LAYER cards

Hiya sistahs,

hope you had a great week!  The blog is just so full of goodies isn’t it?  If you don’t subscribe.  You should.  Like right now.  If you do subscribe, then, well.. I LOVE YOU. LOL

Today is Bellarific Friday and this week’s theme was making a ONE LAYER CARD.. which can prove to be QUITE challenging :).. but not SUCH a challenge for our Amazing DESIGN TEAM or our sistahood who contributed!

Let’s see what our baberoonis came up with shall we?

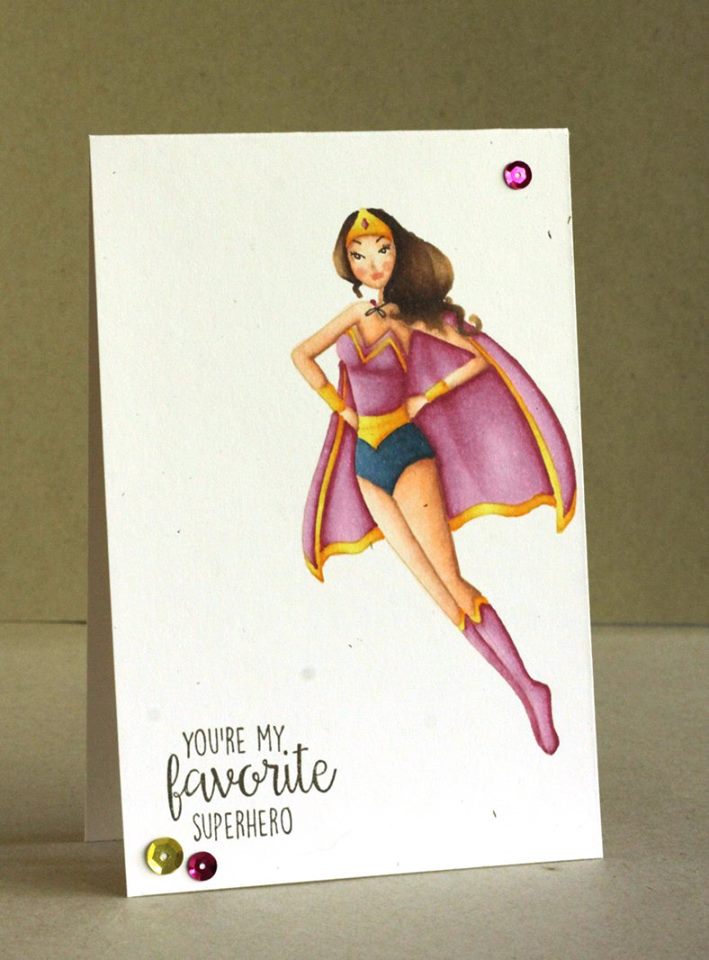
AliceWERTZabella used SUPERBELLA V. 2.0

stamping bella BELLARIFIC FRIDAY challenge.  Click through to see the amazing ONE LAYER CARDS!

Carlabella used UPTOWN GIRL LUCILLE sends her LOVE

stamping bella BELLARIFIC FRIDAY challenge.  Click through to see the amazing ONE LAYER CARDS!

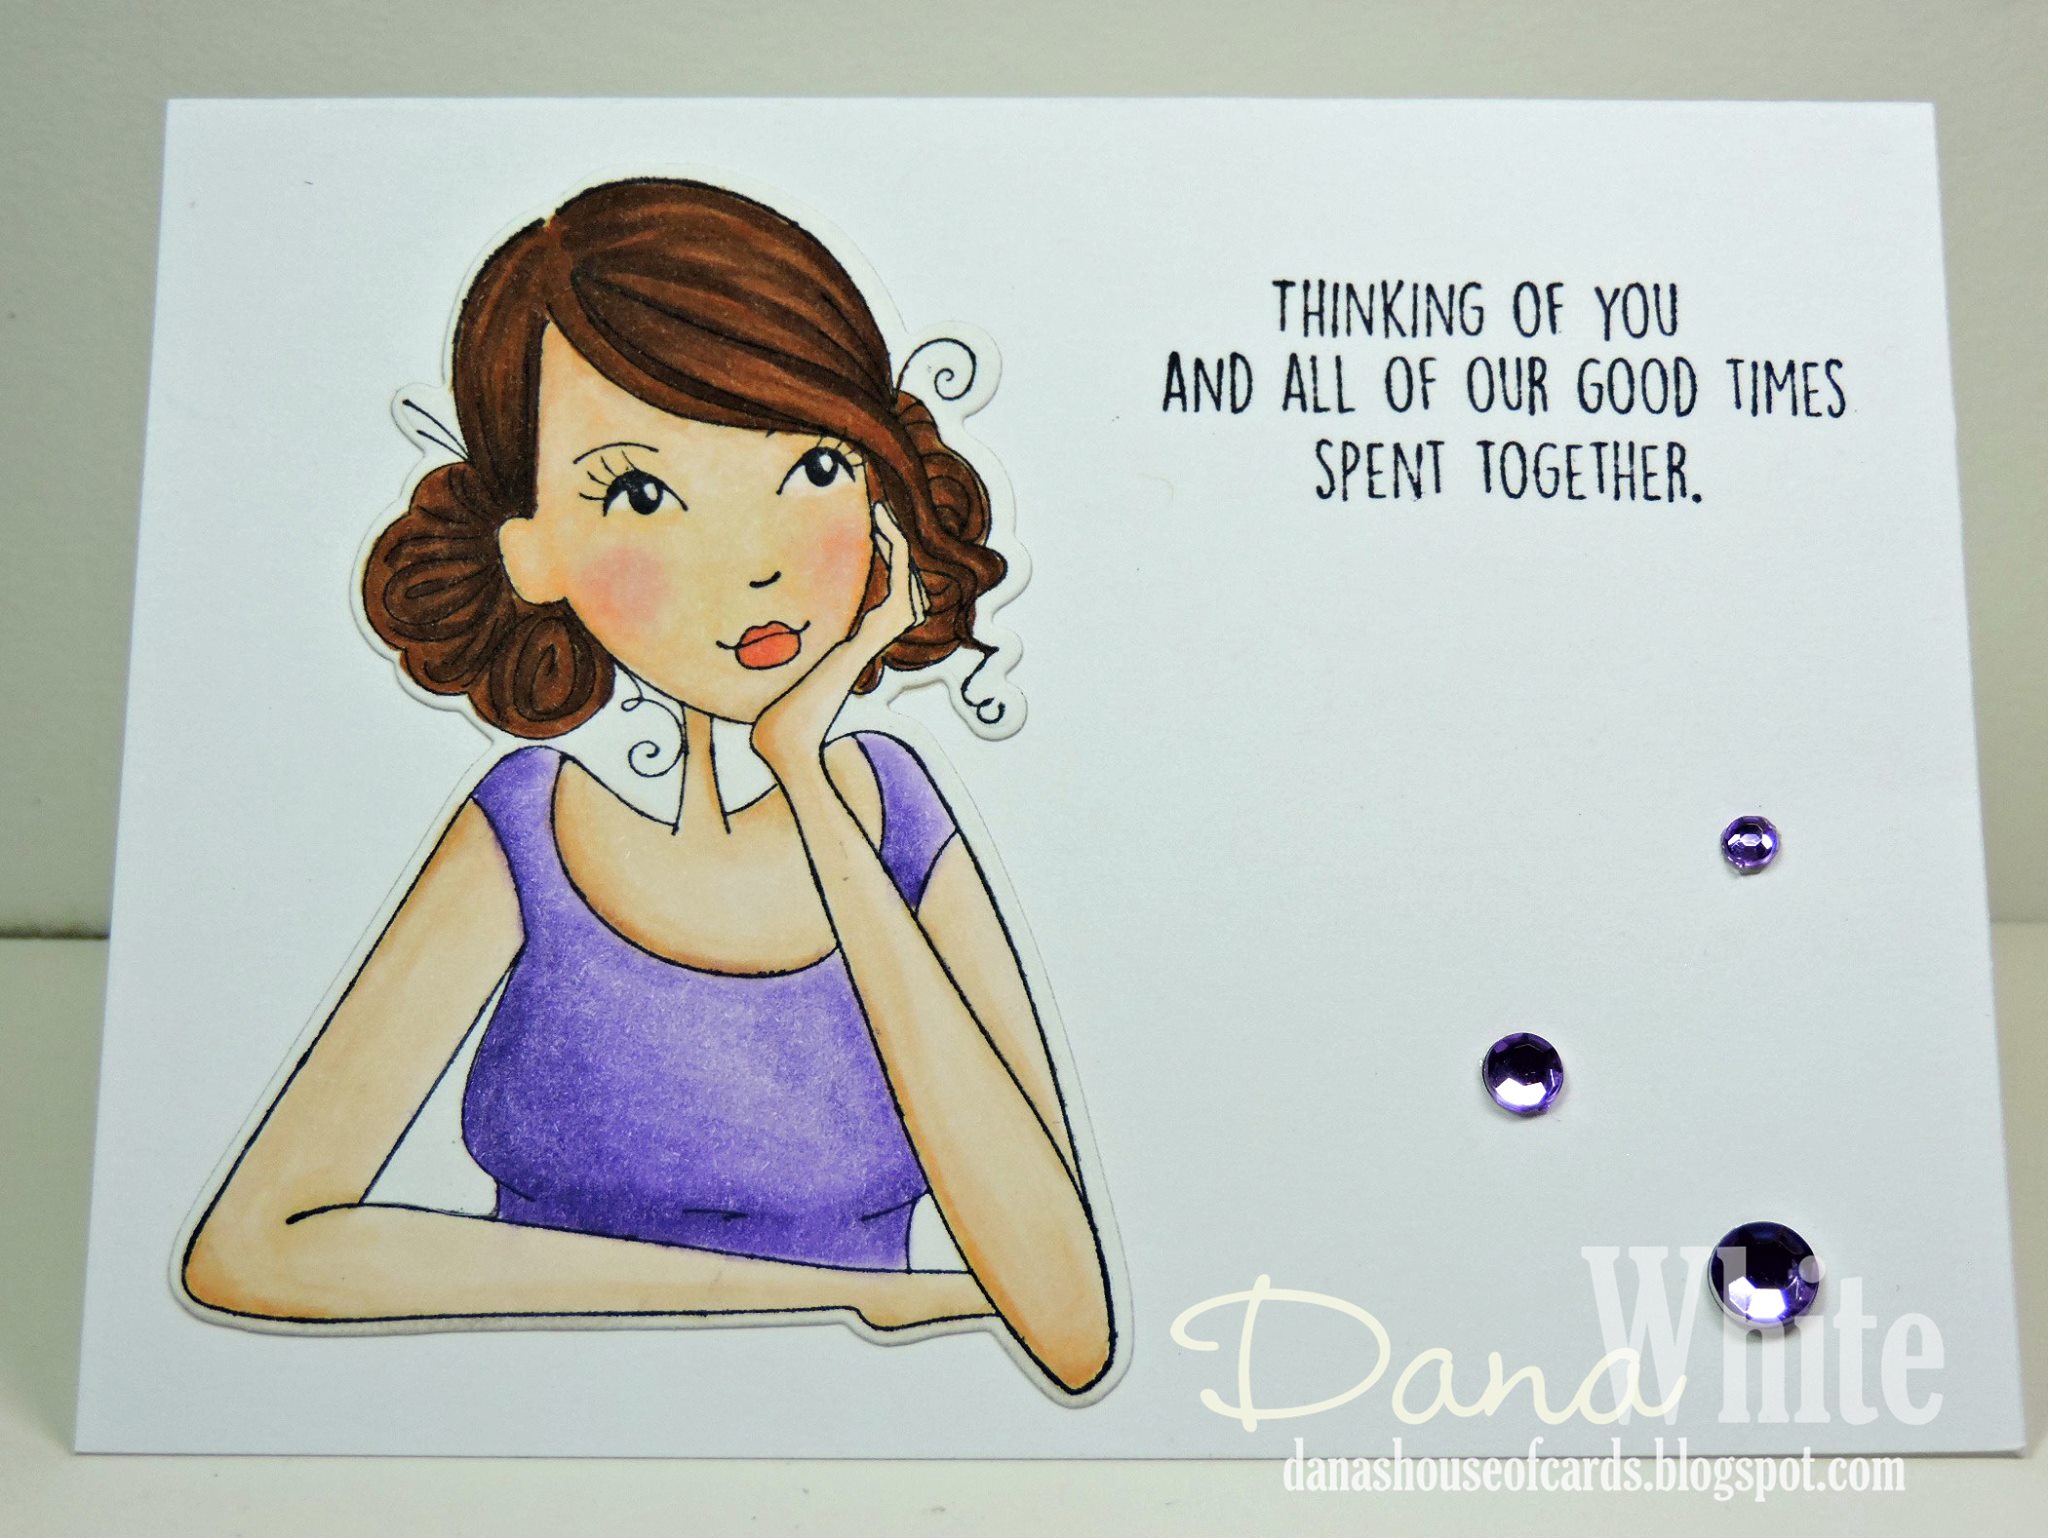
Danabella used THINKINGOFYOUABELLA V2.0

stamping bella BELLARIFIC FRIDAY challenge.  Click through to see the amazing ONE LAYER CARDS!

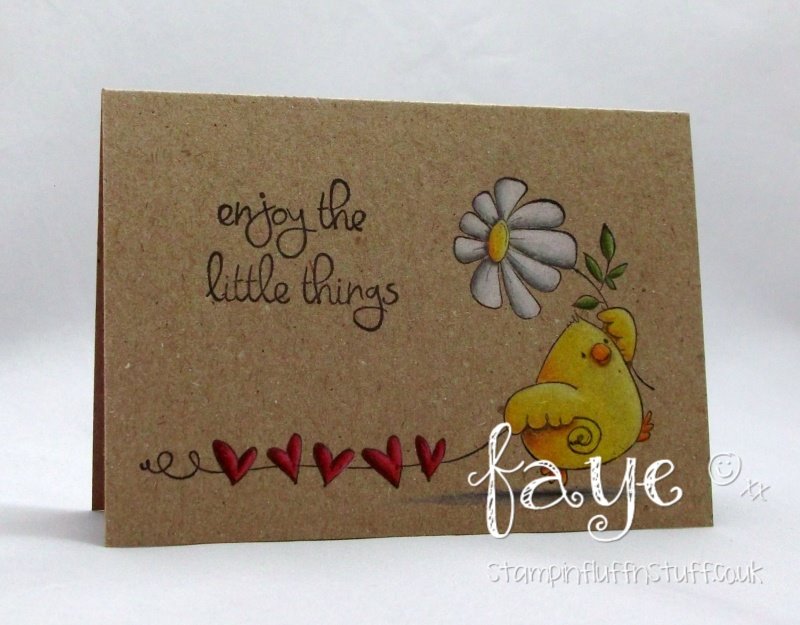
FAYE-WJ-ABELLA used MARCHING CHICK

stamping bella BELLARIFIC FRIDAY challenge.  Click through to see the amazing ONE LAYER CARDS!

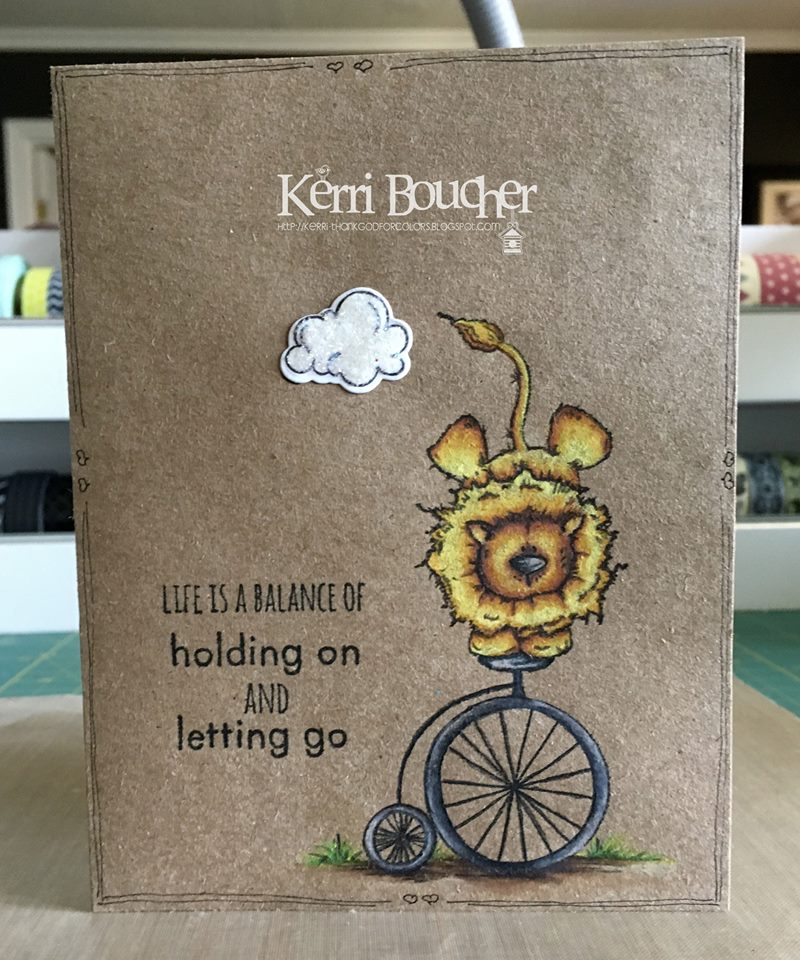
Kerribella used LEO the BALANCING stuffie and the little cloud from EDNA blows a KISS

stamping bella BELLARIFIC FRIDAY challenge.  Click through to see the amazing ONE LAYER CARDS!

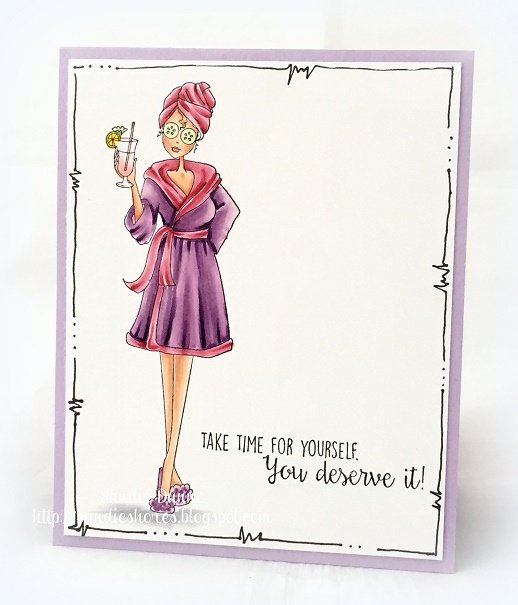
Sandiebella used SPABELLA v. 2.0

stamping bella BELLARIFIC FRIDAY challenge.  Click through to see the amazing ONE LAYER CARDS!

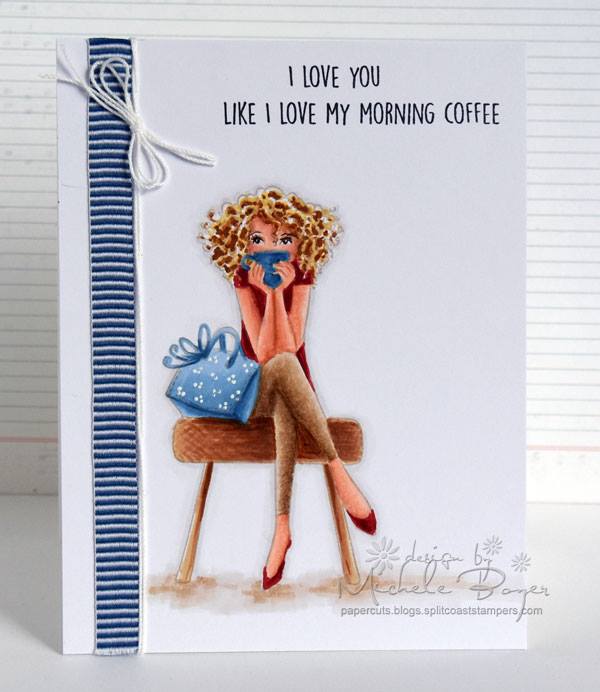
Shelabella used DONTTALKTOMEBEFOREMYCOFFEEABELLA v.2.0

stamping bella BELLARIFIC FRIDAY challenge.  Click through to see the amazing ONE LAYER CARDS!

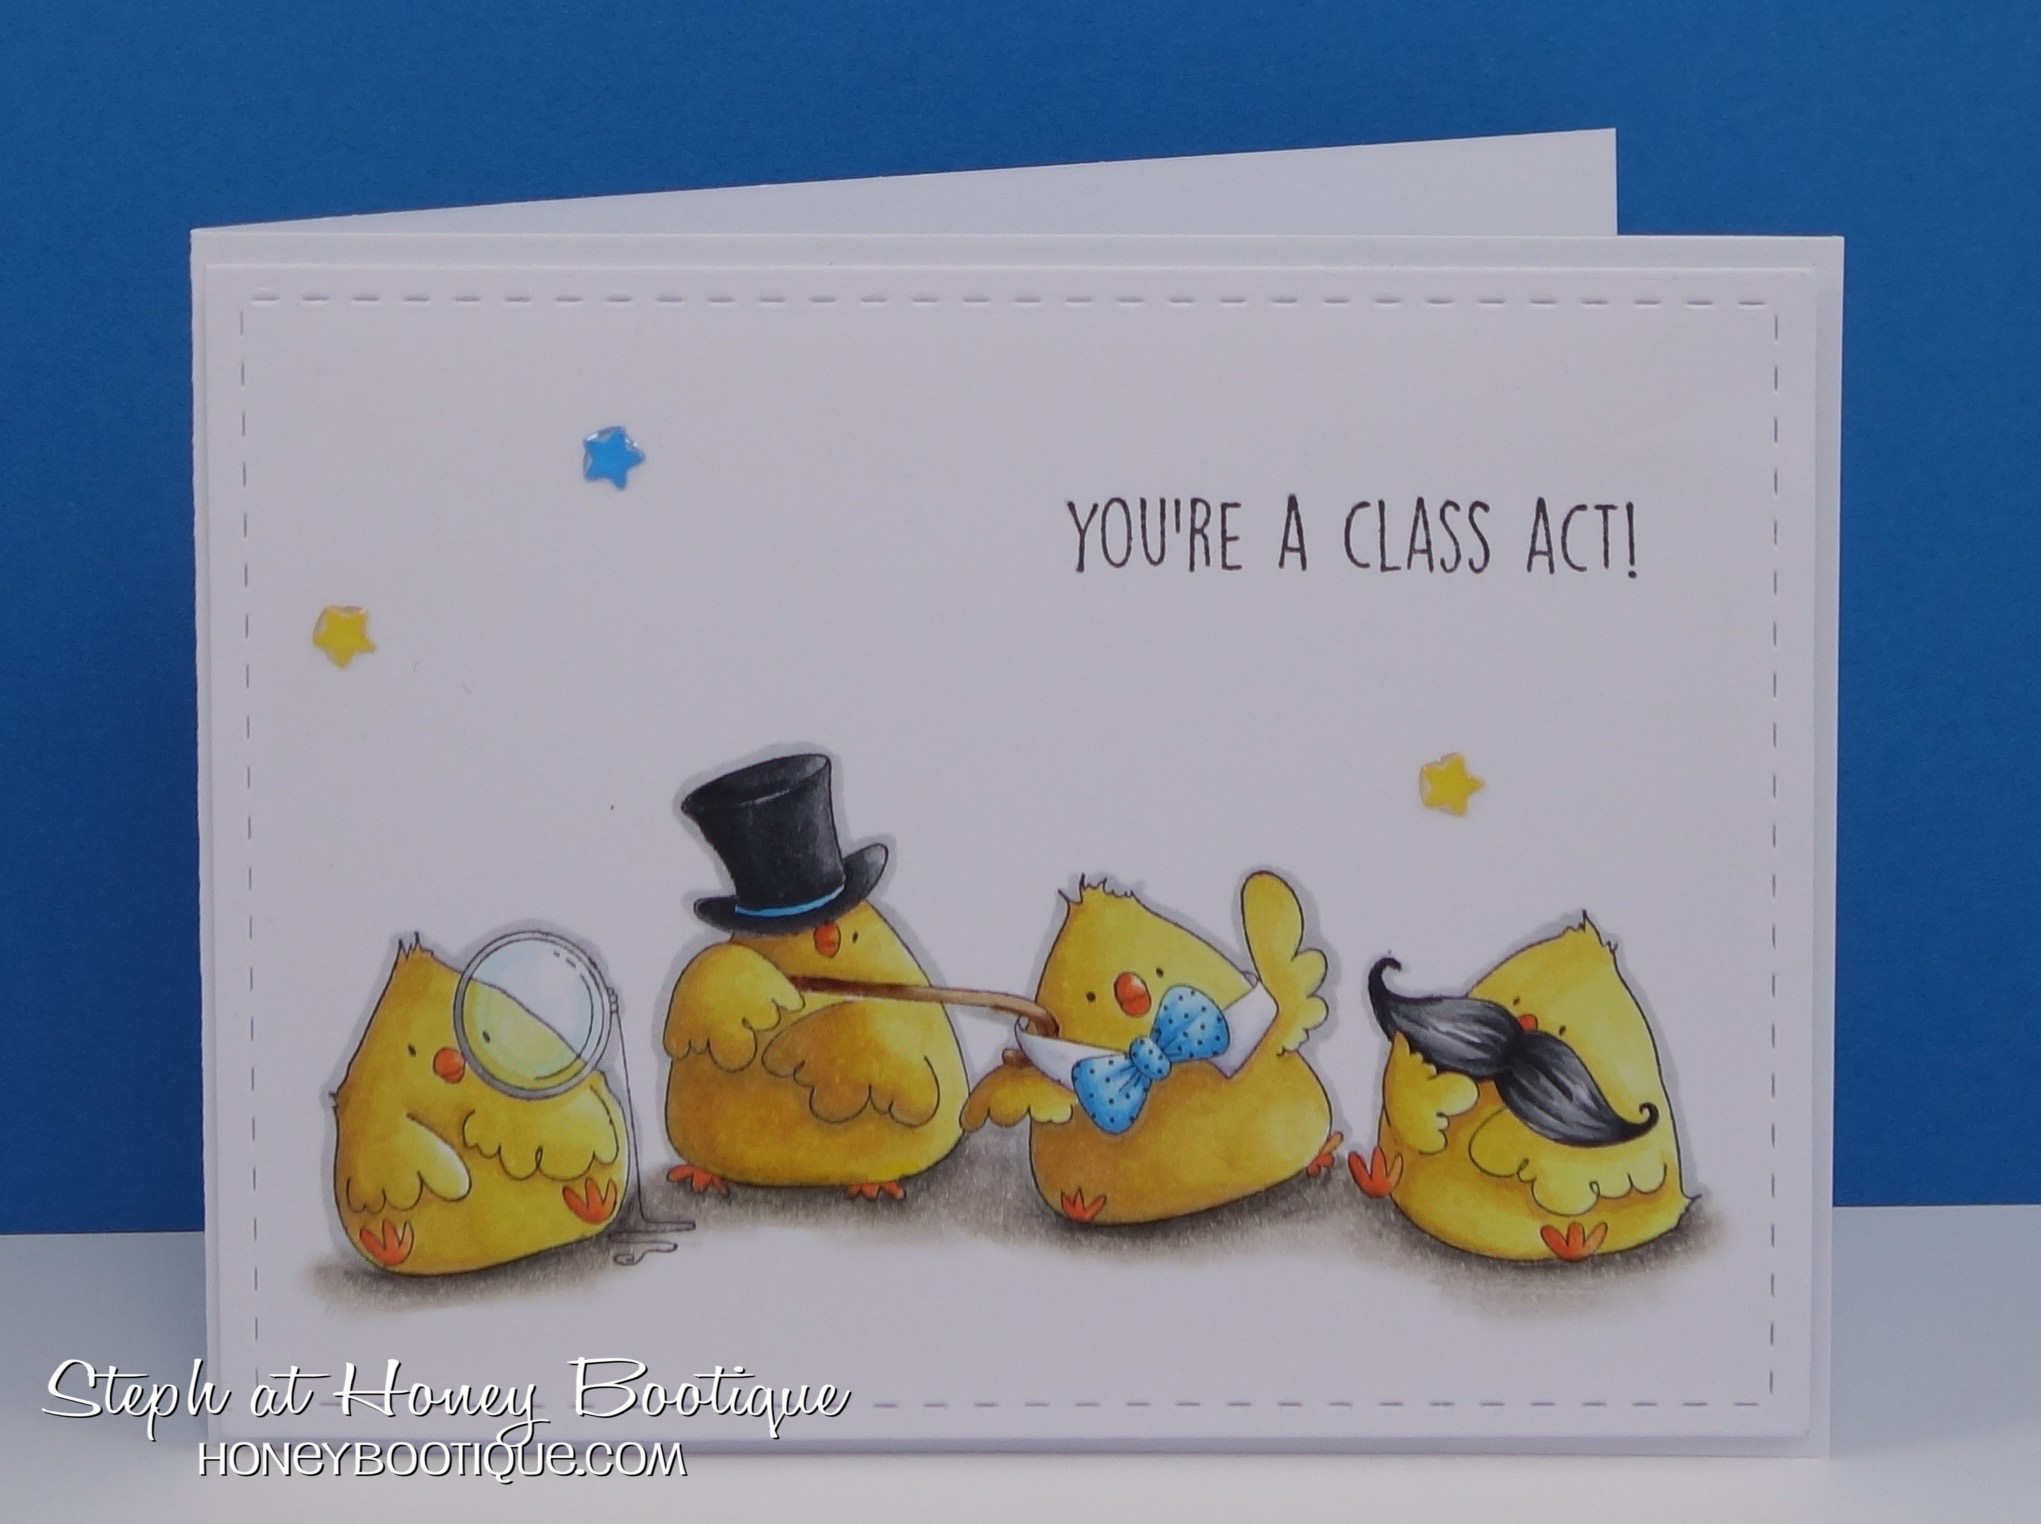
Stephabella used MANLY CHICKS

stamping bella BELLARIFIC FRIDAY challenge.  Click through to see the amazing ONE LAYER CARDS!

How amazing are these cards??? sigh.. if only I had a teensy bit of this talent!

Now for our AMAZING sistahood

Click on this POST and scroll to the bottom to see our INLINKZ ONE LAYER contributions

and now for our emailed contribution!

and now for NEXT WEEK’S THEME?

ADD SEQUINS, BUTTONS, or DOTS to your cards!  easy peasy lemon squeezy no? 


MWAH!!


it’s DESIGN TEAM THURSDAY with FAYE-WJ-ABELLA! – SPONGED COPIC BACKGROUNDS!

Time for another dose of inspiration from one of the Bellarific Babes. It’s Design Team Thursday and this week Faye-WJ-abella has a fun technique to share.
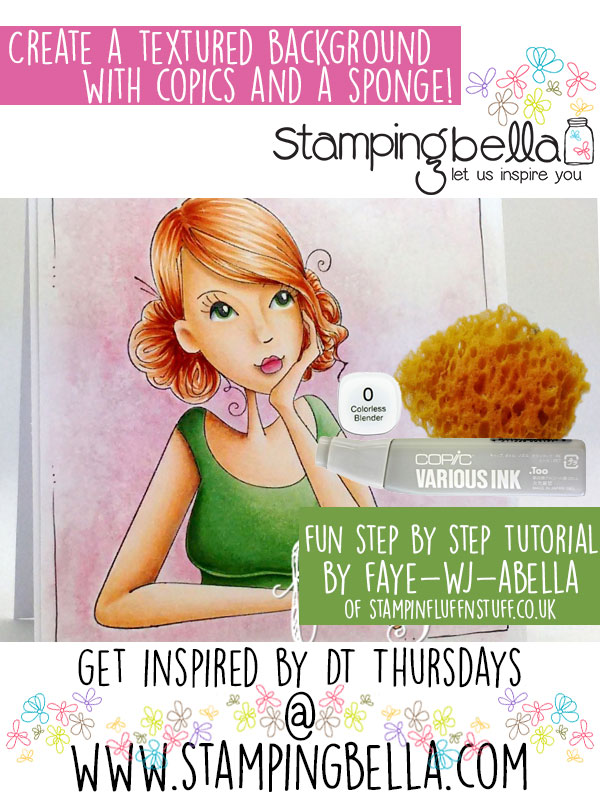
Stamping Bella DT Thursday: Creating a Textured Copic Background with a Sponge. Click through to see the step by step tutorial!

Hey Peeps, it’s Faye here today 🙂

Stamping Bella DT Thursday: Creating a Textured Copic Background with a Sponge. Click through to see the step by step tutorial!

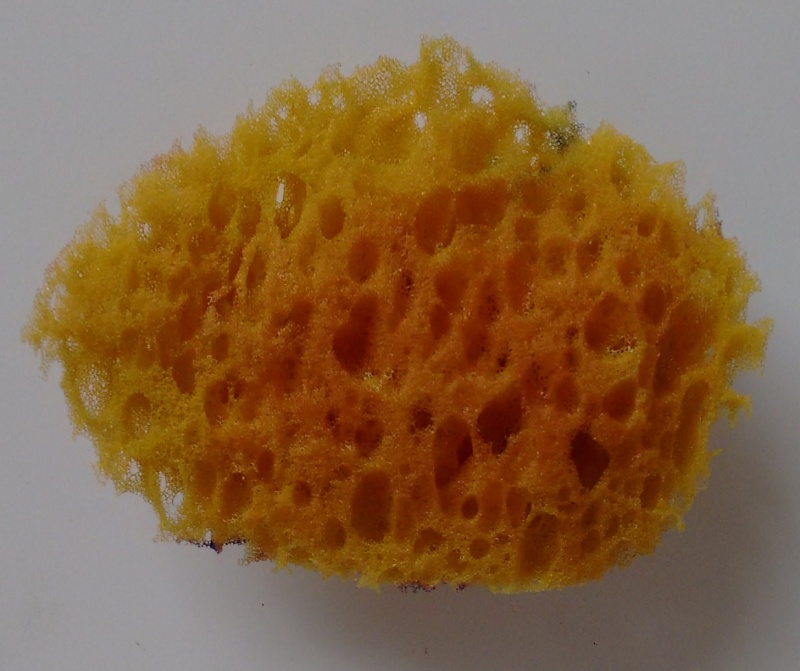
Sponge. Perhaps I’m being a little presumptuous here. But. Sponge. Not just for washing baby arm pits. I know, it’s an overwhelming thought. So, while you let that sink in for a moment, let’s talk about backgrounds.

My style is very clean and simple. But every once in a while, I fancy a little ‘pop’ of colour behind an image. Sometimes, if I feel like getting ink all over my hands, nails and desk, (that’s with scrap paper in place, by the way. If I didn’t have the paper, well. Nuff said.) I’ll get the Air Brush out. And sometimes, I like to get a different fix of Messy. I know, the shocks just keep coming, don’t they?

So, let’s take Thinkingofyouabella, who, is perfect for a little Arty Farty Background Moosh. Now, before I tell you that I am going to colour around the edge of the image with RV91 and R81, as rough and messy as I like… You want to do this part first. Trust me, colouring the background first is a must.
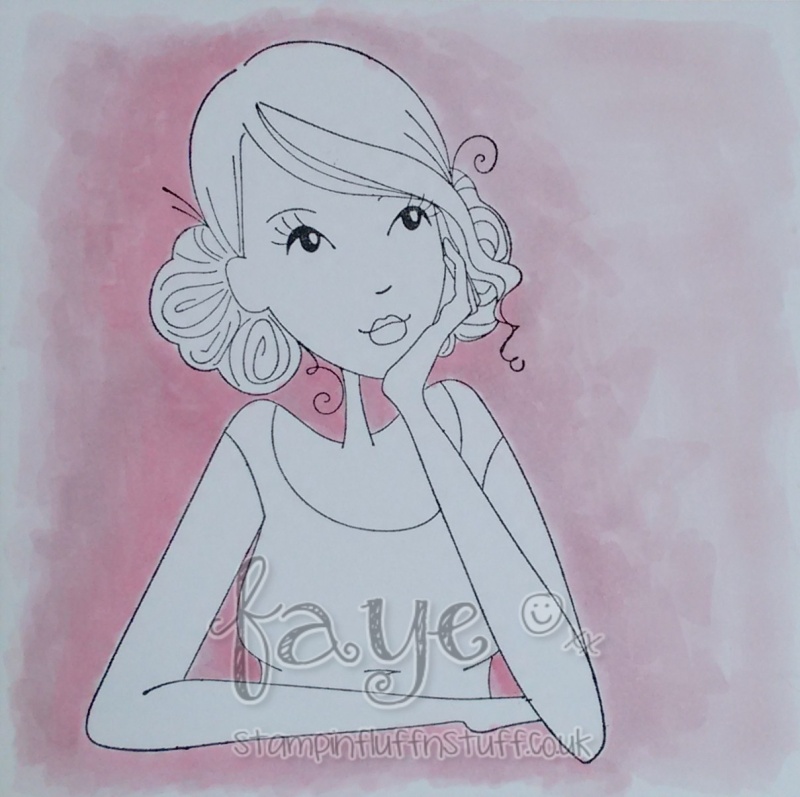
Stamping Bella DT Thursday: Creating a Textured Copic Background with a Sponge. Click through to see the step by step tutorial!

You’ll notice I have already decided my Light Source will be Top Right, which is why I have more of the R81 on the left hand side.

Now, you’ll want a plate, or a Craft Mat, or something you can squirt some Colourless Blender on. Dip your piece of Sponge, (or in fact any fabric with some texture to it, (Put the Bath Towel back please!)) in the Colourless Blender and then apply your Sponge, to the background ink. One pink elephant. Two pink elephants. Three pink elephants. Stop. Move around your image until you have Mooshed the whole lot with the Sponge. You may need to re-dip your sponge as you go.
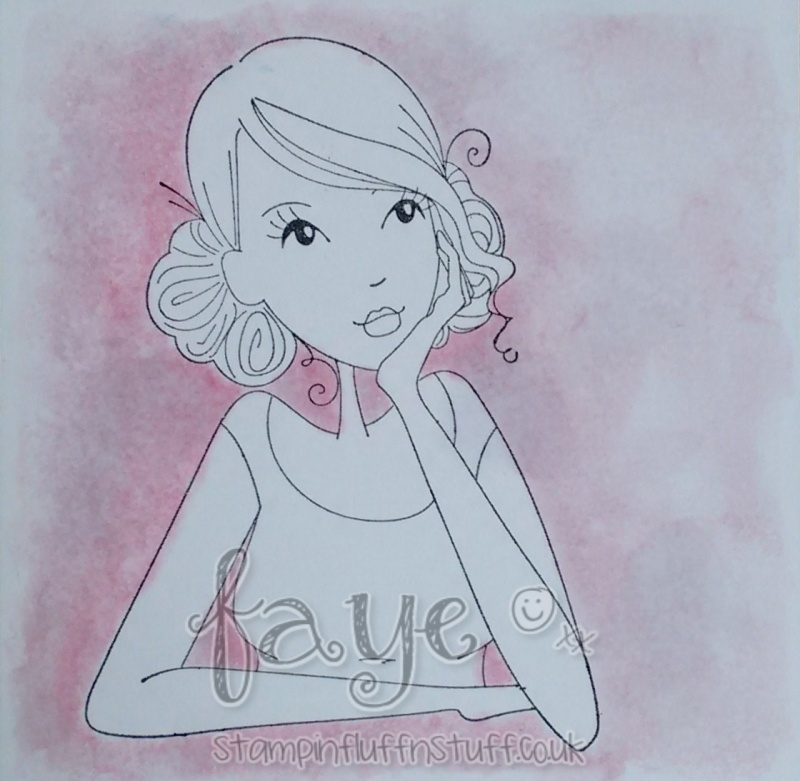
Stamping Bella DT Thursday: Creating a Textured Copic Background with a Sponge. Click through to see the step by step tutorial!

It’s worth noting that you get different effects by:

  • Using different fabrics.
  • Varying the amount of pink elephants you count.
  • Changing how much Colourless Blender you start with.

I used a lot of wet as that was the effect I wanted, but if you use less, the texture of whatever you are pressing against the paper shows more. So play around.

Now the Mooshing is done, we can colour the image.
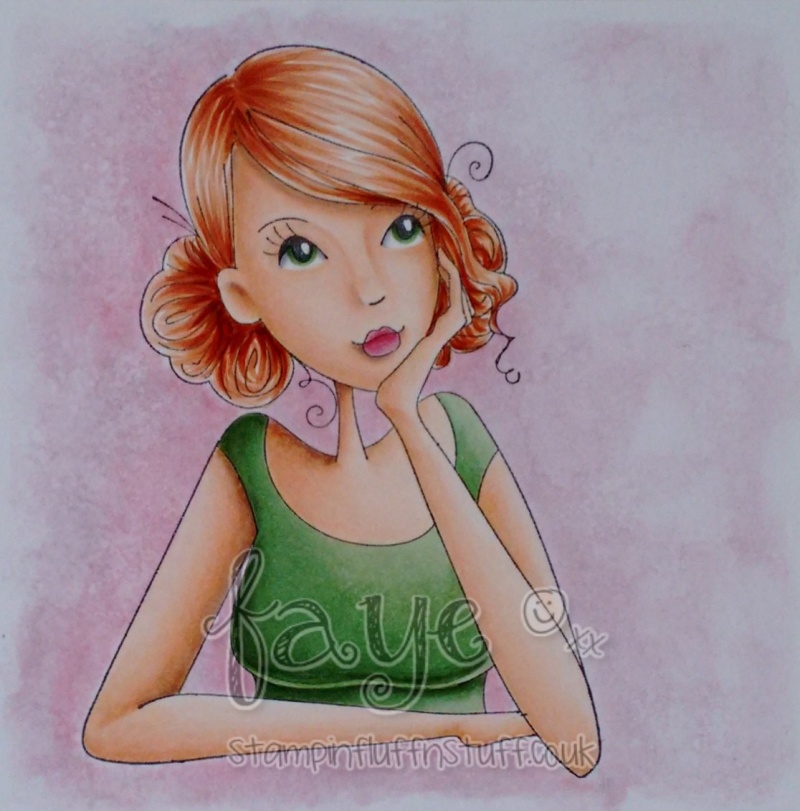
Stamping Bella DT Thursday: Creating a Textured Copic Background with a Sponge. Click through to see the step by step tutorial!

Finally, I doodled some and called her done. But that’s only because I chickened out of doing the thing I had planned to do. Maybe I’ll show you that another time 😉
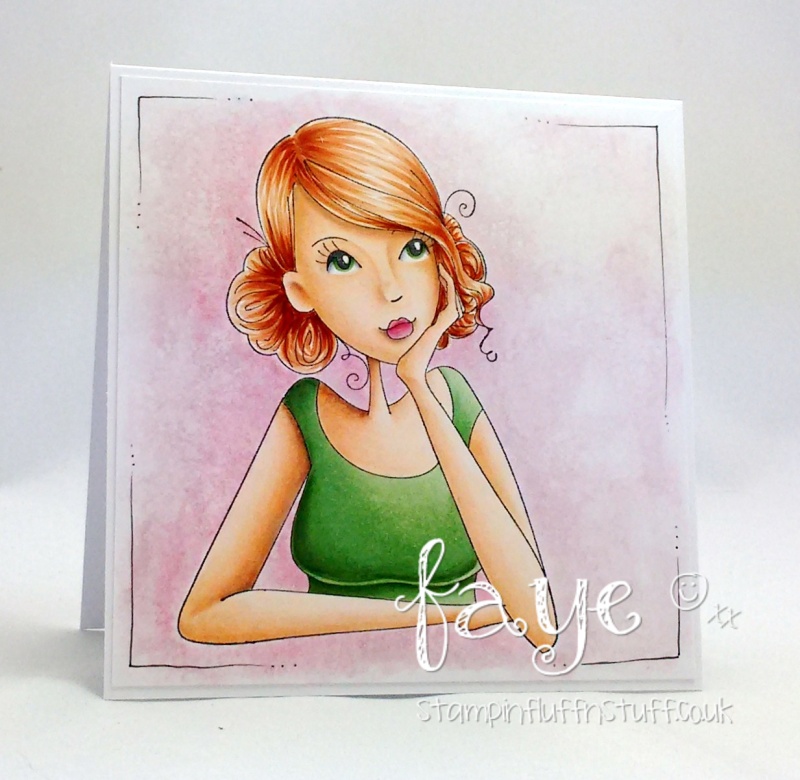
Stamping Bella DT Thursday: Creating a Textured Copic Background with a Sponge. Click through to see the step by step tutorial!

Have a great day.

Faye x

Over To You!

We hope you’ve enjoyed checking out Faye-WJ-abella’s tutorial and are feeling inspired to try it out yourselves. If you do, make sure you drop by and share with us! You can get in touch in all the following ways:

  • On our Facebook page – tag us, post your Stamping Bella creations on the page.
  • In our Facebook Group Stamping Bella Sistahood – share your creations, chat with other sistahs!
  • On Instagram – tag @stampingbella and view our feed HERE.
  • Here on the blog – share your thoughts and links to your Stamping Bella creations down in the comments section!

Happy Stamping!