


Sandiebella has another fantastic step by step tutorial for us this week…
Cinderella Bridge Card
Supplies:

How to:

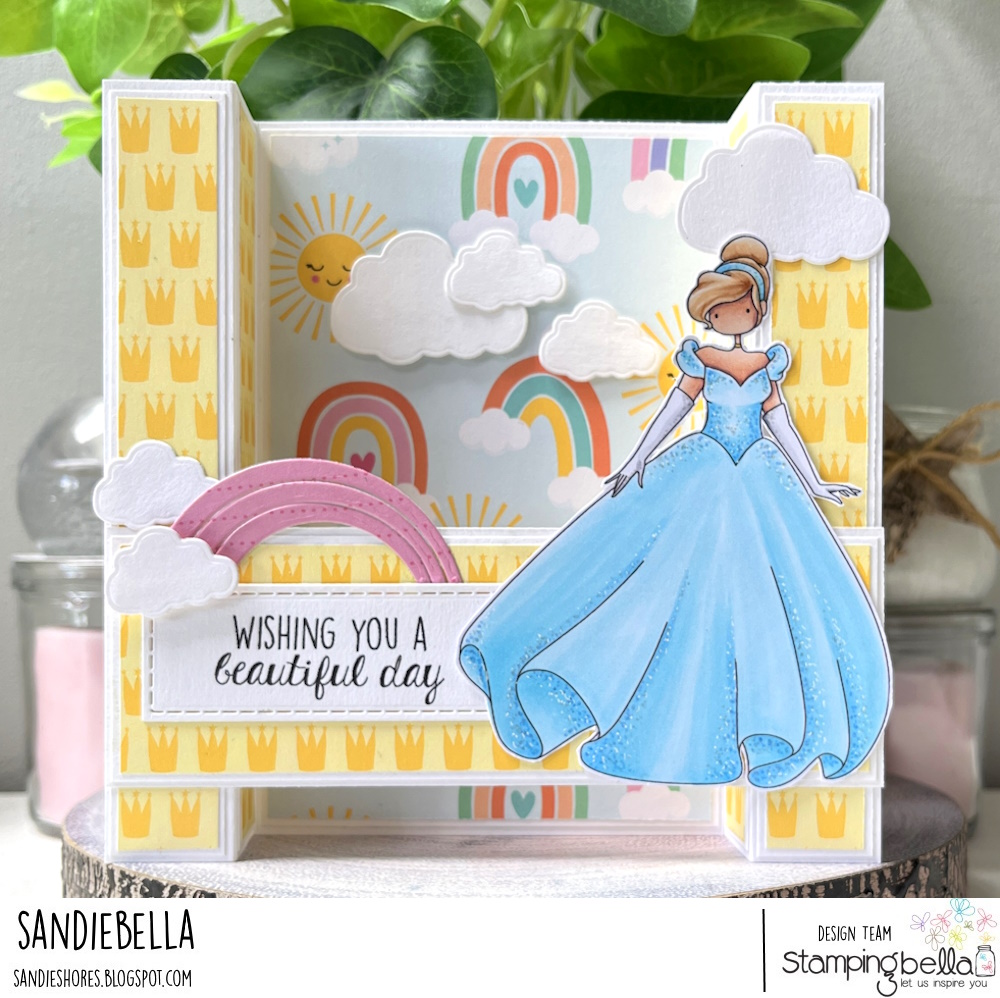
Add some sparkle to her dress and gloves using Spica glitter pens.

Fussy cut around the outline and set aside to work on the card.

Score the 8″ x 6″ piece of card on the long side at 1″, 2″, 6″ and 7″

Valley fold the inside score lines and mountain fold the outer score lines.

Adhere all the paper pieces to their corresponding card pieces


Adhere all the panels to the card base.

Apply glue to one end of the bridge

Line it up with the edge of the card base, approx. 1″ from the bottom.

Fold in the side panels and adhere the other end of the bridge to the opposite side, again lining it up with the edge of the card base.


Apply glue or foam tape/dots to the image only where it meets the card base. Also leave enough of the dress to slide the end of the sentiment underneath before adhering it down.

Stamp the sentiment onto the white card strip then cut out using the rectangle die. Slide the end under the image.

Add some die cut clouds and a rainbow for a 3D effect.
