


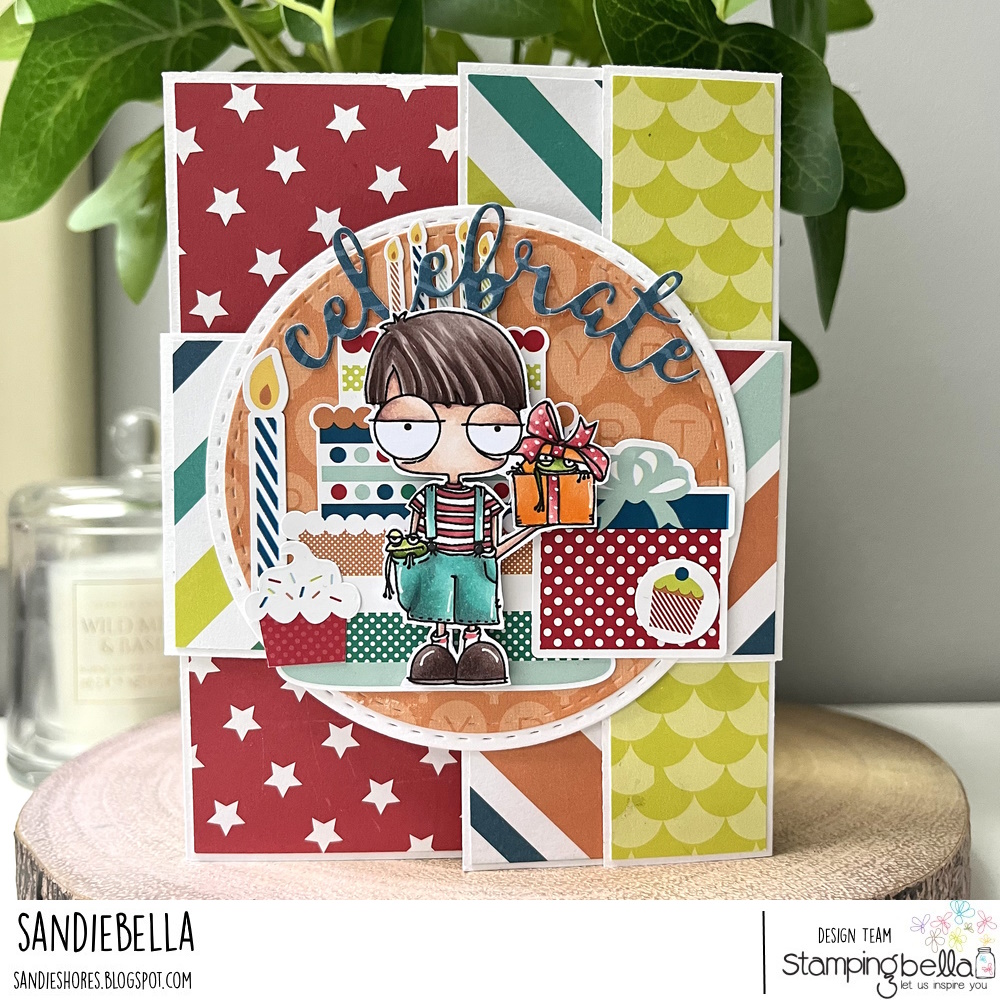
Sandiebella is back with another great step by step tutorial for us today, showing how she created a Two-Fold Card featuring our Mini Oddball Boy and his Frogs stamp set. Read on to see how Sandie worked her magic again…
Two-Fold Card
Supplies:
How to:

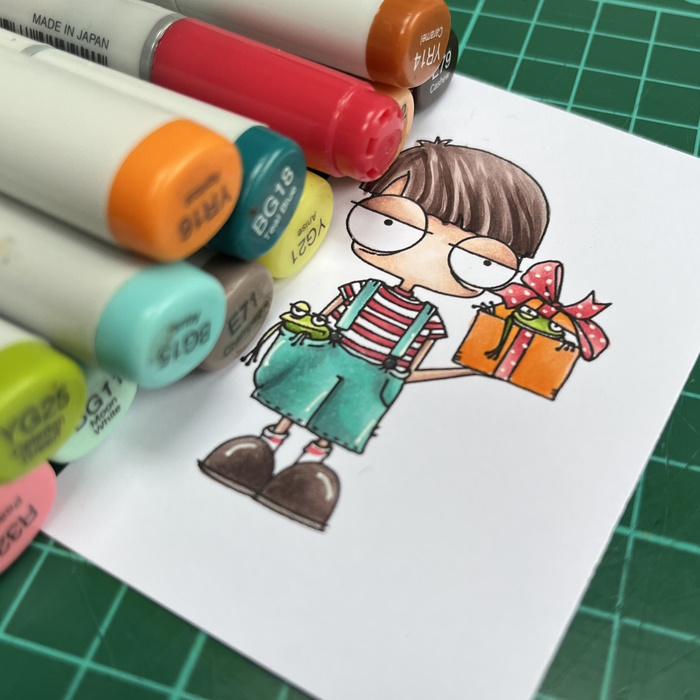
Set the image aside.

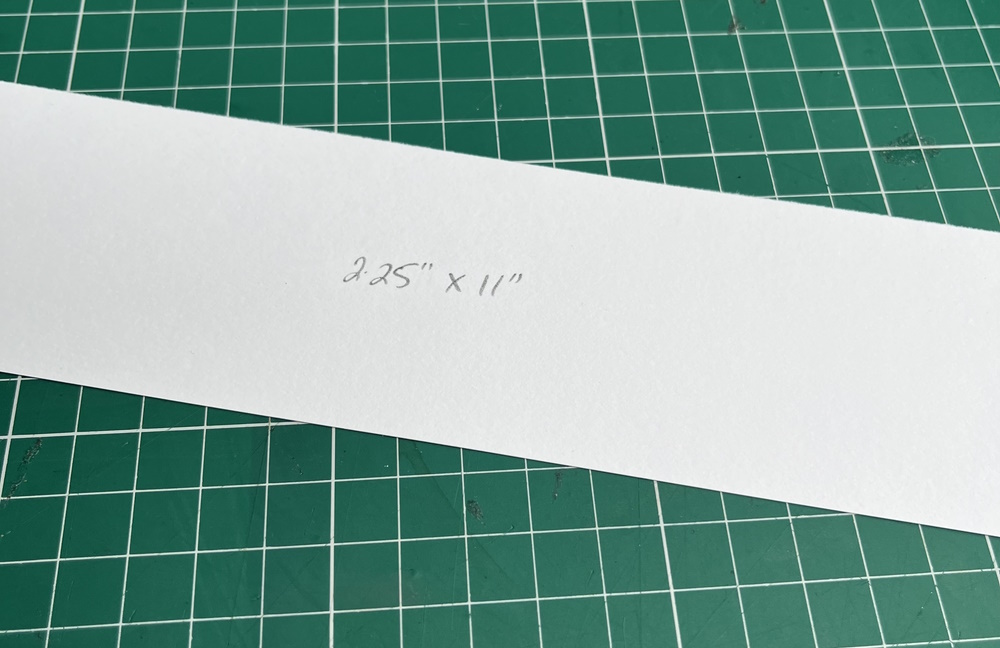
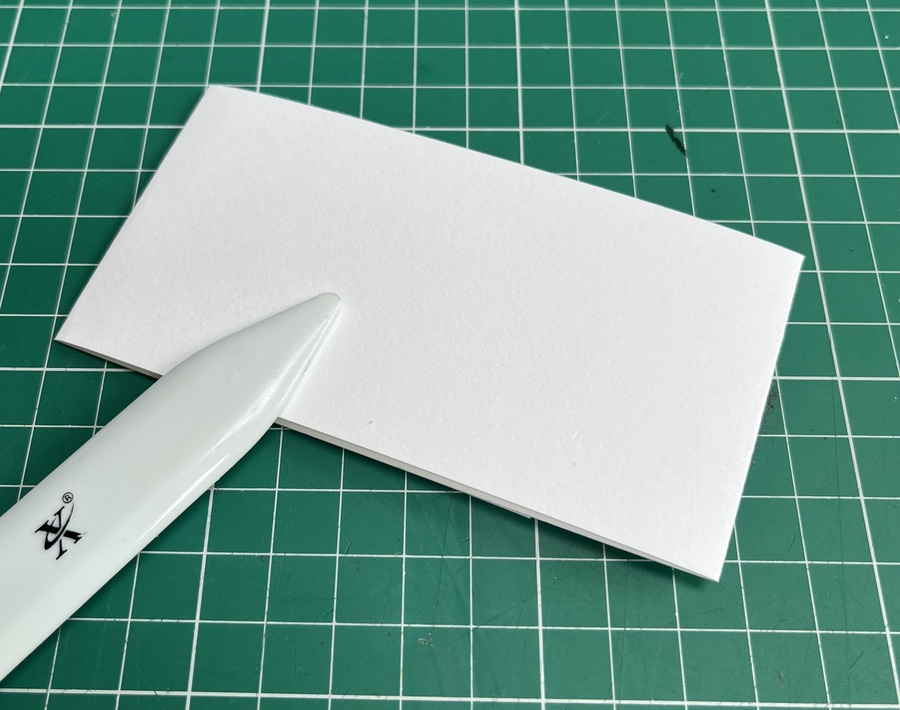
Take the card base and score on the long side at 1.75″, 5.5″ and 9.75″

Fold in half at the 5.5″ mark, burnish well with a bone folder.

Fold back the 1.75″ section, and then the 1.25″ section.


Take the paper layers and adhere to both sides of the 1.75″, 1.25″, and 3.75″ panels.


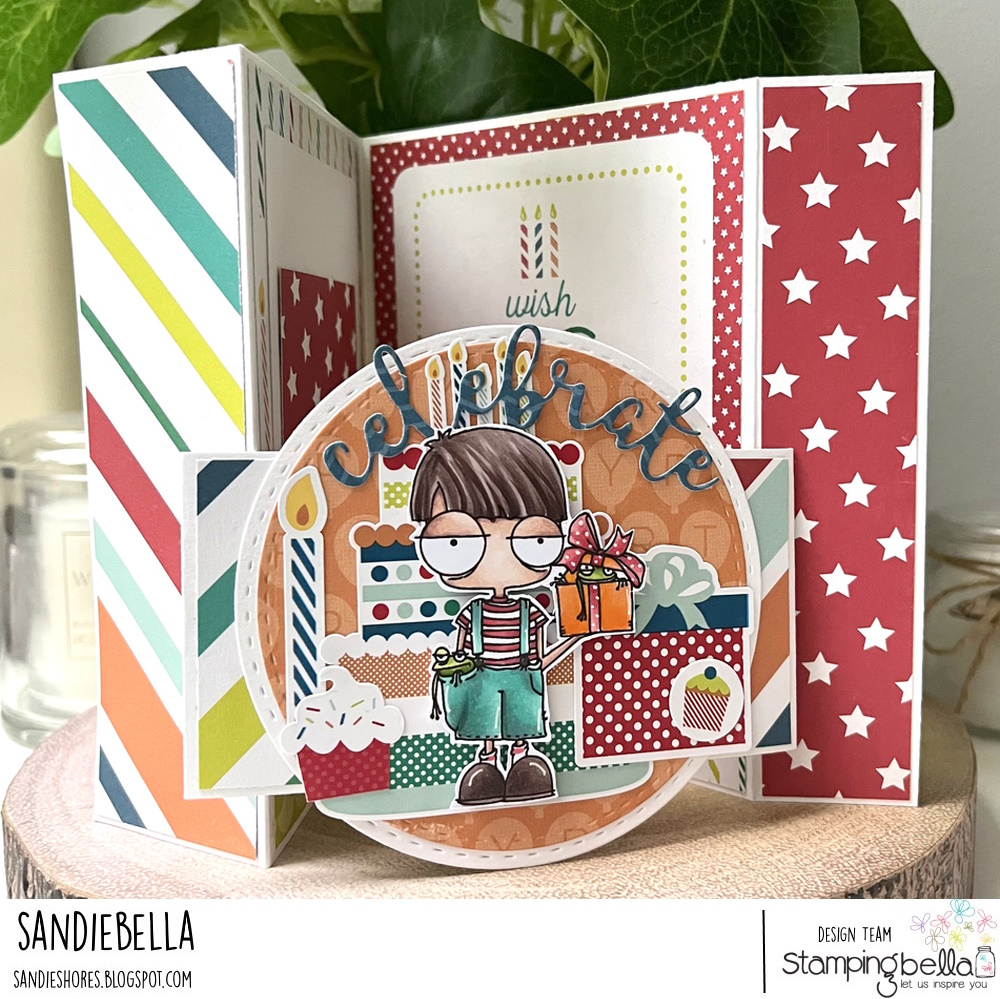
Adhere the largest paper layer to the inside of the card on the 4.25″ panel.

Create a pocket for a gift card, and adhere the 2.75″ x 3″ card panel for a sentiment or handwritten message above it.

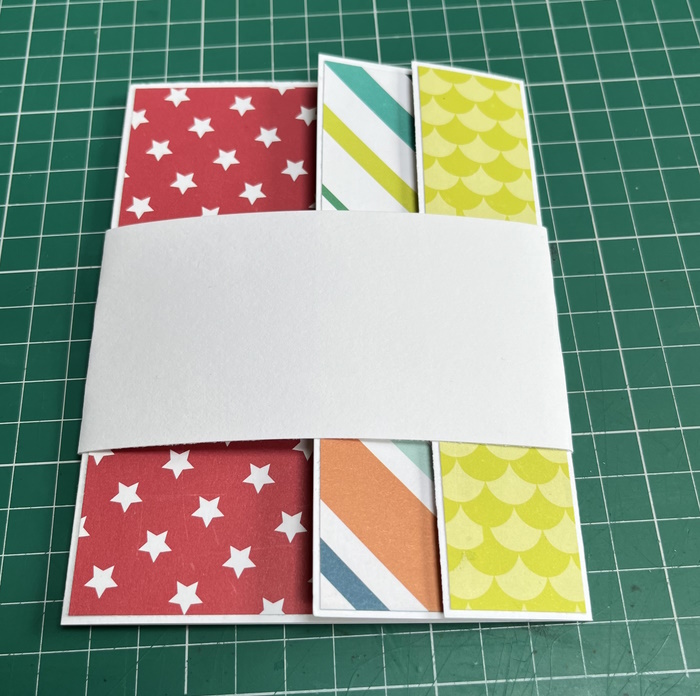
Take the piece of card for the belly band and lay it, centered, across the card.

Fold back each side loosely so that the band can move freely up and down.
Remove the band and crease the fold lines with a bone folder.
Apply double sided tape to the ends, as shown. Then fold in to secure the ends.

Try the band for size, then adhere the paper layers.


Adhere the paper circle to the card circle, then adhere them to the belly band, ensuring glue is applied only where the circle meets the belly band.

Decorate the circle panel, then adhere Mini Oddball and His Frogs using foam tape/dots.

Add the Celebrate sentiment above the image.

If you follow any of Sandie’s brilliant tutorials, be sure to tag us on social media – #stampingbella – or leave us a comment with a link. We LOVE to see what the SISTAHOOD have been creating.
MWAH!
Elaineabella
Really cute card…love those little frogs.
Fun fold to showcase patterned papers. Love the boy character for birthday cards.