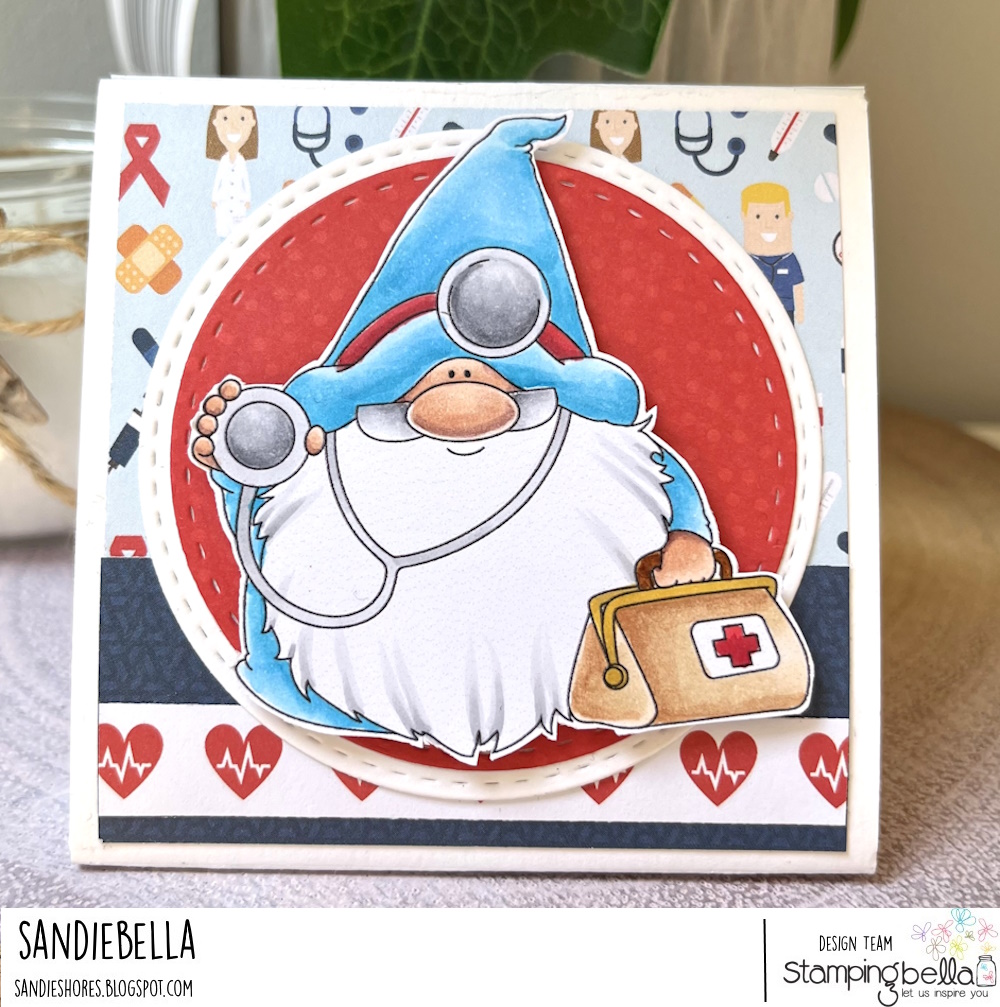
So, as Sandie wasn’t able to get a tutorial done for last Thursday, and I didn’t manage to get my act together and get any colouring done last week, we bring you Thursday with Sandiebella on Monday, rather than Marker Geek Monday. Ahem! Normal service will resume shortly. In the meantime, enjoy another wonderful step by step guide from Sandie, this time showing you how to recreate her adorable exploding thank you card!
Exploding Thank You Card

Supplies:
How to:
Using a paper trimmer or craft knife, cut from the top scorelines, diagonally, to the side scorelines – removing the four corners.

On one of the 3.5″ squares, measure and mark at 1.75″ on the edge. Score from each of the corners of the score lines down to the 1.75″ mark.


Valley fold all the score lines. Pinch in the sides and fold up the back/front to make the explosion mechanism.

Make three 3.25″ panels for the inside. Adhere the 2.75″ piece of card to one of them for the sentiment.


Adhere a paper panel between next to the small tab. If you are using directional paper, ensure it is pointing up towards the tab. Turn the piece 180 degrees and adhere paper to the opposite end, also pointing upwards.


Stamp a sentiment from the Work Life Sentiments set in the centre panel.

Stamp Gnome Doctor onto white card. Colour using your preferred medium, then fussy cut around the outline.


Using 3d foam dots adhere Gnome Doctor to the circle panel.


