


Sandiebella has a fantastic step by step tutorial for us this week, featuring one of our amazing ODDBALL stamp sets.
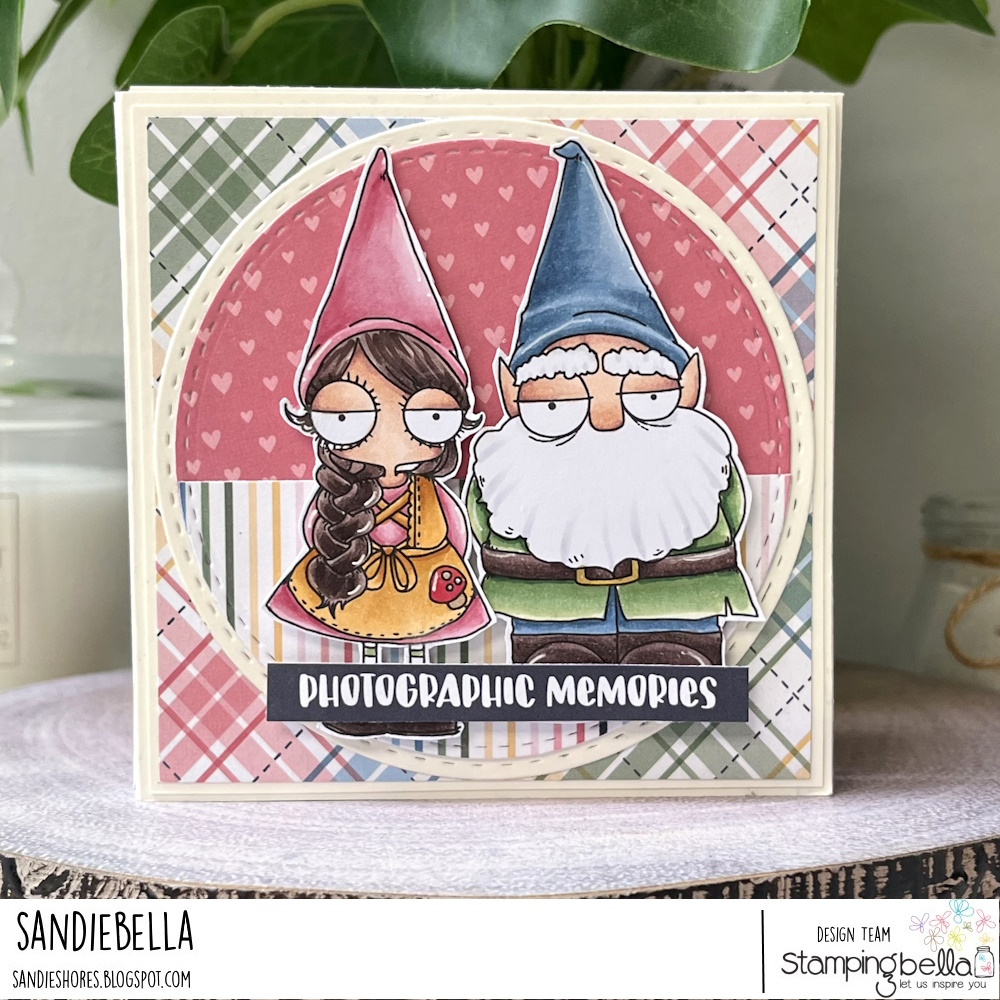
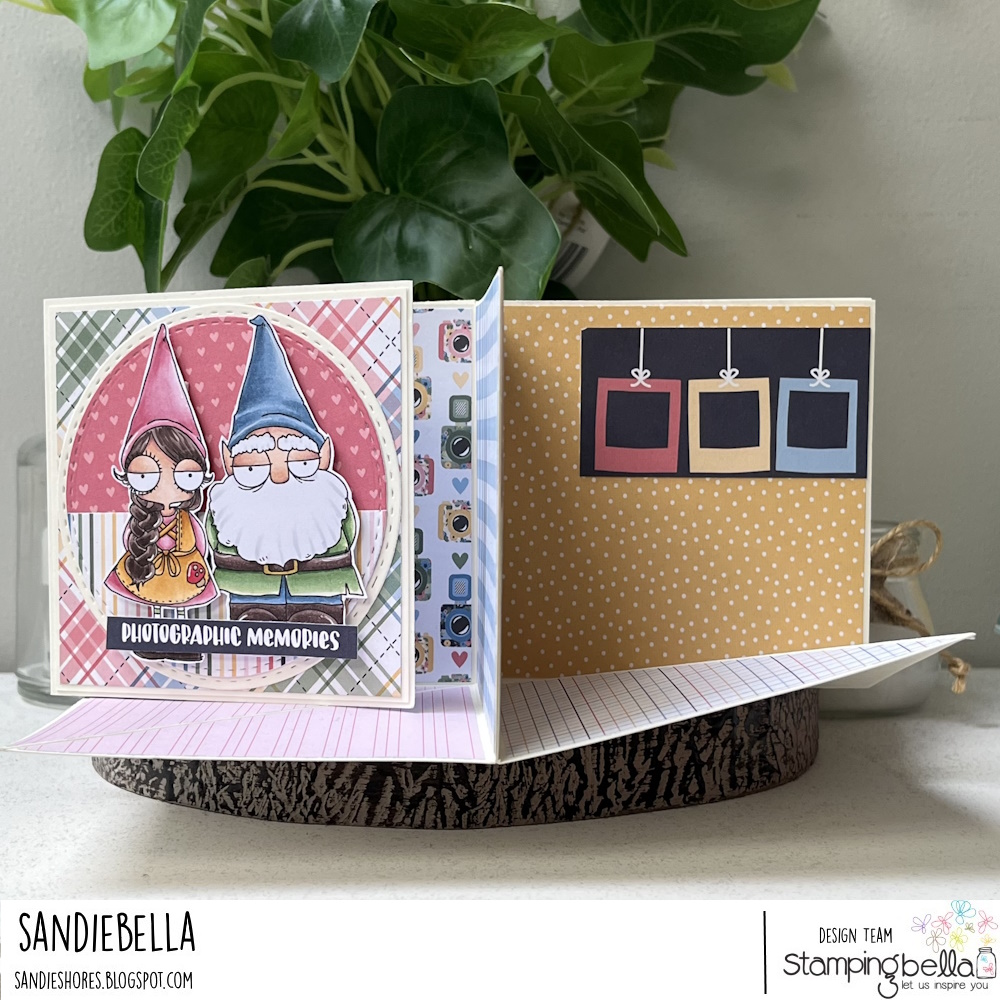
Oddball Gnome Parents Carousel Album Card.
Supplies:
How to:


Fold and crease all the score lines.

With the card positioned as shown, measure in 0.5″ from the centre score line, cut on the 0.5″ line down to the intersecting score line, then cut across on the horizontal score line. Taper the edges of the remaining 0.5″ tab.


Mountain fold the diagonal score line, then fold it over onto the top square. Fold up the bottom square onto the triangle.


Apply adhesive to the 0.5″ tab, fold over and adhere well.


Open up the card and it should look like this.

Repeat these steps with the three remaining 8″ x 8″ pieces of card.


Score the 4″ x 5″ piece on the 5″ side at 0.5″ and 1″. Taper the edges of the first 0.5″ section, then apply adhesive to it.

Adhere the 0.5″ section to the front of the card pieces. This creates the front cover.

You will need four pairs of magnets.

Open up the front cover and adhere a small magnet to each corner of the first folded piece.

Apply adhesive and adhere the 4″ x 4″ piece of card over the magnets.

Stick the other side of the magnet to a 1″ piece of double sided tape, leaving the backing on the tape. Use the magnet on the tape to find the one under the card, then place it on top with the tape backing side down. Do this on both right hand side magnets.

Fold over the front cover, pressing down well around the magnet so that the tape adheres to the inside of the front cover.

When you open it up, the magnets should have adhered to the inside front cover.

Repeat this step, laying the magnets on the left side of the card, open up the carousel and join the backs together. Press firmly to transfer the magnets to the back of the fourth folded piece.

For each carousel piece, you need two 3-7/8″ pieces of paper, and one 3.75″ piece cut diagonally.


Adhere one of the 3-7/8″ pieces of paper to the inside front cover and on the back. Adhere the 3-7/8″ x 3/8″ pieces of paper to the inside and outside of the 0.5″ spine.


Adhere the remaining 3-7/8″ piece of paper to the first carousel piece, covering the card holding the magnets.

Stamp the Oddball Gnome Parents onto white card. Colour with your preferred medium, then fussy cut around the outline.


Adhere the stitched circle card and paper together, laying if preferred.

Cut a sentiment from the papers

Adhere the stitched circle panel to the front cover, then adhere Oddball Gnome Parents and the sentiment to the circle panel.


Where are the skulls? I look forward to finding them in the oddball stamps (my FAVORITES). Those little details are such a unique touch that I miss them when they’re not there. Possibly silly, but true. LOL!