


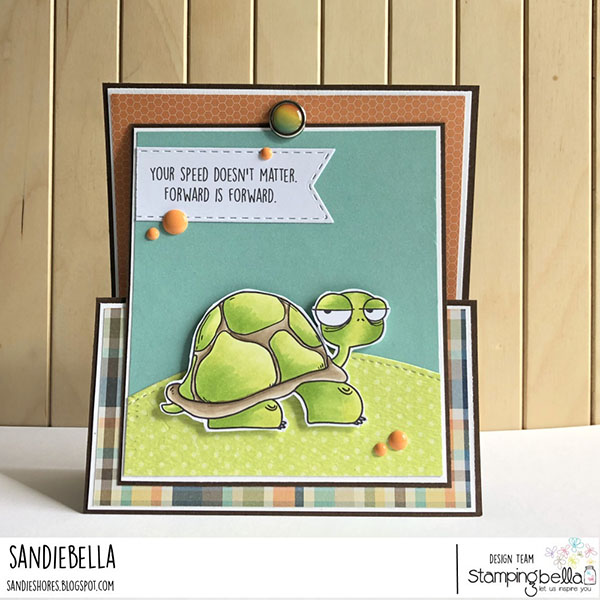
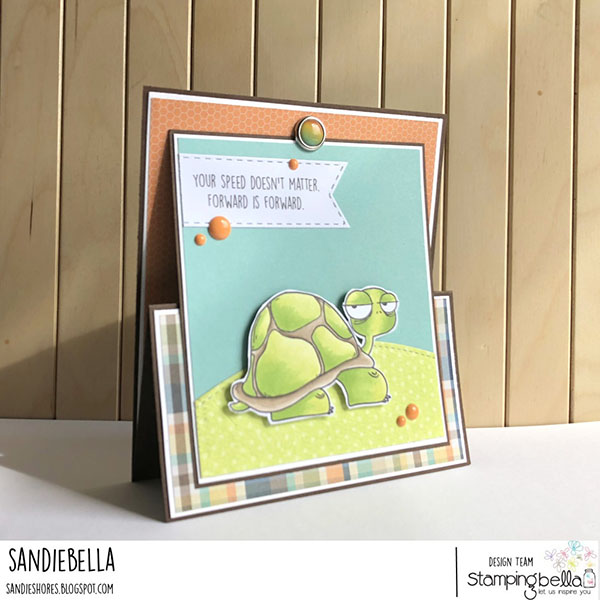
Sandie is back with a fab new tutorial today featuring one of the awesome new Oddball animal stamps! That turtle…he just gets me…
Upright Z-Fold Card
Supplies:
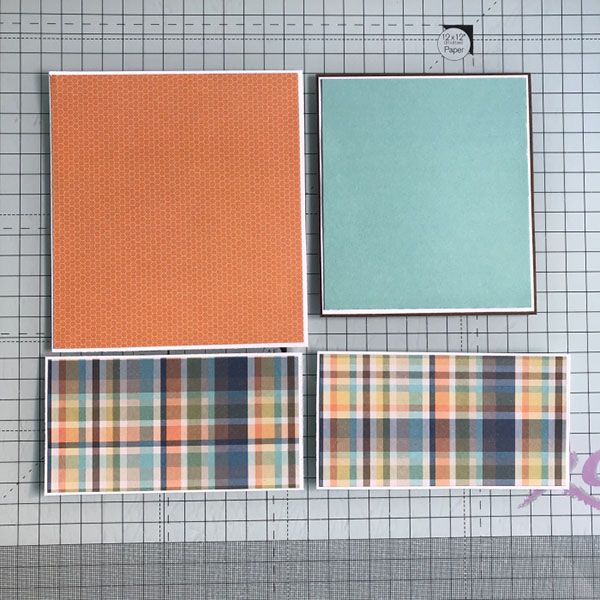
For the panels, cut:
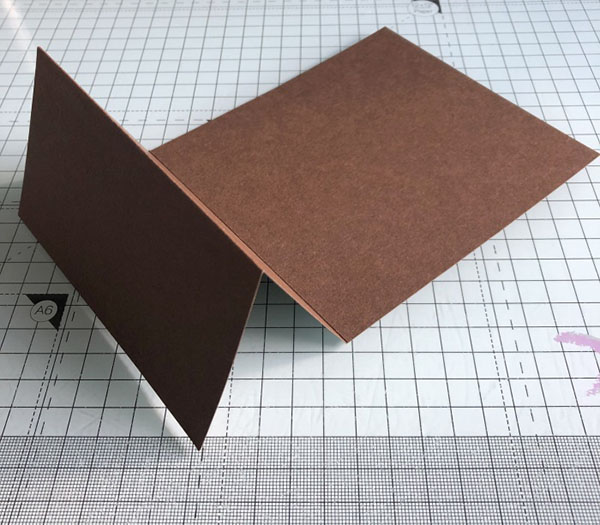
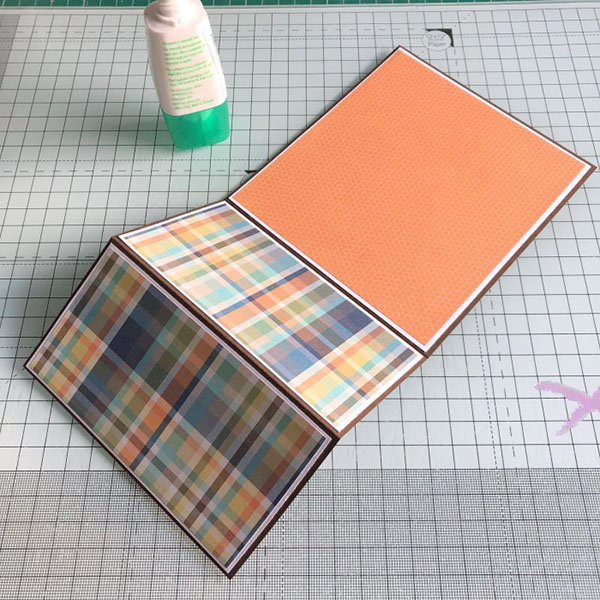
Adhere the panels to the card base
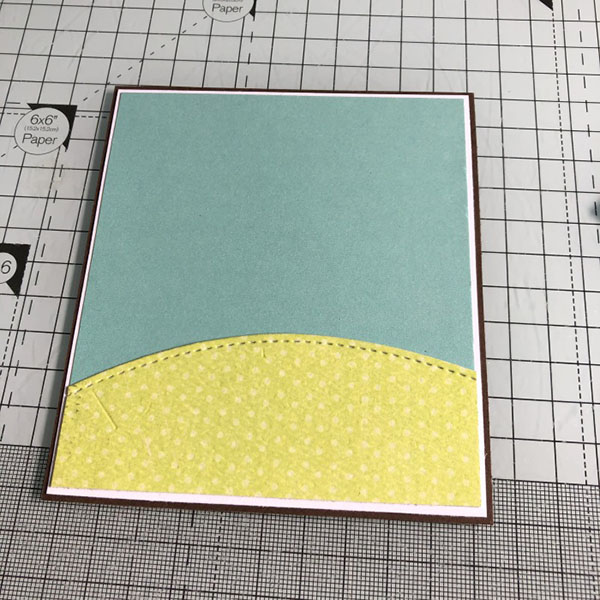
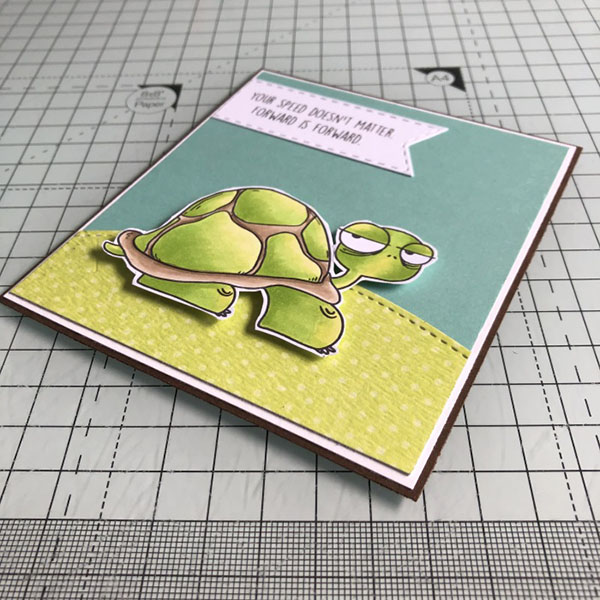
Cut a ‘hill’ from some green card or patterned paper and trim to 4″ wide.

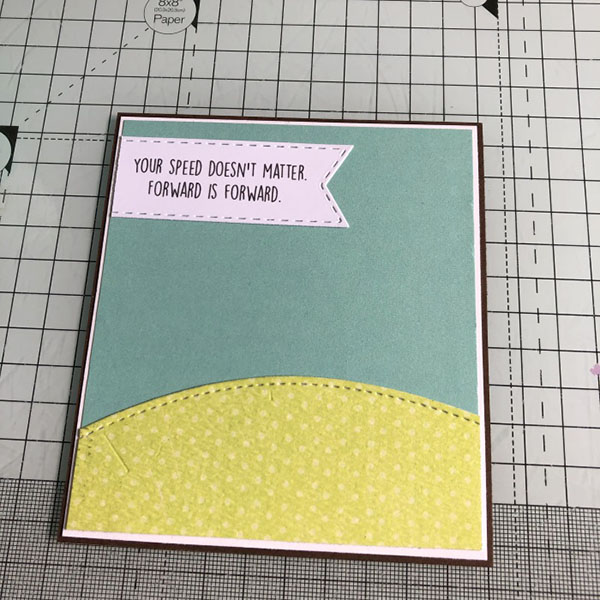
Stamp the sentiment onto white card and cut out using the pennant die.

Adhere the grass hill to the card front.
Adhere the sentiment to the top left of the card front, ensuring to keep it down a little so that the stopper doesn’t catch it when the card is standing.
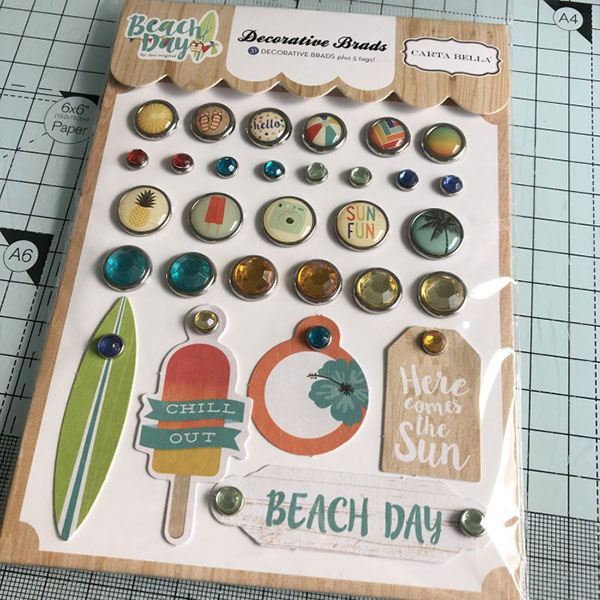
For the stopper you can use a flower, or paper circle on a dimensional or a good sized brad. The one used on this card is 0.5″ in diameter.
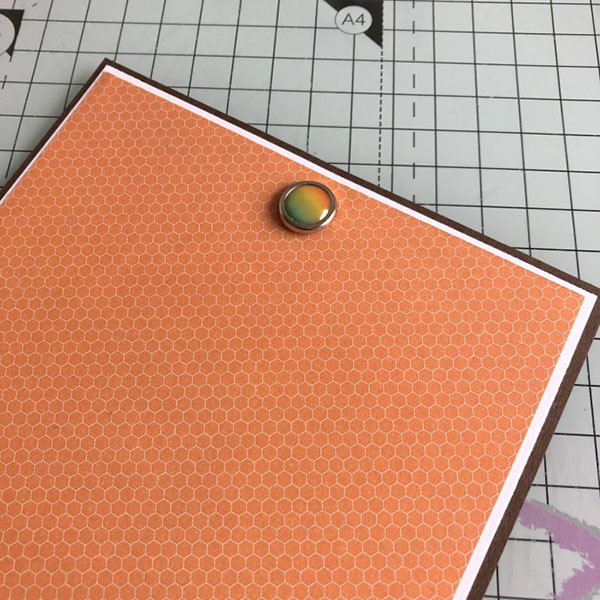
Measure half way across the back panel of the card base and make a cut through all the layers, about 0.5″ down. Insert the brad and secure it with the legs at the back, leaving a little slack so that the card front can slip underneath.
Stamp Oddball Turtle onto white card and colour using your desired medium.
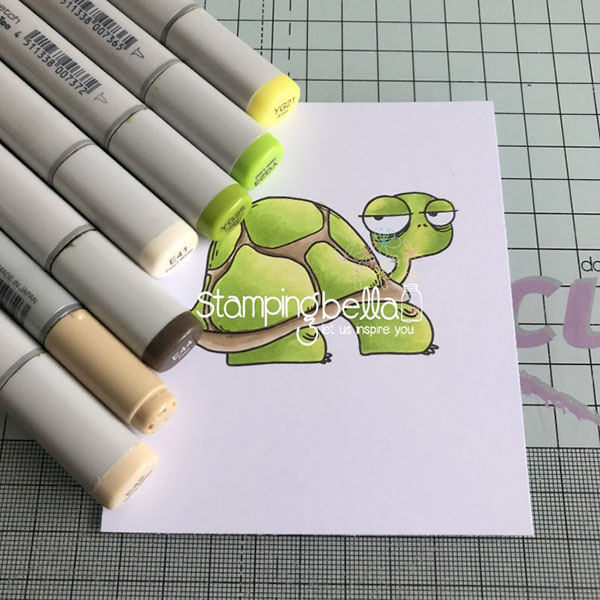
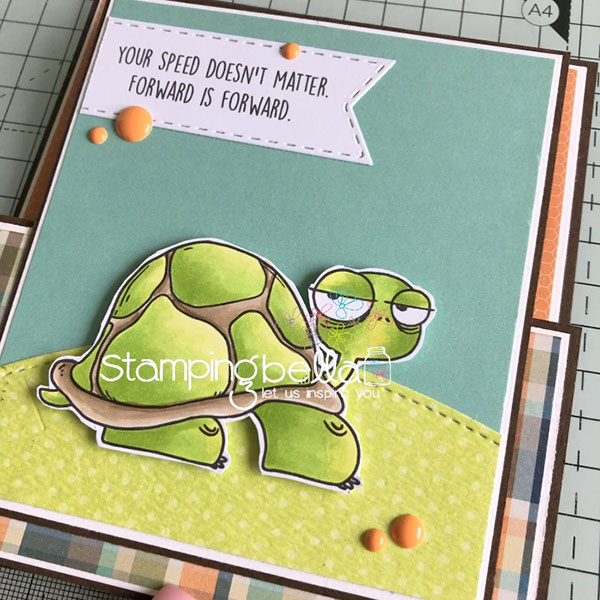
Cut the Turtle out using the coordinating CUT-IT-OUT die, or use a precision scissors to fussy cut. Adhere to the card front using dimensionals.
Position the front panel about half way over the brad, hold the card flat and mark where to apply glue. Only apply the adhesive on the back of the card front where it sits on the very front section of the card base.
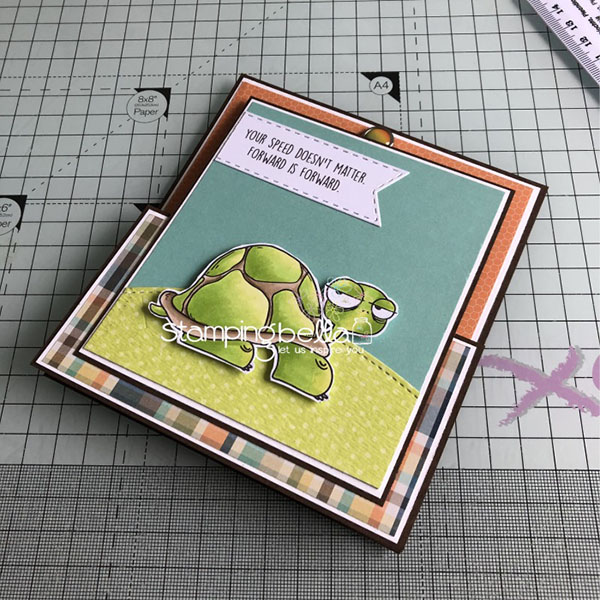
Decorate using enamel dots.
To stand the card up, slide the front panel behind the brad.
Over To You!
Share your personal favourite Stamping Bella creations with us. We LOVE to see what you’ve been creating with Stamping Bella stamps. Share a link to your latest Stamping Bella card in the comments below, or an old favourite you made a while ago. Tell us what your favourite stamps are. Are there any additions you would like to see to the range? Let us know!
Another way to connect is by joining us in the Stamping Bella Sistahood Facebook Group and share your pictures.
If you are posting your images online, we would love to see them on Instagram and all the platforms mentioned above. To make it easier for us to find you just use #stampingbella as a hashtag. Even better tag me @markergeek and Emily @stampingbella . We love it when you connect, so don’t be shy!
Until next time, HAPPY STAMPING!
MWAH
Elaineabella
I like this one! We saw a giant turtle going across the road once when I was babysitting for 2 kids. I never saw one that big before in person only on TV. The kids asked what would happen to that turtle & I said I didn’t know but when we go home, we will say a prayer that God will watch over that turtle. This card reminds me of that. I really like it!