


Sandiebella has another awesome tutorial for us this week, featuring one of the latest stamp and die releases together with some older ones!
Curvy Girl Gardener Accordion Card

Supplies:
How to:
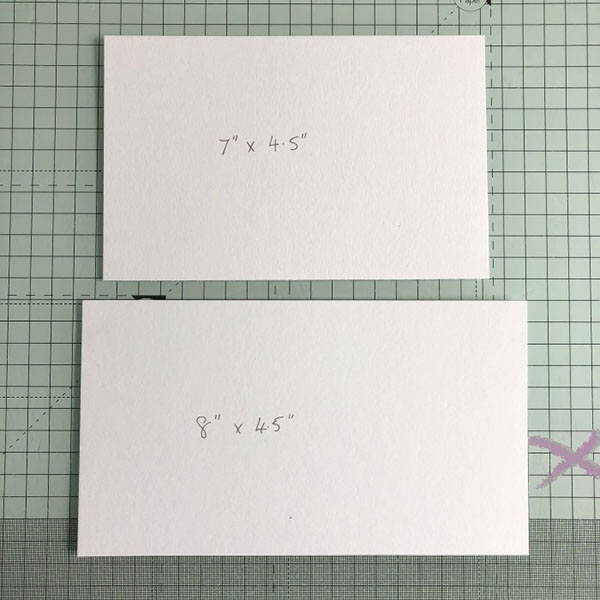
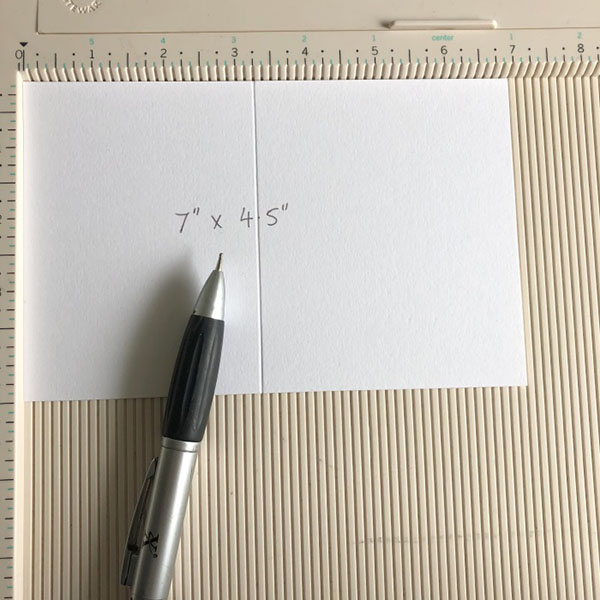
Score the 7″ x 4.5″ piece at 3.25″
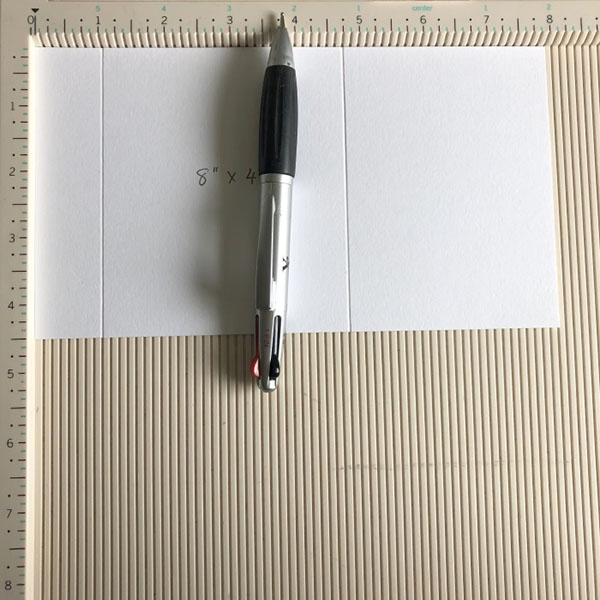
Score the 8″ x 4.5″ at 1″ and 4.25″
Apply adhesive to the 1″ section of the 8″ x 4.5″ piece
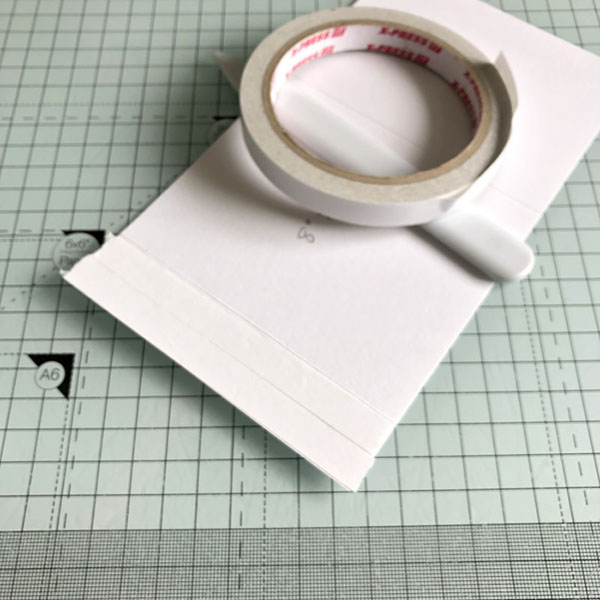
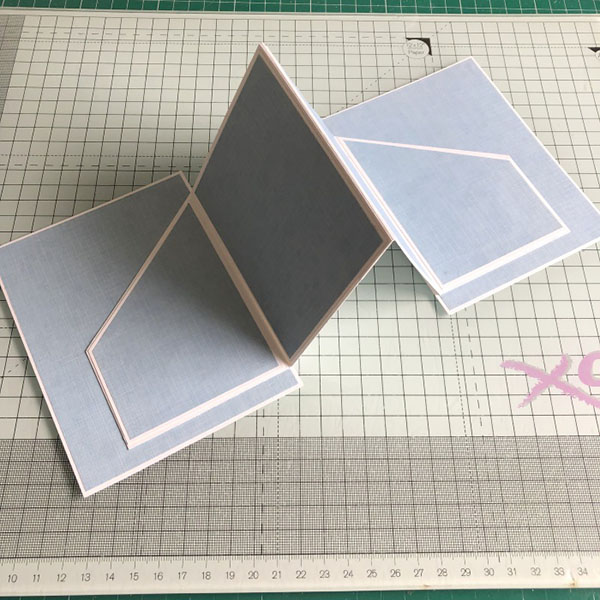
Adhere the end of the 7″ x 4.5″ to the 1″ section of the 8″ x 4.5″ piece. Both end panels should measure 3.25″ wide and both centre panels should measure 3.75″ wide
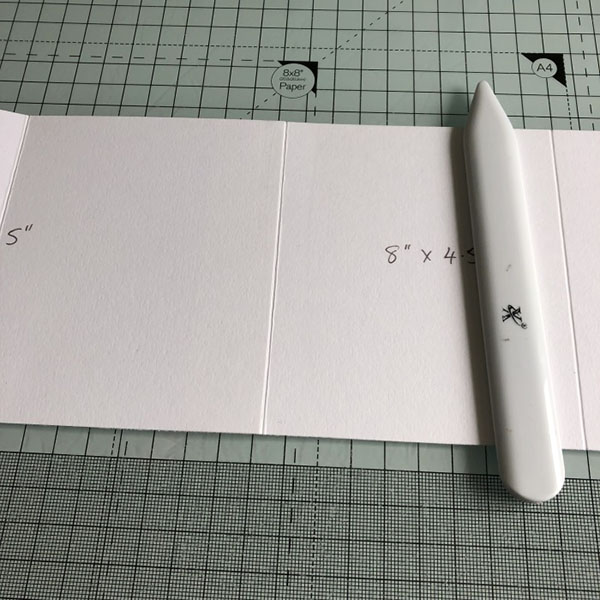
Fold and crease all the score lines with a bone folder.

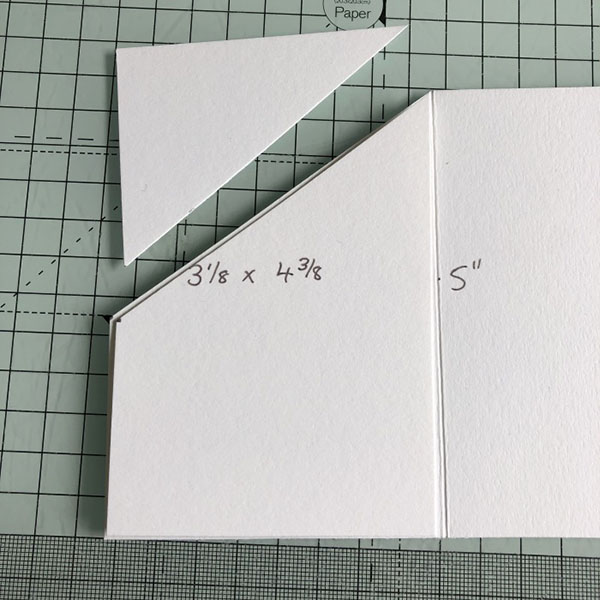
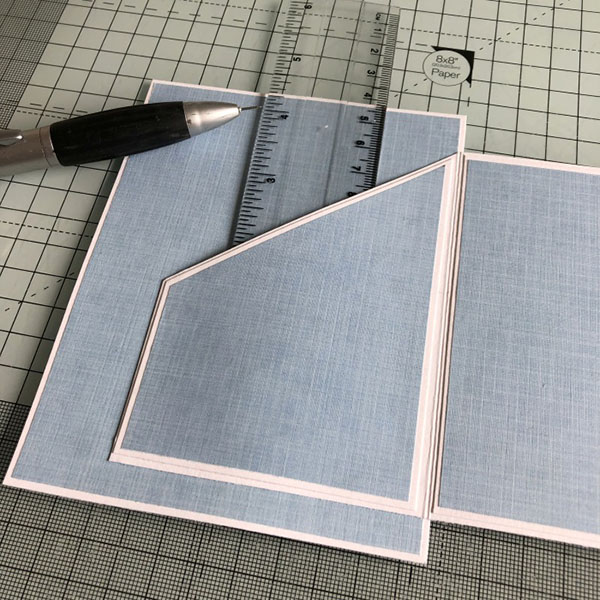
On each of then end panels, measure down 2.25″ on outer edge and cut diagonally from the inner scoreline.


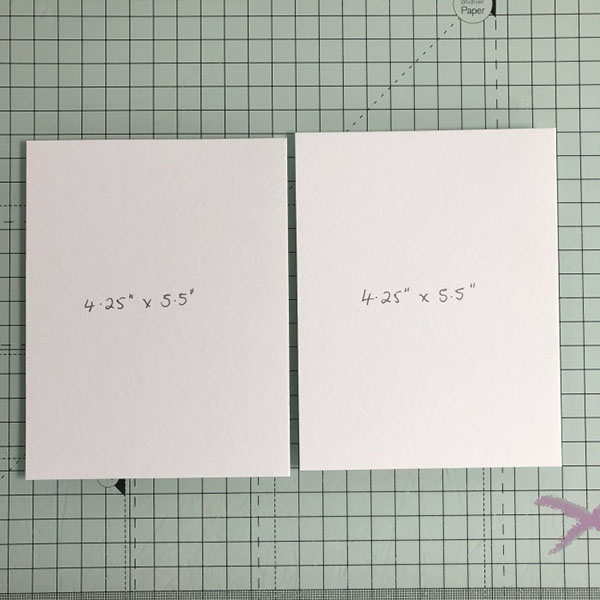
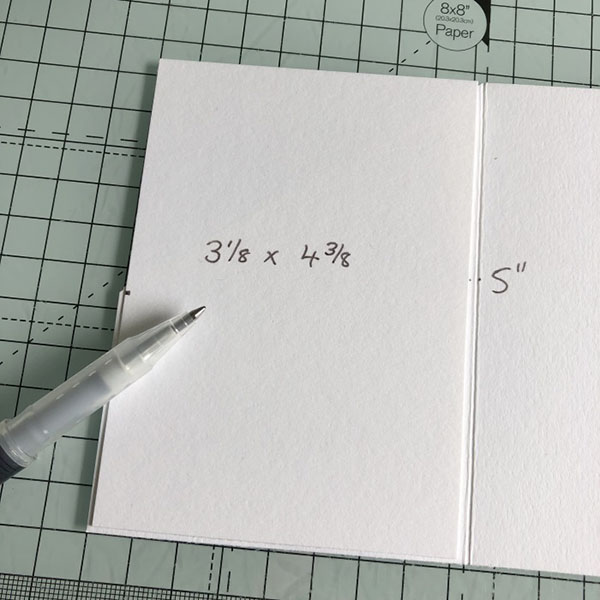
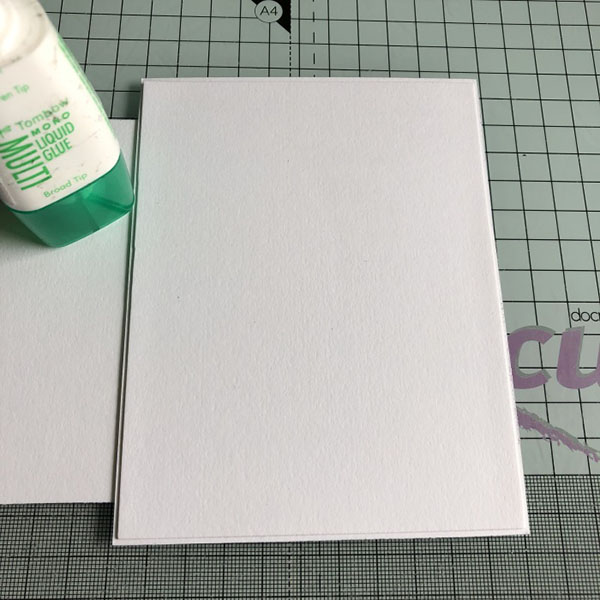
From white card, cut

To cut the 3 1/8″ x 4 3/8″ end pieces diagonally, centre on top (do not stick it down) of the outer panel and mark with a pencil. Cut from the opposite top corner down to the pencil mark. Repeat for both end sections.
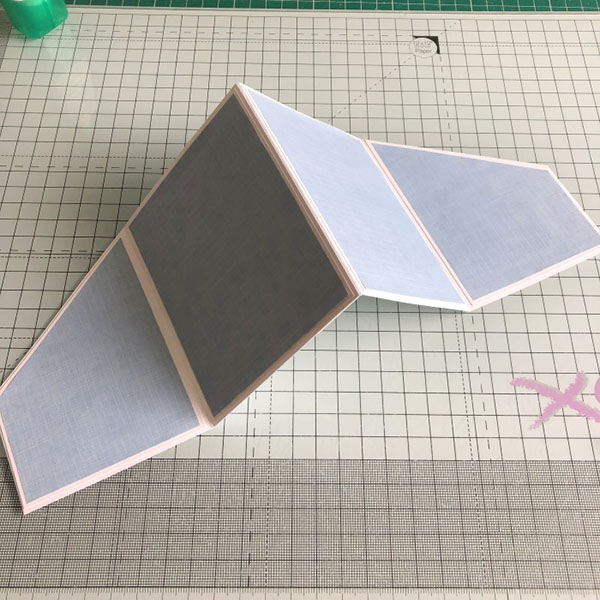
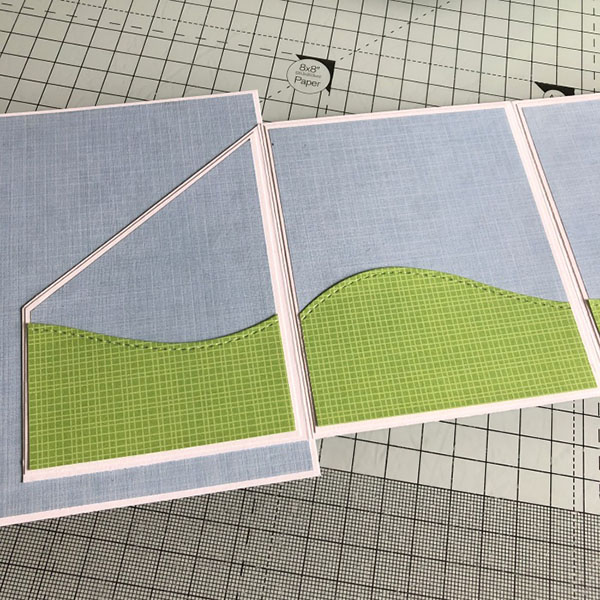
For the accordian part, cut patterned paper pieces:

Adhere all the patterned paper pieces
Create pockets from each end section by applying adhesive to the each edge and the bottom only.
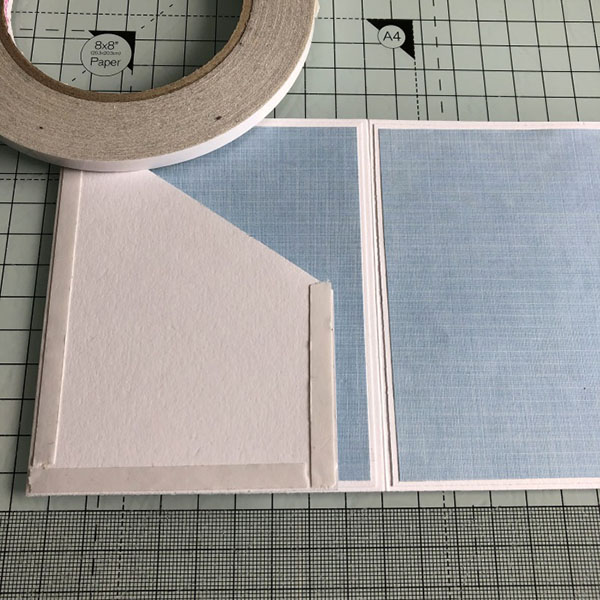
Cut 2 pieces of patterned paper measuring 4 1/8″ x 5 3/8″ and stick one onto each of the 4.25″ x 5.5″ of white card you cut earlier. Remove the tape backing and adhere the first section of the accordian to the 4.25″ x 5.5″ panel, lining it up on the right side edge, but ensuring it doesn’t protrude over the edge. Repeat on the opposite end, using the second 4.25″ x 5.5″ panel – as shown below.
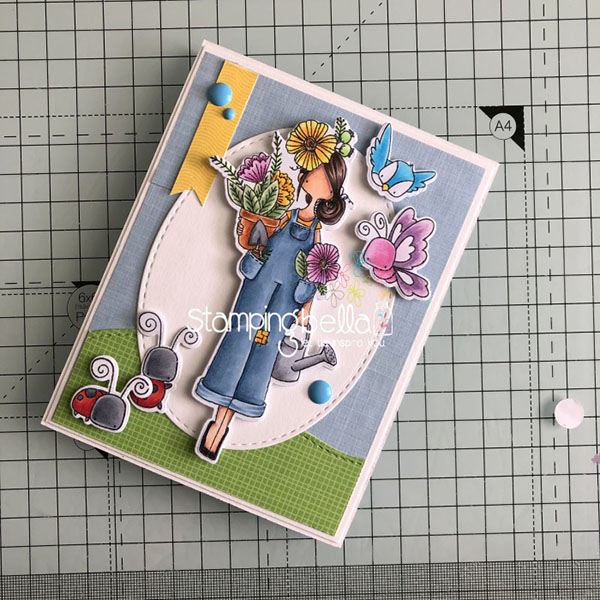
Cut a piece of white card measuring 4 1/8″ x 5 3/8″. Close up the card and adhere this to the front of the card.
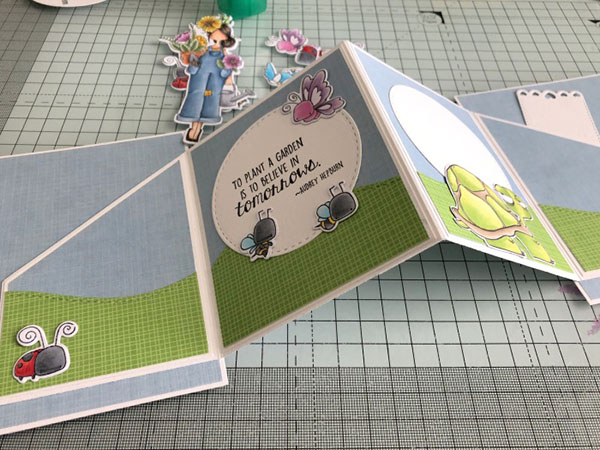
Add any extra design, as desired, inside. On this I used a hills border die.
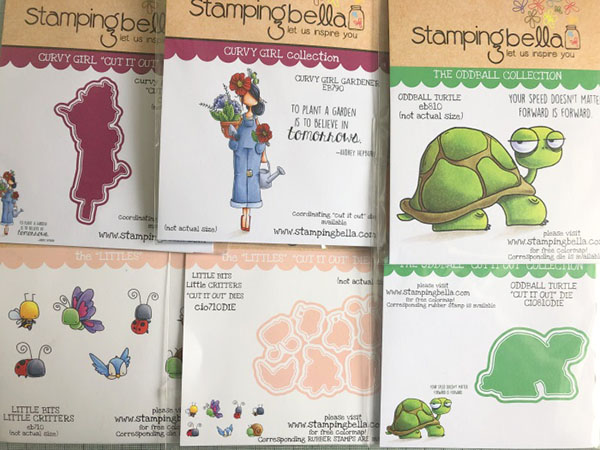
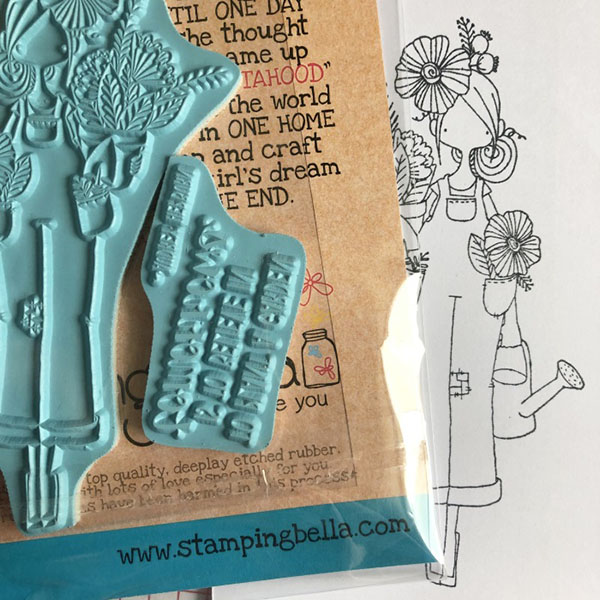
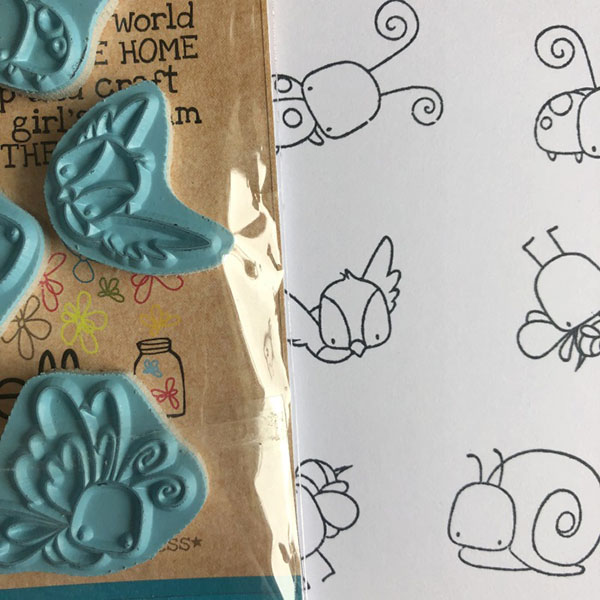
Stamp all the images onto white card.
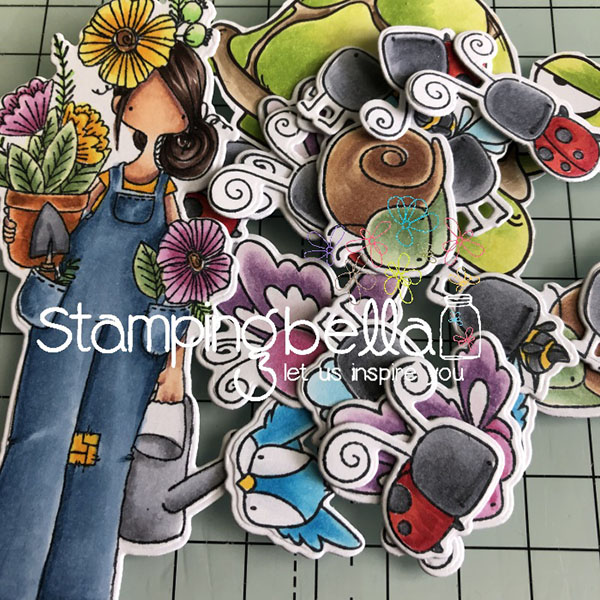
Colour with your desired medium and cut out using the coordinating dies.
Stamp the sentimet from Curvy Girl Gardener onto white card and cut out using a circle die of approximately 3″ in diameter.
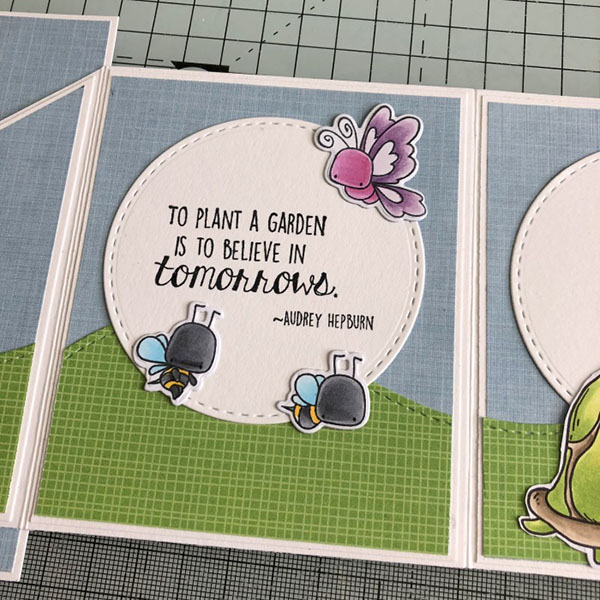
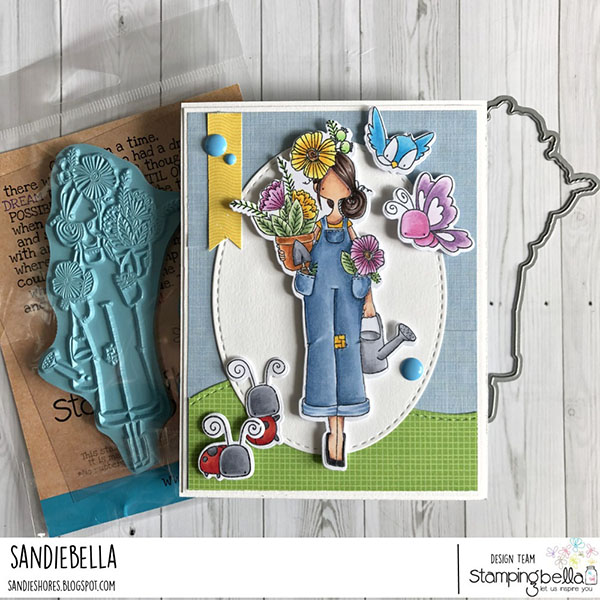
Decorate the inside with the Little Bits Little Critters and Oddball Turtle, adding another white card circle to the second inner panel for a personal message.
Decorate the front of the card using Curvy Girl Gardener and Little Bits Little Critters. Embellish using enamel dots and a hand cut pennant from contrasting paper.
Centre panels.
Finally, cut 2 tags and insert them into the pockets. These pockets also fit gift cards.

Over To You!
Share your personal favourite Stamping Bella creations with us. We LOVE to see what you’ve been creating with Stamping Bella stamps. Share a link to your latest Stamping Bella card in the comments below, or an old favourite you made a while ago. Tell us what your favourite stamps are. Are there any additions you would like to see to the range? Let us know!
Another way to connect is by joining us in the Stamping Bella Sistahood Facebook Group and share your pictures.
If you are posting your images online, we would love to see them on Instagram and all the platforms mentioned above. To make it easier for us to find you just use #stampingbella as a hashtag. Even better tag me @markergeek and Emily @stampingbella . We love it when you connect, so don’t be shy!
Until next time, HAPPY STAMPING!
MWAH
Elaineabella
i just adore your card!
Awesome! Thanks for sharing the “how to”.
I love this card! I’ve never tried to make anything you guys have done here because there is always a bunch of things I don’t have to make the project. However, I admire everyone who does end up making this including SandieBella!