


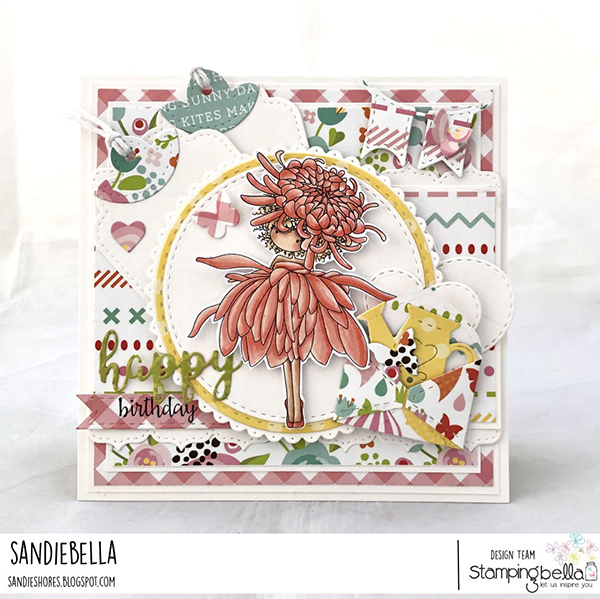
This week Sandie is walking us through her gorgeous layered card design, showing us how to build up the layers!
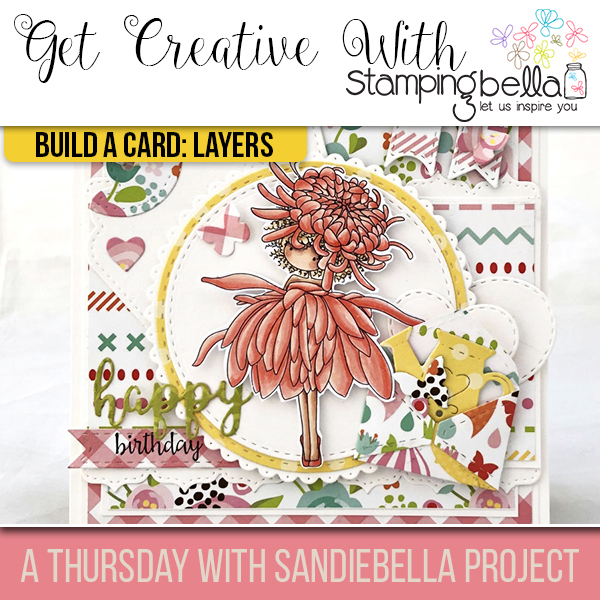
Build-a-Card: Layers
Supplies:
How To:

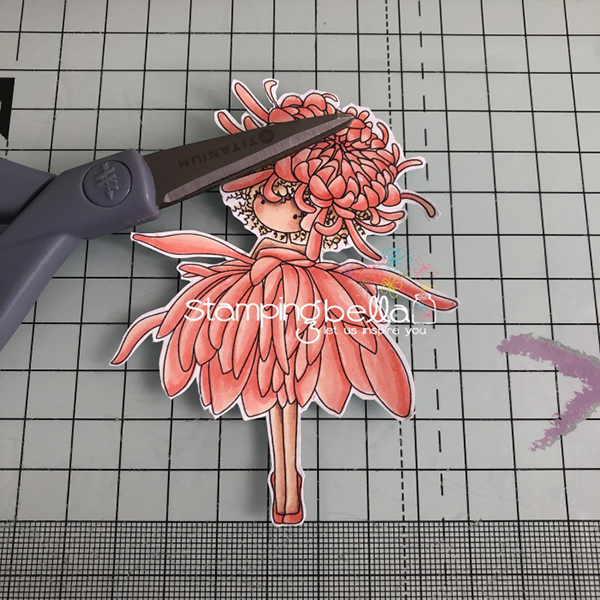
Use the coordinating CUT-IT-OUT Die or fussy cut with a precision scissors.
Set the image aside.
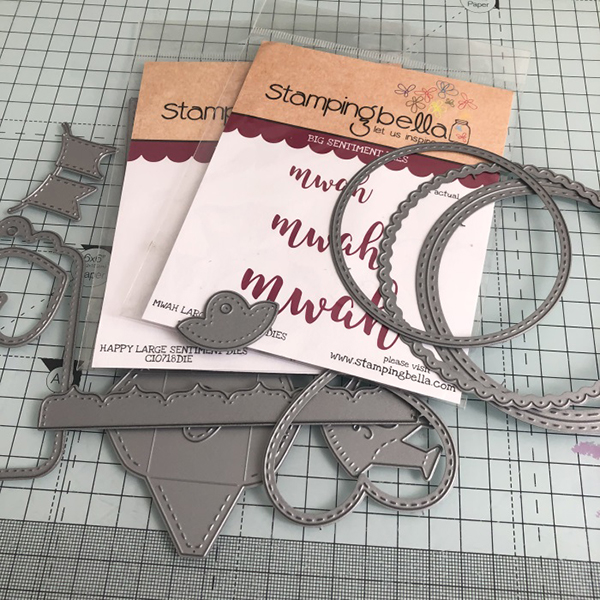
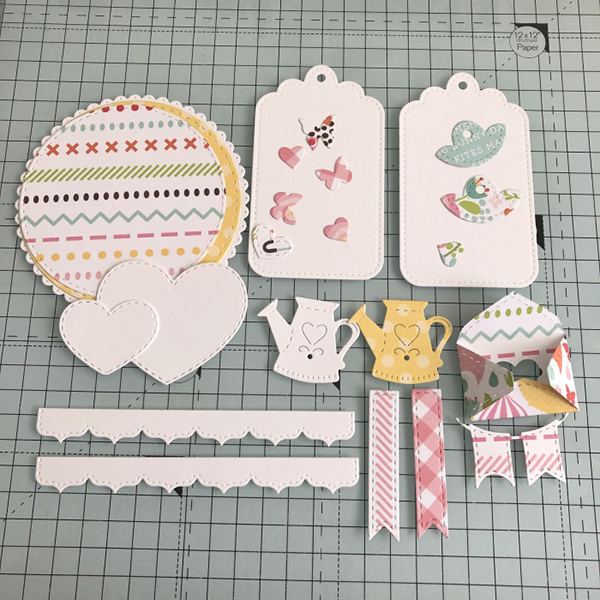
Gather a selection of coordinating design papers, and Dies for layering and decorating.

Cut:
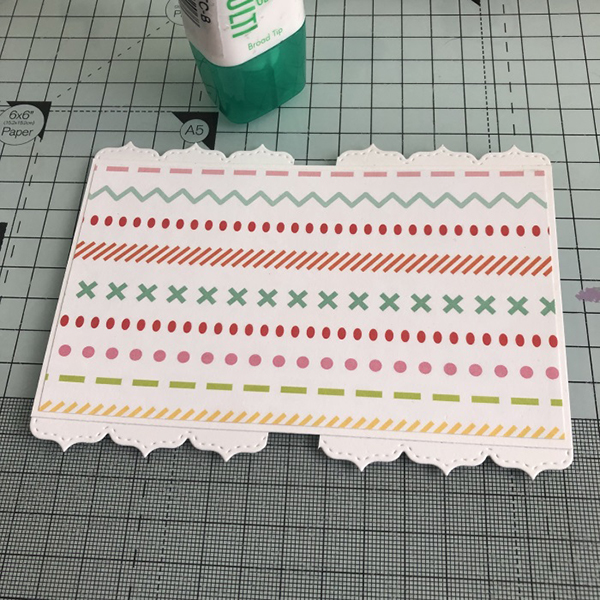
Panel 3: white card – 3.25″ x 5.5″, patterned paper 3 1/8″ x 5 3/8″

Fold the card base in half and crease well with a bone folder.

Assemble layer 1 and 2, and adhere them together. Adhere this to the card base.

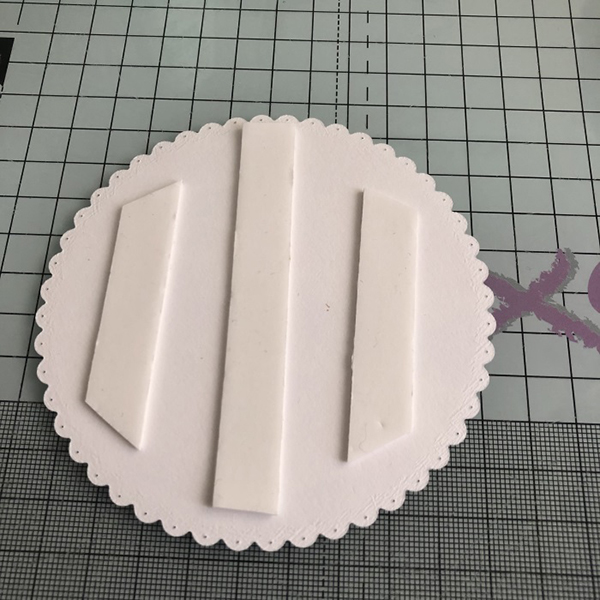
Cut a selection of dies, includng scalloped and stitched circles to mat the image.
The tabbed border is slightly too short, so to fix this I cut them in half and glued them to the outside ends of each side of the 3.25″ x 5.5″ panel. The circle will cover the gap and it won’t be seen.

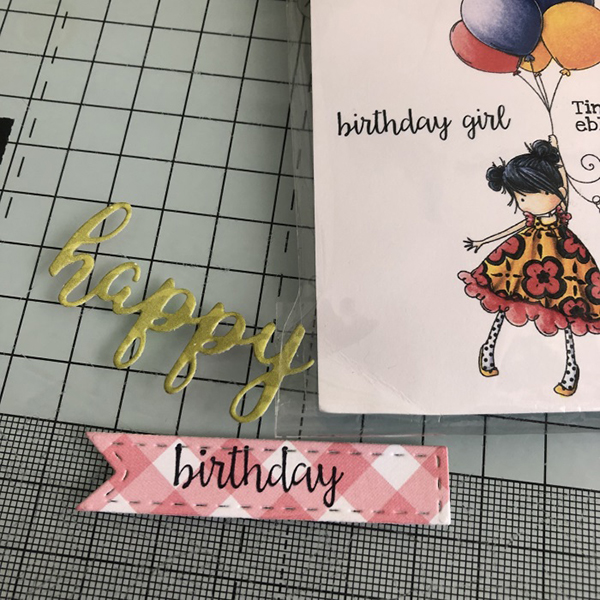
Assemble the tags.

Without using glue, arrange all the elements on the card until you are happy with them.
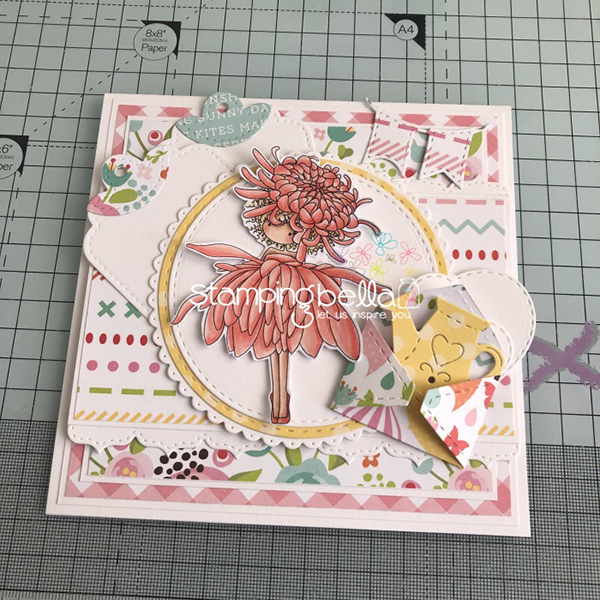
Take a picture for reference and work from that when sticking everything down.
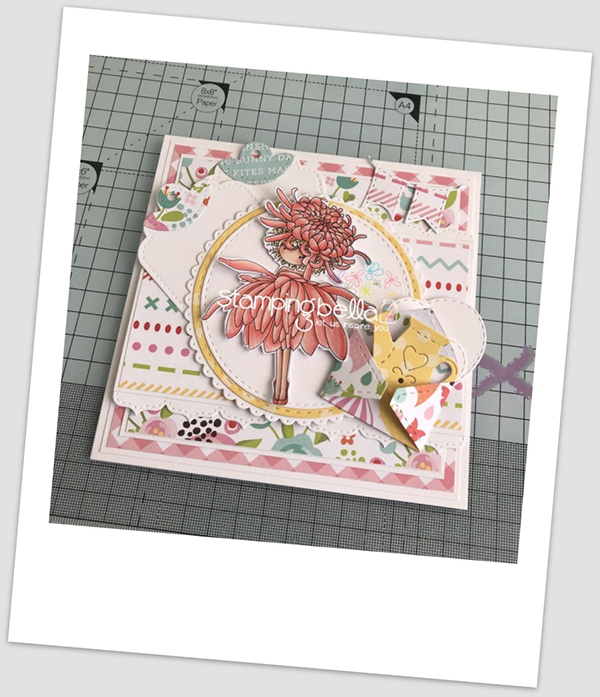
Use foam tape when adherng the circles to the front of the card. Also use foam tape for the image for extra dimension and to allow for layering behind her.
Stamp the sentiment from Tiny Townie Blossom Loves Balloons onto some patterned paper and cut out using a penant die. Also cut the smallest Die from Happy Sentiment Word Dies in a contrasting colour. Arrange them on the front of the card as desired
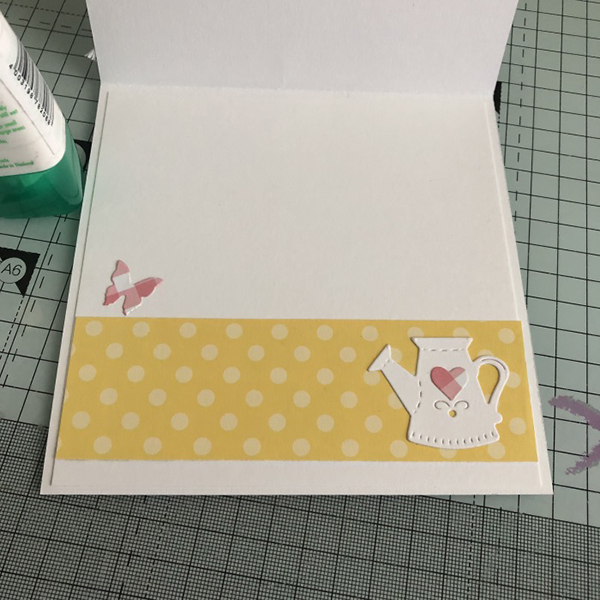
Cut a 5.5″ square piece of white card for the inside and add a band of patterned paper and some die cuts.
To finish the card, string some white twine though the tags.
Over To You!
Share your personal favourite Stamping Bella creations with us. We LOVE to see what you’ve been creating with Stamping Bella stamps. Share a link to your latest Stamping Bella card in the comments below, or an old favourite you made a while ago. Tell us what your favourite stamps are. Are there any additions you would like to see to the range? Let us know!
Another way to connect is by joining us in the Stamping Bella Sistahood Facebook Group and share your pictures.
If you are posting your images online, we would love to see them on Instagram and all the platforms mentioned above. To make it easier for us to find you just use #stampingbella as a hashtag. Even better tag me @markergeek and Emily @stampingbella . We love it when you connect, so don’t be shy!
Until next time, HAPPY STAMPING!
MWAH
Elaineabella