


Time for another Stamp It Saturday post! This week I’m taking a little time out from my house move (much needed – there have been a few little hiccups) to play with my stamps, and I thought I’d share part of the process today, along with some links and tips, and show you the colouring part of the process on Monday!
Masking a Winter Scene with Stamps & Stencils
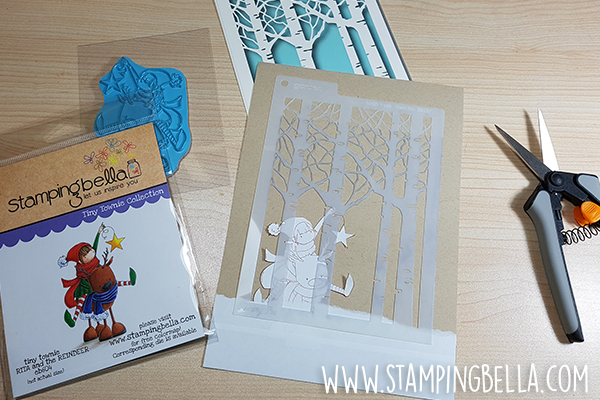
You may recognise the stencil I’m using today from another recent post here on the blog: Two Spooktacular Ways with Background Stencils. This time I’m using it for a beautiful winter background – got to love stretching those tools and supplies.
I just had to use my favourite new Tiny Townie again for this scene – Tiny Townie Rita and the Reindeer. She’s just gorgeous and makes me feel all cosy and festive!
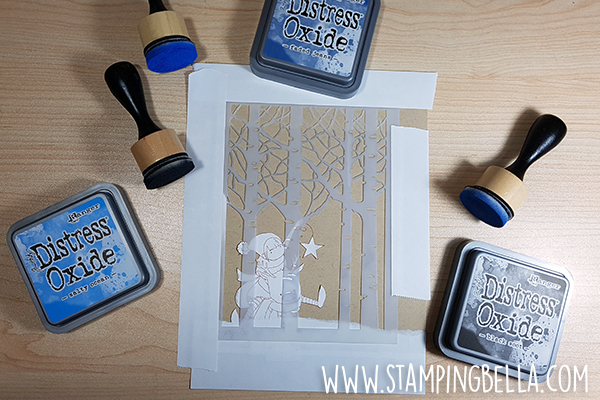
If you are masking an image with the intention of inking a background, try to cut the mask directly on the stamped lines as this will help to avoid the halo effect that occurs if the mask is larger than the stamped outline.
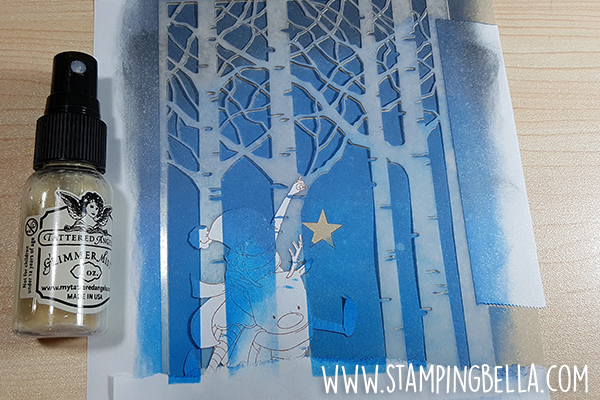
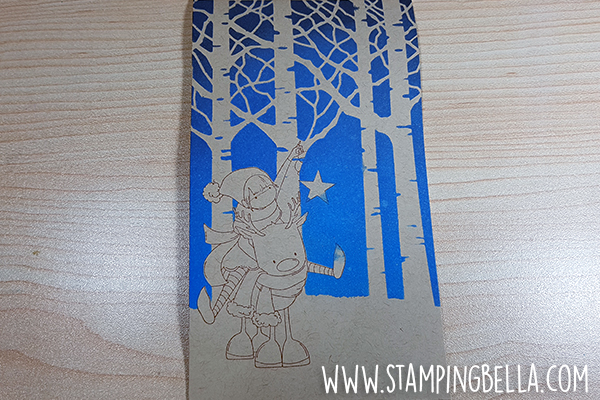
As you can see, my mask peeled up in a couple of areas while I was applying the ink. I’m not too concerned – I plan to colour the image with coloured pencils, and will cover these areas quite easily.
Masking Multiple Images:
I thought this would also be a good time to share a little step by step on how to stamp and mask multiple images together to create a little scene.
Remember that whatever you want to appear in the foreground needs to be stamped first, then masked before you stamp the elements that appear behind it. So you stamp front to back – each time you mask, the object you stamp over it will appear to be behind it when you remove the mask.
Here’s a little step by step using the adorable Little Bits Set of Elves stamp set:

Stamp and cut the masks. I have used Inkadinkado Masking Paper which is self-adhesive. You could also use copy paper with a repositionable glue, or Post-Its.

I like to play around with the masks to see how I want to arrange the images in my scene – I ended up not needing the third mask of the standing elf at the back, because he is the one furthest back in my scene and so is stamped last.

Stamp the foreground elf first, then apply the mask.

Stamp the mid-ground elf over the masked image, then apply the mask to this one.

Stamp the third and final elf!

Peel off all the masks and you have your scene! If, like me, you find that a few lines aren’t perfect, don’t panic! Grab a fine-liner and draw them in. If you plan to colour with alcohol based markers, be sure to use a pen you know won’t smear!
Coming Soon!
So many of you have asked for coloured pencil colouring videos, so Monday’s Marker Geek Monday post will be the colouring video for the Tiny Townie Rita and the Reindeer scene! See you then!
Over To You!
If you try out the techniques shown in any of the posts with your Stamping Bella stamps, be sure to share! We would love to see the results and hear how you feel about them. Show off your creations in the comments below and even better, share your own favourite tips with us. Let’s talk stamping!
If you are posting your images online, we would love to see them on Instagram and all the platforms mentioned above. To make it easier for us to find you just use #markergeekmonday and/or #stampingbella as a hashtag. Even better tag me @markergeek and @stampingbella . We love it when you connect, so don’t be shy!
If you’re on Facebook join us in our private chat group Stamping Bella Sistahood to share your creations there and chat all things Stamping Bella related!
Until next time, HAPPY STAMPING!
MWAH
Elaineabella
Fabulous tutorial Elaine… thanks so much for sharing! Sorry to hear you’ve had hiccups with the house move – hope they’ve not been too big and that you’ll be settled in the new house shortly.
Christine x
Great explanation and the cards are lovely. Always inspiring to read your blog.
Beautiful, thanks for sharing.
Great tutorial. I am so glad you’ll be doing a color pencil demo. I’d love to know what paper and pencils you use. Do people use a regular white paper like the solar white or a specific paper for pencils. Exciting.,. And thanks for this one.
Thanks for sharing! 😉