Happy Monday! Elaineabella here, as usual. Sadly, I don’t have a new Marker Geek Monday for you this week though. Last week was not a great week, and I did NO colouring whatsoever. Hoping to remedy that this week, but in the meantime I thought I’d post a round up of all the Marker Geek Monday posts so far this year. That way you can check out any posts you may have missed, and have a handy link to any you may want to revisit. Fingers crossed for a better week this week, and a new Marker Geek Monday next week!
Posts include pinnable images showing colour combinations etc, videos and general tips/info.
You can watch all my Stamping Bella colouring videos in the playlist below or in HD over on YouTube.
I have also been posting tips, colour combos and videos over on my own blog – Marker Geek. Here’s a quick round up so you can hop over and check them out:
If you try out the techniques shown in any of the posts with your Stamping Bella stamps, be sure to share! We would love to see the results and hear how you feel about them. Show off your creations in the comments below and even better, share your own favourite tips with us. Let’s talk colour!
If you are posting your images online, we would love to see them on Instagram and all the platforms mentioned above. To make it easier for us to find you just use #markergeekmonday and/or #stampingbella as a hashtag. Even better tag me @markergeek and @stampingbella . We love it when you connect, so don’t be shy!
If you’re on Facebook join us in our private chat group Stamping Bella Sistahood to share your creations there and chat all things Stamping Bella related!
Until next time, HAPPY COLOURING!
MWAH
Elaineabella
Hiya sistahs! Hope you’re having a great week!
This week’s Bellarific Friday theme is an INSPIRATION PHOTO! The great thing about these photos are that you can interpret them as you wish.. color.. composition.. subject matter.. The choice is yours! Whatever inspires you!
Here is the inspiration photo for this challenge
Let’s see how our AMAZING baberoonies were inspired shall we?
For links to our baberoonis, take a lookie to the right of this post for a list of links to our amazing Design Team!
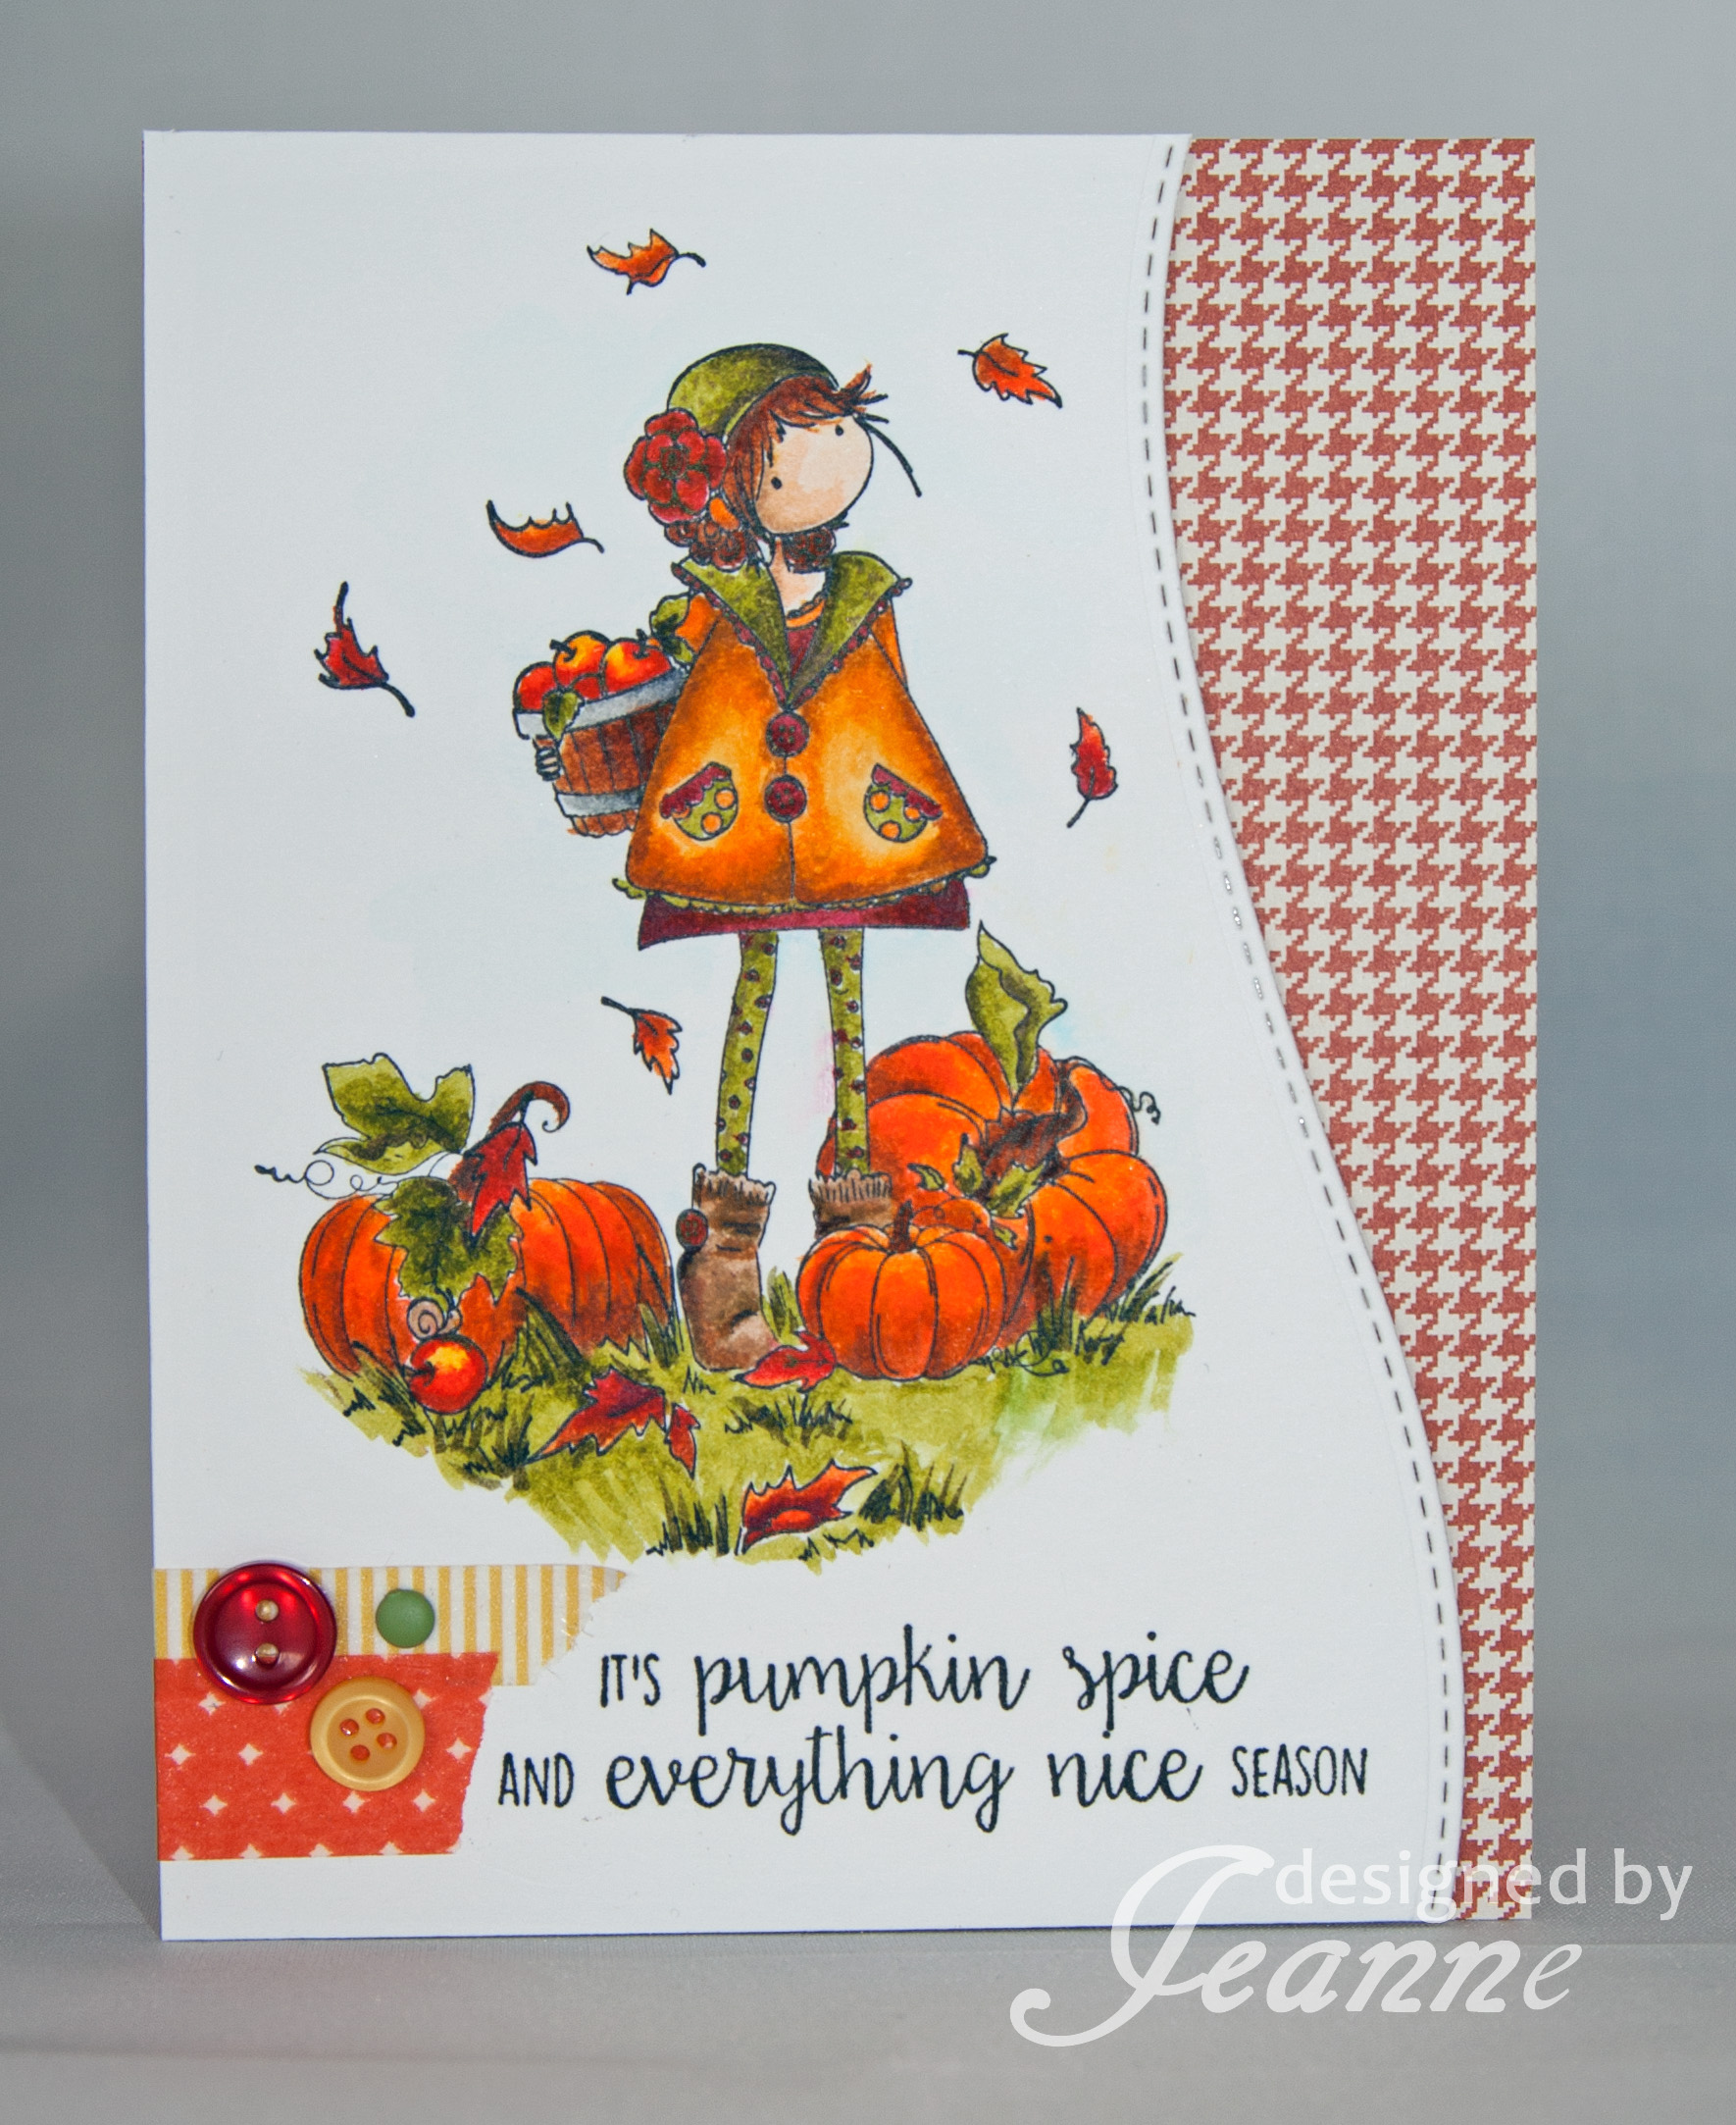
Here’s AliceWERTZabella’s card using TINY TOWNIE PATRICIA loves PUMPKINS
FayEabella used Tiny Townie Patricia Loves Pumpkins
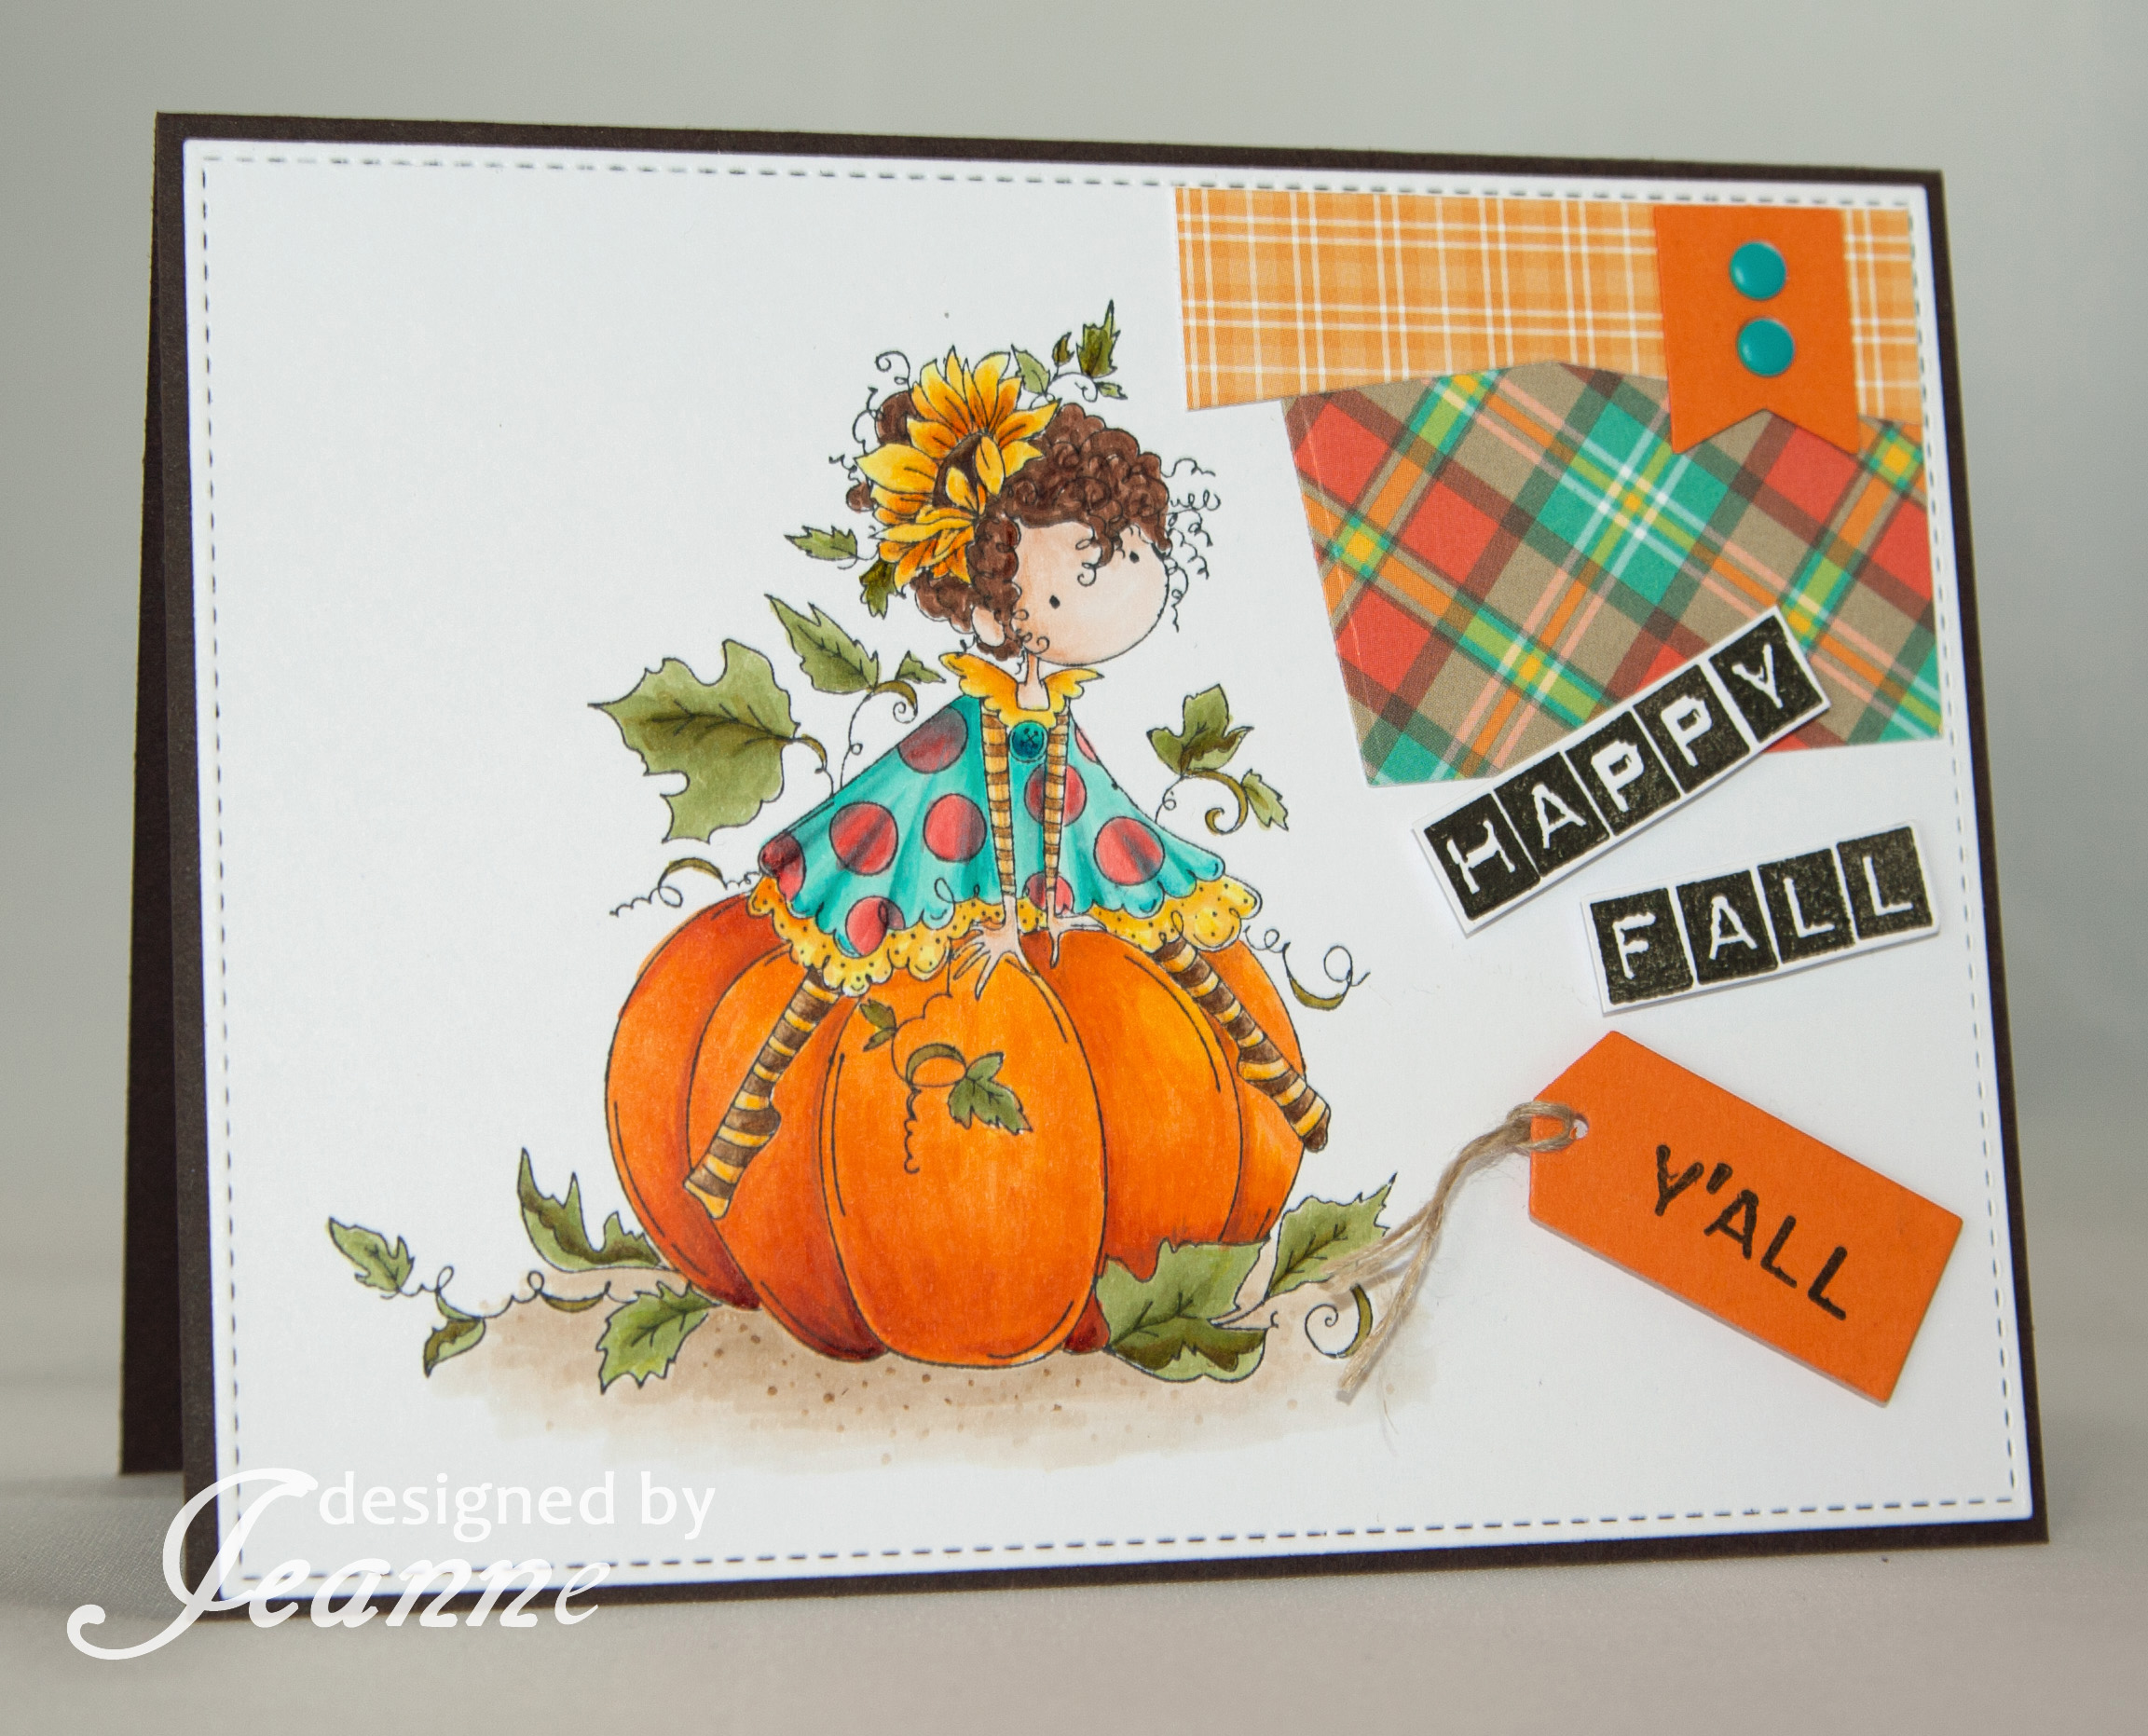
Jennybella used Tiny Townie FAY loves FALL
Kerribella used TINY TOWNIE FAY loves FALL
Lesliebella used TINY TOWNIE WILLOW THE WITCH cut it out DIE and RUBBER STAMP BUNDLE!
Paulabella used GIGI the GIRAFFE STUFFIE
Sandiebella used TINY TOWNIE WILLOW THE WITCH
Shelabella used TINY TOWNIE AUTUMN loves AUTUMN
Stephabella used TINY TOWNIE PATRICIA loves PUMPKINS
Seriously I CANNOT with the cuteness can you???
and contributions from da sistahood!

Jeanne was so inspired she submitted 2 cards 🙂


Now for next week’s BELLARIFIC FRIDAY THEME?
FREE FORM! This means… the sky’s the limit… this means.. whatever inspires you.. this means as long as you use a CURRENT Stamping Bella stamp on your project, you’re in like flynn! LOL.. So get your Bella on sistahs and submit something! Would love to see your creations!
MWAH!
It’s time for another awesomely creative DT Thursday post! This week Sandiebella is showing you how to turn trash into treasure by up-cycling your empty candy boxes to create a fab gift box, perfect for sending a little care package!
I’m Sandy Allnock and it’s my final week here on the Stamping Bella blog…I hope you’ve enjoyed my cards as much as I’ve enjoyed making them! Big big thanks to Em for the invitation! 🙂
Since we’re good friends by now…I thought cozying up to a fireplace together would be fun this week. Rudolph with a present on top just cried out for it with that sweet sentiment. Grab a cup of something warm to drink and settle in to watch the video below or click HERE to see it in HD on YouTube.
One final giveaway is posted over on my blog – if you’d like to try coloring this cozy card, go leave a comment to qualify to win, and I’ll announce a winner on Sunday!
If you’re interested in seeing more Holiday Backgrounds, be sure to follow my blog or YouTube to have them delivered to your inbox throughout the fall!
Hey folks, Elaineabella here! It’s Tuesday again, so I’m back with my giant spotlight ready to shine it on some of my favourite stamps in the Stamping Bella collection. We have a fantastic range of images, old and new, and they all deserve a lot of love and attention! Hopefully today I can either inspire you to pull out some of the stamps in your collection and get them inked up, or to add some new to you stamps that you may have previously missed! Where possible I’ve also added links to useful content to help you colour and create with the stamps. Click through for all the inspiration!
Hey everyone! Elaineabella here again with another festive themed Marker Geek Monday post for you. This week I’ve got some suggestions for colouring our adorable new Rudolph the Reindeer stamps from the Holiday 2016 release. Click through to check it out.