


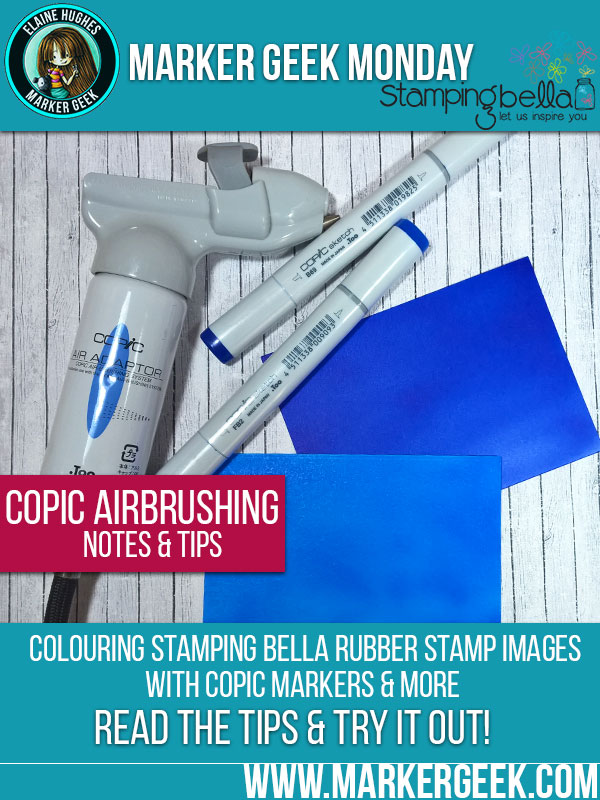
Hi everyone, Elaineabella here with Marker Geek Monday! Last week I pulled out my Copic Airbrush System for the first time in a while, and had a bit of a play with it. I thought it might make a good Marker Geek Monday topic this week for those of you that have the Copic Airbrush System (ABS) already, and also for those of you thinking about popping it on your Christmas or birthday wishlist! 😉
Cyber Monday Reminder:
Just a quick reminder – the current sale at Stamping Bella ends at midnight tonight, Cyber Monday! You’ll need to enter the code in the image below when you check out.
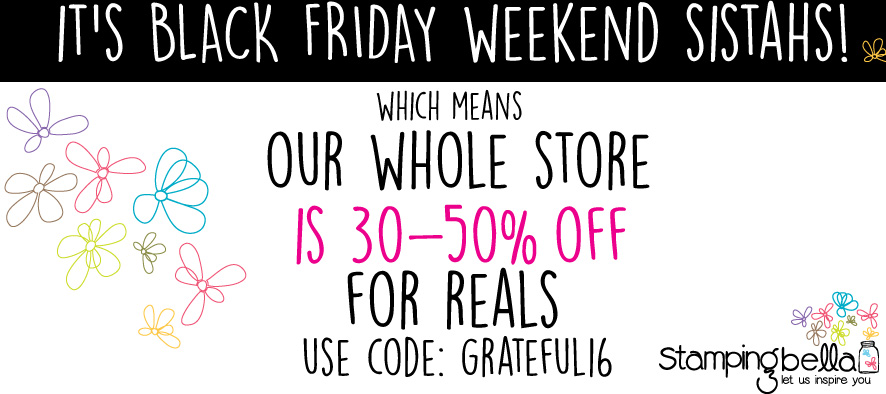
If you look at the “On Sale” section, you will find some items that have already been discounted. The 30% discount from the code provided above will stack with the existing discount, giving you up to 50% discount on some items!
My Stamping Bella Card:
Before I get into some quick tips and info on the Copic Airbrushing System (ABS) I’d like to share the shaker card I created using one of my airbrushed backgrounds! I’m making up some little kits for my nieces to create some fun shaker decorations and cards soon, and airbrushed backgrounds seemed like the speediest idea.
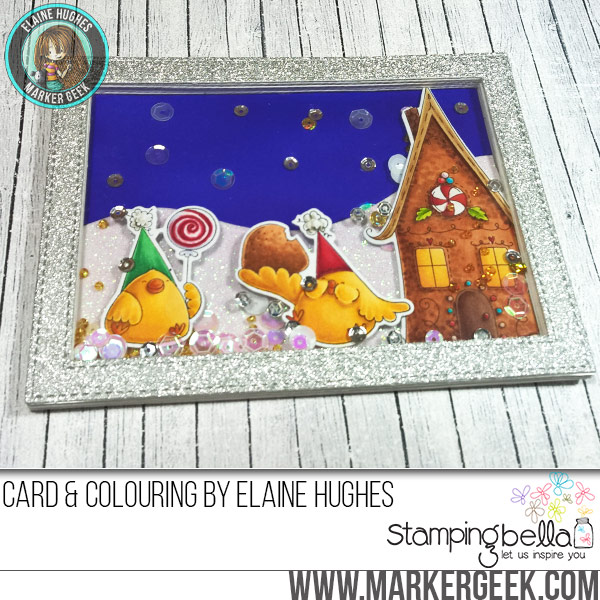
To create this card I used the Stamping Bella Gingerbread House stamp and coordinating cut it out die, and the Gingerbread Chicks stamp set and coordinating cut it out die set.
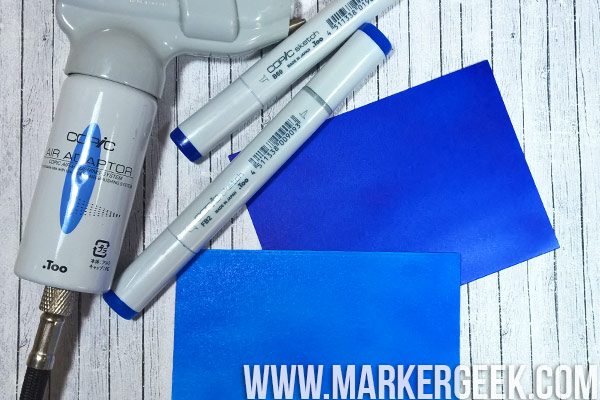
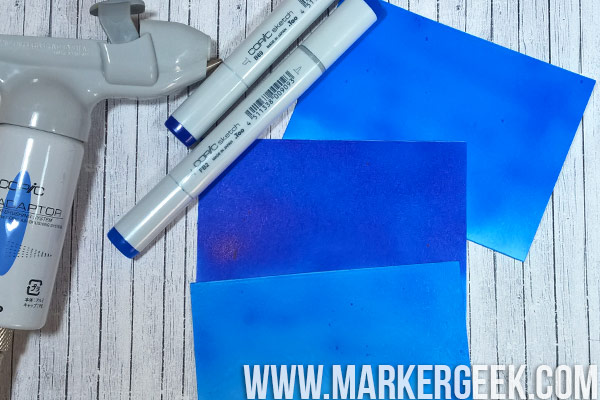
Copic Airbrush System:
The Copic Airbrush System works by blowing air across the tip of the marker, which basically sprays the ink on to the paper or object.
You can read about the different options for the Copic ABS on their website HERE.
The Airbrush System is designed to work with both Original and Sketch markers. You can play around and get Ciao marker to work in the grip with a little fiddling and some foam tape, but I have never tried it.
You can use the Airbrush System to create coloured backgrounds like the one on my card above, or use it with masks for more creative effects and applications.
As you will see from the info on the Copic website, you can use the system with the air cans they sell, or with an air compressor. When I first tried Copic airbrushing I used the cans but quickly switched to an air compressor as at the time I was using it fairly often and found this to be the most economical option in the long term. If like me, you want to use a compressor then you will need the ABS-3 kit and an air compressor that can run between 40-60 psi. The info on the Copic website will tell you which air hoses you need to connect the grip to your compressor. A decent air compressor should be in the region of $150-300.
Airbrushing Tips:
- Aim straight down at the paper or surface you are working on and be aware that the ink spray will be slightly in front of where you are aiming.
- Practice on scrap paper before working on your project!
- Vary the distance and pressure you use on the grip to achieve different effects. Further away you will see a lighter, grainier effect, closer up and with a medium pressure you should see an intense and even area of colour.
- Work on top of a larger piece of card or some newspaper, and start spraying off your paper at first, to ensure you have the correct pressure and are achieving the spray you desire.
- Move across the paper slowly in a sweeping side to side motion (maintaining the same distance and pressure)to create a smooth, even background.
- Make sure that you have the marker inserted correctly! When using the chisel nib the point should be up (see below).
- Colours will appear lighter than when the marker is used directly on paper.
Here are some backgrounds I airbrushed:
These two turned out really nicely. I went over each a few times with the airbrush to get a nice deep, intense colour with even coverage.
I had a few issues with these three! As you can see, I encountered some ink splattering.
Ink splattering can be caused by a problem with the air can if you are using one, or the positioning of the marker. It also seems to occur if you are using the system for a longer period of time. In my case it seemed to occur because the marker needed refilling.
If you find that no ink is coming out, you will first want to check the air flow. Other issues might be that the marker needs refilling, the marker nib may be worn and in need of replacement, or is not inserted correctly in the marker body. If using a compressor, check that the air pressure is set correctly to between 40 and 60 psi.
Airbrushing with Sketch Markers:
If you use Sketch markers, you can airbrush using both the chisel nib and the super brush tip. Each tip will give you slightly different results. The chisel nib should give you a fairly even spray pattern, while the super brush nib will tend to give a less predictable and more speckled pattern.
Over To You!
If you try out the techniques shown in any of the posts with your Stamping Bella stamps, be sure to share! We would love to see the results and hear how you feel about them. Show off your creations in the comments below and even better, share your own favourite tips with us. Let’s talk colour!
If you are posting your images online, we would love to see them on Instagram and all the platforms mentioned above. To make it easier for us to find you just use #markergeekmonday and/or #stampingbella as a hashtag. Even better tag me @markergeek and @stampingbella . We love it when you connect, so don’t be shy!
If you’re on Facebook join us in our private chat group Stamping Bella Sistahood to share your creations there and chat all things Stamping Bella related!
Until next time, HAPPY COLOURING!
MWAH
Elaineabella
I don’t have the air brush system but have seen it many times. I have thought about it, but just haven’t taken the plunge. I will keep this post saved to refer back to if I do make the plunge. Thanks for sharing! 🙂
I can’t afford Copic markers never mind an airbrushing tool but I like the effect and the look. My dad in his younger years did leather crafting. It was therapy for him during the second world war when he was injured. He did stamping on leather among other things. The stamps were metal with a long handle. He put it where he wanted it, and hit it with a mallet where the image was transferred. He was so good at it that when I did crafts fairs he would let me take some of this things to sell. He also did airbrushing. He had a whole kit that he used and it really looked like it was fun to do. He used paint not markers but I’m sure it was kind of the same thing that you did. I might have to try this when I win some big money. In the meantime, I can watch what you did and drool over how nice it all looks.