


DT Thursday time again! Sandiebella has a gorgeous new make for us to follow along with today.
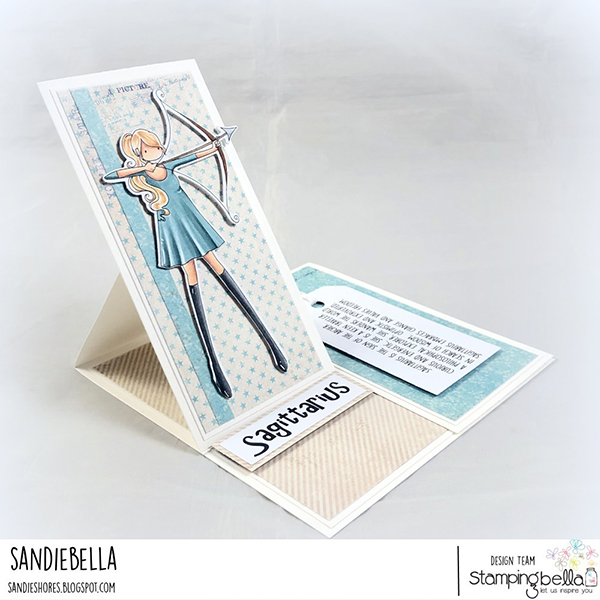
Create a Split Easel Card!
Supplies:
How to:

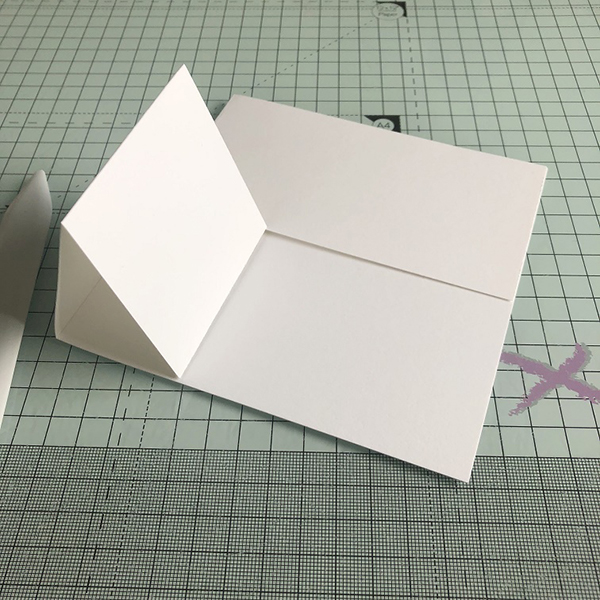
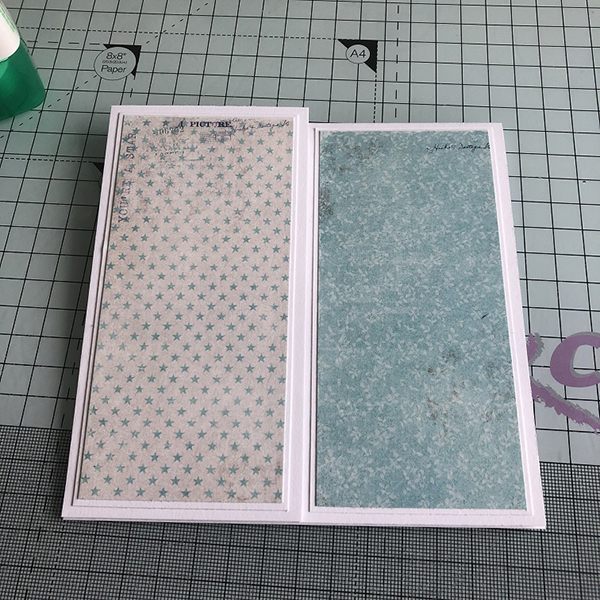
Cut the top section of the card base in half (at 2.75″), from the top down to the scoreline.
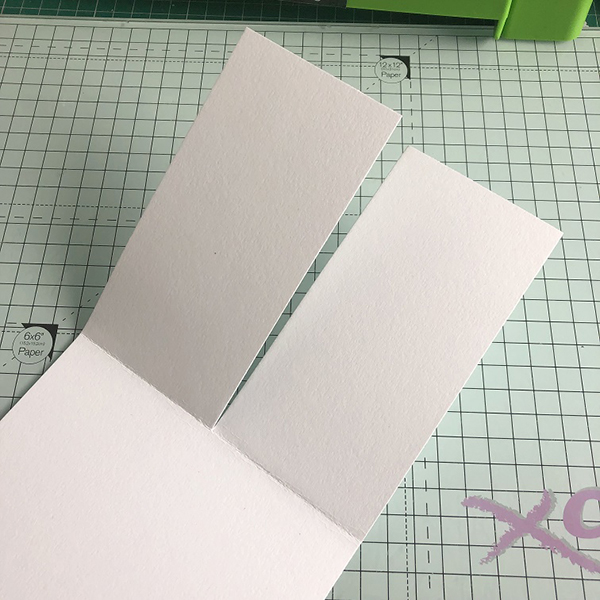
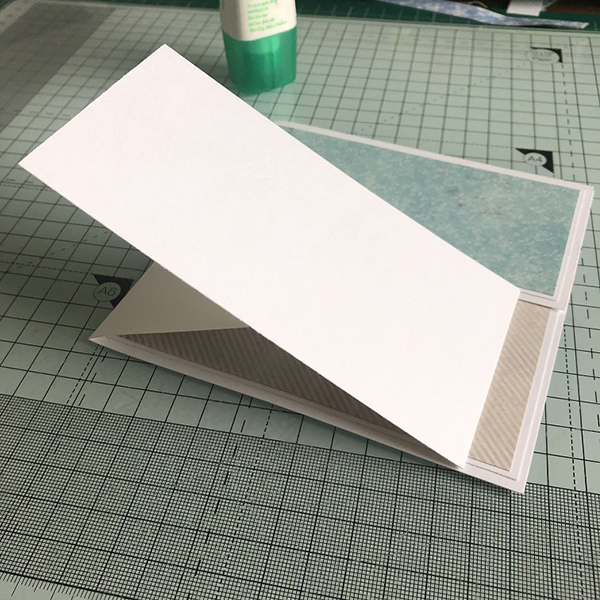
Decide which side of the card will be the easel and score that 2.75″ wide sections in half.
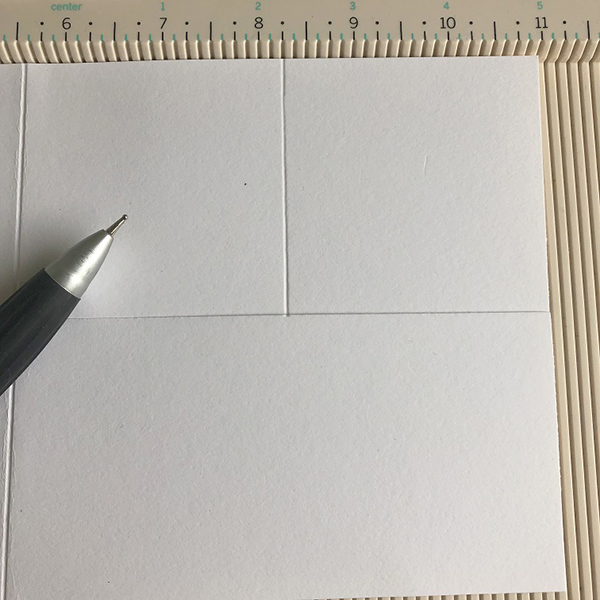
Fold the top of the scored 2.75″ wide section forward, as shown
Cut:
2x white card measuring 5.25″ x 2.5″
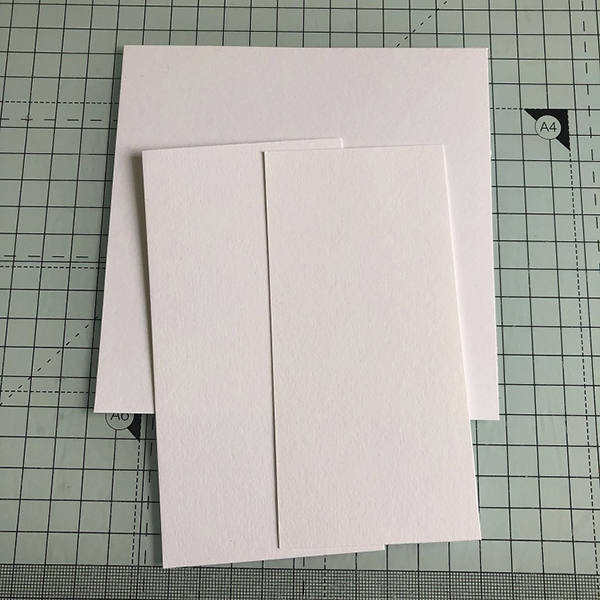
Cut:
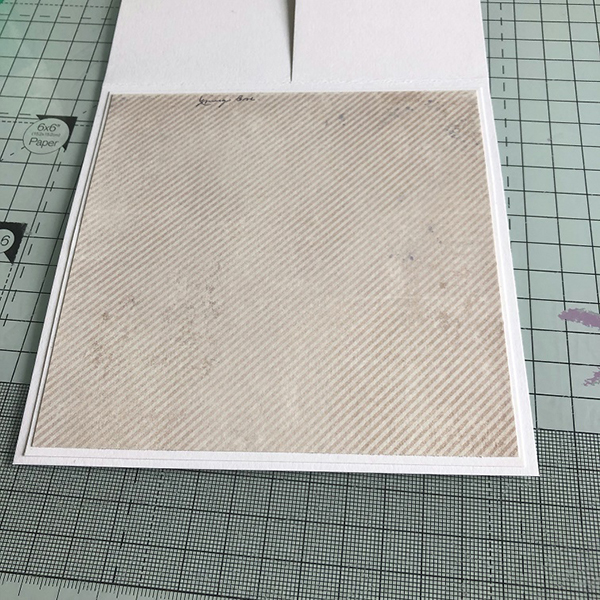
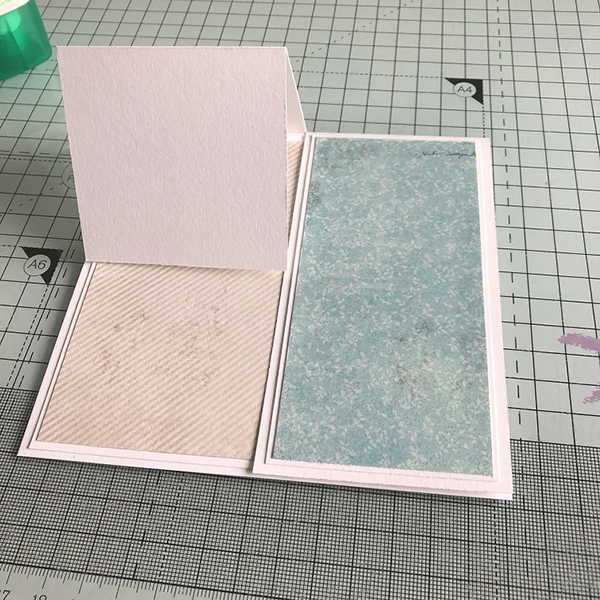
Adhere the large square inside the card and the smaller 5.25″ x 2.5″ panel to the outside of the unscored top section.
Apply glue to the front section of the folded side of the card
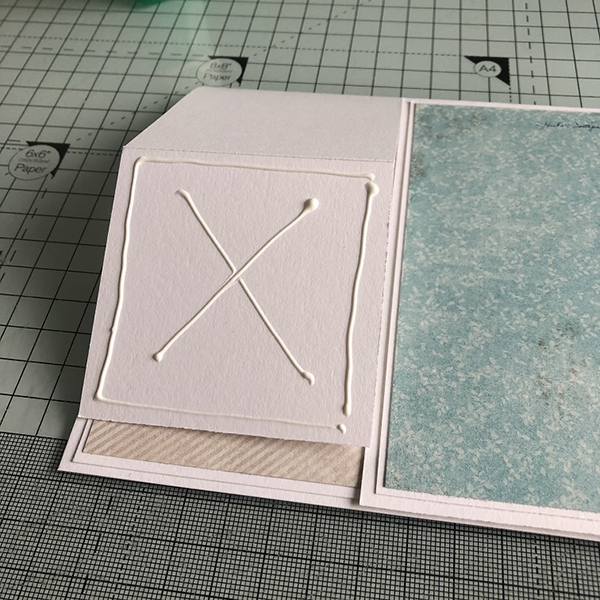
Adhere the 5.5″ x 2.75″ piece of white card to it.
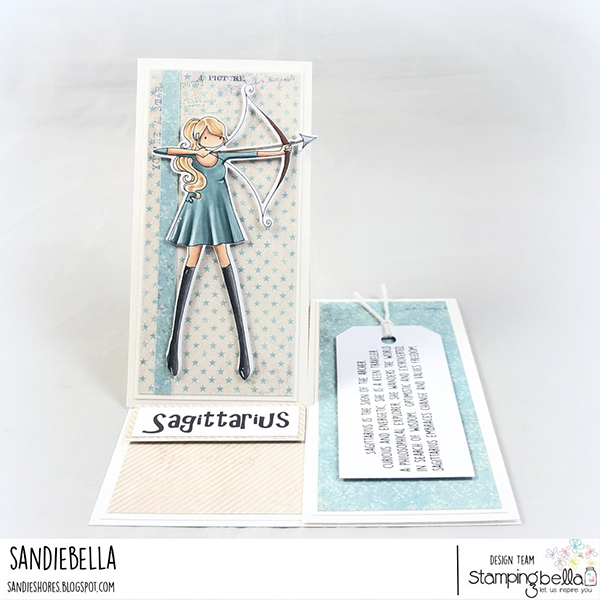
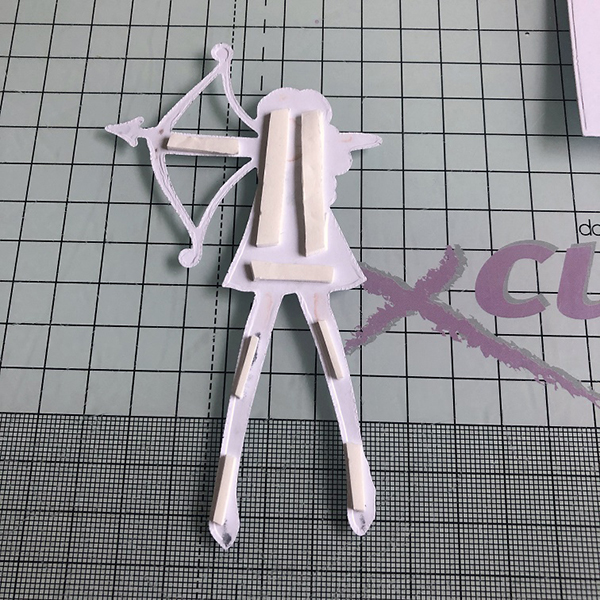
Stamp Uptown Zodiac Girl Sagittarius on to white card and colour with desired medium.
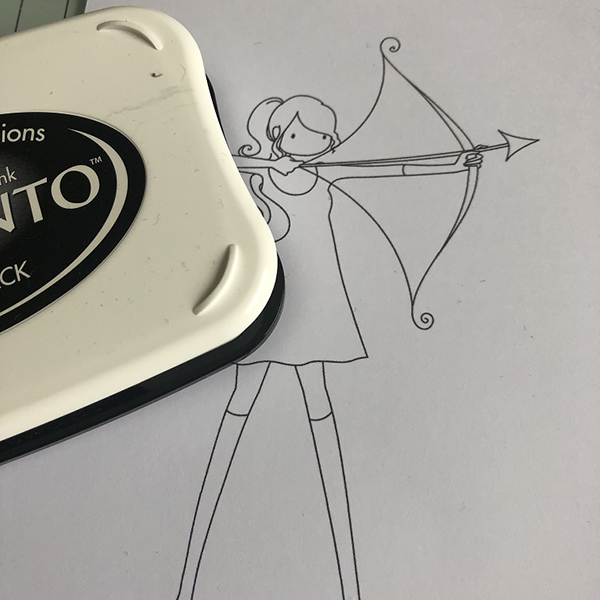
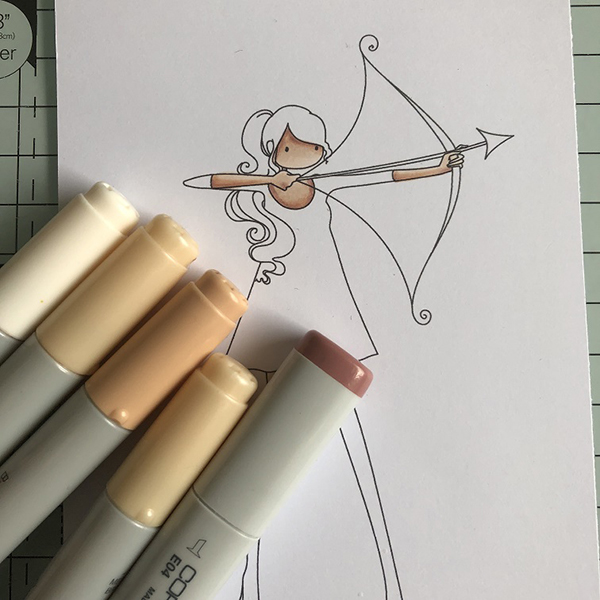

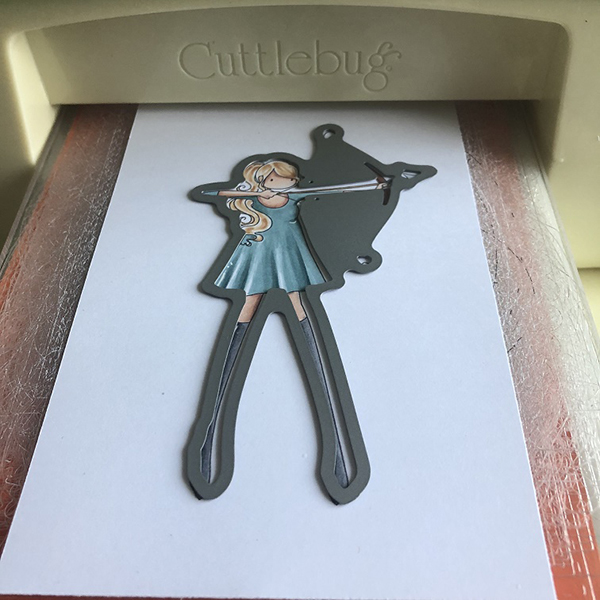
Use the Uptown Zodiac Girl Sagittarius CUT-IT-OUT die to cut the image out, or fussy cut with a precision scissors.
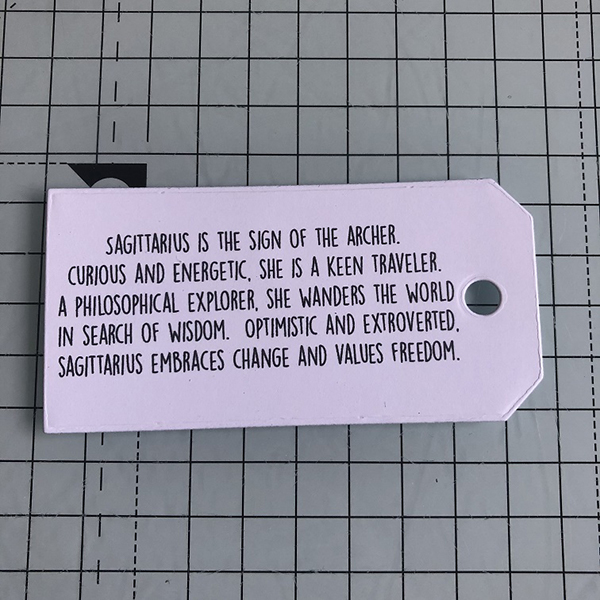
Stamp the quote from the stamp set onto some white card and cut out using a tag die.
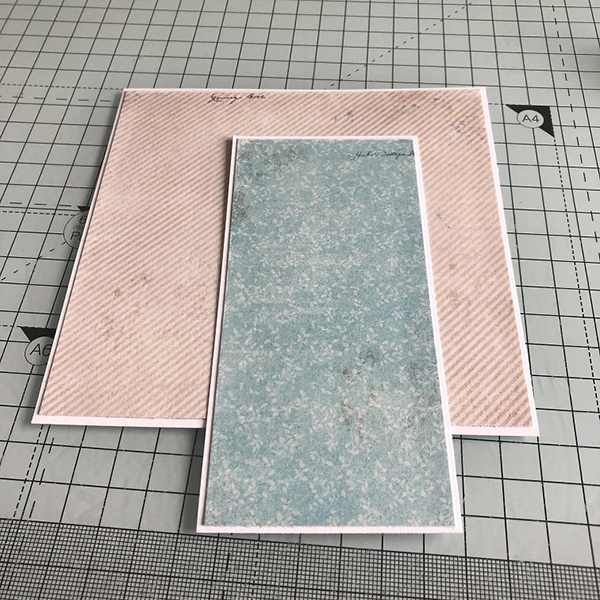
Adhere the last piece of patterned paper to the last piece of white card
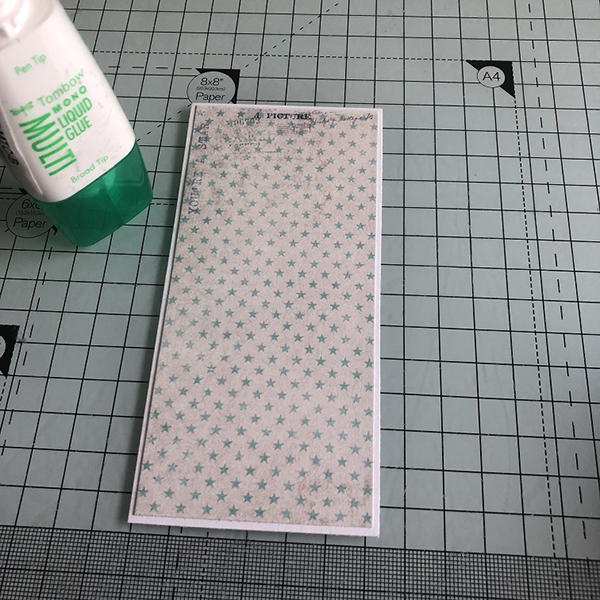
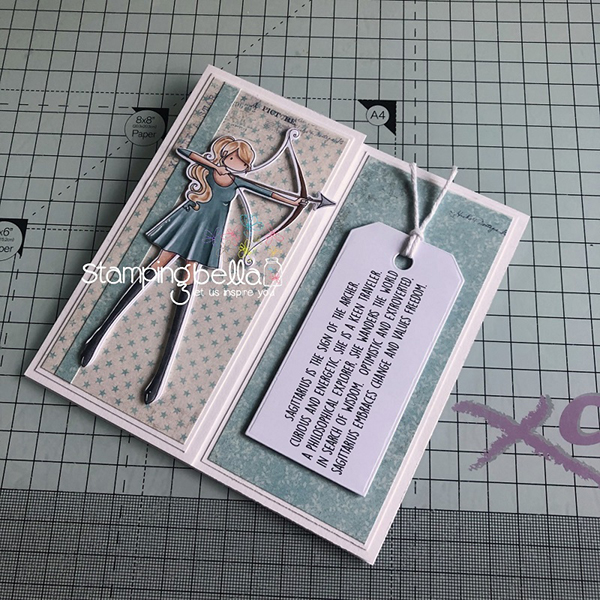
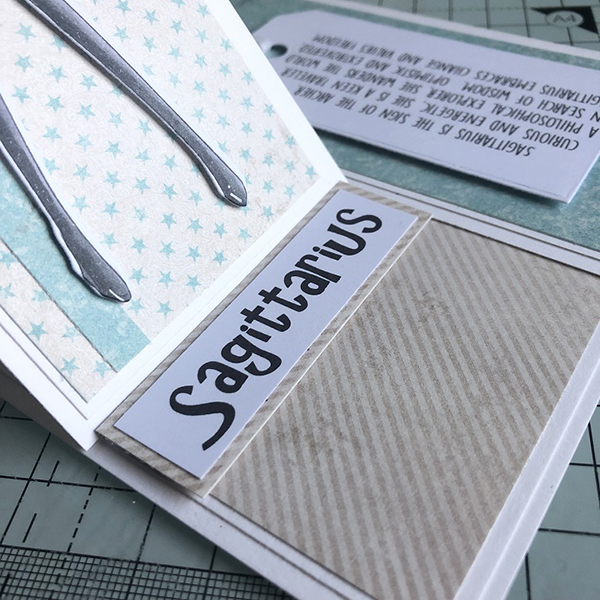
Adhere the panel to the front of the easel side of the card.
Apply foam tape/dots to the back of Zodiac Girl Sagittarius and stick it down on to the front of the easel.

Apply foam tape/dots to the back of the tag and adhere to the flat size of the card front.
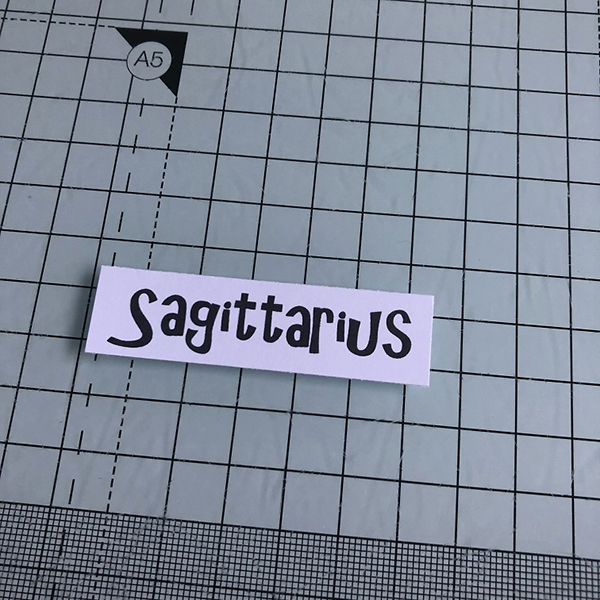
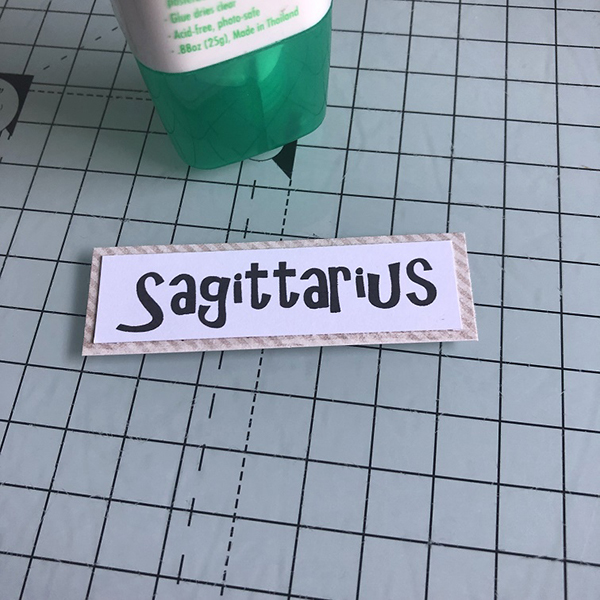
Stamp out the Sagittarius from the stamp set and trim around it.
Stick the sentiment onto a layer of patterened paper, no wider than 2 5/8″
Apply foam tape/dots to the back of the sentiment, hold the easel to where you want it and adhere the sentiment down in front of it. This will keep it popped up.
Decorate if desired.
Over To You!
Share your personal favourite Stamping Bella creations with us. We LOVE to see what you’ve been creating with Stamping Bella stamps. Share a link to your latest Stamping Bella card in the comments below, or an old favourite you made a while ago. Tell us what your favourite stamps are. Are there any additions you would like to see to the range? Let us know!
Another way to connect is by joining us in the Stamping Bella Sistahood Facebook Group and share your pictures.
If you are posting your images online, we would love to see them on Instagram and all the platforms mentioned above. To make it easier for us to find you just use #stampingbella as a hashtag. Even better tag me @markergeek and Emily @stampingbella . We love it when you connect, so don’t be shy!
Until next time, HAPPY STAMPING!
MWAH
Elaineabella
I love this easel card! Looks like one of the easier “special” cards to form. I would also like to know the colors you used on her dress. Looks like BG78 and N5, but what are the other colors?
great tutorial! thanks for sharing…. love it!
Sandie this is a wonderful project, gorgeous colour choice and colouring. Thank you so much!
Sue…xxx
Wow. Beautiful and unique card. I’m thanks for sharing all the details.
I love your ruffle depth! Thanks for sharing your tutorial.
Being a SAGITTARIUS myself I especially appreciate the card.
?