


Happy Monday everyone!
Elaineabella here with another Marker Geek Monday post to get you inspired and colouring up your Stamping Bella stamp collection. Read on for another fun Copic Marker technique.
Dotty Copic Marker Background
This is technique I used to use frequently to add a fun, magical looking background to stamped images. It is easy to do, and definitely beginner friendly.
Stamp Used: Stamping Bella Tiny Townie Garden Girl Sweet Pea (coordinating Cut It Out die also available).
You will need some colours to complement your coloured image. In this case I used BV00,V01,BV0000,V0000
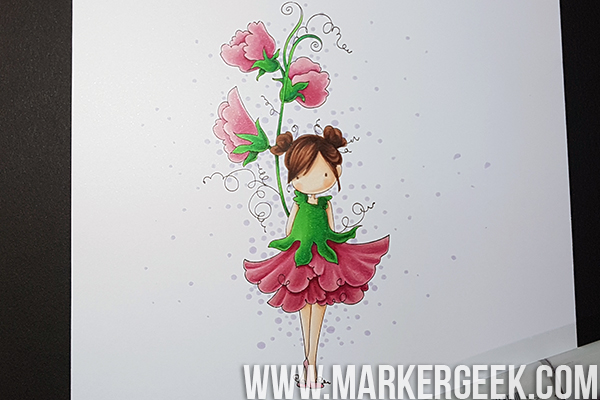
Taking one of the darker shades – BV00 – I created some random dots around the image, starting close to the image and moving outwards. By slightly varying the pressure I used on the Copic brush nib I created a variety of sizes of dot. I did not plan out a pattern, except that the larger dots are more concentrated closer to the image.
TIP: practice first on a piece of scrap paper, making dots of different sizes and placing them at random. By practicing a little first you will free yourself up and find that you are more confident when it comes to doing it “for real”.
I then took the other darker shade – V01 – and added more dots in the same way, again being fairly random but keeping the larger ones towards the image. You will notice that the dots overlap in some places – this is what you want, allow your dots to overlap as well as creating some that are more spaced out.

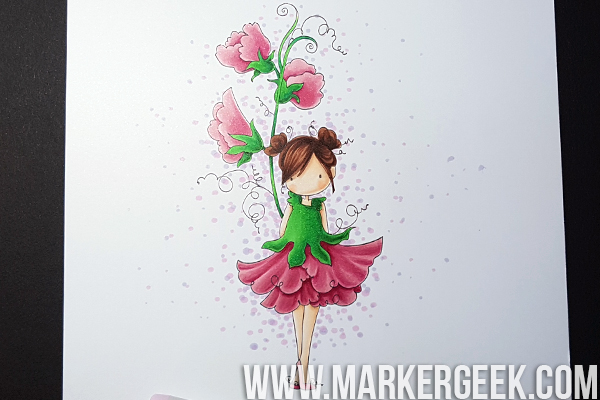
Next I took – BV0000 – and again created random dots, both overlapping and not. This time I allowed more larger dots to move out to the more open areas.
This time I took – V0000 – and repeated the process. You should be able to see that the effect is building up nicely.
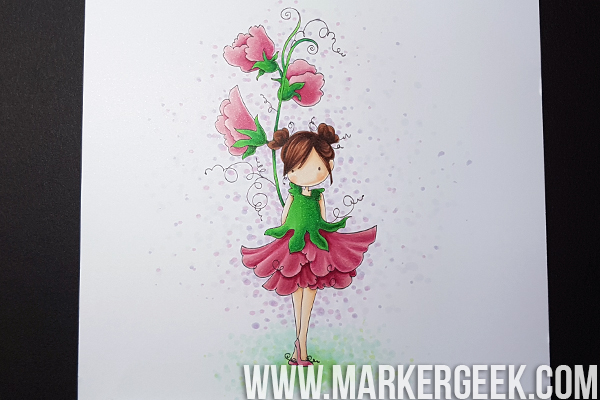
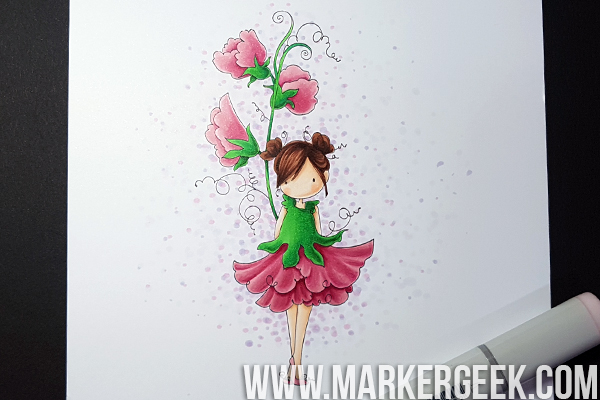
I used the same technique to create the impression of grass under Sweet Pea’s feet, just being a little less loose with the dots and confining them to a smaller area. I used YG11,G000,G0000 and a hint of G14 for the darkest area right under her feet.
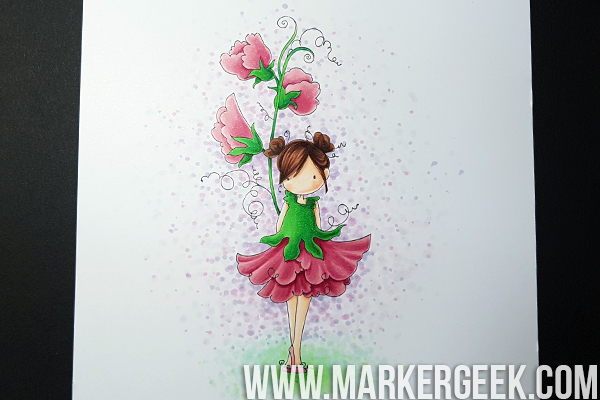
After colouring the grass I decided to add more to the background, and repeated the steps above to add some more colour and texture. You could do this until you feel happy with the result.
TIP: If you would like to soften the effect, try using the 0 Colourless Blender marker to dot over the background, it will help push some of the ink around and soften the edges of the dots to create a more hazy look.
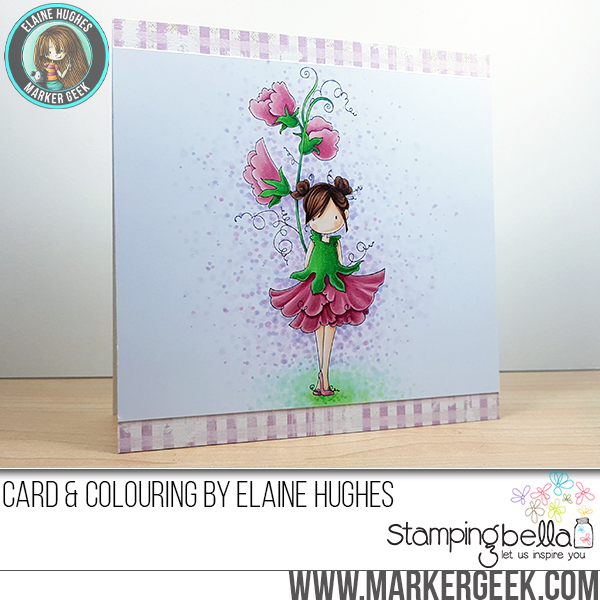
Doesn’t she look pretty on a clean and simple card?
Over To You!
Let’s talk colour! Get in touch via the comment section and let me know what you thought of this post. Also feel free to post any colouring questions you would like answering.
If you are posting your images online, we would love to see them on Instagram and all the platforms mentioned above. To make it easier for us to find you just use #markergeekmonday and/or #stampingbella as a hashtag. Even better tag me @markergeek and @stampingbella . We love it when you connect, so don’t be shy.
If you’re on Facebook join us in our private chat group Stamping Bella Sistahood to share your creations there and chat all things Stamping Bella related.
Until next time, HAPPY COLOURING!
MWAH
Elaineabella
Hi Elaine, What a great technique! Thank you for showing all the steps in detail. I went back and examined each picture to see the detail. I thought the background looked great and then saw your last couple pics and wow, they were even more magical! I will try this but will practice first, as you advised. Love Sweet Pea, she is tied for my favorite flower girl!
Lovely! This is a beautiful stamp and you did a wonderful job coloring it.
I love this. I love a post that details how to create a background, that will go with my image.
What a beautiful effect. Thank you for the great instructions and what copic markers you used! Can’t wait to try this!
Hi Elaine, Thank you for recommending the Mondays and Saturdays. I love the background and am anxious to try it. I am purchasing Spectrum Noir water color markers and hope they will work as well as the more expensive ones. Thank you again. Love learning from all of you
Oh I love this! What a great background! I am definitely going to try this! Thanks so much for sharing Elaine! 🙂