


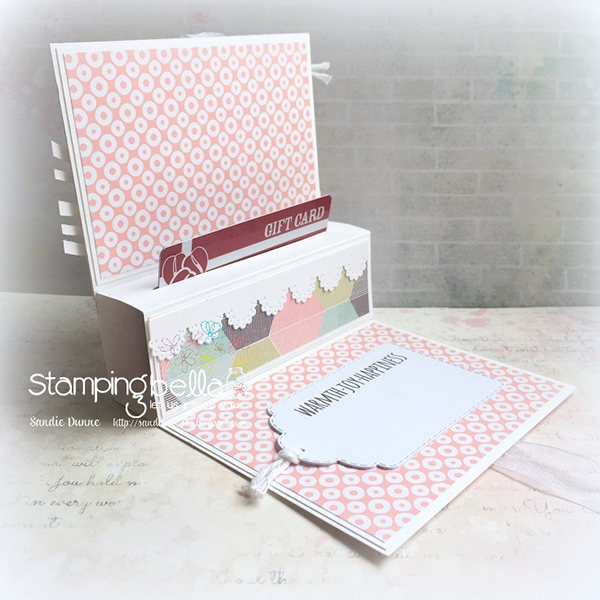
Time for another fab DT Thursday tutorial from Sandiebella, featuring one of the gorgeous new Little Bits stamp sets from the latest release!

Pop Up Gift Card Holder Tutorial

Supplies:
How To:
Cut:
1 x white card @ 4.5″ x 3.5″
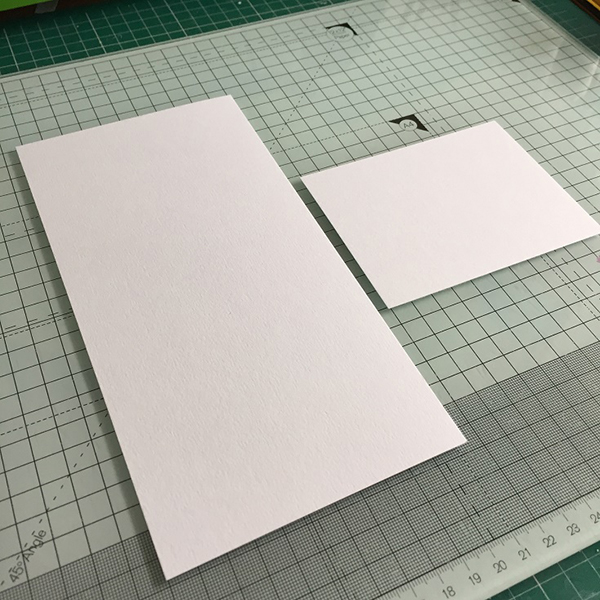
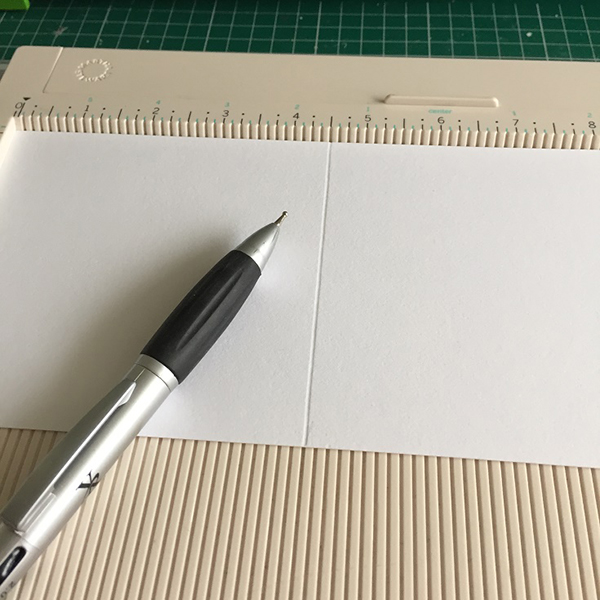
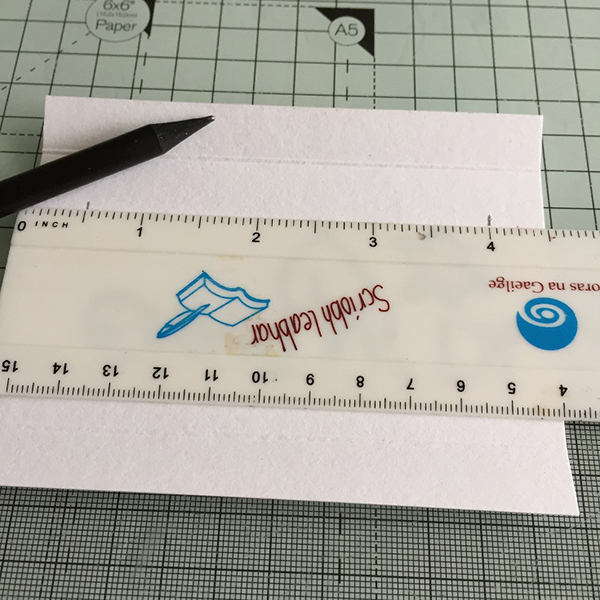
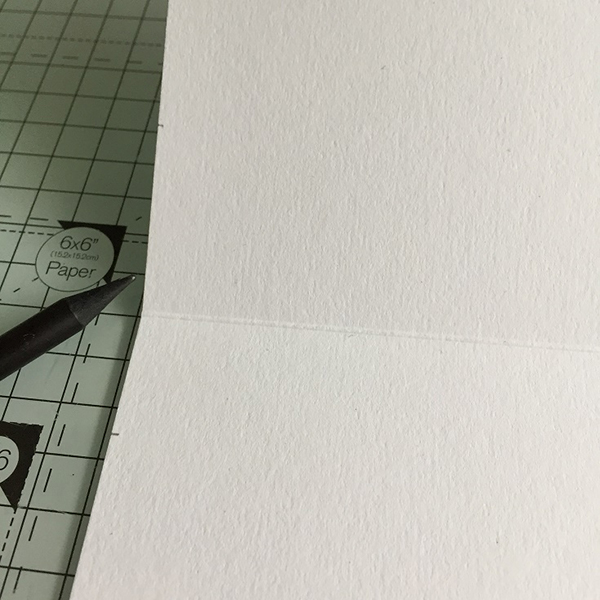
Score the 9″ x 4.5″ piece on the long side at 4.5″
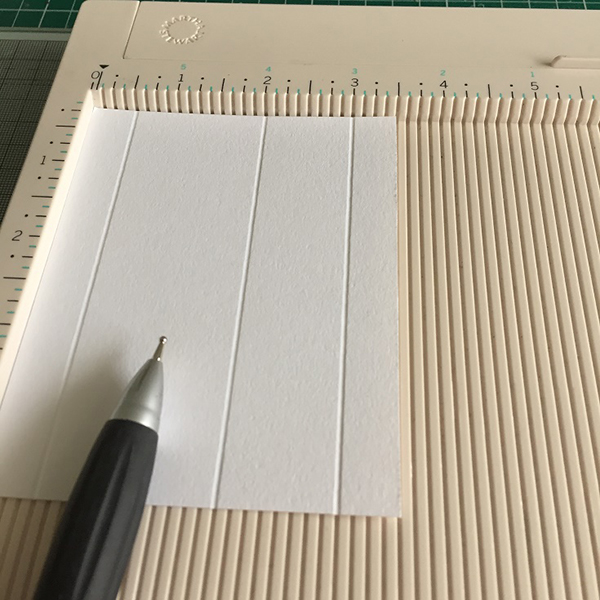
Score the 4.5″ x 3.5″ piece on the short side at 0.5″, 2″ and 3″
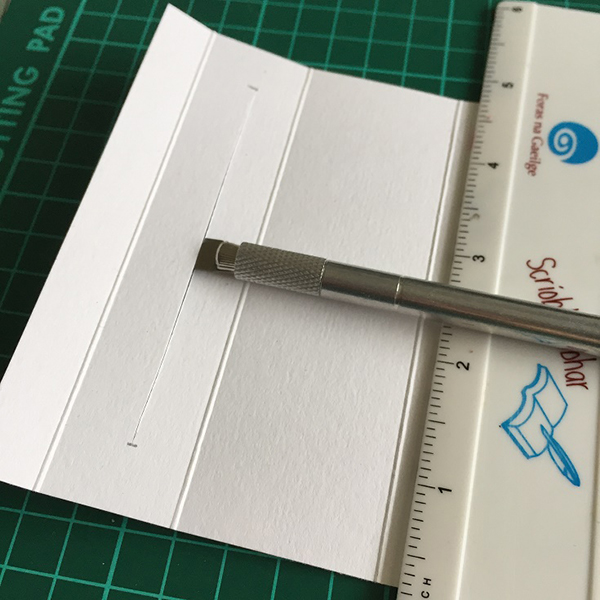
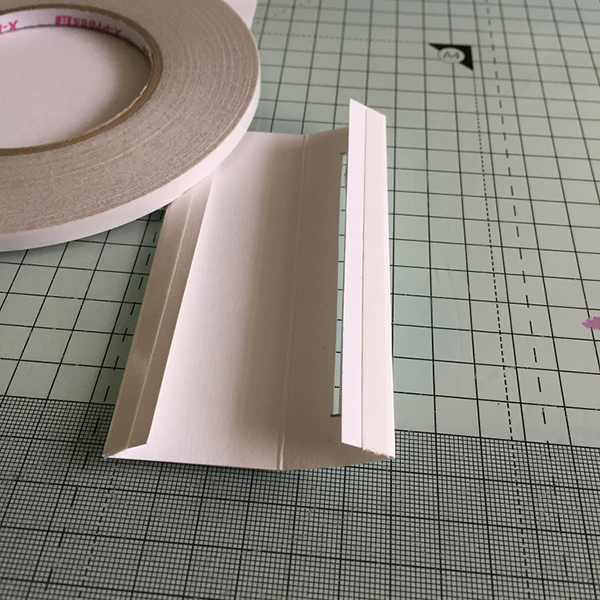
On the 4.5″ x 3.5″, in the between the second and third scorelines (the 1″ section), measure in 0.5″ on each side (on the 4.5″ side)
Use a craft knife to make a slit from one pencil mark to the other, using the ruler as a guide.
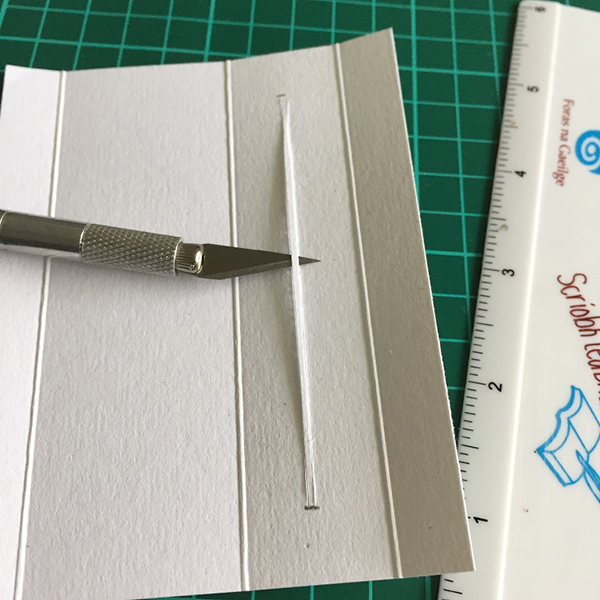
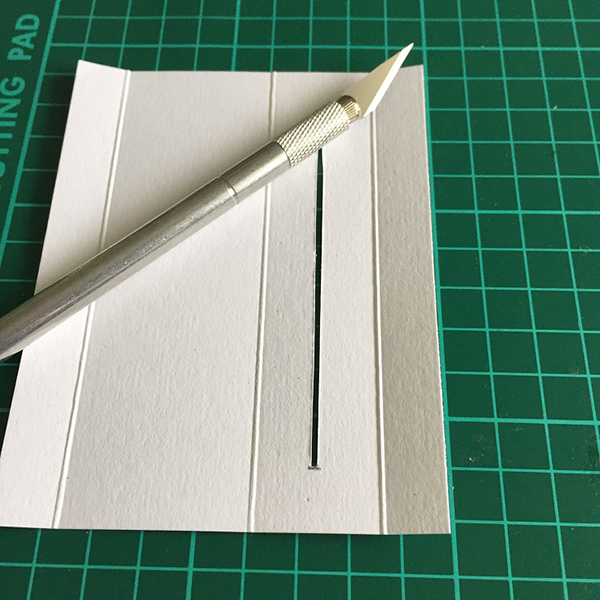
Move the ruler down about 1/16″ and make a second slit. Cut away the strip of card between the slits to make an opening for the gift card.
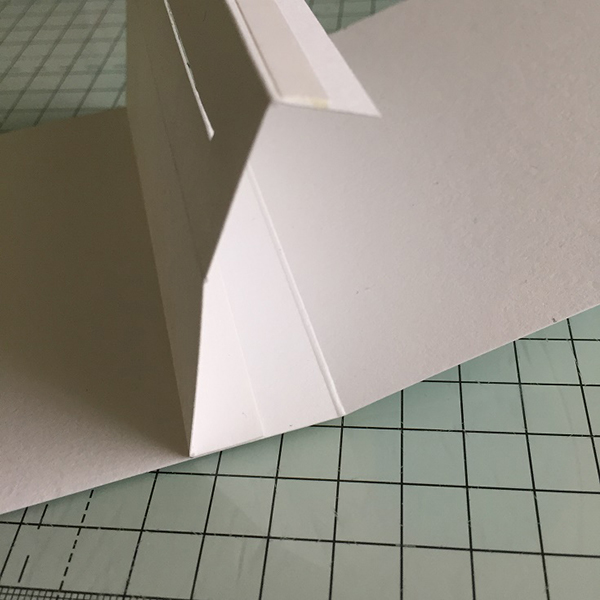
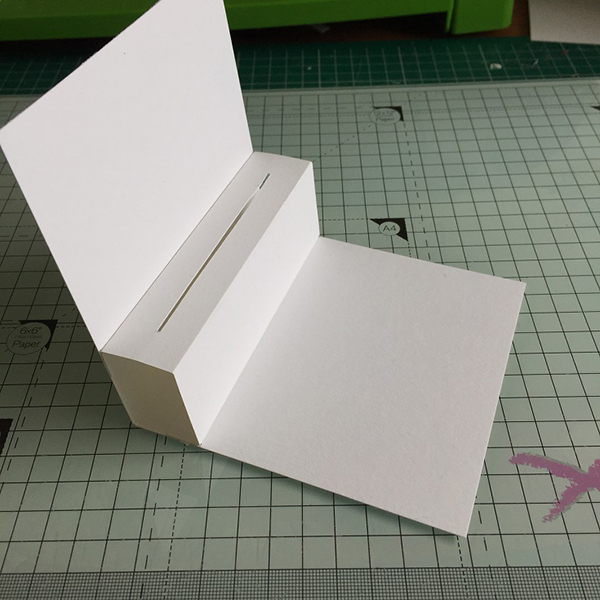
Take the 9″ x 4.5″ piece of card and fold in half to make a 4.5″ square base. From the centre scoreline, measure down 1″ and mark with a pencil. On the other side, measure up 1.5″ and mark with a pencil.
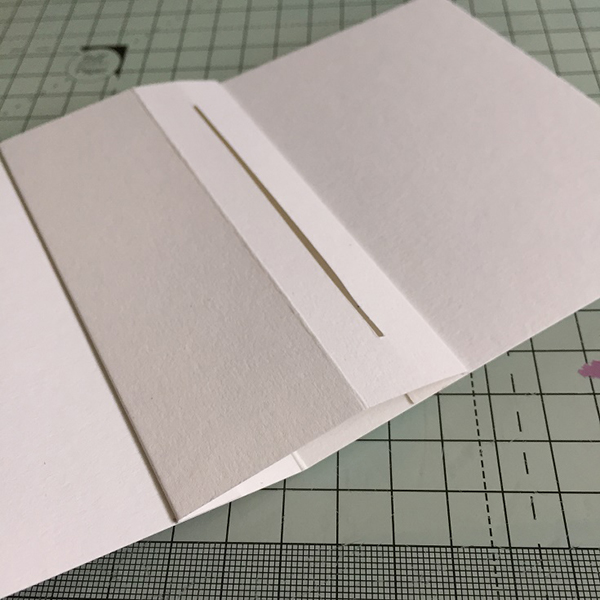
Take the gift card holder and apply double sided tape to the 0.5″ sections on each end.
With the gift card opening towards the top, adhere the bottom 0.5″ section, lining it up with the 1″ pencil mark.
Adhere the other end, lining it up to the 1.5″ pencil mark.
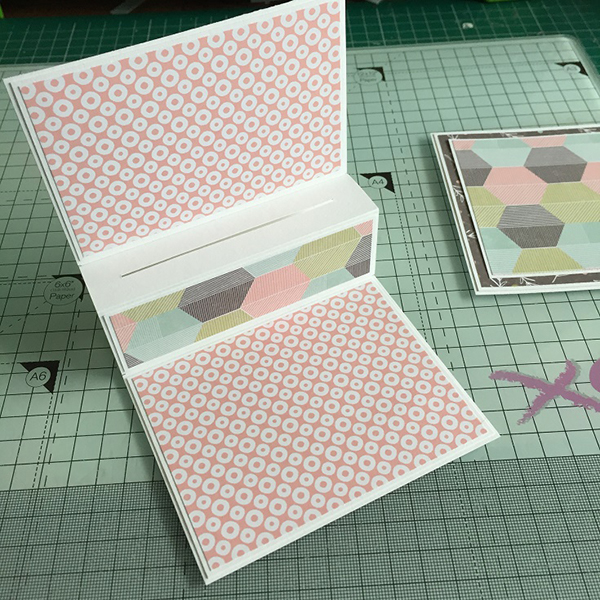
Fold up the back of the card and your gift card holder should look like this.
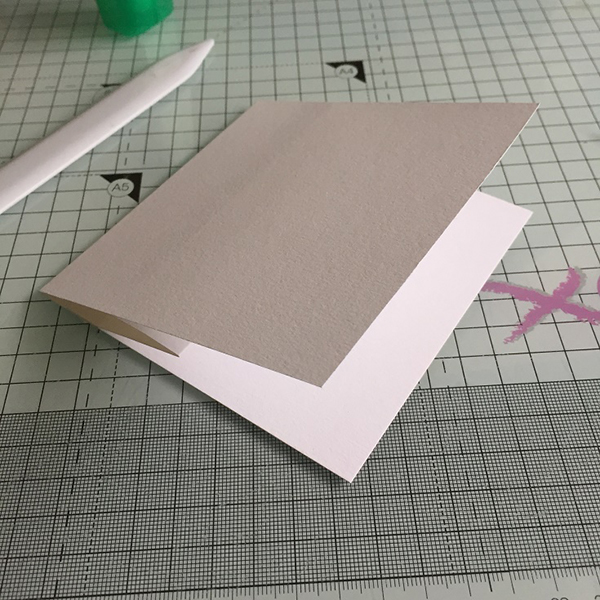
Close up the card and burnish the scoreline with a bone folder.
Cut one each white card measuring
4 3/8″ x 2 7/8″
4 3/8″ x 1 3/8″
4 3/8″ x 4 3/8″Cut one each patterned paper at
4 1/4″ x 2 3/4″
4 1/4″ x 1 1/4″
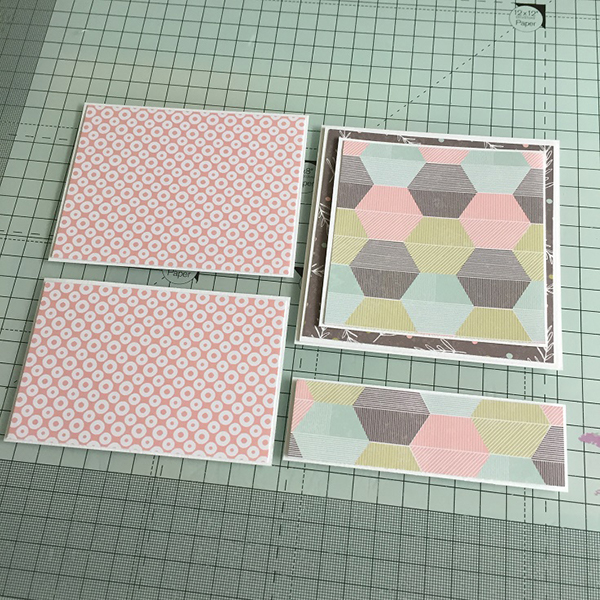
Front panels
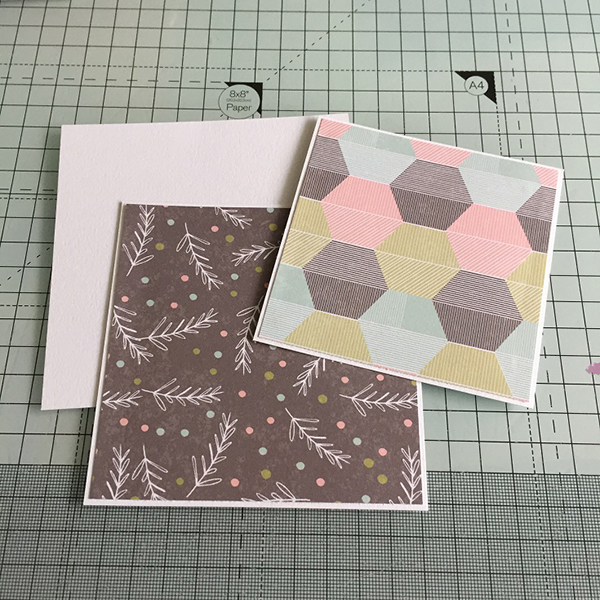
Adhere the inside panels as shown.
Adhere a length of ribbon to the front centre of the card base, bringing it about 2″ towards the middle and secure with some double sided tape. Repeat for the back of the card base.
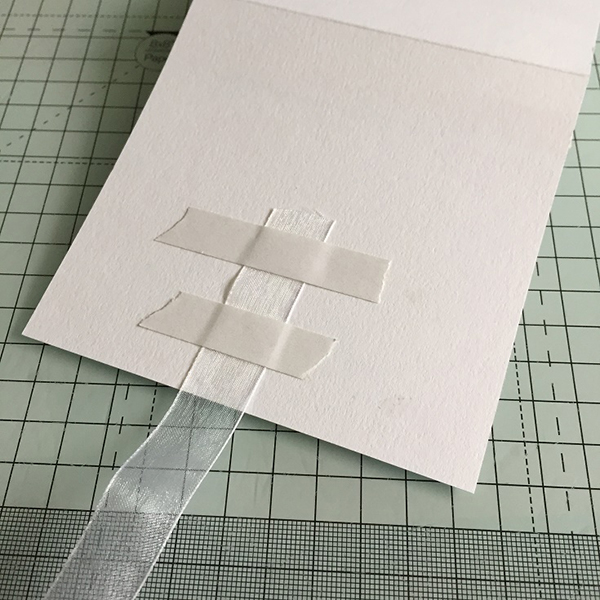
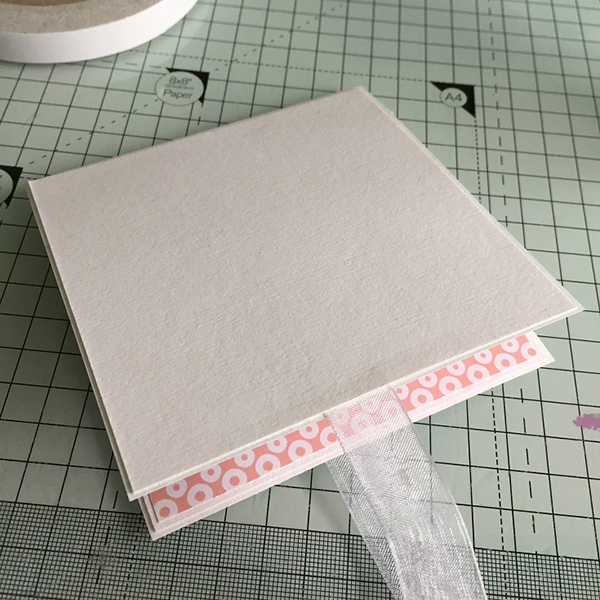
Remove the backing from the tape securing the ribbon and adhere the card front over the ribbon.
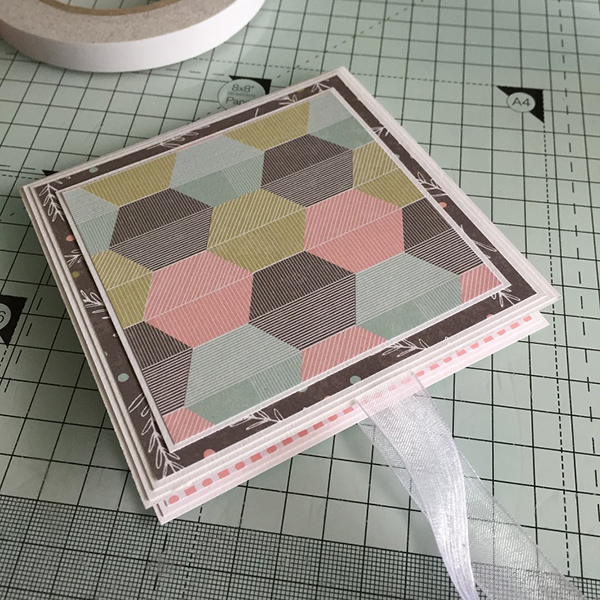
Adhere the 4 3/8″ x 4 3/8″ piece of card over the ribbon on the back of the card base.
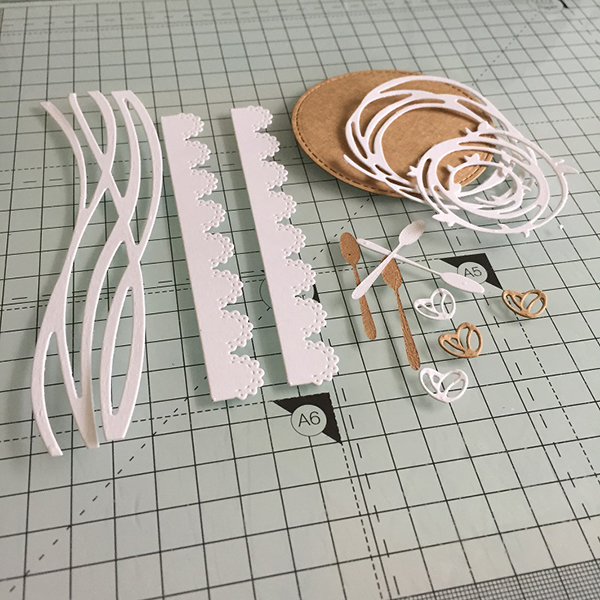
Die cut some borders and embellishments.
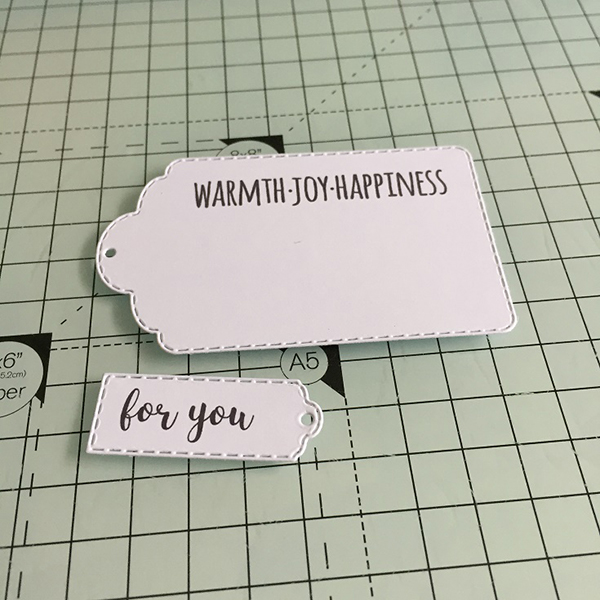
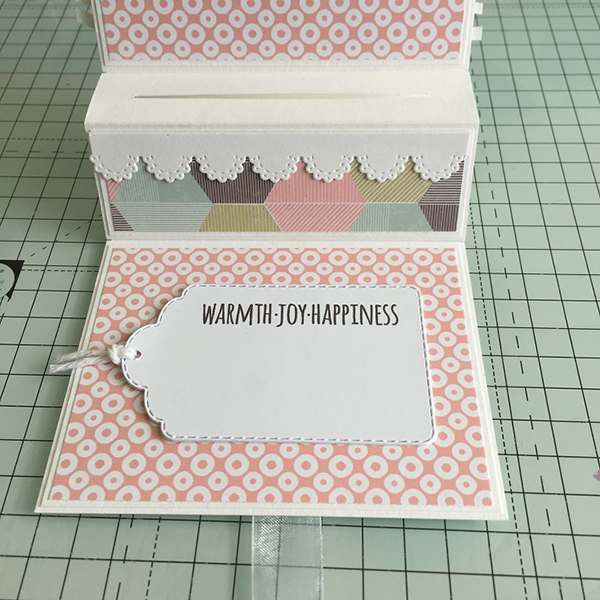
Cut a tag, or other shape for the inside of the card, and stamp the Warmth, Joy, Happiness sentiment towards the top, so as to leave room to write a personal note. Cut a small tag and stamp the For You sentiment.
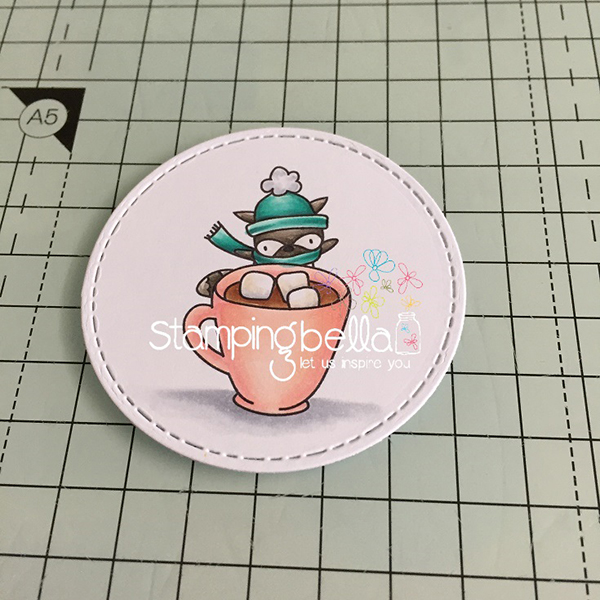
Stamp and colour the images and cut out with a circle die.
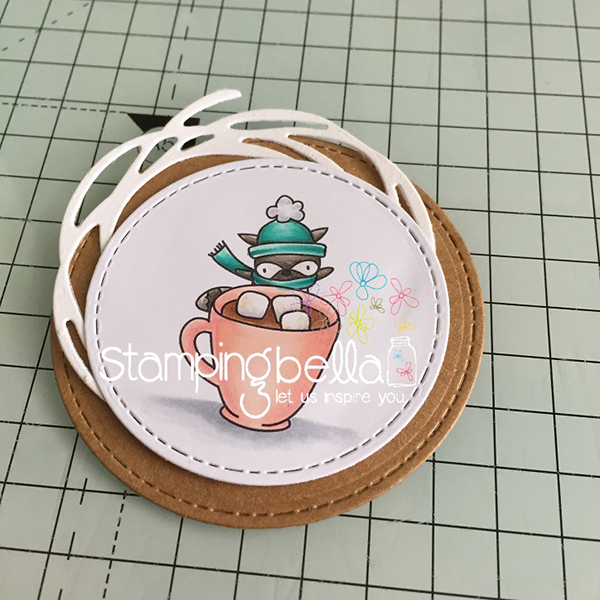
Mat the image onto a larger circle and any desired embellishments
Thread some white twine though the hole on the tag and adhere to the inside bottom of the card base. Trim the scalloped border to size and adhere to the front of the pop up card holder.
Embellish the front of the card, and adhere the image using 3D foam tape for extra dimension. Tie the ribbons to close up the card.

Over To You!
If you try out the techniques shown in any of the posts with your Stamping Bella stamps, be sure to share! We would love to see the results and hear how you feel about them. Show off your creations in the comments below and even better, share your own favourite tips with us. Let’s talk stamping!
If you are posting your images online, we would love to see them on Instagram and all the platforms mentioned above. To make it easier for us to find you just use #stampingbella as a hashtag. Even better tag @stampingbella . We love it when you connect, so don’t be shy!
If you’re on Facebook join us in our private chat group Stamping Bella Sistahood to share your creations there and chat all things Stamping Bella related!
Until next time, HAPPY STAMPING!
MWAH
Elaineabella
I like it. It’s cute
Love it ! will definitely try this ! Thanks for the tutorial !
Oh my gosh! I have needed this for awhile!!! Thank you so much for the tutorial. Love it!
Wow! This is so cute! Thanks for sharing the step by step instructions!
Oh my !! This is so adorable ! Thanks for the great tutorial.