


Time for another fab DT Thursday tutorial from Sandiebella!
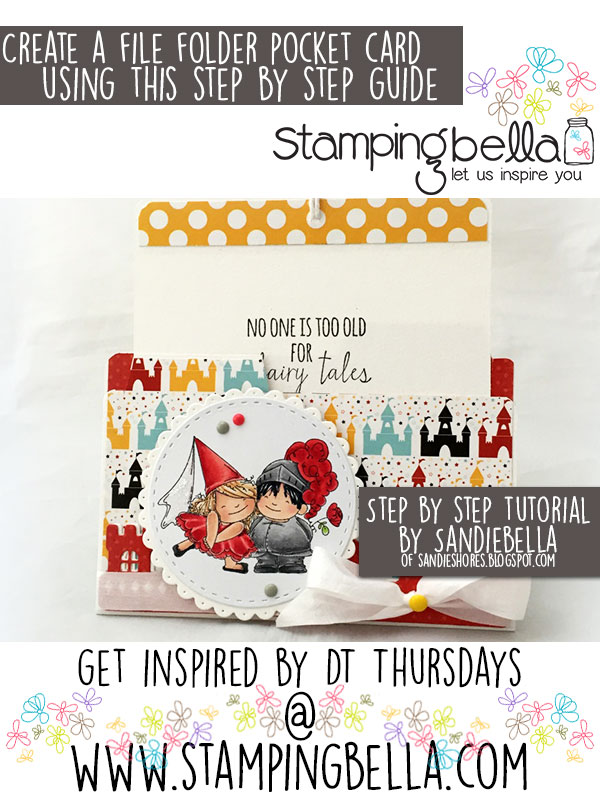
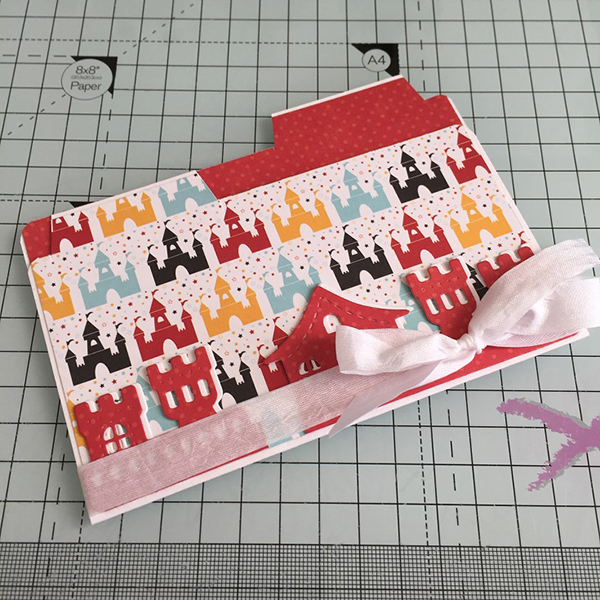
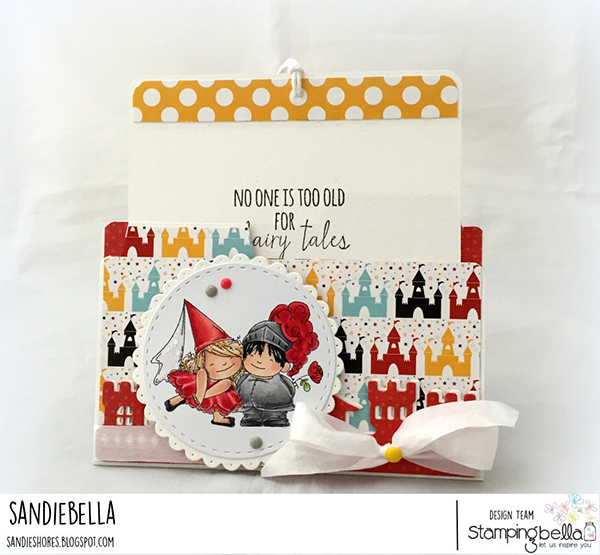
File Folder Pocket Card
Supplies:
How to:

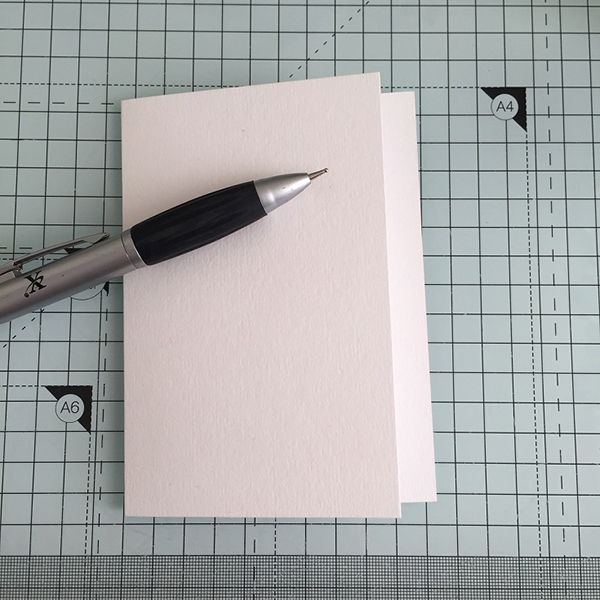
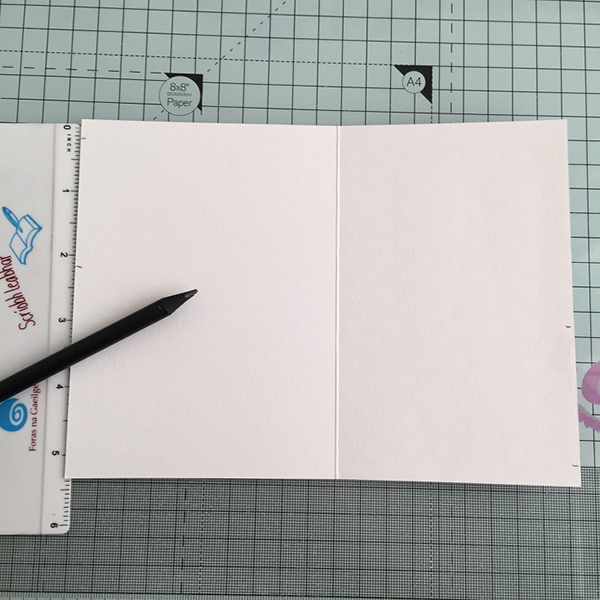
Fold the card and crease well.
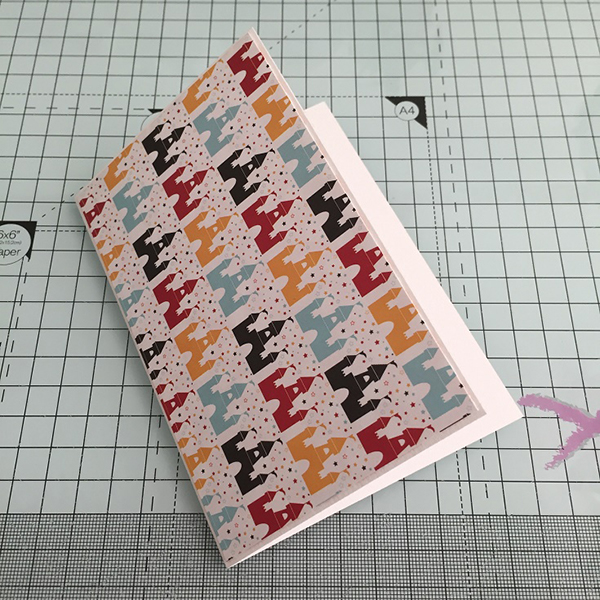
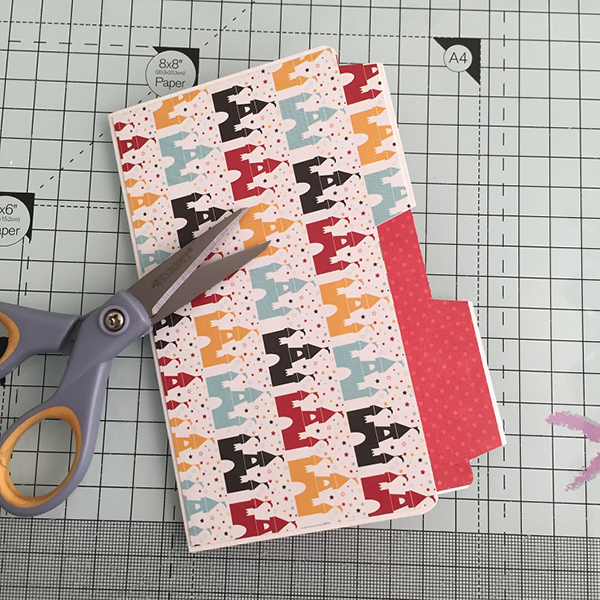
Cover the front of the file folder with patterned paper.

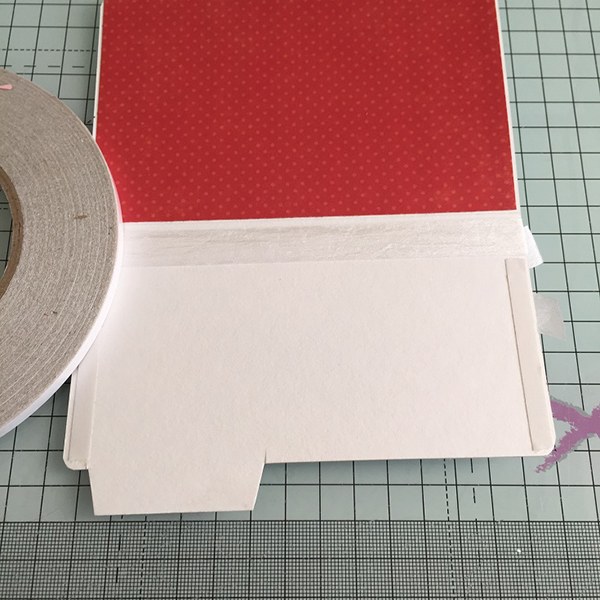
On the inside front, measure and mark with a pencil at 0.25″ and 2.25″ on the left hand side.
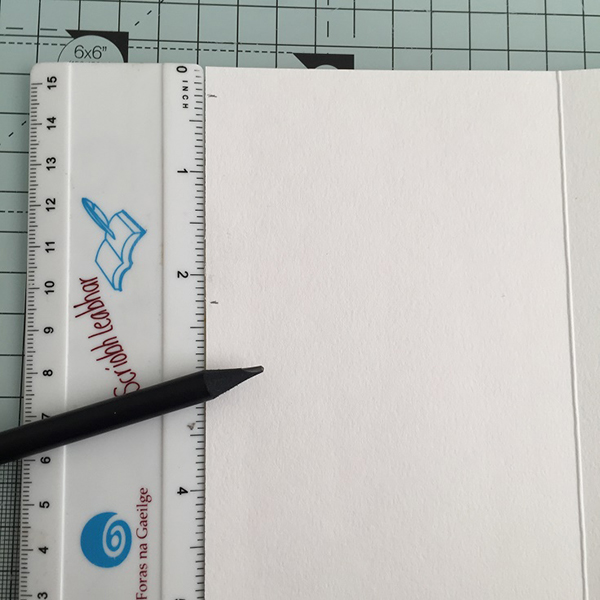
Repeat on the opposite end on the back of the file folder.
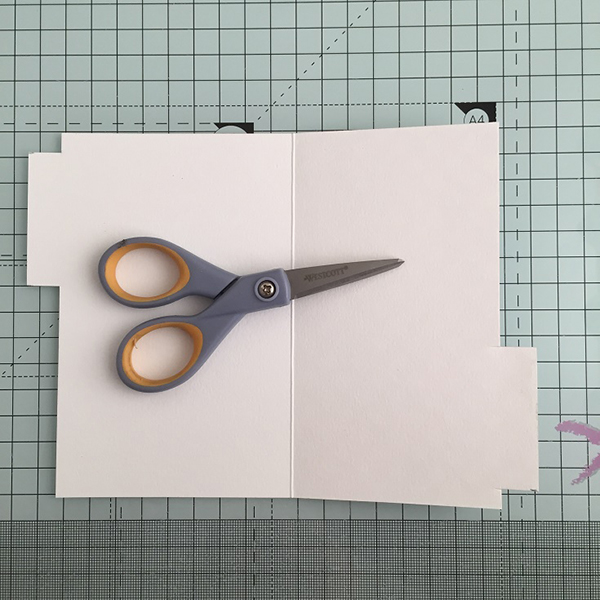
Cut away the sections either side of the pencil marks, going 0.5″ in. You will be left with a 2″ x 0.5″ tab as shown. Repeat for the back.
I covered the inside back at this point, and cut away the excess, but you can cover it before making the tabs if desired. Taper the edges of the tabs.
Set aside for now.
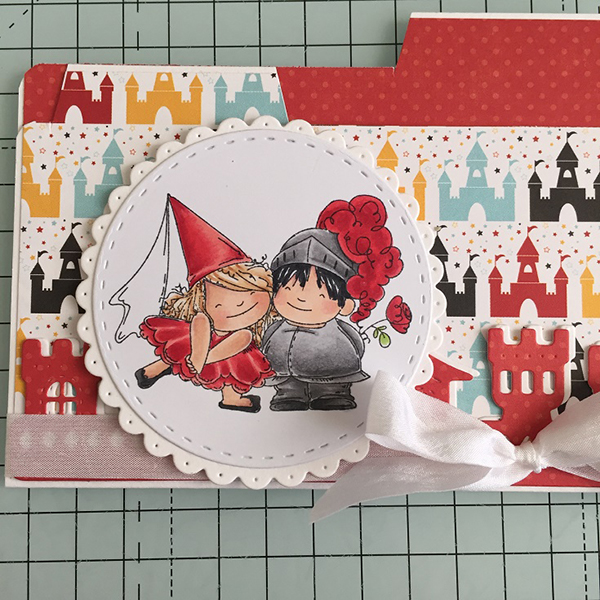
Stamp the smaller Fairy Tale Squidies onto white card.
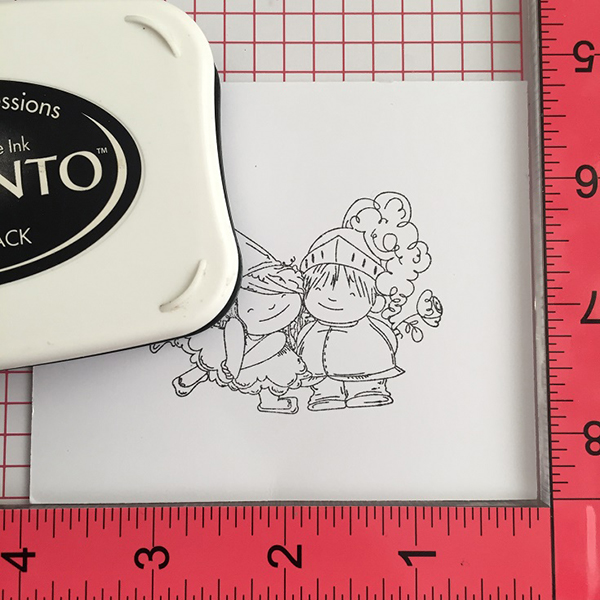
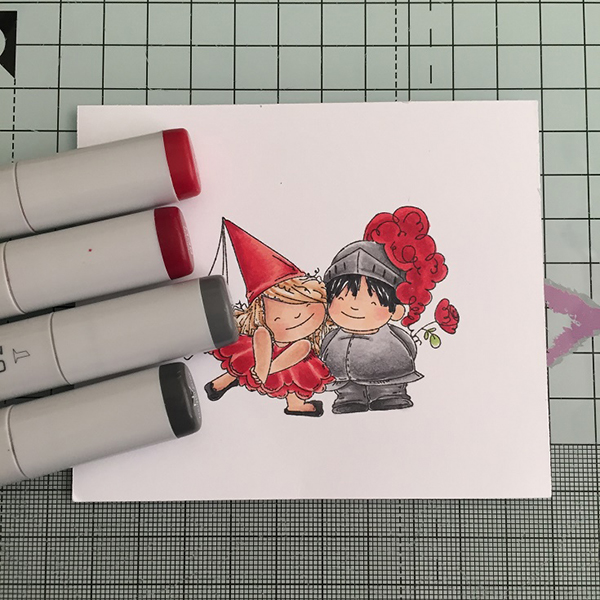
Colour with your desired medium.
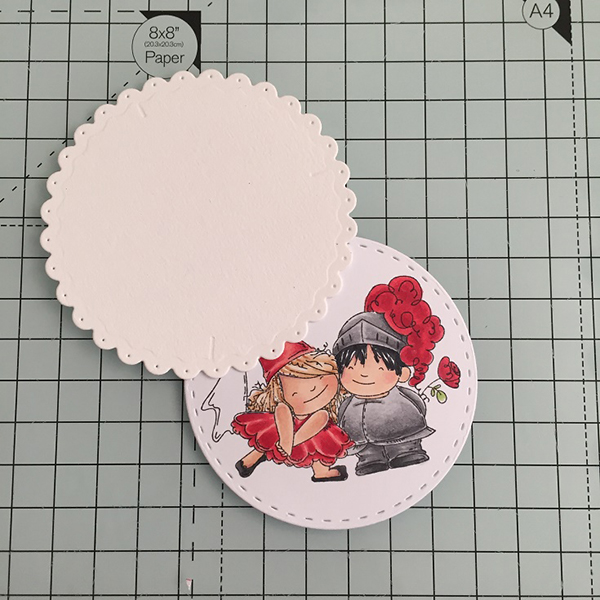
Cut the image out using a stitched circle die, and also cut a larger scalloped circle die to matt the image onto.
Wrap some ribbon around the folder front and tie a bow towards the right hand side.

Apply narrow double sided tape to the inside of the front and adhere to the back to make a pocket.
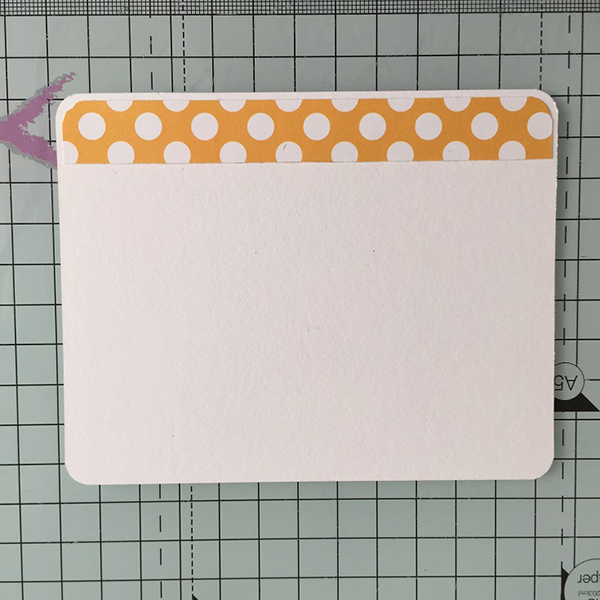
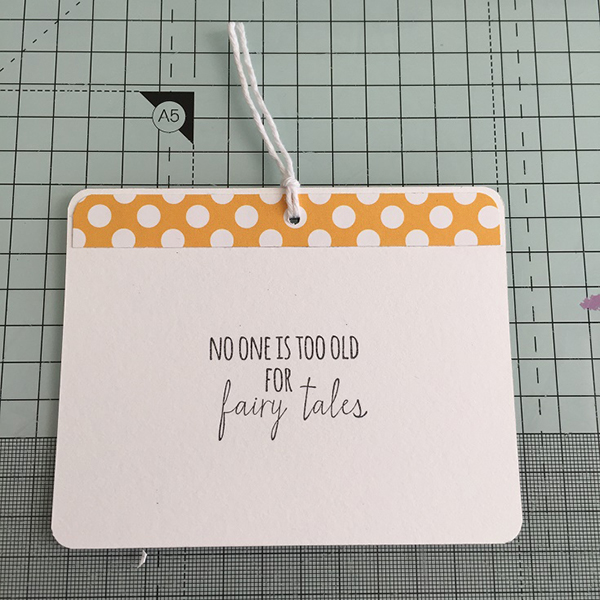
Cut a piece of white card measuring 4.5″ x 3.75″ and round the corners. Cut a strip of paper approx 1″ x 4.5″ and round the corners on one side. Adhere to the top of the white card panel.
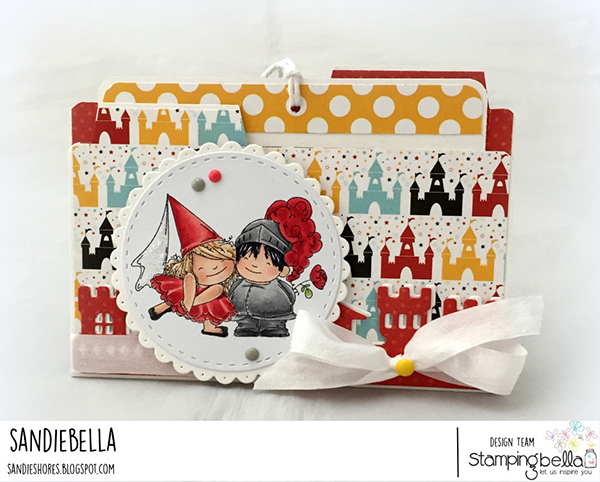
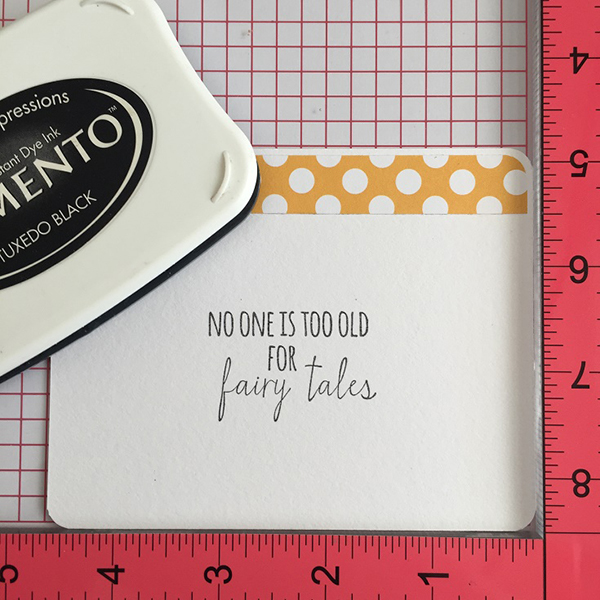
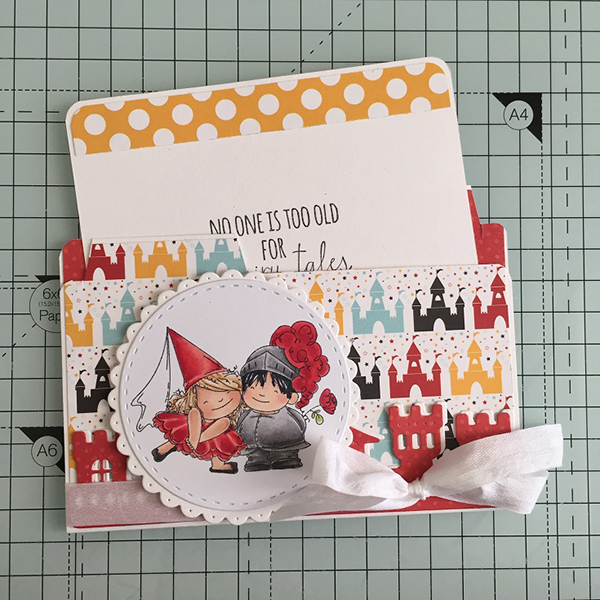
Stamp the Fairy Tale Squidgies sentiment into the centre.
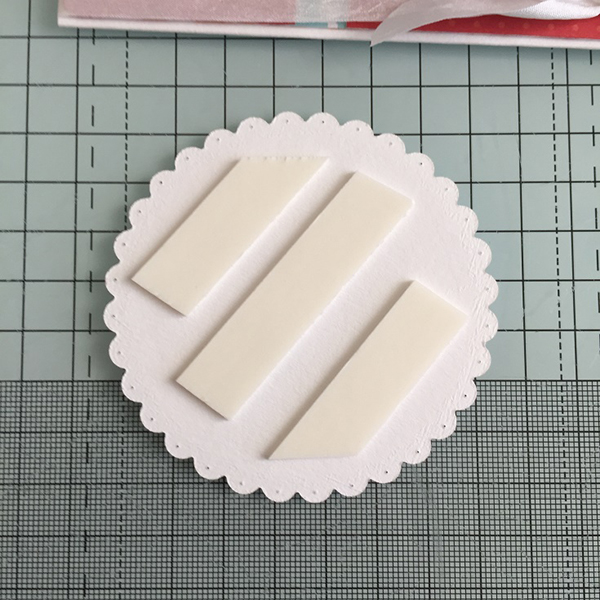
Take the image mounted on the scalloped circle and apply foam tape to the back.
Adhere to the front of the file folder
Slip the note card in and out of the pocket repeatedly to loosen the pocket a little, if you need to.
Apply some stardust Stickles to the fabric of the cone hat.
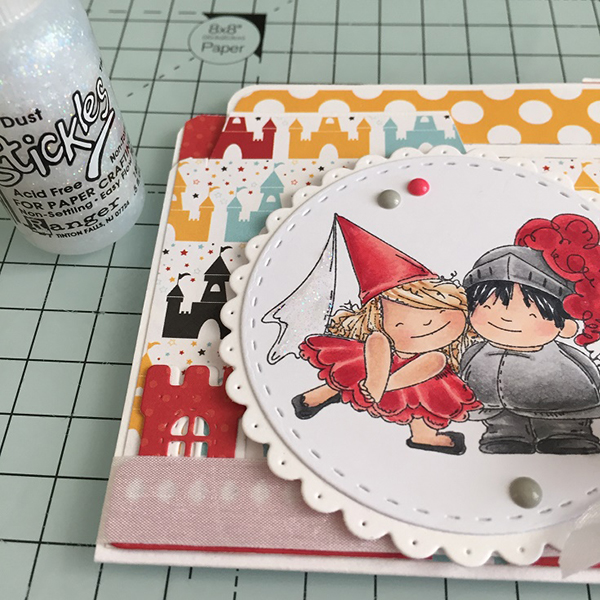
Finish by adding some enamel dots on the image and in the centre of the ribbon bow .
Over To You!
If you try out the techniques shown in any of the posts with your Stamping Bella stamps, be sure to share! We would love to see the results and hear how you feel about them. Show off your creations in the comments below and even better, share your own favourite tips with us. Let’s talk stamping!
If you are posting your images online, we would love to see them on Instagram and all the platforms mentioned above. To make it easier for us to find you just use #stampingbella as a hashtag. Even better tag @stampingbella . We love it when you connect, so don’t be shy!
If you’re on Facebook join us in our private chat group Stamping Bella Sistahood to share your creations there and chat all things Stamping Bella related!
Until next time, HAPPY STAMPING!
MWAH
Elaineabella
What an adorable pocket card. Thanks for the tutorial!
I really love this project! Thanks for sharing the details!
So cute. Love the clever idea. Thanks so much.
So cute! Your tutorials are terrific. Clear and easy to follow.
This is so totally cute! I don’t know if I will ever make a card like this but it’s nice to know it’s their if I ever think I could make this card.
What a cute idea! Thanks so much for sharing the steps in creating this! 🙂