So many of you have requested info on working with pencils, that although markers are my personal “go to” medium I’m doing my best to create some pencil related content for you! I do love using coloured pencils, and in fact many moons ago they were my first love for colouring stamps. I’m quite enjoying getting reacquainted, so although I am not ready to hang up my marker bag watch out for some fun coloured pencil posts here and there.
In this first pencil related post I’m showing you one way to mix your pencils and markers to get great results for your coloured images. I have used one of the most popular pencil brands – Prismacolor – which were the pencils I started with years ago (I still have the same set) together with my Copic markers. NOTE: any alcohol based markers will work for this.
As you can see, because the marker base allowed me to concentrate on shading and detail colouring with the pencils I was able to get some deeper, more vibrant colours overall. In the first example, I was reaching the limit in terms of being able to layer with my pencils, because I had to work fairly hard to get a nice base coverage to work from, this resulted in a less vibrant look.
Using markers as a base for pencil work can reduce the time it takes to colour an image like this with larger open areas for colouring.
When working with Prismacolor pencils I tend to use Zest-It Pencil Blend with paper stumps to blend. This is an alternative to odourless mineral spirits such as Gamsol.
My preferred paper for pencil work varies, but when using a solvent to blend I use a fairly smooth paper like the Winsor & Newton Smooth Surface Cartridge pad (100lb/220gsm) or a Bristol Board. Basically, a fairly smooth surface with a little “tooth”. The more “tooth” or the rougher the paper, the more layers of coloured pencil you should be able to add.
When using alcohol markers purely as a base layer, it is better to prioritise your paper choice for pencil work. If you aren’t doing any marker blending, you don’t need a paper that works well for that but you will want one that takes pencil nicely. The papers mentioned above work really well for this. If you intended to use pencils to enhance or tidy up details on an image coloured mainly with markers, you would need to choose a paper that works well for marker blending.
I hope you have enjoyed this first look at incorporating pencils! Next week I will be showing a comparison of some different pencil brands, so watch this space…
MWAH!
~Elaineabella
Hiya sistahs! I have to say when I scroll through the blog, it makes me so happy to see little nuggets sprinkled throughout the week. I am going to try my best to keep that up! Do you like it too??
Well it’s friday… time to think of what diet to start on Monday LOLOL.. and also a GORGEOUS… OUTSTANDING… roundup of INSPIRING creations!
Our theme this week was an INSPIRATION photo.. so anything that inspires you from this photo is an entry! The colours.. the floral theme.. the crafty theme.. the sewing theme.. you get da picture
Let’s see what our baberoonis came up with shall we?
AliceWERTZabella used our MASON JAR of FLOWERS Stamp and Cut it out bundle (did you know that if you buy our CUT IT OUT die and matching stamp as a bundle, you save 15%? just sayin’)
Danabella also used our Mason jar of Flowers STAMP and CUT IT OUT bundle
Same image.. 2 completely different looks.. that’s why STAMPING IS MAGICAL sistahs!!!
Faye-W-J-abella used MEET EDNA CUT IT OUT and STAMP BUNDLE
Kerribella used TINY TOWNIE HEIDI needs a HUG
Lesliebella used the BUNNY WOBBLE and the PEONY stamp and CUT IT OUT BUNDLE
Sandiebella used I HEART YOU
Shelabella used Tiny Townie FAIRY BEST FRIENDS
Stephabella used Edna blows a kiss and her SIGN BASE
Tracybella used TINY TOWNIE DOROTHY the DREAMER
TracyMACabella used our TINY TOWNIE BONNIE loves BOWS STAMP and CUT IT OUT DIE BUNDLE
Aren’t these AMAZING sistahs?
Drool.
And now for our AMAZING SISTAHOOD!
First, please click on THIS LINK.. scroll to the bottom and you will see all of our INLINKZ contributions! They are AMAZING!
And now for our emailed contributions!
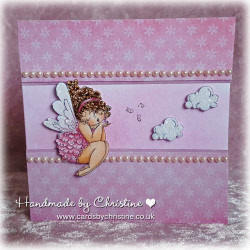
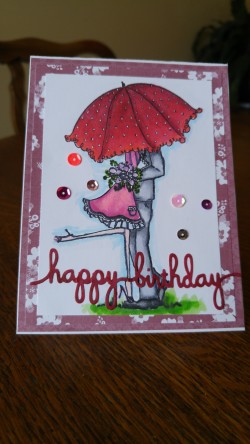
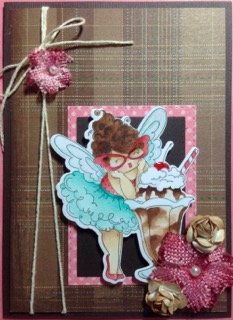
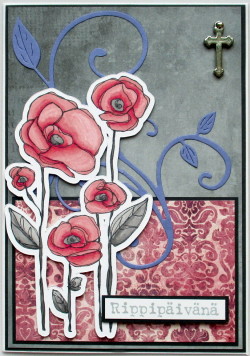
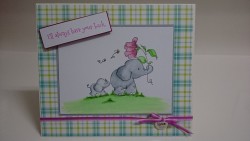
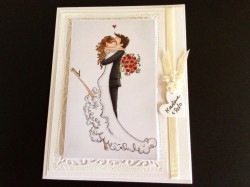
Amazing contributions!! thank you my sistahs!!!
Now for next week’s theme?
A MOJOBELLA SKETCHYPOO!!!
If you are not sure how to enter our challenge, please CLICK HERE for instructions
Mwah to da sistahs who don’t need to think of monday diets LOL
Em
Hiya sistahs!
I just love posting stuff from da sistahood.. so I think I am going to go through our FACEBOOK GROUP and on INSTAGRAM (if you tag @stampingbella and #stampingbella) once in a while and share the GORGEOUSNESS here.. ok? you DOWN wit dat? Ok good.
First I wanted to show a card I spotted on FB by Deborah Deruyck using Uptown girl VIENNA on her VESPA… these pleats? I CANNOT. If someone doesn’t teach me how to pleat RIGHT NOW I am gonna have a conniption (sp?) fit. LOL
How stunning is this? so clean and crisp no? Thank you so much Deborah for sharing this with us.. you are so talented!
I also wanted to share a card by the talented Christine LEVISON.. using EDNA blows a KISS.. I LOVE EDNA!!!! and CHRISTINE! Christine told me her mom’s name was Edna so our character holds a dear place in her heart 🙂 I love stories like that!
Thank you so much ladies for thinking of Stamping Bella before you sit down and create 🙂 it means the world to me!
MWAH and see you tomorrow for bellarific friday!
it’s not too late to enter.. check out the inspiration photo challenge HERE
Em
Paulabella!
And here’s a BEEYOOTIFUL card made by her and her magic pencils to inspire you today 🙂 Paulabella used one of our new Tiny townies from our latest release Tiny Townie Melissa loves MOVIES
MWAH!
Hiya sistahs,
Today I decided to film a quick video on our “CUT IT OUT” snippers tool 🙂 I have had a lot of questions, so I decided to test it out myself!
We had a few issues with autofocus again.. I will get to the bottom of it.. I PROMISE!
Hope you enjoy my goofiness
“Cut it out” dies used in the video:
The Bunny Wobble and the PEONY
and
Tiny Townie FAIRY HAPPY BIRTHDAY
MWAH
Em
I hope you subscribe to my new YOUTUBE channel!
MWAH
Some of my very favourite Stamping Bella stamps are from the fun range the COOL CHICKS! Love those little guys, and it never ceases to amaze me just how much character they have. They keep popping up with the Tiny Townies too, in fact you never quite know where they’ll appear to inject a little humour. So, this week I thought I’d share some Copic combos for colouring the chicks. The stamp set I used is Heidi Needs a Hug (this stamp was also featured in my Copic Hair Combos post) and this little chick is a separate stamp, so you can use him to create a scene with Heidi or even let him wander off and offer a flower wherever it might be needed!
While you’re playing with yellow combos, add a little extra detail to your chicks using techniques from my Basic Fur with Markers post (texture doesn’t have to be just for fur y’know). If you check out another sweet chick from the Stamping Bella range – Mimi the Chick Misses You – you will see that I textured her using the colourless blender refill technique. Some of the Cool Chicks are a little tiny for this, but others like Slick Chick would be perfect for getting some extra detail happening!
Have a go and let us know how you got on by sharing your work here in the comments section, over in the Stamping Bella Sistahood chat group on Facebook, directly on the Stamping Bella Facebook page or on Instagram by using the tag #markergeekmonday . We love hearing from you and sharing the enthusiasm for Stamping Bella!
MWAH!
~Elaineabella