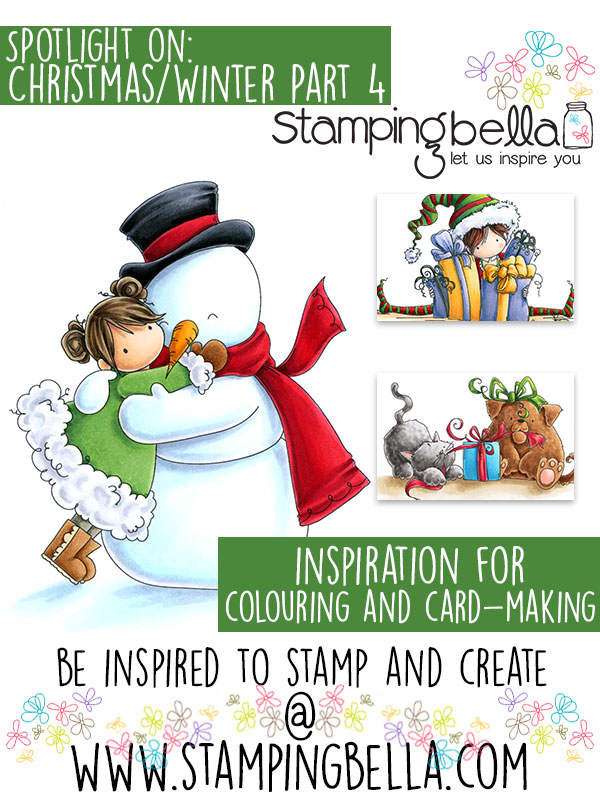
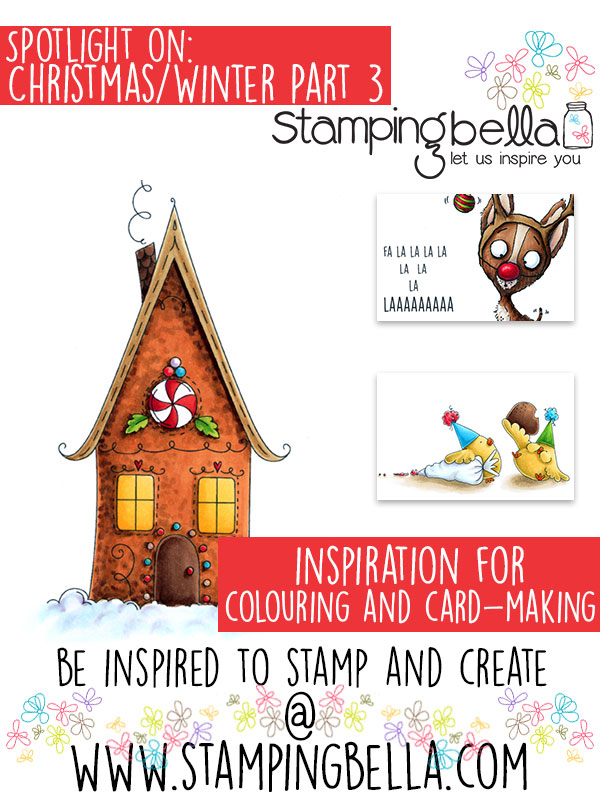
Spotlight On: Christmas & Winter at Stamping Bella Part 4
It’s Spotlight Tuesday time again and time to continue wandering through our Bellariffic Winter stamping wonderland!


It’s Spotlight Tuesday time again and time to continue wandering through our Bellariffic Winter stamping wonderland!
Hey everyone! Elaineabella here with another SPOTTED ON SUNDAY. Every Sunday I’m sharing cards and other creations that have caught my eye featuring Stamping Bella stamps.
This week’s Spotted on Sunday star is…
I spotted this fab and fresh festive card over on Instagram!
Stamp Sets Used: Snowman with a Chick on Top (coordinating die set also available)
This caught my eye over on Instagram! Thank you for sharing, Cebelica!
We love to see what you’ve all been up to with your Stamping Bella stamps, and there are lots of ways to share with us.
If you want to be “Spotted On Sunday” make sure you tag us with #SpotThisStampingBella so we know you give permission for your makes to be shared here on the blog! We will be featuring things we’ve spotted from all over the place, but by using the hashtag you’ll make it much easier for us to know you don’t mind us sharing.
Stamping Bella on Instagram: @StampingBella
Stamping Bella Facebook Page: Stamping Bella on Facebook
Stamping Bella Facebook Group: Stamping Bella Sistahood Chat Group
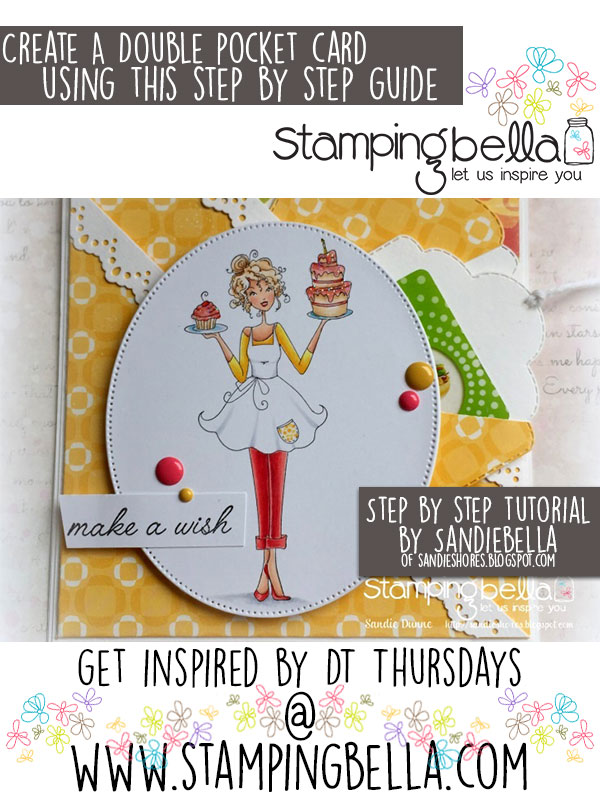
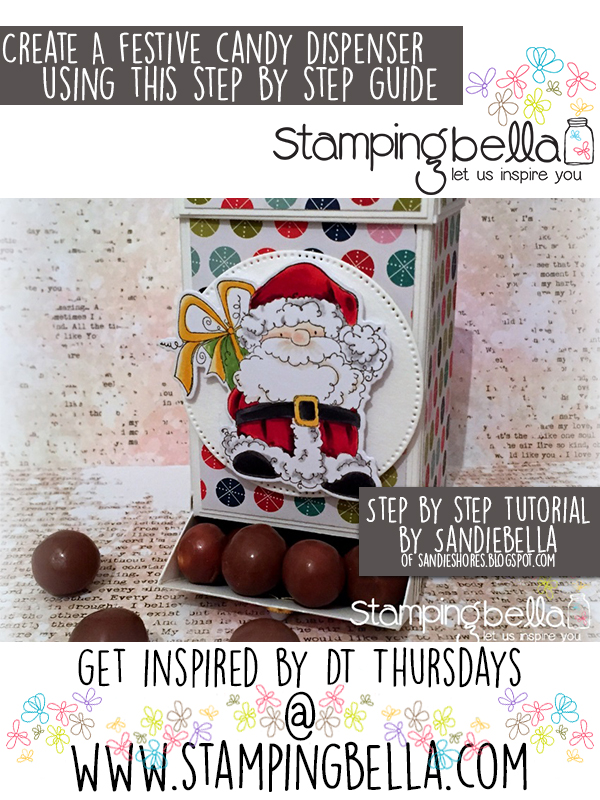
Time for another fab DT Thursday tutorial from Sandiebella!
 Continue reading
 I know many of you have been missing the Crazy Tuesday offers, which had to give way to all the amazing new releases over the past couple of months. Patience certainly brings its rewards, as this CRAZY TUESDAY is TWICE as crazy as your average Crazy Tuesday. Whoo!
That’s right, there are SIX stamps on offer at Crazy Tuesday prices today and only for today! Check out the inspiration below to see why you need them, then click on over to the store to grab them before the prices return to normal! (by midnight tonight!)

Hey everyone! Elaineabella here with another SPOTTED ON SUNDAY. Every Sunday I’m sharing cards and other creations that have caught my eye featuring Stamping Bella stamps.
This week’s Spotted on Sunday star is…
I spotted this gorgeous creation over on Instagram. So beautifully coloured.
Stamp Sets Used: Edna Needs a Martini (coordinating die set also available)
This caught my eye over on Instagram! Thank you for sharing, Peri!
We love to see what you’ve all been up to with your Stamping Bella stamps, and there are lots of ways to share with us.
If you want to be “Spotted On Sunday” make sure you tag us with #SpotThisStampingBella so we know you give permission for your makes to be shared here on the blog! We will be featuring things we’ve spotted from all over the place, but by using the hashtag you’ll make it much easier for us to know you don’t mind us sharing.
Stamping Bella on Instagram: @StampingBella
Stamping Bella Facebook Page: Stamping Bella on Facebook
Stamping Bella Facebook Group: Stamping Bella Sistahood Chat Group
For this week’s Stamp It Saturday post I thought I would share some more of the cards I created for the recent Holiday 2017 release and talk about how I created the backgrounds for them.
For the backgrounds on all of these cards I used the snowflake stamps from the new Little Bits Snowman Set – they are so pretty, and oh so handy. I love to create inked and stamped background pieces for cards, as while I do love designer papers, I never seem to have quite the right colours, or enough of my favourite ones, and something about my brain seems to get a little stuck when working with them. I can sit for hours staring at a pile of printed papers, deliberating over which to use, so creating my own often works out much faster!
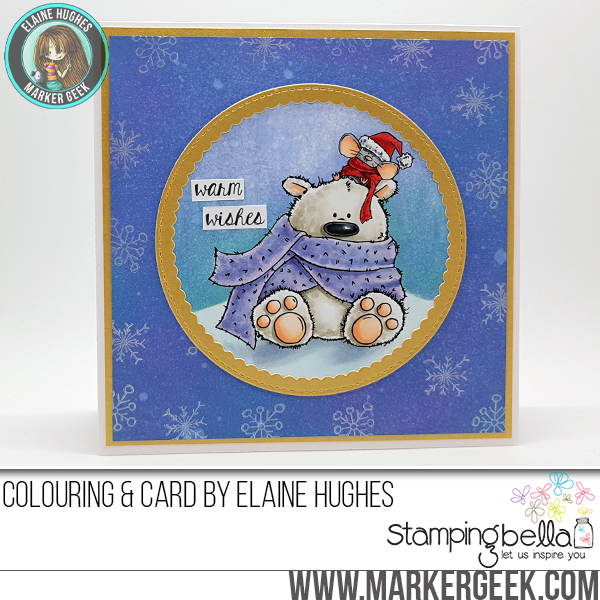
Stamp & Die Sets Used: Polar Bear & Mousie Stuffies, Little Bits Snowman Set, Holiday Sentiment Set
To create the background I used a few different shades of Distress Oxide inks on Strathmore Bristol Vellum Surface paper. The Distress Oxides have become my personal favourites because they go on so smoothly – the pigment ink content makes them so creamy to use. You could however, achieve a similar look using regular Distress Inks, or just try something similar with inks you have on hand (bear in mind, other inks may not react with water like the Distress range to create the splotchy textured effects).
Instead of spritzing the background pieces with water I used a Glimmer Mist spray, which works in the same way but of course adds a gorgeous shimmer to the paper which you can’t quite see in the photos. This is perfect for festive cards. You could use a pre-mixed spray like Glimmer Mist, or create your own using a spray bottle, some water and some Perfect Pearls powder or similar products.
I then stamped the snowflakes randomly using one of my favourite inks – Delicata – I love the Delicata metallic pigment inks, the gold has been my favourite for quite some time. On these cards I used Delicata White Shimmer. Because these inks are pigment based, you will need to allow longer for them to dry, or heat set them (which I did, because I am impatient!).
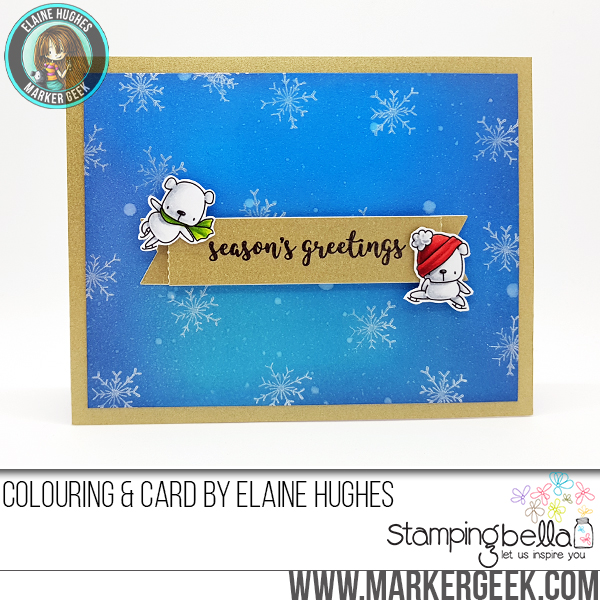
Stamp & Die Sets Used: Little Bits Skating Quartet Set, Little Bits Snowman Set, Holiday Sentiment Set
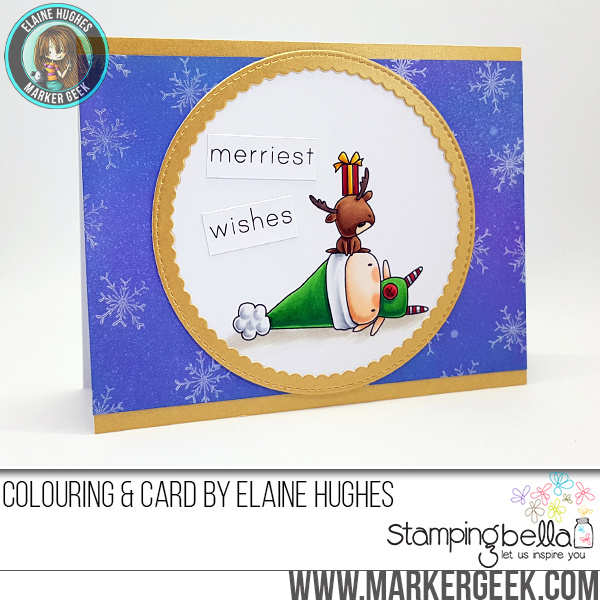
Stamp & Die Sets Used: Littles Elf with a Reindeer on Top, Little Bits Snowman Set, Holiday Sentiment Set
Creating your own inked and stamped backgrounds is a great way to create perfectly coordinating cards and projects. It’s also excellent for Christmas cards or other occasions when you need to create multiples of similar designs – simply create all your backgrounds in one sitting using a batch processing approach!
If you try out the techniques shown in any of the posts with your Stamping Bella stamps, be sure to share! We would love to see the results and hear how you feel about them. Show off your creations in the comments below and even better, share your own favourite tips with us. Let’s talk stamping!
If you are posting your images online, we would love to see them on Instagram and all the platforms mentioned above. To make it easier for us to find you just use #markergeekmonday and/or #stampingbella as a hashtag. Even better tag me @markergeek and @stampingbella . We love it when you connect, so don’t be shy!
If you’re on Facebook join us in our private chat group Stamping Bella Sistahood to share your creations there and chat all things Stamping Bella related!
Until next time, HAPPY STAMPING!
MWAH
Elaineabella
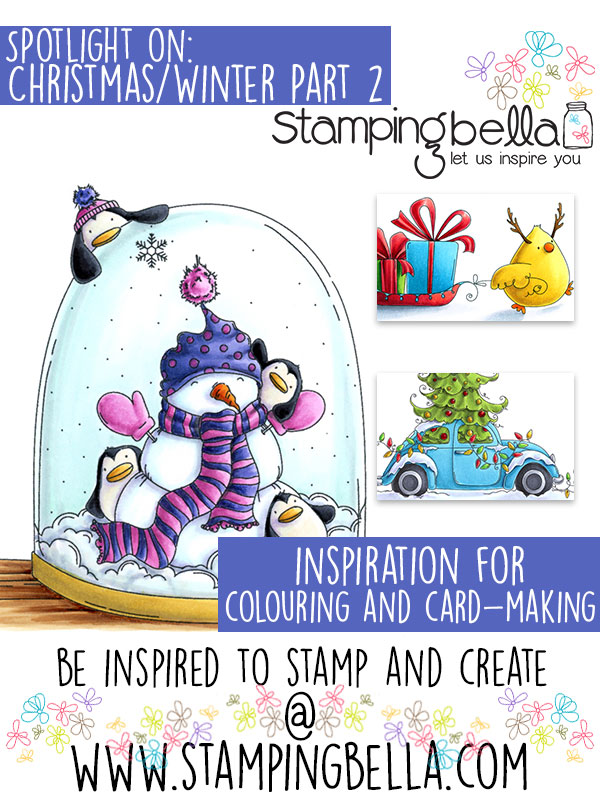
It’s Spotlight Tuesday time again! This week we’re going to continue our wander through the Christmas and Winter themed offerings at Stamping Bella. I know, I know, today is Halloween, but since many of us are well into Christmas crafting, it seems a little more useful to share some festive inspiration!
For this week’s Stamp It Saturday post I thought I would share a few tips to help you get creating fun scenes with the Little Bits and their coordinating dies.
Here are a couple of cards I created for the Holiday 2017 release, featuring some of the new Little Bits stamps and one of the backdrops. On both cards I used the die cut images to assemble cute scenes.
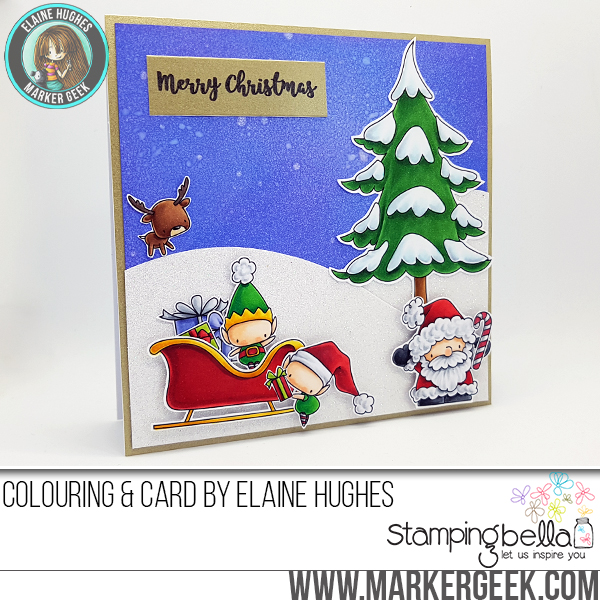
Stamp & Die Sets Used: Little Bits Winter Tree & Deer Ball, Little Bits Set of Elves, Little Bits Santa’s Gifts, Holiday Sentiment Set
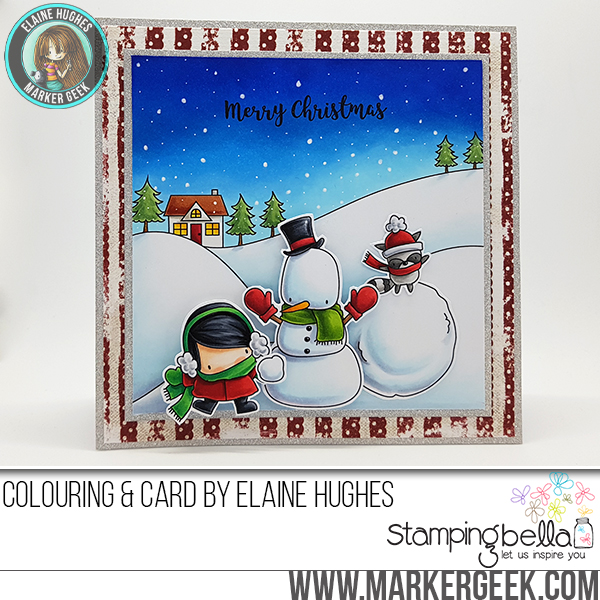
Stamp & Die Sets Used: Winter Backdrop, Little Bits Sledding, Little Bits Snowman Set, Holiday Sentiment Set
This approach is a lot simpler to replicate than masking and stamping, as you could easily stamp a number of each element, colour them in batches, die cut and then assemble in the same way.
Using Cut it Out Dies – tips for using the coordinating cut it out die sets to get great results.
If you try out the techniques shown in any of the posts with your Stamping Bella stamps, be sure to share! We would love to see the results and hear how you feel about them. Show off your creations in the comments below and even better, share your own favourite tips with us. Let’s talk stamping!
If you are posting your images online, we would love to see them on Instagram and all the platforms mentioned above. To make it easier for us to find you just use #markergeekmonday and/or #stampingbella as a hashtag. Even better tag me @markergeek and @stampingbella . We love it when you connect, so don’t be shy!
If you’re on Facebook join us in our private chat group Stamping Bella Sistahood to share your creations there and chat all things Stamping Bella related!
Until next time, HAPPY STAMPING!
MWAH
Elaineabella
It’s Spotlight Tuesday time again! This week we’re going to continue our wander through the Christmas and Winter themed offerings at Stamping Bella!