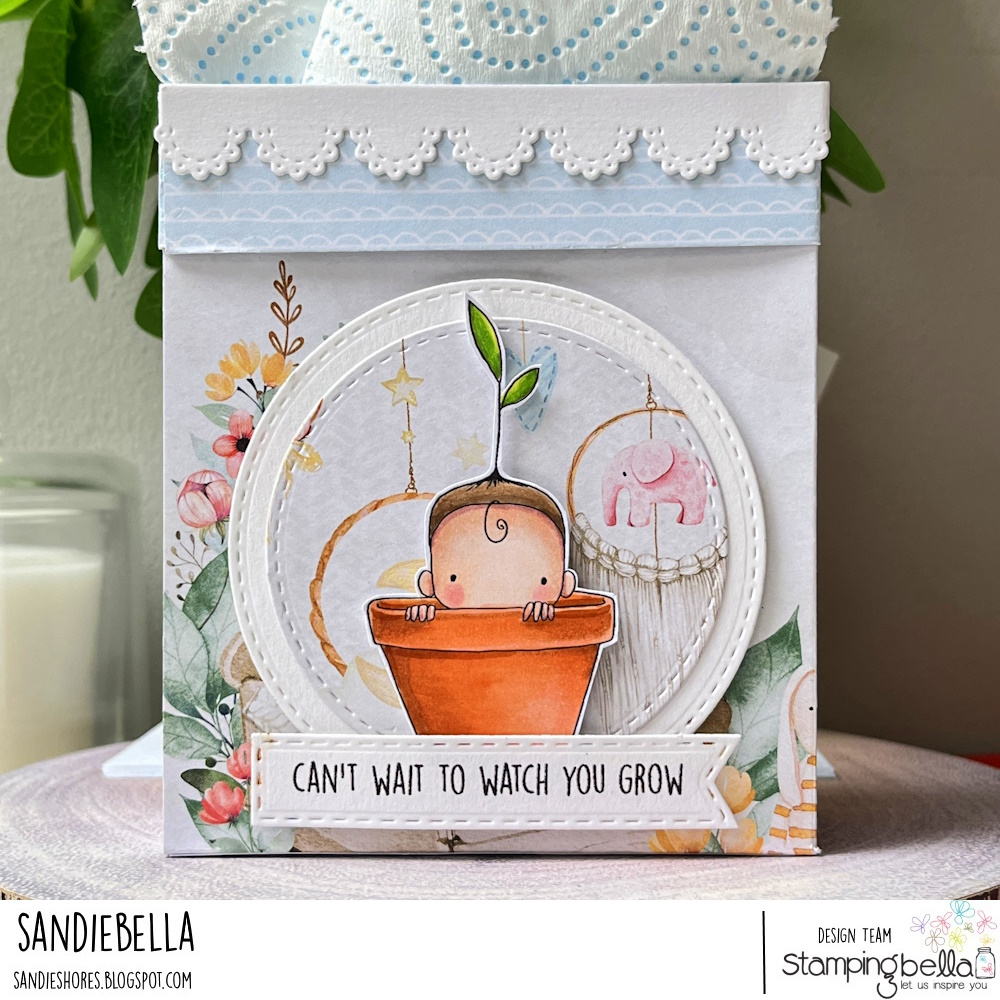
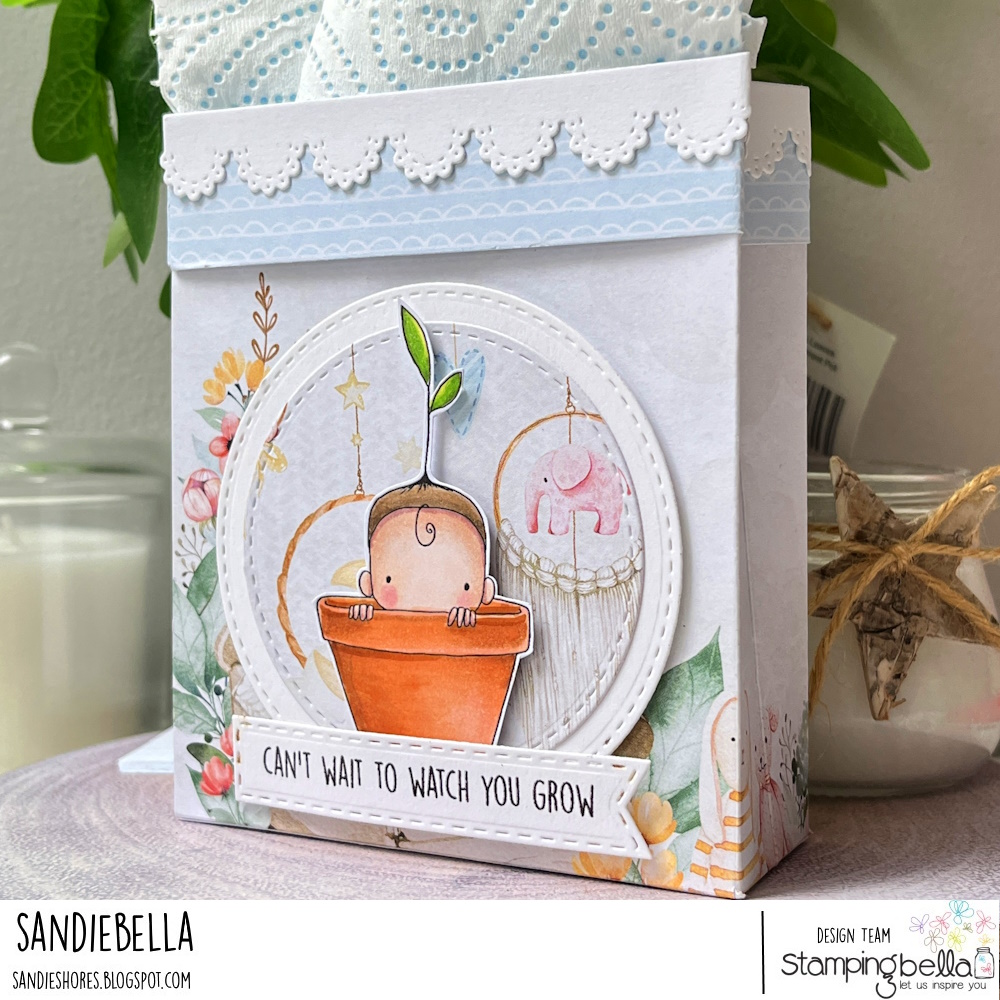
Sandiebella has an adorable step by step tutorial for us this week!


Turn back to the 12″ side and score at 5″ and 10.75″ from the 1″ score line down to the 5″ mark. This helps pinch in the sides.
With the front of the paper facing upwards, fold down the 1″ score line, then with the 1″ section folded down, fold and burning all the vertical score lines. Fold up the 1.5″ bottom score line and burnish well.
Open up the folds and, on the 0.5″ side section, cut away the bottom 1.5″ section. Make a tab from the top 1″ section as shown below. Taper the edges of the tab and longer 0.5″ section. Cut up on the vertical score lines of the 1.5″ bottom section, tapering the 1.5″ sections to make tabs.
Fold down the 1″ section again. Apply adhesive to the long 0.5″ section, and keeping the tab up off the long section, apply adhesive to that also.
Fold over the opposite end and adhere to the 0.5″ section. Then lift the 1″ section at the top and fold the small tab in underneath.
Turn the bag upside down and apply adhesive to the side sections and one of the larger sections. Fold in the side sections, then fold down the section with no glue over them.
Adhere the scalloped border around the top outside of the bag, then adhere the circles to the bag front.
Again using foam tape, adhere Sprouted Baby to the circles panel.
Comments are closed.
Sandie, you Gift Back is the cutest ever. The little Sprouted Baby is adorable and all the little touches… colors, florals, papers, blue scallop design paper and the scallop lacy-looking trims, etc… are so heart warming and so special. Really nice. Thank you for sharing your creativity.
This is so super cute!!
Such a cutie, in a bag!! Very sweet details like the scalloped edge looking like lace…and the baby, oh my!