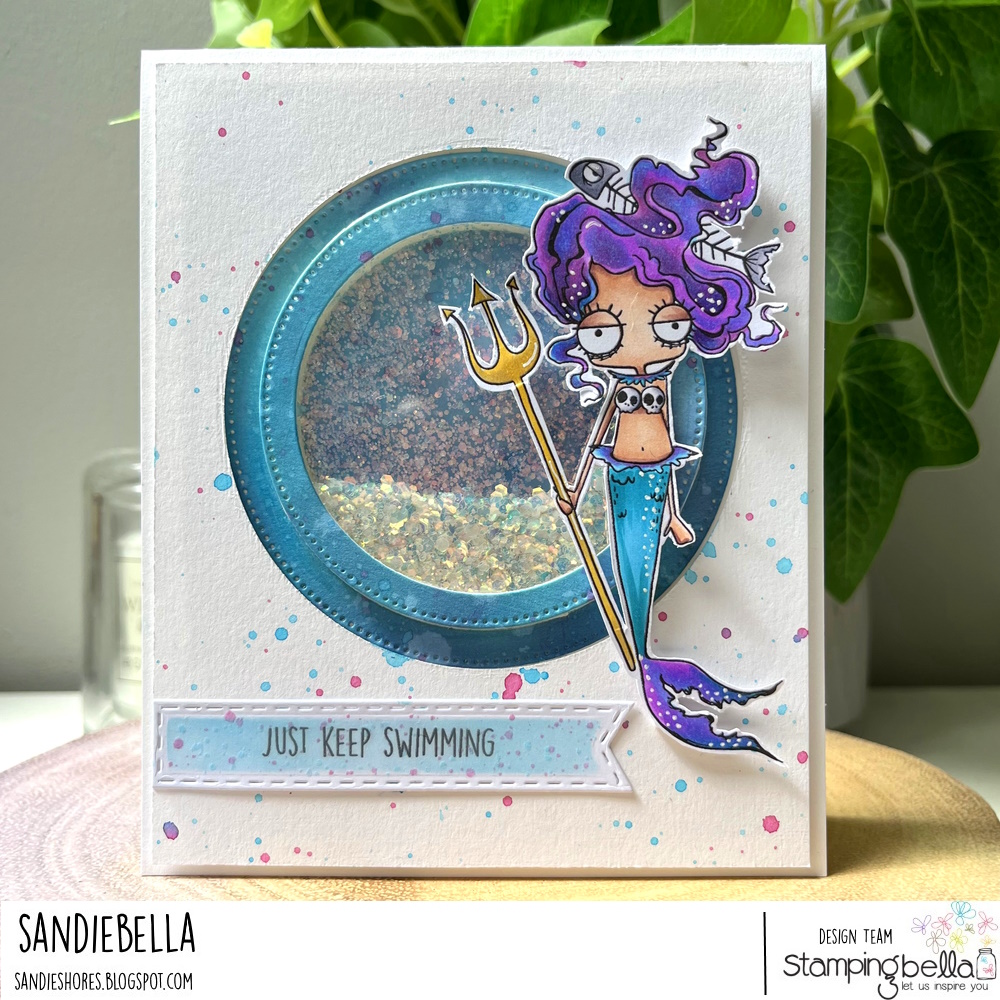
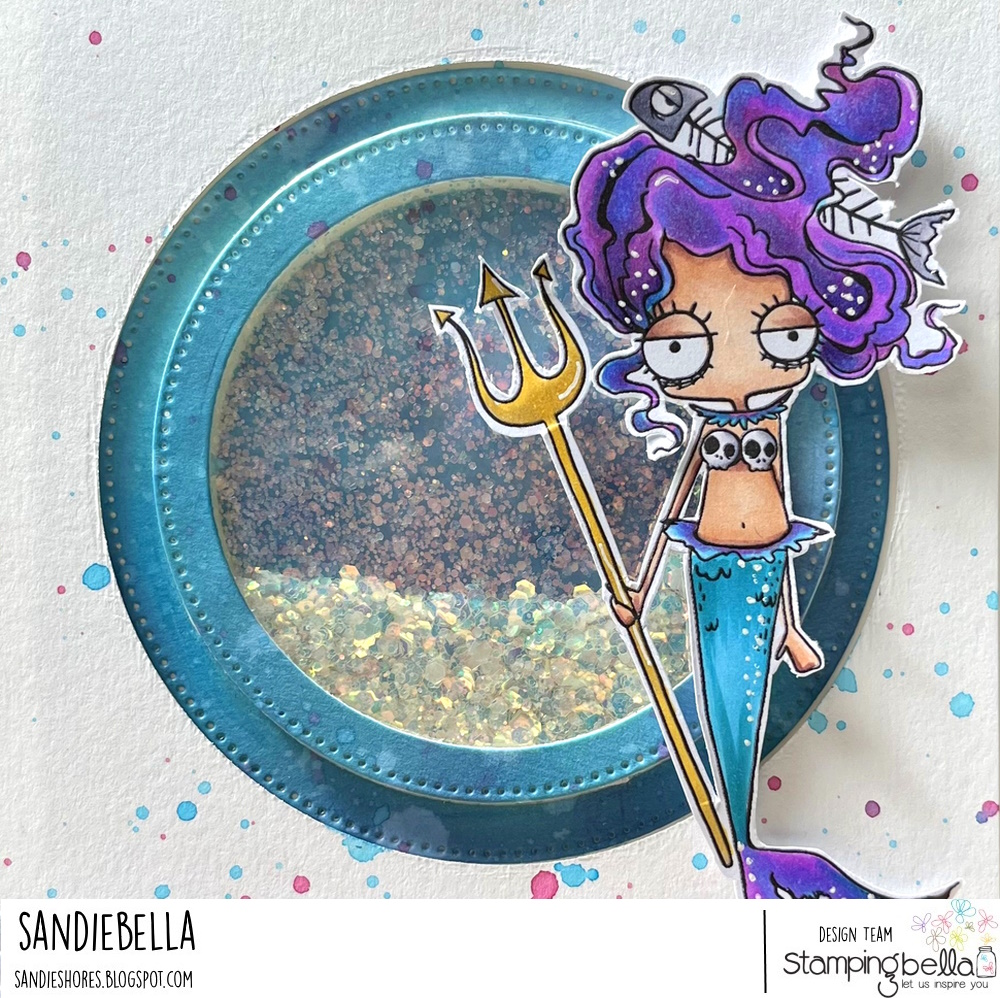
It’s MerMay and Sandie has a fab tutorial for you today featuring one of our MERMAID themed stamps. Read on to see how to create your own mermaid shaker card


Stamp a little of the mermaid lagoon and seedless preserves inks onto a stamping block. Using the small paint brush, mix a little water into the mermaid lagoon and make little splashes on the card panel. Repeat with the seedless preserves ink.
When the ink has dried, place the 3 circle dies inside one another, and evenly spaced, about 0.5″ down from the top and centered horizontally (0.5″ in from each side). Use a little washi tape to hold them in place and run through the cutting machine.
Take the other 4.5″x 5.5″ piece of card and using the largest circle die (3.5″) cut out a circle, again 0.5″ from the top and 0.5″ in from each side.
Cut two acetate circles using the 3″ die. Apply a strip of 1/8″ double sided tape around the back of the middle circle and adhere to one of the acetate pieces.
Apply some 1/8″ foam tape on the acetate circle panel, first making little notches to help shape it into a circle. Pour in some fine shaker mix, remove the backing from the foam tape and adhere the other acetate circle to it.
Adhere the shaker to the card front. Using the small paint brush and the mermaid lagoon/seedless preserves ink again, make splashes on the front panel then adhere it to the card base using foam tape.
Stamp the sentiment onto white card, cut out with a 5/8″ high pennant die. Leaving the die in place, ink the card with tumbled glass ink, then make splashes with the inks used for the card front.