GIFT CERTIFICATE!

Treat someone special to a Stamping Bella

Click to continue

Thursday with Sandiebella: Gift Box Card Tutorial

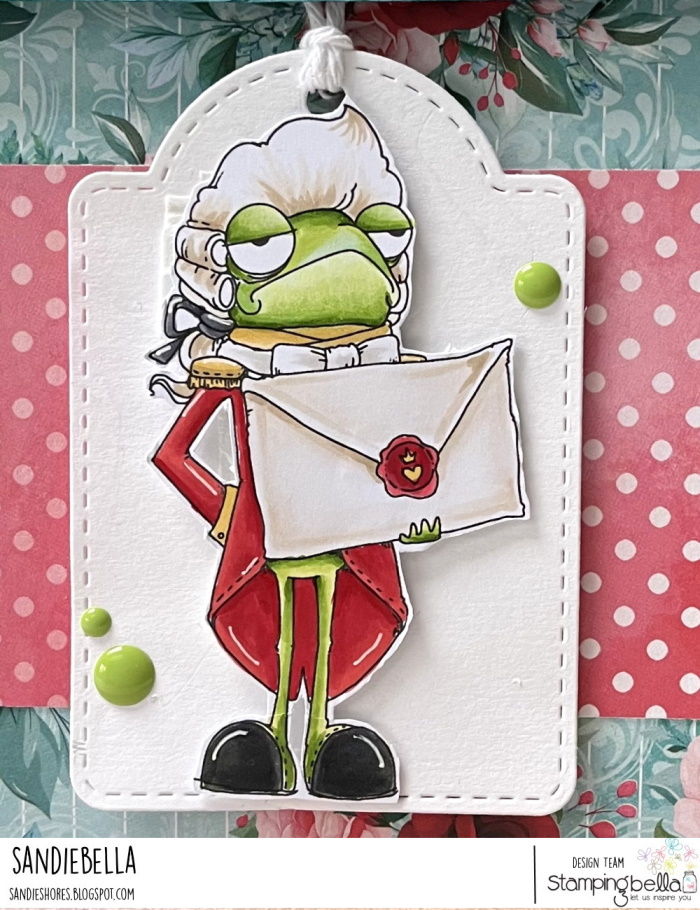
It’s the very first Thursday of the year and Sandiebella is back with a gorgeous step by step tutorial for us, showing how she created a gift box card featuring the amazing Oddball Frog Footman (Alice in Wonderland). He’s just such a great image! Read on to see how Sandie worked her magic again…

You can find the stamp set Sandie used, along with a host of other Alice in Wonderland themed Oddballs in the ODDBALLS SECTION of the store. We also have the ALICE IN WONDERLAND SENTIMENT SET to go with them!
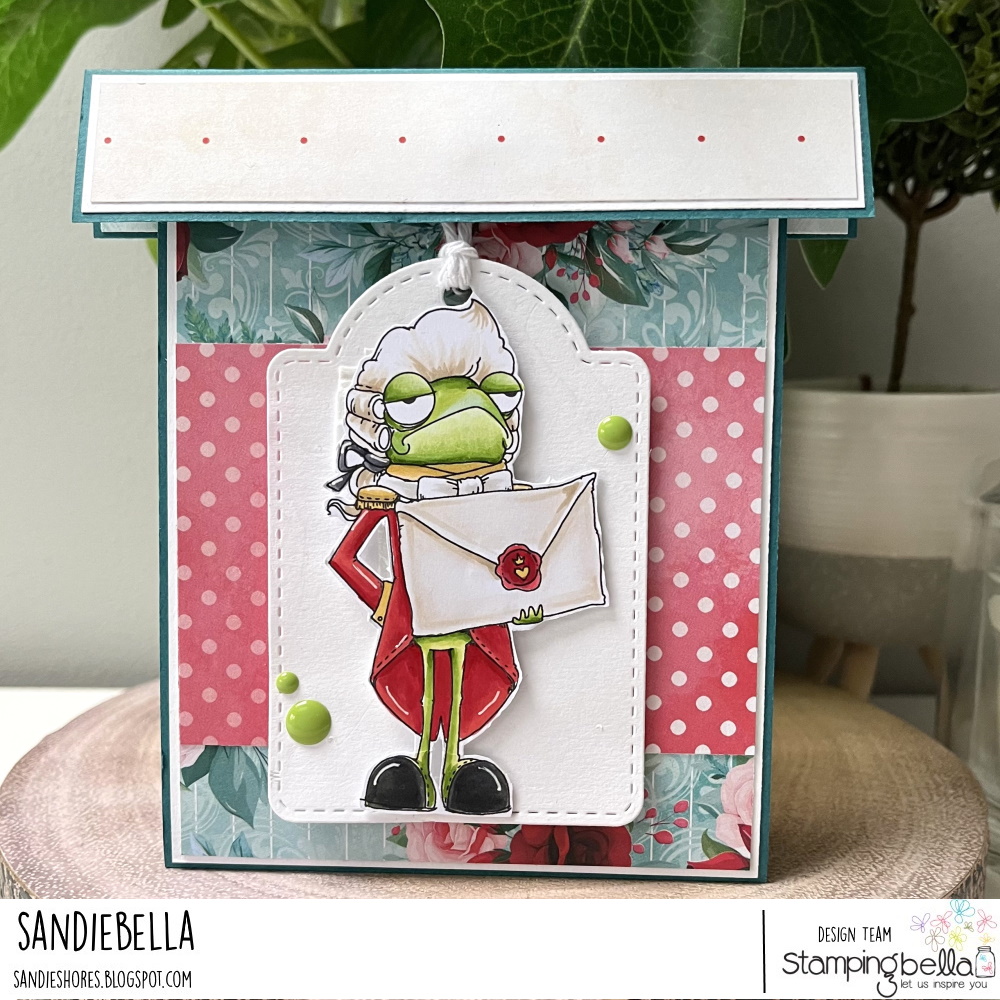
Gift Box Card

Supplies: 

Card
Designer paper
Tag Die
Small magnets
Scoring board and bone folder
Adhesive – wet glue, foam tape
Enamel dots

How to:

To make the card, cut: 
Teal card:
(1x) 4.25″ x 11″ (base)
(1x) 5.25″ x 2.25″ (‘lid’)
White card:
(2x) 4-3/8″ x 4-1/8″ (inside sentiment & back panels)
(1x) 5-3/8″ x 4-1/8″ (card front)
(2x) 5-1/8″ x 1″ (lid)
Papers:
(1x) 4.25″ x 4″ (back)
(1x) 5.25″ x 4″ (card front)
(2x) 5″ x 7/8″ (lid)
(2x) 5-1/8″ x 1″ (lid-inside)
(1x) 5-3/8″ x 4-1/8″ (inside card front)
Stamp Oddball Frog Footman onto white card. Colour, then fussy cut around the outline.

Cut a tag approx. 3.75″ x 2.5″ and adhere the Oddball Frog Footman to it using foam tape. Thread some white twine through the hole at the top of the tag.

Set aside.

Score the card base at 5.5″ and crease well with a bone folder.

Score the lid piece on the short side at 2-1/8″. Fold over and crease well.

Apply adhesive to the edge of one side of the base.

Adhere inside the lid piece, centered horizontally, as shown. Adhere one of the lid-inside pieces of paper over it.

On the top section of the lid inside, adhere a small magnet, centered, and cover it with double sided tape. Adhere the other lid-inside piece of paper over it.

Place the other magnet over the adhered one, and put a glue dot on it.

Adhere the card panel to the card front and fold up into the lid.

Fold the lid down over it, press firmly to adhere the magnet to the white card.

Apply some double sided tape over it to keep it in place.

Adhere the paper panel on the card front.

Open up the card and adhere the sentiment panel and the inside paper panel. A gift card can be adhered to the bottom section using just a glue dot or some silicone glue.

Adhere the white card strips and paper strips to the front and back of the lid.

Stamp the sentiment on the inside panel.

Retrieve the image on the tag and adhere the card front, adding paper layers first as preferred. Add some enamel dots to the tag to embellish.

If you follow any of Sandie’s brilliant tutorials, be sure to tag us on social media – #stampingbella – or leave us a comment with a link. We LOVE to see what the SISTAHOOD have been creating.

MWAH!

Elaineabella

Post navigation

1 comment

Leave a comment

Your email address will not be published. Required fields are marked *