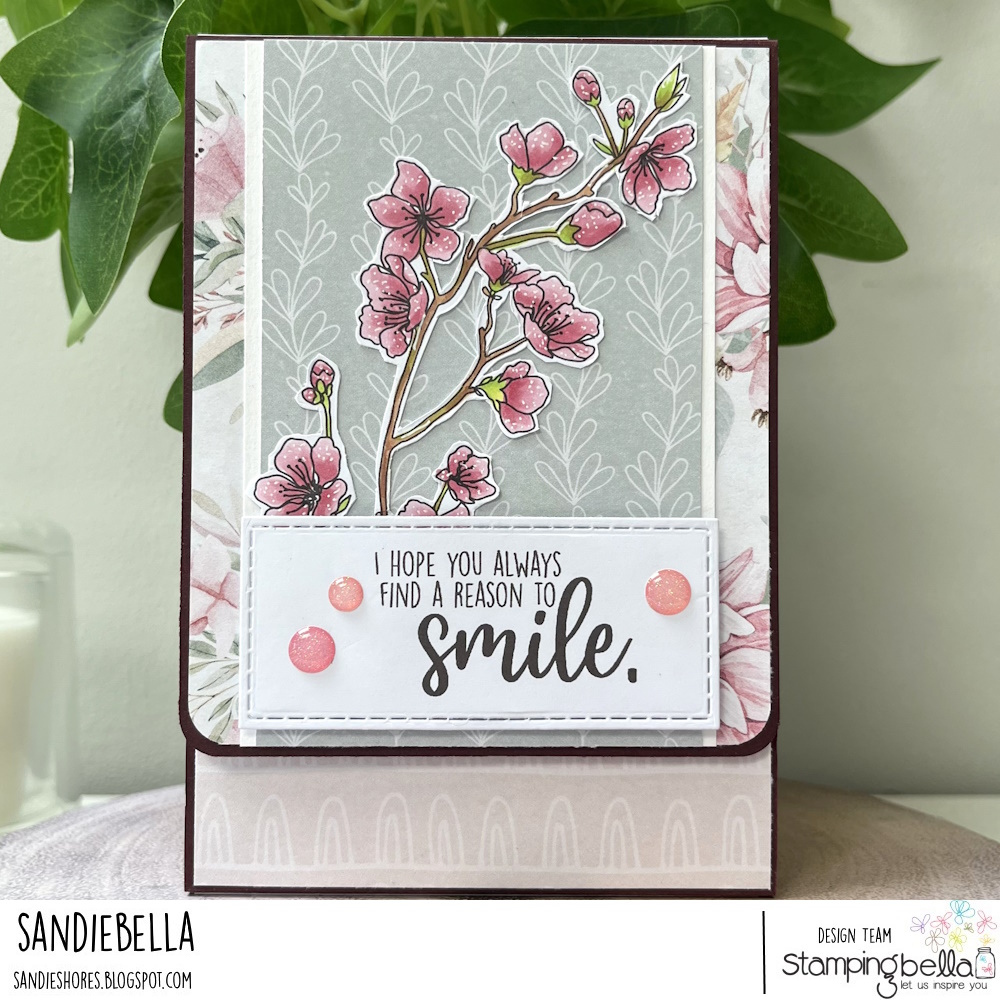
Happy Thursday! Our Sandiebella has a gorgeous tutorial for us today, follow along below to recreate her…

Score the 4″ x 10.5″ piece of card at 0.5″, 1″, 1.5″, 1.75″, 2.25″, 2.75″, 3″, 3.5″, 4″, 4.25″, 4.75″, 5.25″, 5.5″, 6″, 6.5″, 6.75″, 7.25″, 7.75″, 8″, 8.5″, 9″, 9.25, 9.75, 10.25.
Apply adhesive to the 0.5″ section of the 8.5″ x 4-1/8″ piece and adhere to the 5″ x 4-1/8″ on the opposite end to the rounded corners. This is the front flap.
Score the 5.75″ x 8.25″ pieces of card at 4″ and 8″. Cut a wedge from each end of the 0.25″ section. Apply adhesive, fold over on the 4″ score line and adhere to make a pocket.
Apply adhesive to both sides of the first tab and slide the pocket down over it. Press down well to ensure the pocket is secure.
Place a magnet on the front of the album, approx 3.5″ down. Glue paper over it to secure it in place, then attach the other magnet to it. Apply a strong glue dot then fold down the front flap to adhere the magnet to it.
Adhere paper over the magnet on the inside of the front flap. Close up the album and it should stand up.
Cover the front and back of all the pockets with the paper pieces, and adhere all the outside papers.
Stamp the Cherry Blossom Branch onto white card, and colour using your preferred medium.
Adhere the 4-7/8″ x 3″ piece of paper to the 4-7/8″ x 3.25″ piece of white card and adhere to the front of the album.
Fussy cut around the Cherry Blossom Branch
Adhere to the front, over the Cherry Blossom Branch, using foam tape. Embellish with some glittered enamel dots.
Comments are closed.
Sandiebella… this is a beautiful flip top album. The designer paper looks like embossed vellum and the colors are really lovely. Wonderful quote too. Thank you for sharing.
this is lovely! Thank you for sharing!