Hey folks! Elaineabella here with another Marker Geek Monday post to kick off a week of colouring fun.
If you missed last week’s post, make sure you check it out: Marker Geek Monday Copic Colouring Easy Curly Hair feat. Edna. Perfect if you’re looking for some tips in tackling the curly hair on our Edna stamps and others like some of the Uptown Girls, Tiny Townies and Bellas!
In today’s post I’d like to revisit a technique I shared last year on my Marker Geek blog – colouring a night sky or galaxy background with Copic markers. This technique would also work with other brands of alcohol based marker, just substitute the colours for similar ones!

Here’s the step by step colouring guide for my night sky or galaxy background technique. Further on you will find a video (with audio commentary), so you can really get to grips with how I approach this technique!
TOP TIP: When colouring a background for a stamped image, colour the background first. If you colour the image first you may spoil your work when flicking the colourless blender.
Watch the video below or in HD over on Youtube.
Here’s a list of the colours I used to create the background as shown in the video and step by step guide above. However these are not the only colours you could use! Search for some reference images online and get inspiration for colourful galaxies to emulate using this technique.
This technique creates beautiful backgrounds that can be used to enhance your images and give a real *wow* factor.
TOP TIP: Use vibrant colour on your image to make it really stand out against the coloured background.
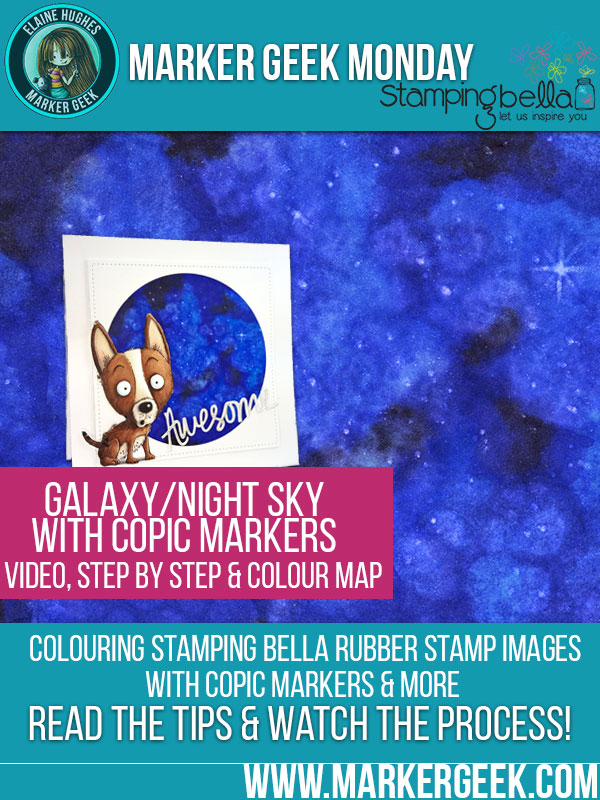
On this card I popped our wonderful NACHO in front of a circle I die cut from my previously coloured galaxy background. I thought his expression and the die cut sentiment I had chosen went perfectly with the WOW background. He honestly cannot believe what he’s seeing. 😉 I think this might just be one of my favourite cards, ever, because I love how the background turned out but mostly because I LOVE that ridiculous little dog.
On my next card I took our lovely little Tiny Townie Hayley the Hero, and coloured the background around her. I took a little extra time with the colourless blender around the sentiment to help it stand out against the dark background.
I created a more subtle version of this background for my Superbella V2.0 card recently, to show her hovering outside the window ready to save the day!
Let’s take a look at some other stamps in the Stamping Bella collection that I think would be perfect for setting against this background.
One that immediately springs to mind is little Tiny Townie Amanda is Awesome. How beautiful and sentimental would this image be with Amanda looking out at a beautiful starry night sky?
A couple of obvious choices are our other superhero stamps:
Parker the Pig from our Christine Grove line. Love that little guy.
Another heroic Christine Grove stamp – Seniorita Gladys the SuperHero.
Wouldn’t Edna the Diva look FABULOUS set against this background, as if she’s fluttering off for a night on the town?
You could make this technique work for so many images, to give them an extra twist. It would work beautifully with many of our festive HOLIDAYS stamp releases (hint, hint there may be some more appearing soon 😉 ). How beautiful would a snowman like FROSTIER look set against a night sky? The contrast would make for a card with super visual impact!
TOP TIP: Many of the newer Stamping Bella releases now come with matching CUT IT OUT DIES. It really couldn’t be any easier to cut out a character to pop in front of a fun background.
If you try out the techniques shown in this post with your Stamping Bella stamps, be sure to share! Take a look through your collection, or add some more from the website and see what you can come with! We would love to see the results and hear how you feel about them. Show off your creations in the comments below and even better, share your own favourite tips with us. Let’s talk colour!
If you are posting your images online, we would love to see them on Instagram and all the platforms mentioned above. To make it easier for us to find you just use #markergeekmonday and/or #stampingbella as a hashtag. Even better tag me @markergeek and @stampingbella . We love it when you connect, so don’t be shy!
If you’re on Facebook join us in our private chat group Stamping Bella Sistahood to share your creations there and chat all things Stamping Bella related!
Until next time, HAPPY COLOURING!
MWAH
Elaineabella
GREAT TECHNIQUE! Can’t wait to see what the new release will bring! Love holiday stamps!
You won’t be disappointed, Denise, that’s all I will say! 😉 Thank you for your lovely comment – let us know if you try it out. 🙂
Great technique, thanks for the video!
Glad you enjoyed it Janet! Don’t forget to share with us if you try it out and give some of your Stamping Bella images a fun backdrop. 🙂
Oh thank you so much for sharing! I need to practice this! It looks sooooo cool! 🙂 PS – I love your accent! 🙂
Hehe! Thank you so much Nancee, your continued support is hugely appreciated. Can’t wait to see what you come up with using this technique. 😉
Darn it, I want to try this technique but I don’t have all this stuff! I’m going to save this though so I can try it when I get the right markers. I don’t have a fan brush or colorless blender so I can’t get that exact look but maybe I can try it with the markers I have and see what I come up with. I’m going to try!