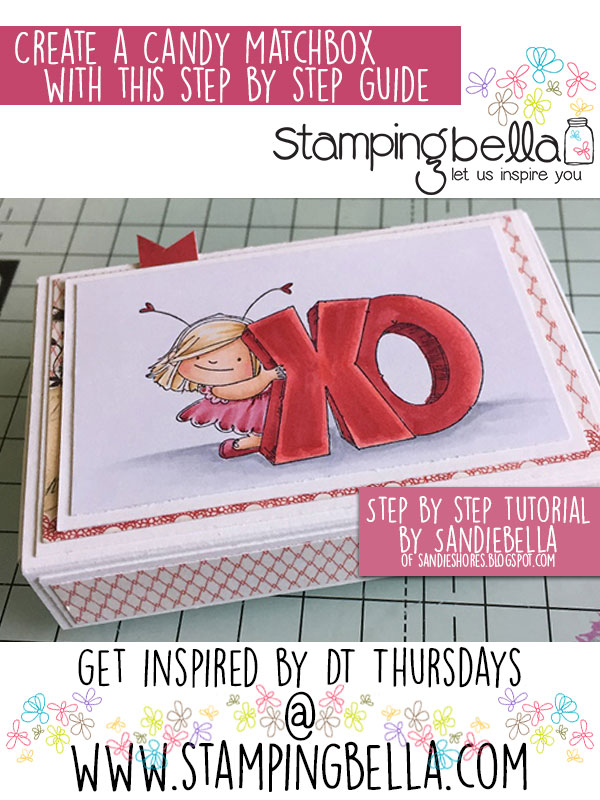

Cut one piece of white card measuring 3.5″ x 7″ and another piece measuring 5.25″ x 6.5″
Score the 5.25″ x 6.5″ at 0.75″ and 1.5″ on all 4 sides.
Cut away the 3 outside corner squares and cut the last square up to the 1.5″ line to make a tab.
Taper the edges of all the tabs.
Repeat on all 4 sides.
Apply double sided tape on the outside of four small tabs
Turn the card over and apply double sided tape to the long outer tabs.
Remove the tape backing from the small tabs and adhere them to the sides of the box, as shown
Repeat for all of the smaller tabs, to form a drawer.
Remove the tape backing from the inside tabs and fold down each tab, burnish with a bone folder to adhere well.
To make the wrap, take the 3.5″ x 7″ piece of white card you cut earlier, and score at 0.75″, 3 1/8″, 3 7/8″ and 6.25″
On one of the ends, taper the edges of the 0.75″ section.
Apply double sided tape to the outside of the tapered tab
Adhere the tab to the inside of the opposite end.
Ensure the box fits before moving any further.
Cut the layers for the top and sides of the matchbox –
One piece of patterned paper measuring 2 1/8″ x 3.25″ and two pieces measuring 1/2″ x 3.25″
Adhere the patterned papers to the white card
Adhere the panels to the top and sides. There is no need to add paper to the bottom unless you would want to.
Stamp the image onto white card
Colour with your desired medium.
Cut the image down to approx 1 7/8″ x 2 7/8″ and mat it onto a piece of white card measuring 2″ x 3″
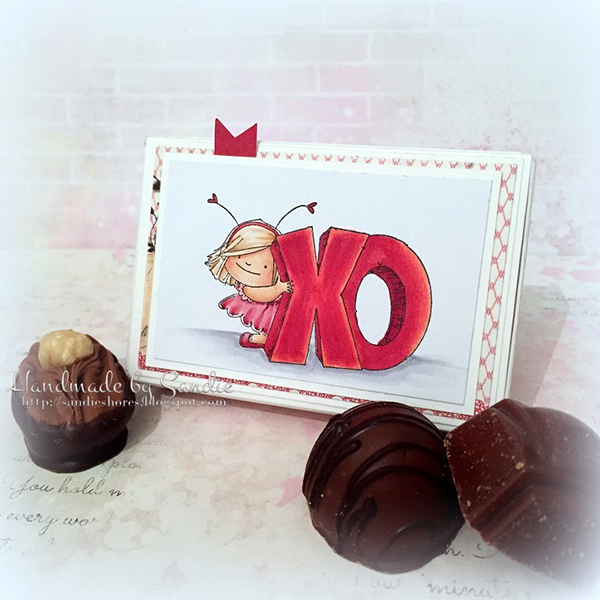
Adhere the image down onto the top of the box. I added a little pennant behind the image, in red paper, to add a pop of colour.
Fill with candy, or a small gift, to give to your Valentine.
Hopefully I’ve inspired you to sit down and try your hands at this lovely project.
We also encourage you to share your personal favourite Stamping Bella creations with us. We LOVE to see what you’ve been creating with Stamping Bella stamps.
Another way to connect is by joining us in the Stamping Bella Sistahood Facebook Group and share your pictures.
If you are posting your images online, we would love to see them on Instagram and all the platforms mentioned above. To make it easier for us to find you just use #stampingbella as a hashtag. We love it when you connect, so don’t be shy!
Until next time, HAPPY STAMPING!
Comments are closed.
So cute. Must make one or two or five.
I love this so much!!
Great tutorial! Thanks for sharing!
Oh what a great project! Beautiful! Thanks for sharing the step by step instructions! 🙂
Love Sandie’s projects! She’s amazing!
I absolutely loved this – thank you so much for sharing. I love all the coloring tips etc. that are sent to us – so inspiring!!! Big Hugs