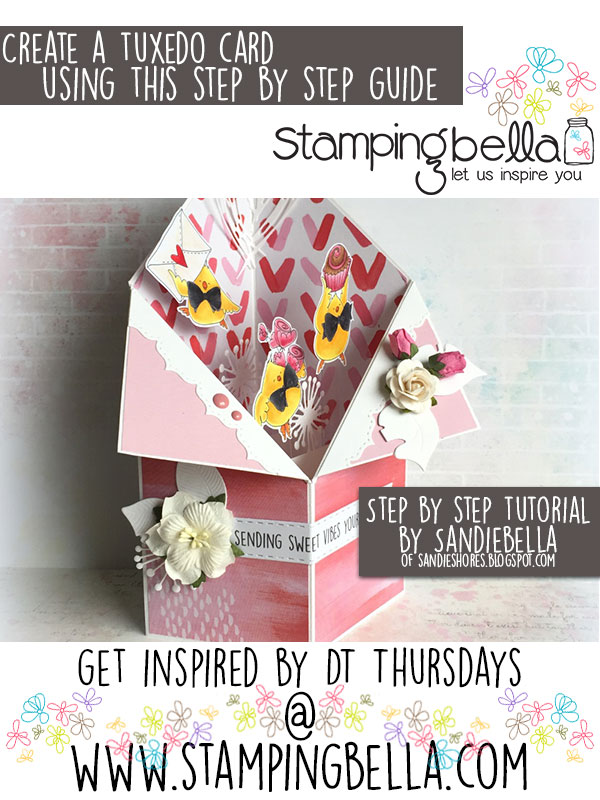
Time for another fab DT Thursday tutorial from Sandiebella!


On the right hand side, measure up 2.75″, inside the first scoreline as shown, and mark with a pencil
Measure 2.75″ on the left hand side and mark with a pencil.
Cut diagonally from the centre scoreline, on each side, down to the 5.5″ line, as shown.
Remove the small section down to the 2.75″ pencil mark.
On the right, score from the top of the second scoreline down to the 2.75″ pencil mark.
Using a scissors, taper the top of the 0.7″ section, following the angle of the diagonal scoreline.
Score the left hand side from diagonally from the top of the first score line, down to the 2.75″ pencil mark.
Fold the outer sections of the card inwards and fold the ‘lapels’ outwards, as shown below
Patterned paper
Adhere all the patterned paper down
Cut 2 strips of card measuring 3.25″ x 1″. Score on the long side at .25″ from each end. Fold one end forward and one end back
Apply some glue to the tabs on one end of each strip and attach them to the inside of the card, on the left hand section.
When they are securely stuck down fold them down and apply glue to the tabs on the other end.
Fold the whole card base in half and press down to make sure the tabs stick well.
When you open it up, this is how it should look on the inside.
Apply glue to the 0.7″ tab and stick it underneath the left section.
Colour the chicks using your preferred medium and use the dies to cut them out. If you don’t have the dies, you can fussy cut with scissors.
Cut 3 pieces of acetate measuring approx 3.5″ x 0.5″
Apply some double sided tape to the back of the chick and stick a piece of acetate to each of them. To make them extra secure, apply more double sided tape across the acetate.
Repeat for all three chicks.
Apply some double sided tape to the front of the actetate and remove the backing.
Apply a longer strip of double sided tape behind the acetate and leave the backing paper on it.
Stick each of the chicks behind the white card bridges, and use the longer pieces of double sided tape to make them more secure. Do not removed the backing paper from the tape.
Retrieve the sentiment and fold it in half.
With the card bent, adhere the sentiment across the front.
To finish the card, decorate as desired.
If you try out the techniques shown in any of the posts with your Stamping Bella stamps, be sure to share! We would love to see the results and hear how you feel about them. Show off your creations in the comments below and even better, share your own favourite tips with us. Let’s talk stamping!
If you are posting your images online, we would love to see them on Instagram and all the platforms mentioned above. To make it easier for us to find you just use #stampingbella as a hashtag. Even better tag @stampingbella . We love it when you connect, so don’t be shy!
If you’re on Facebook join us in our private chat group Stamping Bella Sistahood to share your creations there and chat all things Stamping Bella related!
Until next time, HAPPY STAMPING!
MWAH
Elaineabella
Comments are closed.
Just wonderful. X
This is adorable !!! Liking those chicks more each time I see them.
Oh my gosh this is so cute! Love it!
How adorable! I will have to make one of these! Love it! 🙂