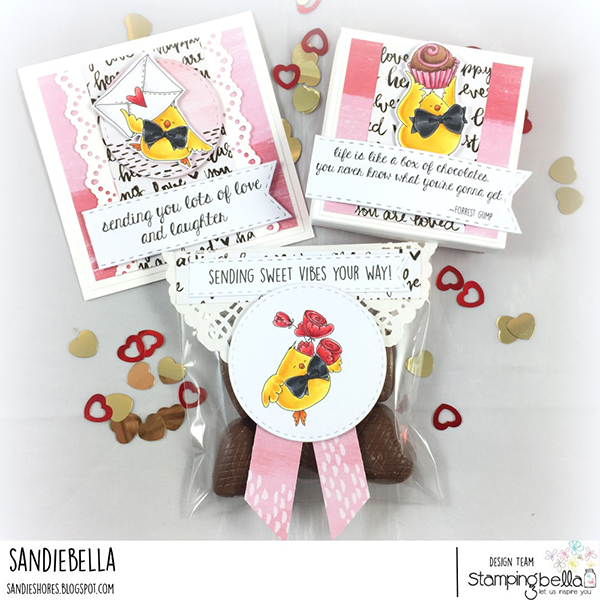
Time for another fab DT Thursday tutorial from Sandiebella!
Valentine Chicks
Valentine Chicks CUT IT OUT Dies
Hearty Chicks (sentiment)
Box of Chocolate Chicks (sentiment)
White Card
Patterned Paper
4”(W) x 5”(H) cellophane bags
4” doilies
Pennant Die
Stitched Circle Dies
Lace Border Punch
Lily O’Briens Crispy Hearts chocolates.
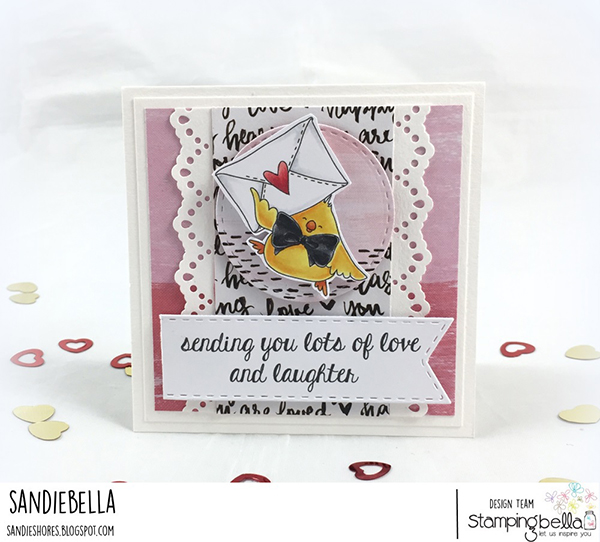
Stamp and colour all 3 Valentine Chicks. I cut all 3 out using a stitched circle die as I hadn’t decided which chick was going to go onto each project.
Stamp the sentiments from Valentines Chicks, Hearty Chicks and Box of Chocolate Chicks, and cut them out using a stitched pennant die. You can also just cut them out using a paper trimmer and fish tail the ends with a scissors.
For the Box
Cut 2 pieces of white card, one measuring 5 1/16” square for the box lid, and one 7” square for the box bottom.
Score the 7” piece of card on all four sides at 1” and 2”
Score the 5 1/16” piece of card on all four sides at 0.5” and 1”
Cut away the outer 3 squares as shown
Make a tab from the remaining square and taper the edges of all the sides.
Repeat these steps for the 5 1/8″ square piece (box lid).
Cut a piece of white card measuring 2 7/8” x 2 7/8” and a piece of patterned paper measuring 2.75” x 2.75”. Adhere them together, and then adhere them to the centre panel of the box lid. Add more paper to decorate, if desired.
Also cut four pieces of patterned paper measuring 2 7/8” x 7/8”. Adhere one to the each of the sides of the box bottom, as shown
Apply double sided tape to the outside of the small tabs, and to the inside of the larger tabs.
Remove the backing and adhere the small tabs to the inside of the box.
Remove the backing from the tape on the larger tabs and fold them down inside the box.
Repeat this process for the box lid.
Cut out the Chick with the chocolate, either with the coordinating Cut It Out Die, or fussy cut with a precision scissors. Pop the chick on the front of the box, towards the top, using 3D foam tape/dots.
Using the sentiment from Box of Chocolates Chicks, roll it though your fingers to curl up the centre. Apply a double layer of foam tape to the centre and some wet glue near both ends. Adhere to the box lid.
Insert a doily into the bottom of the box and add the heart chocolates.
For the Bag:
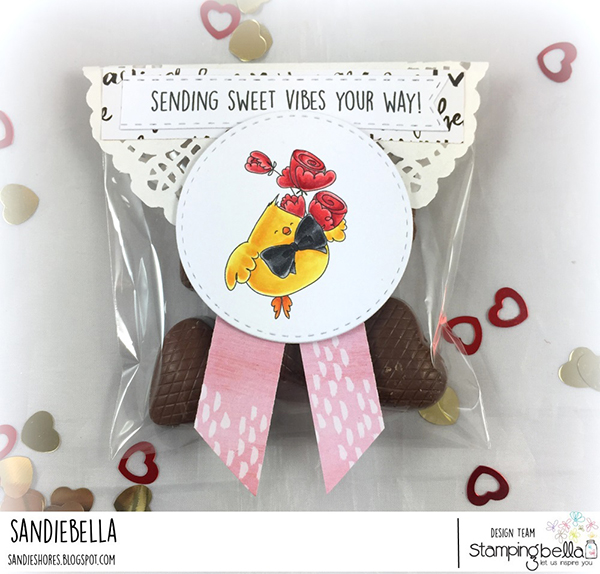
Fold the 4” doily in half.
Cut 2 pieces of patterned paper measuring 0.75” x 4” and cut the ends at an angle. Staple them together as shown.
Cut a stitched circle from white card, using the same size circle as for the Chick. Mat the chick onto it for extra sturdiness.
Adhere to the doily and add a strip of paper across the top. Adhere the sentiment from the Valentine Chicks over the paper.
Unfold the doily and it should look like this


If you try out the techniques shown in any of the posts with your Stamping Bella stamps, be sure to share! We would love to see the results and hear how you feel about them. Show off your creations in the comments below and even better, share your own favourite tips with us. Let’s talk stamping!
If you are posting your images online, we would love to see them on Instagram and all the platforms mentioned above. To make it easier for us to find you just use #stampingbella as a hashtag. Even better tag @stampingbella . We love it when you connect, so don’t be shy!
If you’re on Facebook join us in our private chat group Stamping Bella Sistahood to share your creations there and chat all things Stamping Bella related!
Until next time, HAPPY STAMPING!
MWAH
Elaineabella
Comments are closed.
These are soooo stinking cute!
You know that yellow is my favorite color in the whole wide world so of course I love all three cards. Those chicks are always up to something aren’t they? I love them! Thanks for showing us these great cards!
I love all three projects! So cute! 🙂