Time for DT Thursday with another fun card making project from Sandiebella to get us into the crafty swing of things for 2017! Click on through for Sandiebella’s fab step by step tutorial showing how to create a fab Wallet Card featuring our 80s glam Uptown Girl Farrah loves Flashdance.
Adhesive
Cut one piece of white card measuring 10.5″ x 5.5″ and two pieces measuring 4″x 3.25″.
Score the 10.5″ x 5.5″ piece of white card at 3.75″ and 7.5″
Round the corners on both ends.
Cut a piece of patterned paper measuring 3 5/8″ x 5 3/8″ for the inside middle panel.
Round the corners at the top of one of the 3 5/8″ x 5 3/8″ pieces and adhere to the front panel. This panel folds up so adhere the paper the correct way up.
Across the back, adhere white ribbon, leaving a long tail either end, to wrap around and close the front of the card.
Adhere the paper over the ribbon
Repeat for the top outside panel.
Score both 4″ x 3.25″ pieces of white card at every 0.5″
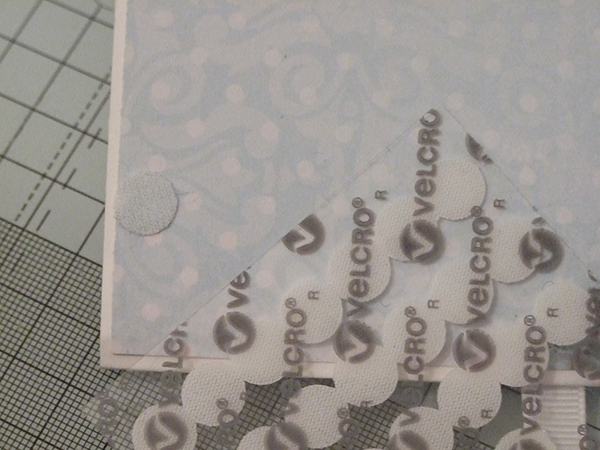
Adhere the first 0.5″ fold to the inside middle, keeping it about 1/8″ up from the bottom of the panel.
Repeat for the other side.
Fold up the creased on both sided and apply some wet glue, or double sided tape. Fold up the bottom panel and use a bone folder to burnish where you applied the adhesive on each side.

Tie the ribbon and cut away any excess.
Stamp Farrah onto white card
Colour with your chosen medium.
To finish, make a pull out card/tag for inside.
Hopefully I’ve inspired you to sit down and try your hands at this lovely project.
We also encourage you to share your personal favourite Stamping Bella creations with us. We LOVE to see what you’ve been creating with Stamping Bella stamps.
Another way to connect is by joining us in the Stamping Bella Sistahood Facebook Group and share your pictures.
If you are posting your images online, we would love to see them on Instagram and all the platforms mentioned above. To make it easier for us to find you just use #stampingbella as a hashtag. We love it when you connect, so don’t be shy!
Until next time, HAPPY STAMPING!
Comments are closed.
This is just too cute.
Love this! Makes such a lovely card for any occasion!
great card! thanks for sharing!
Just so cool. I love this project. Have to try it soon. Have to admit I reeaally look forward to the DT Thursday posts. I’ve made several of the projects, and the very clear instructions help make each project successful. (I love the great compliments I always get, thanks to DT Thursdays). Keep up the wonderful projects. Thanks for this fabulous feature of your blog. Love it.
Love this idea — and I ordered this stamp earlier in the week.
Thanks for this wonderful tutorial, love this card idea.
And I’ve bookmarked this one, too! I love seeing these projects with the step by step instructions! Thanks so much for sharing these! 🙂
I love the paper used in the wallet card. Is the paper available, if so where and what is it called?
Absolutely beautiful….!
Wow, certainly going to give this a try when I can. Love Jane x
Loving this fab tutorial!
Christine x
Like that this isn’t a traditional card. I am going to make this card.