Embellishments of choice
Cut three pieces of white card:
One @ 5.5″ x 2.75″ (right panel)
Score both smaller pieces at 0.5″ on one side
On the opposite side to the scoreline, measure in 0.25″, and trace a line
Repeat for the other front panel.
On the 5.5″ square, measure across to 4″ and trace a line from top to bottom
On the left panel, measure across 2″ and trace a line from top to bottom.
Take the left panel and lay it on top of the back panel, lining up the the pencil lines. On the trace line on the back section, mark where the the top and bottom of the tab is, with your pencil.
Place the right panel on top of the left panel, and again, on the bottom trace line, mark where the tab is
Using a craft knife, make a slit between the 2 pencil marks you just did. Repeat on the back panel.
Fold the 0.5″ score lines and apply strong adhesive
Adhere the 0.5″ section to the underneath of the back panel.
Fold the left panel in and insert the tab where you made the slit in the back panel.
Repeat for the right panel, inserting the tab into the slit you made on the left panel.
Cut 4 pieces of white card:
Adhere the 5.25″ panel to the inside back of the card and add a layer of patterned paper slightly smaller.
Turn the card over and, using the existing slit as a guide, cut through the card and paper layers so you can insert the tab.
Repeat for the left and right panels. Adhere the 5.5″ square of card to the back to reinforce it. This will complete the card structure.
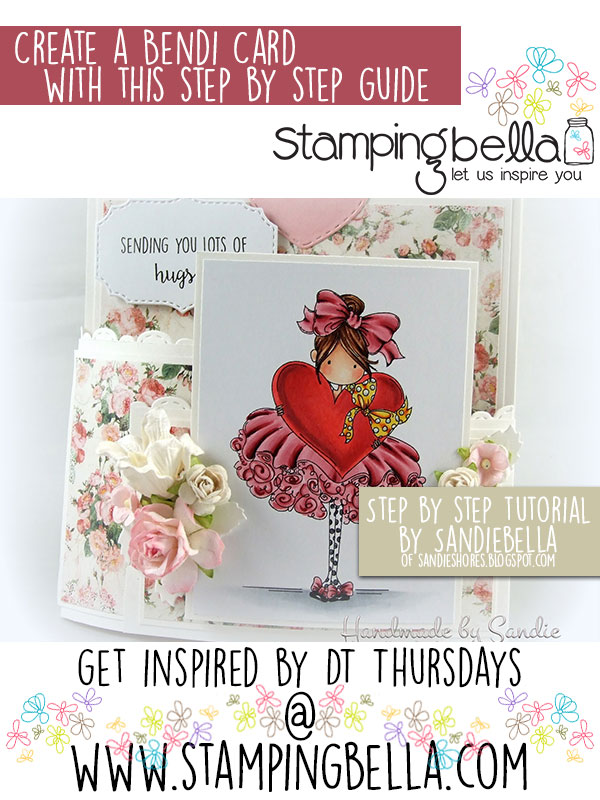
Adhere the image to the front right panel and the sentiment on the inside back.
Decorate as desired.
Hopefully I’ve inspired you to sit down and try your hands at this lovely project.
We also encourage you to share your personal favourite Stamping Bella creations with us. We LOVE to see what you’ve been creating with Stamping Bella stamps.
Another way to connect is by joining us in the Stamping Bella Sistahood Facebook Group and share your pictures.
If you are posting your images online, we would love to see them on Instagram and all the platforms mentioned above. To make it easier for us to find you just use #stampingbella as a hashtag. We love it when you connect, so don’t be shy!
Until next time, HAPPY STAMPING!
Comments are closed.
Lovely!
Thanks for the instructions.
I have been wanting to
make one.
Carla from Utah
Just beautiful!
So gorgeous ! Love it ?
Just LOVE it! Thank you for the inspiration. Happy Holidays!
Gorgeous inspiration as always, Merry Christmas everyone. Love Jane x
I don’t have everything needed to make this card but I’ll bet I can improvise and make something close to it. If I don’t get it exact, at least I will have done something different, right? Can this card be mailed? With the popups, I’m wondering if the post office would squish the card. Maybe this is one of those cards that needs to be given to the person in person, no post office. Thanks for the great idea!
Oh my! What a great project! Bookmarked! I’m going to give this a try….after the holidays! Thanks so much for sharing the step by step process! You are the best! 🙂