I don’t know about you, but I’m absolutely doing a happy dance at the sight of another fab tutorial from Sandiebella!
Happy Thursday! Sandie’s got a beautiful tutorial for us again this week. Enjoy!

For the layers, cut a piece of card measuring 2″ x 6.5″ and another piece measuring 5″ x 3.5″

Cut a piece of paper measuring 5 3/8″ x 5 3/8″ and fold in half.

Adhere the paper to the card base and bend both sides upwards into a ‘v’

Take the 5″ x 3.5″ piece of card and create a curve by rolling it over your fingers. Fold the 0.5″ end sections back at the scorelines.
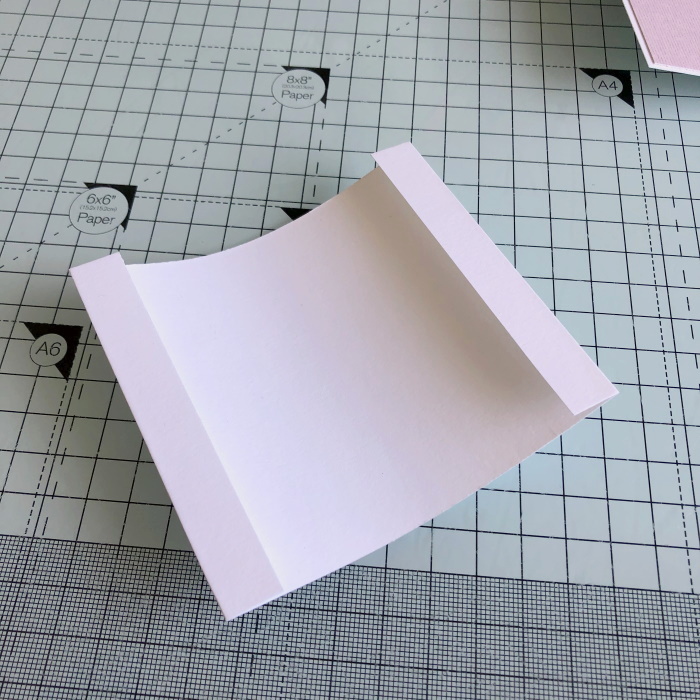
Cut a thin wedge from each end of the 0.5″ sections.

Flatten the card base and adhere the smaller panel in the centre, approx 1/4″ up from the bottom.

Cut a piece of paper measuring 3 3/8″ x 3 7/8″ and adhere to the smaller panel.

For the front strip, curl the 2″ x 6.5″ over your fingers and fold back the 0.5″ end sections.

Adhere a piece of paper measuring 1 7/8″ x 5 3/8″ to the front

Apply double sided tape to the inside of the 0.5″ sections.

Taper the edges of each end.

Adhere one end of the strip behind the card base, lining it up with the bottom

Bring the strip across the front and adhere the other end behind the card base.

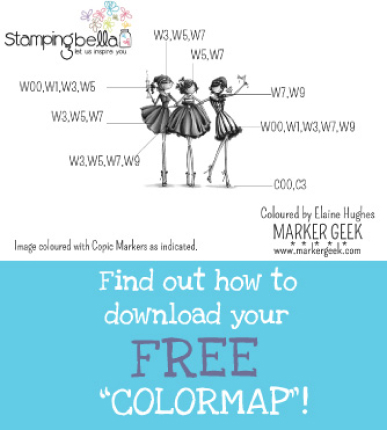
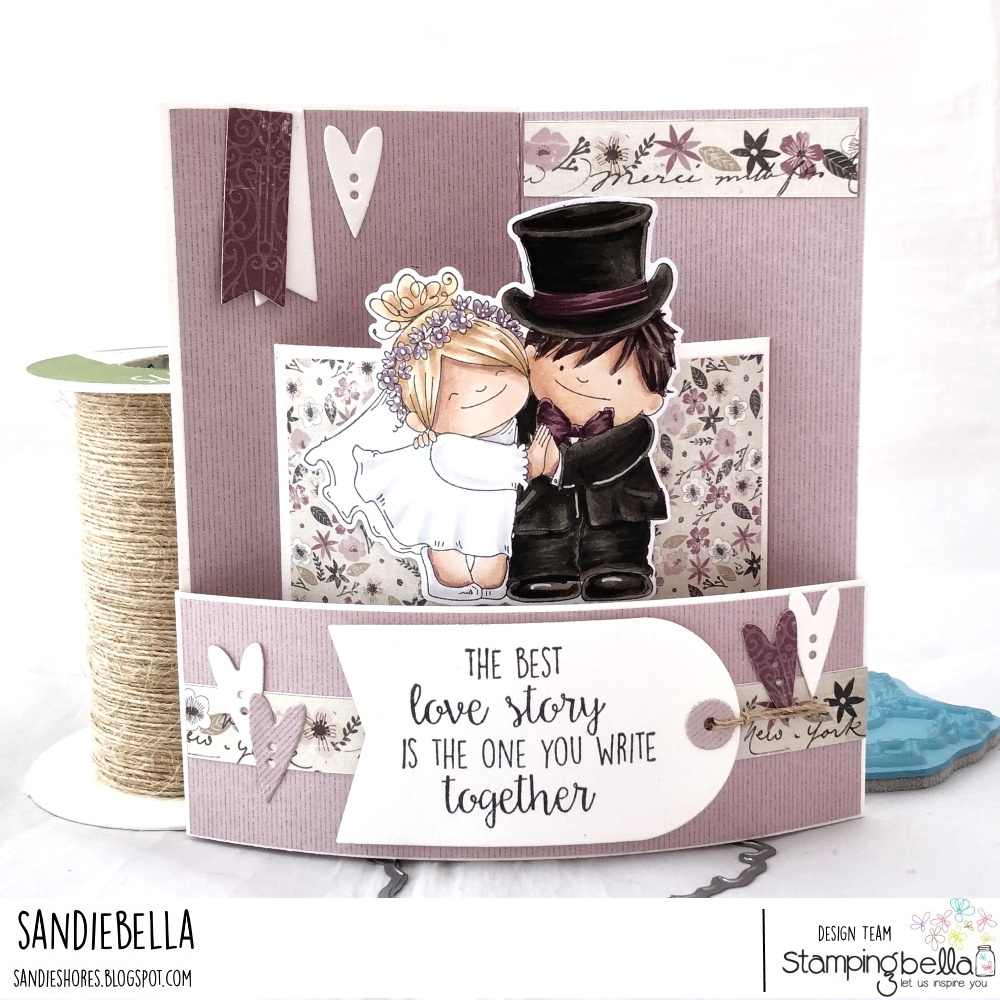
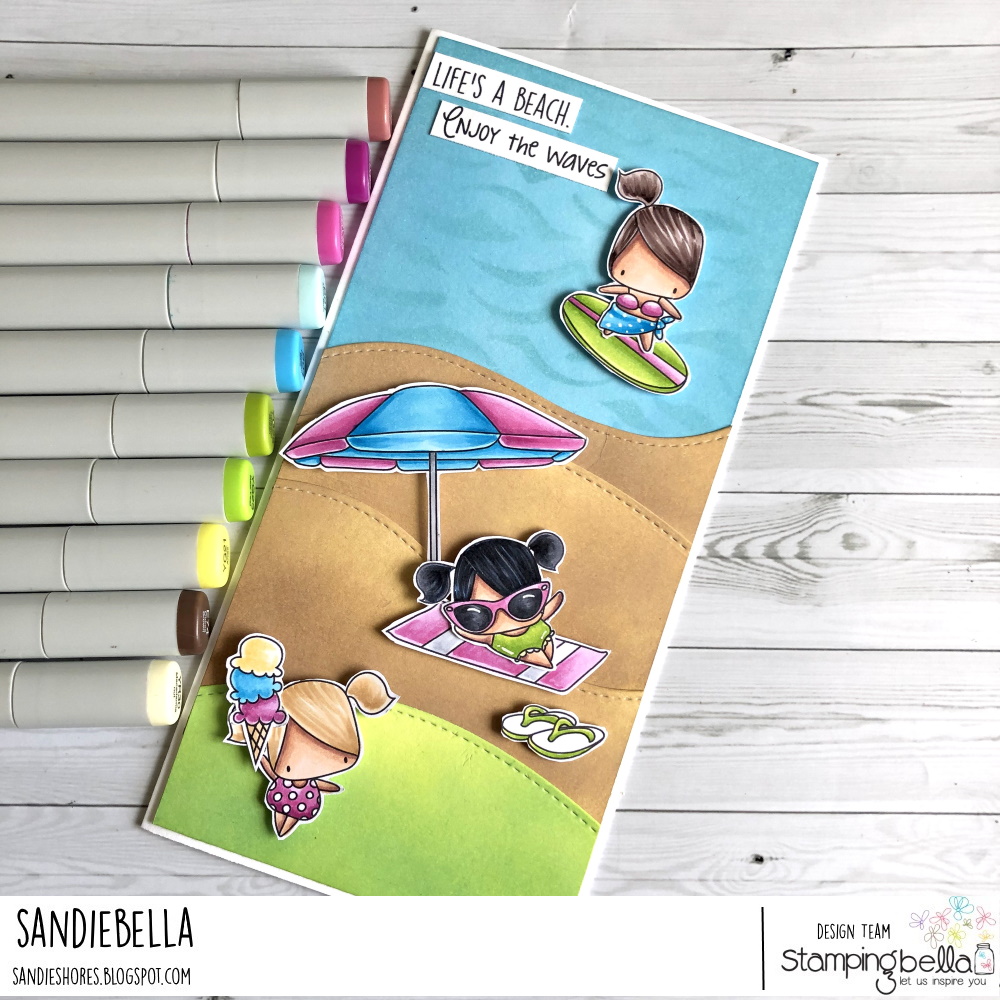
Stamp the Love Story Squidgies onto white card and colour using your desired medium.

Stamp the sentiment onto white card and cut out using a tag die.

Apply foam tape to the back of the Squidgies and adhere them to the middle panel, just above the front strip.

Adhere the tag across the front strip, and use the die cut embellishments to decorate as desired.

Share your personal favourite Stamping Bella creations with us. We LOVE to see what you’ve been creating with Stamping Bella stamps. Share a link to your latest Stamping Bella card in the comments below, or an old favourite you made a while ago. Tell us what your favourite stamps are. Are there any additions you would like to see to the range? Let us know!
Another way to connect is by joining us in the Stamping Bella Sistahood Facebook Group and share your pictures.
If you are posting your images online, we would love to see them on Instagram and all the platforms mentioned above. To make it easier for us to find you just use #stampingbella as a hashtag. Even better tag me @markergeek and Emily @stampingbella . We love it when you connect, so don’t be shy!
Until next time, HAPPY STAMPING!
MWAH
Elaineabella
Time for some Thursday folding fun with Sandie. This week she has even included a video showing how to fold the design – fantastic!

It has been a few, but our Sandiebella is back with another fab Thursday tutorial for you!
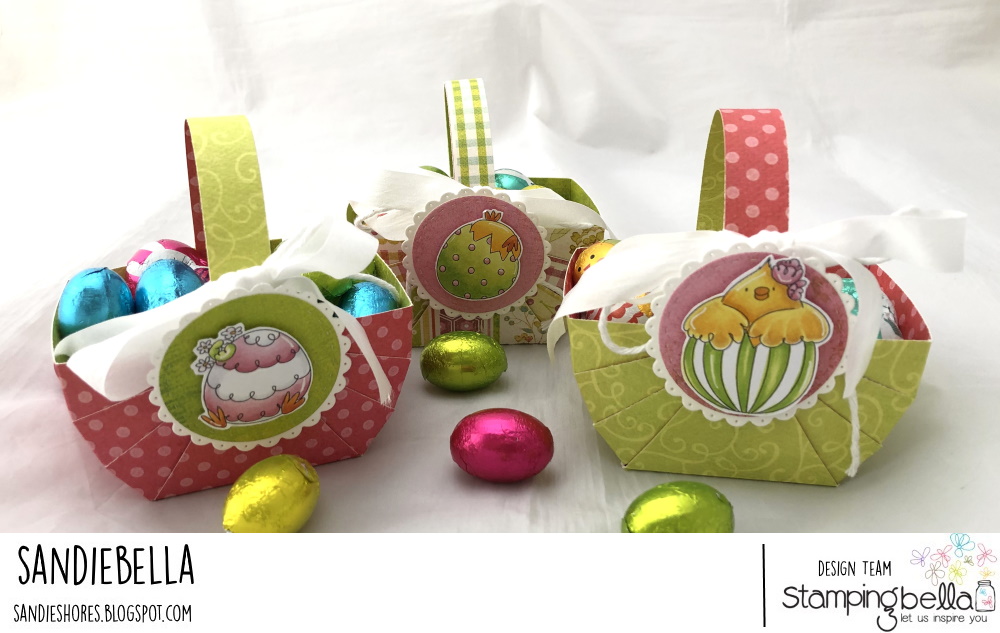
Peony Baby in a Pot rubber stamp
Peony Baby in a Pot CUT-IT-OUT die
Little Bits Little Critters rubber stamps
Little Bits Little Critters CUT-IT-OUT dies
Spring Sentiments rubber stamps
3.5″ circle die
2.75″ circle die
Double sided tape and foam tape/dots
White card
Clouds stencil
Tumbled Glass distress oxide ink
2 coins (approx 0.8″)
Cut a piece of white card measuring 5″ x 5″. Using a clouds stencil and tumbled glass distress oxide ink, create a background, leaving approx 1.5″ – 1.75″ at the bottom white.

Place the 3.5″ circle die on the card front and place the 2.75″ circle die in the centre of it. Secure them with a piece of low tack tape.

Cut out using a cuttlebug or similar.

Stamp the butterfly from the Little Critters onto white card and colour using your desired medium.


Cut the butterfly out using the coordinating CUT-IT-OUT die or fussy cut with a precision scissors.

Stamp a sentiment on the bottom section of the card front.

Cut a piece of card measuring 5.25″ x 10.5″ and fold in half to make a 5.25″ square card base. Adhere the card front using foam tape/dots. Leave enough room around the circle for a coin to move freely around it.

Place a coin slightly under the outer circle.

Again, apply foam tape/dots to the back of the smaller circle, making sure not to go to close to the edges and adhere over the coin in the centre.

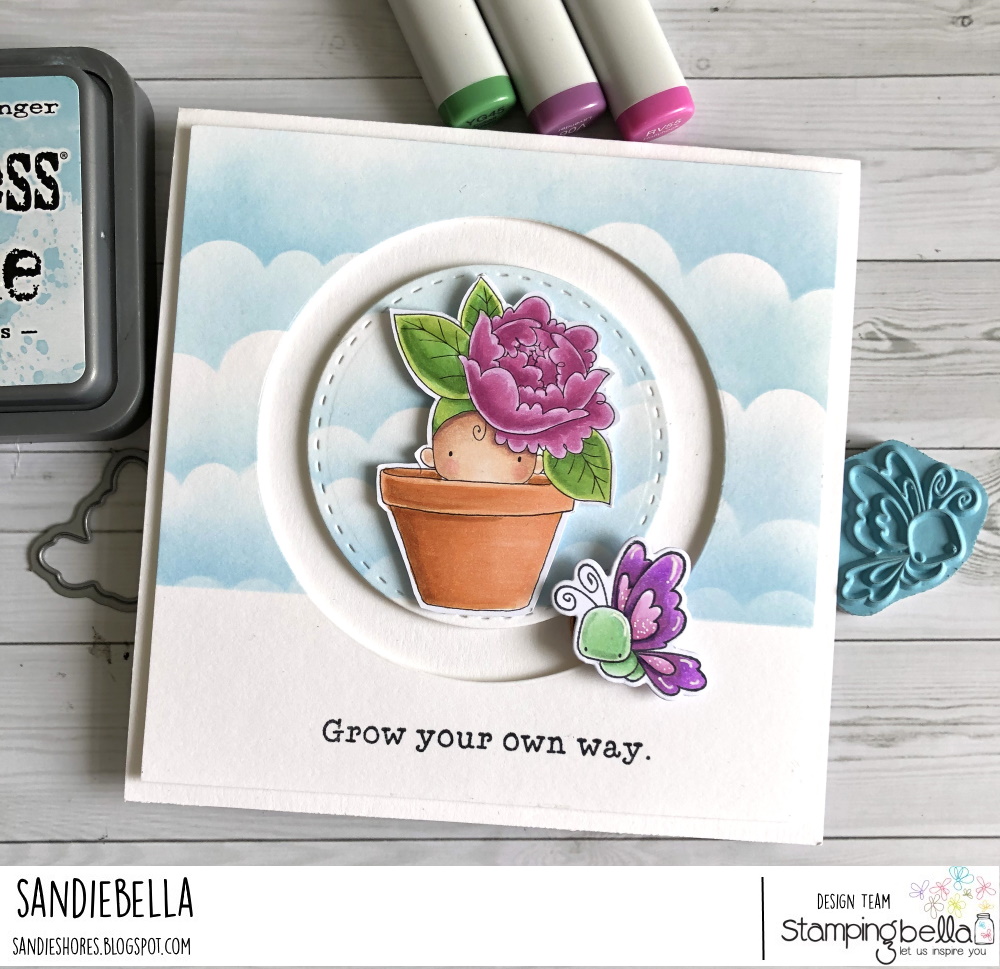
Stamp Peony Baby in a Pot on to white card and colour using your desired medium. Cut out using the coordinating CUT-IT-OUT die or fussy cut with a precision scissors.

Adhere the image to the centre circle.

Cut a small square of foam tape and apply it to the centre of the coin.

Adhere another coin on top.

Apply double sided tape to the top of the coin and adhere the butterfly to it.

As you move the card around the butterfly circles the image.


Share your personal favourite Stamping Bella creations with us. We LOVE to see what you’ve been creating with Stamping Bella stamps. Share a link to your latest Stamping Bella card in the comments below, or an old favourite you made a while ago. Tell us what your favourite stamps are. Are there any additions you would like to see to the range? Let us know!
Another way to connect is by joining us in the Stamping Bella Sistahood Facebook Group and share your pictures.
If you are posting your images online, we would love to see them on Instagram and all the platforms mentioned above. To make it easier for us to find you just use #stampingbella as a hashtag. Even better tag me @markergeek and Emily @stampingbella . We love it when you connect, so don’t be shy!
Until next time, HAPPY STAMPING!
MWAH
Elaineabella
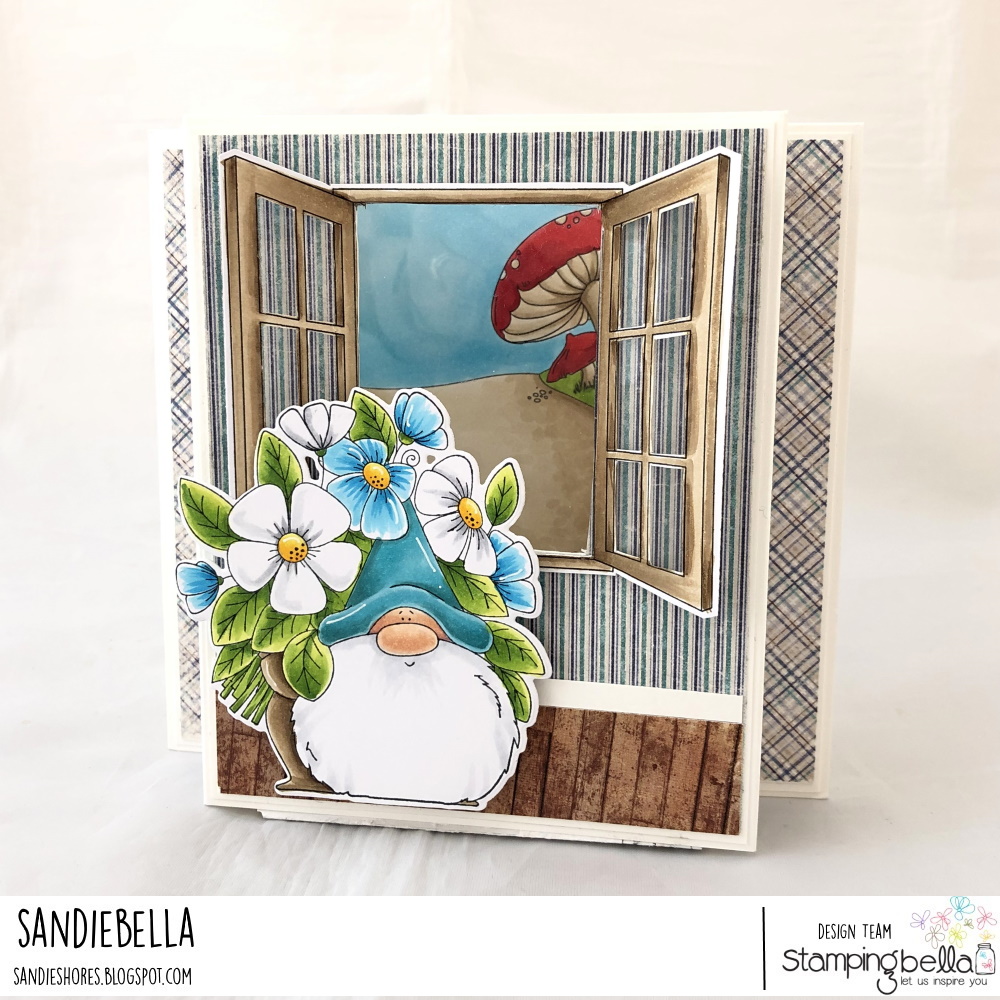
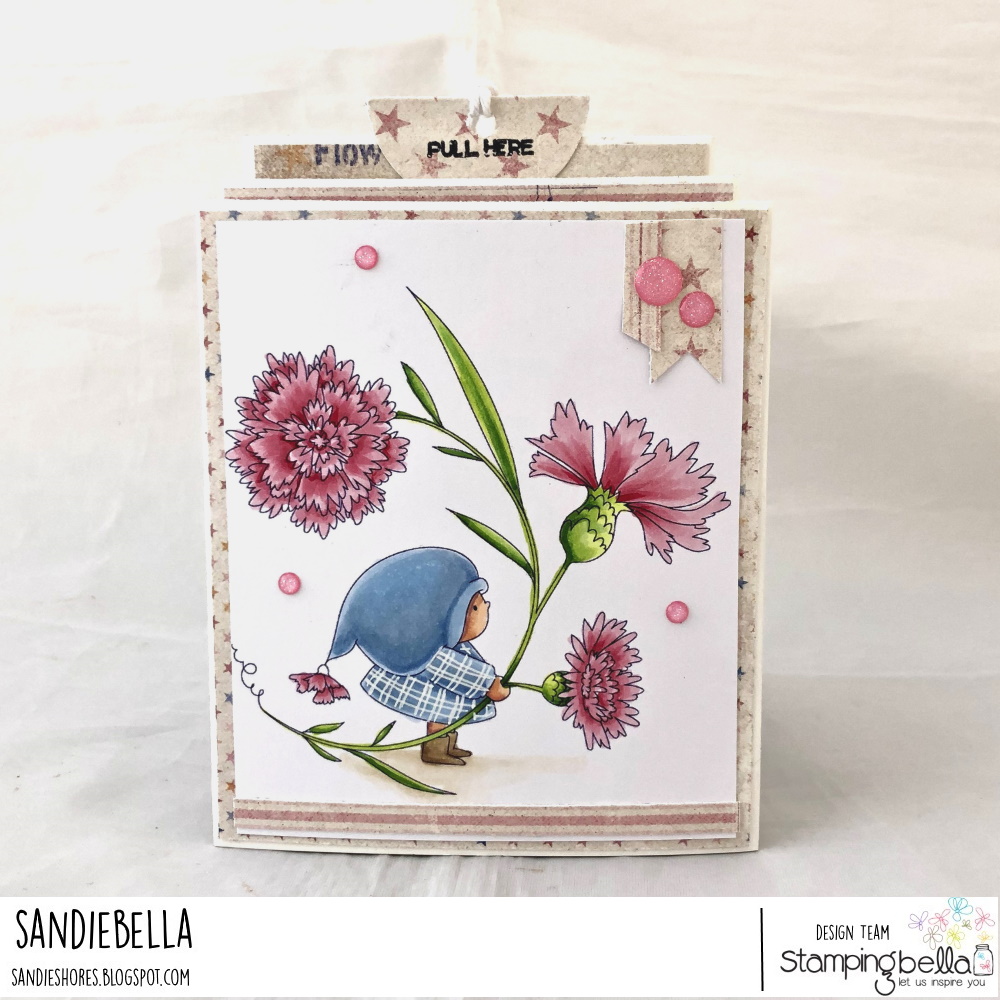
Sandiebella is bringing a little much needed sunshine into our lives today with another fab step by step tutorial, and gorgeous card! Keep hanging in there everyone, and thank you for all your support for Stamping Bella at this time. We may not be able to ship stamps, but we’re still serving up inspiration!
Looks like Sandie and I were sharing a brain this week – that Flowery Gnome is such a little charmer though. Sandie has a fantastic step by step AGAIN for us today – love it!
Sandie has a beautiful step by step for us again today – such a lovely design!
Unbelievably, we’re almost at the end of February. That means St Patrick’s Day isn’t far off, and our Irish wonder Sandie has the perfect step by step project for you!
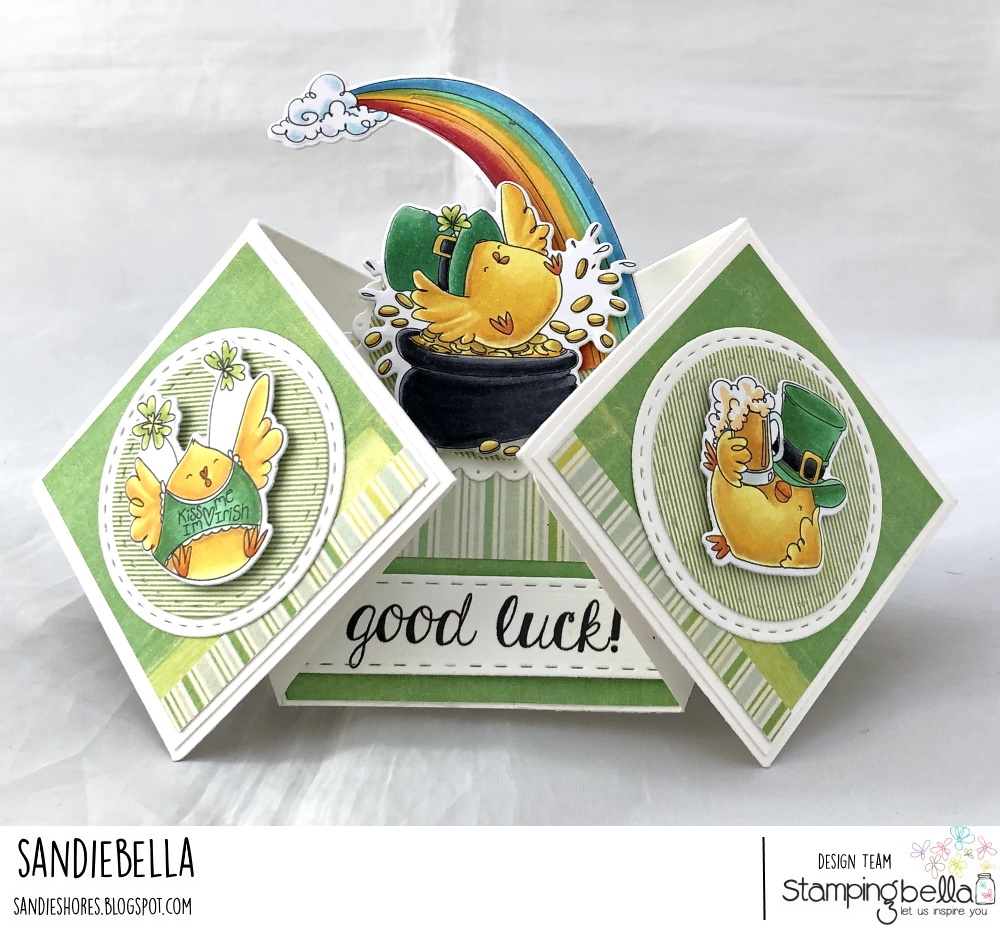
Sandie has an absolutely gorgeous make for us to follow along with this week (again)!