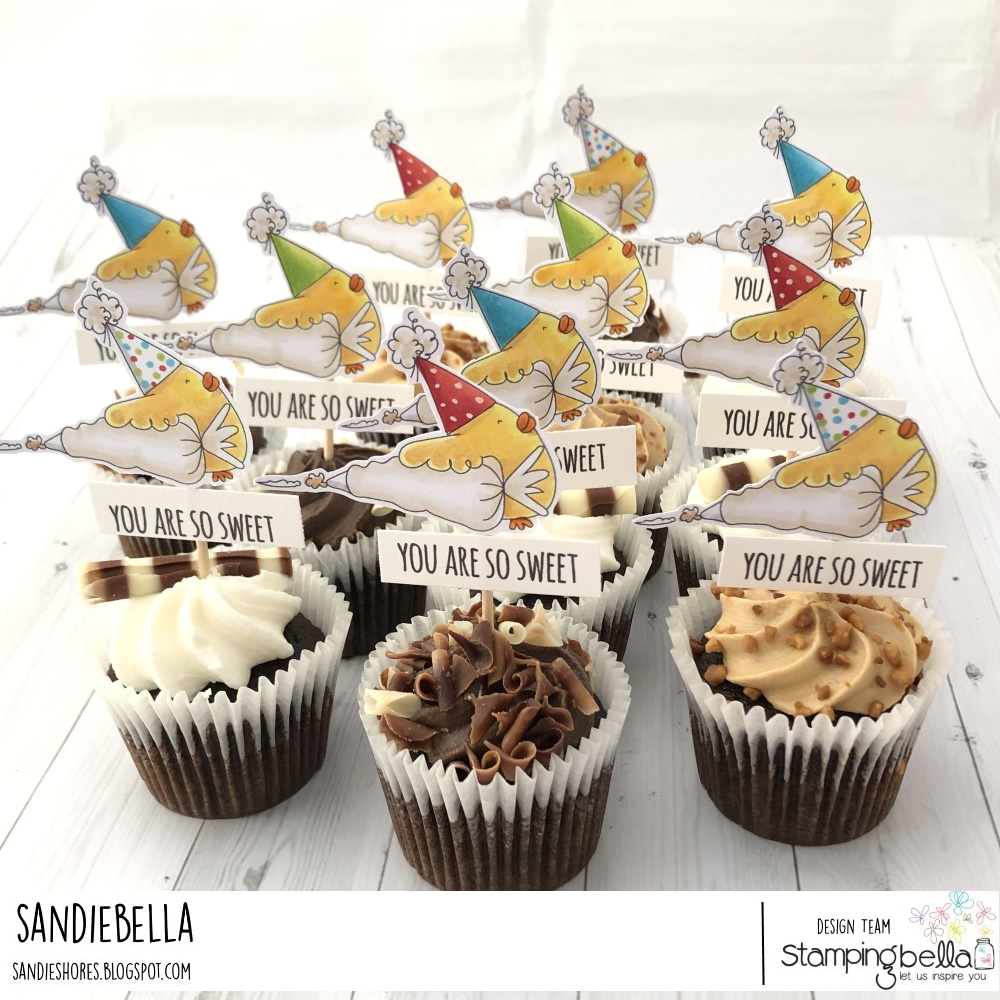
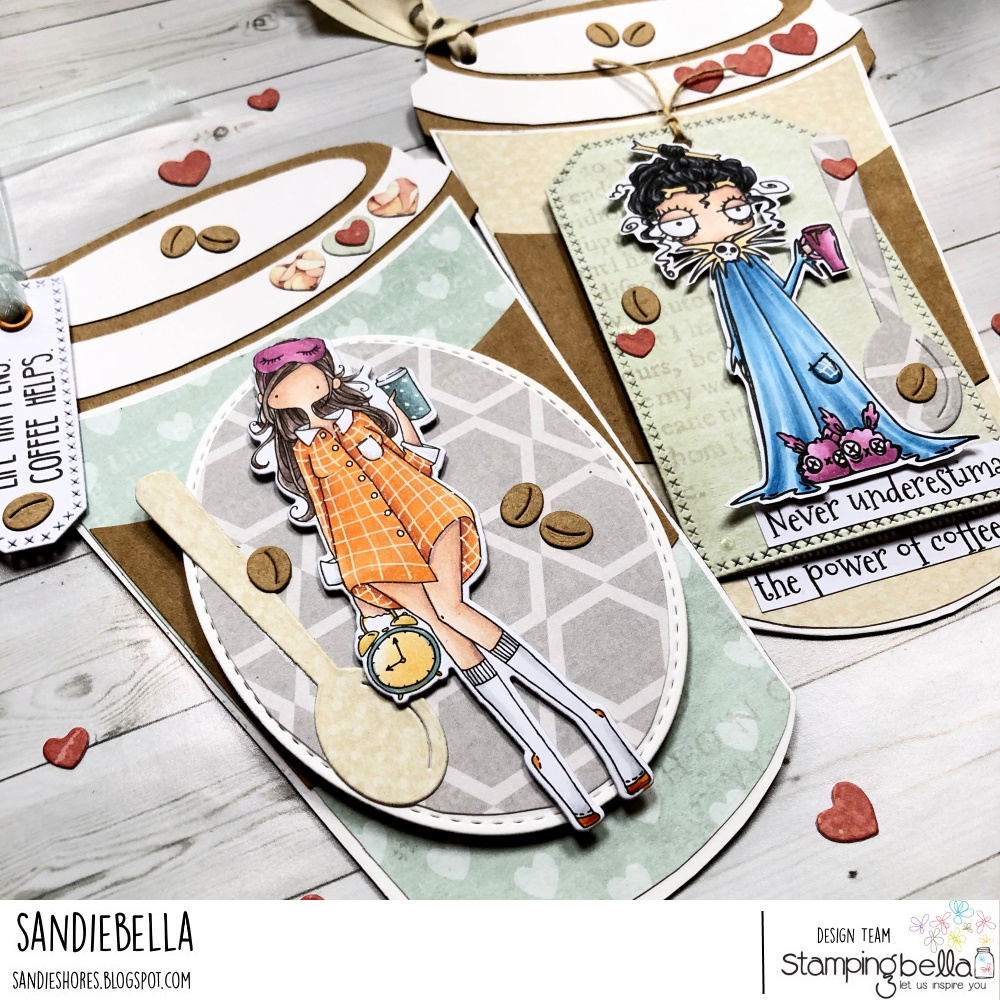
It’s time for Sandie’s first step by step of 2021! I can’t wait to see all the gorgeous creations Sandie will no doubt have to inspire us this year. She’s off to a great start, because these cupcake toppers are ADORABLE.

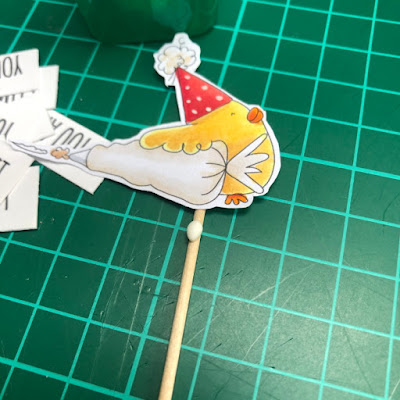
Colour all the chicks, giving them different colour hats.

Fussy cut around the outline of the images.

On the back of each image, apply a line of glue. Hot glue also works well.

Lay the cocktail stick along the line of glue. Repeat for all the chicks and leave to dry.


Turn the image over to the front and apply a little dollop of glue on the stick, directly underneath the image.

Push one of the toppers into each cupcake and you’re done 🙂

Share your personal favourite Stamping Bella creations with us. We LOVE to see what you’ve been creating with Stamping Bella stamps. Share a link to your latest Stamping Bella card in the comments below, or an old favourite you made a while ago. Tell us what your favourite stamps are. Are there any additions you would like to see to the range? Let us know!
Another way to connect is by joining us in the Stamping Bella Sistahood Facebook Group and share your pictures.
If you are posting your images online, we would love to see them on Instagram and all the platforms mentioned above. To make it easier for us to find you just use #stampingbella as a hashtag. Even better tag me @markergeek and Emily @stampingbella . We love it when you connect, so don’t be shy!
Until next time, HAPPY STAMPING!
MWAH
Elaineabella
Sandie has done it again! Another fantastic tutorial, perfect for some last minute touches!
It’s getting closer! Sandie has a fantastic step by step for some last minute treats.
Sandie has a stunning step by step for us this week (I know, what’s new? 😉 ). Check it out below!
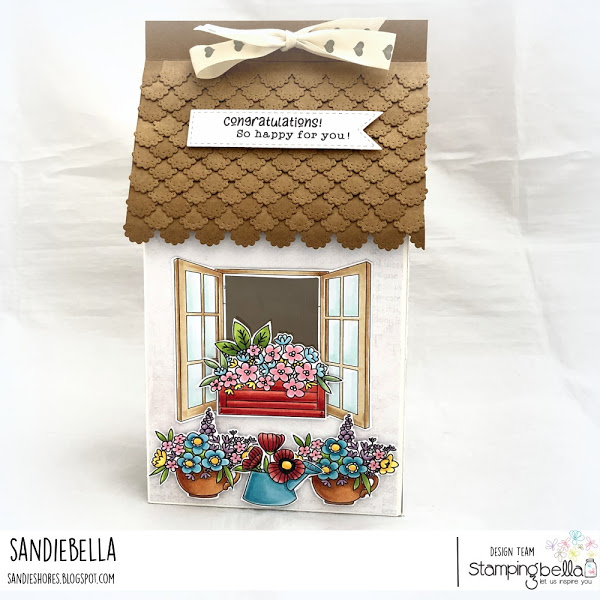
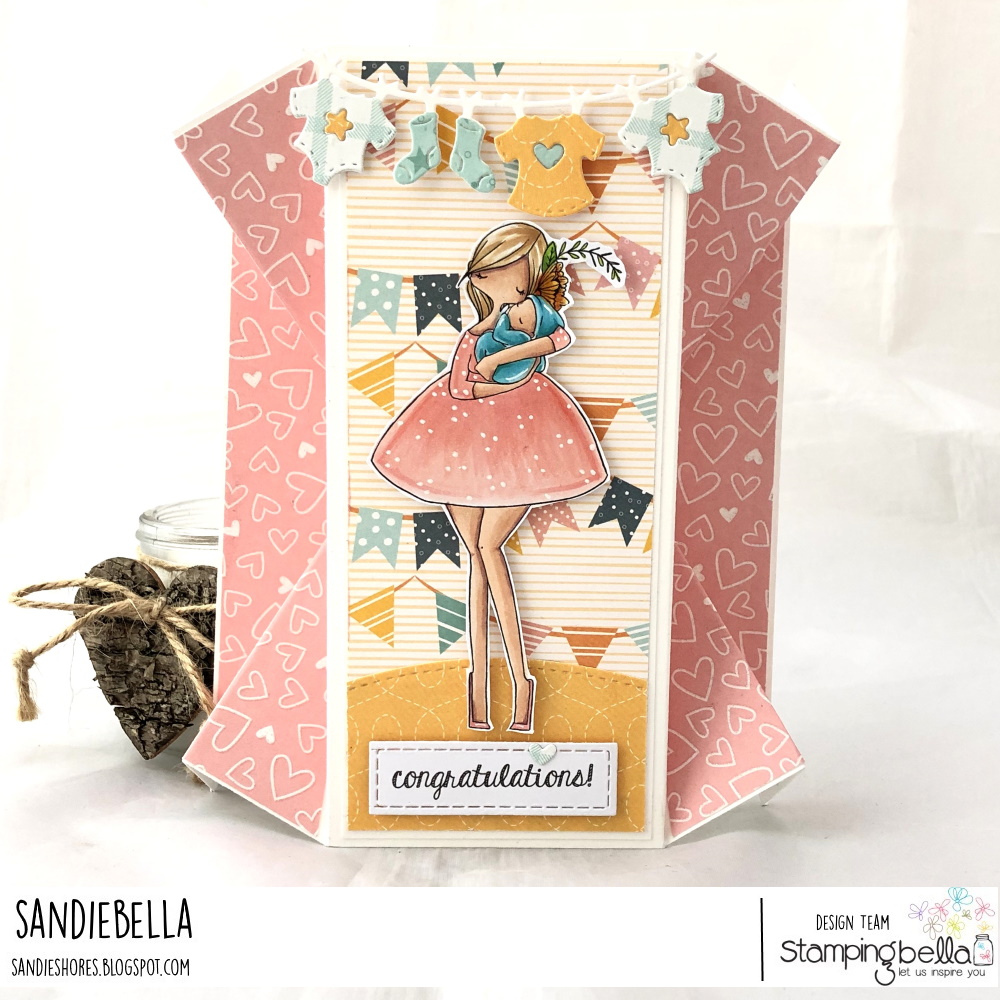
Stamp the Flower Pots and Window on to white colouring card/paper.

Fussy cut around the window and remove the centre.

Colour the window

Set the images aside to work on the box.


On the 10.25″ side, score at 2.5″ and 8.25″

Fold and crease all the score lines. Cut on the 7.75″ on each of the scorelines, up to the intersecting score lines. On the 0.5″ end, remove the top and bottom section and taper the edges of the remaining centre section. On the 2.5″ end, taper the edges of each side to make the fold in tabs.

One ONE of the pieces, with 2″ section at the top, position the window as shown and draw a pencil line to mark the centre of the window


Cut away the the rectangle

2x 5-5/8″ x 2-3/8″

Adhere the front panel to the piece with the rectangle cut out.

Turn over to the back and cut out the rectangle using a craft knife.

Cut a piece of acetate approx 2.25″ x 2″ for centre of the window.

Adhere the window over the opening in the front of the box.

Apply double side tape to the 0.5″ tab on the box front and adhere to the second piece.

Apply double sided tape to the 0.5″ section on the back piece and adhere to the front to make the box shape.

Adhere the rest of the paper panels to the box.

Score both pieces on the 4″ side at 0.75″

Cut enough scallop borders to cover ONE of 4″ x 5.25″ pieces of kraft.

Curl the scallops slightly and adhere the first border down, overhanging the base piece.


Use a spare border piece to fill in the gap at the bottom and top

Hold the two craft pieces together and punch ribbon holes in the 0.75″ section at the top.

Apply foam tape to the back of the window box and adhere to the window

On the 2″ section at the top, apply adhesive and position the roof section with the scallops on it. Let it overhang the front of the box by 0.5″-0.75″. Make sure it’s centered across.


Repeat with the plain piece of the roof at the back of the box.

Adhere the bottom of the box.

Adhere the rest of the flower pots under the window.


Tie a ribbon through the punched holes at the top

Finally, adhere the sentiment using foam tape/dots, in the centre of the roof.


Share your personal favourite Stamping Bella creations with us. We LOVE to see what you’ve been creating with Stamping Bella stamps. Share a link to your latest Stamping Bella card in the comments below, or an old favourite you made a while ago. Tell us what your favourite stamps are. Are there any additions you would like to see to the range? Let us know!
Another way to connect is by joining us in the Stamping Bella Sistahood Facebook Group and share your pictures.
If you are posting your images online, we would love to see them on Instagram and all the platforms mentioned above. To make it easier for us to find you just use #stampingbella as a hashtag. Even better tag me @markergeek and Emily @stampingbella . We love it when you connect, so don’t be shy!
Until next time, HAPPY STAMPING!
MWAH
Elaineabella

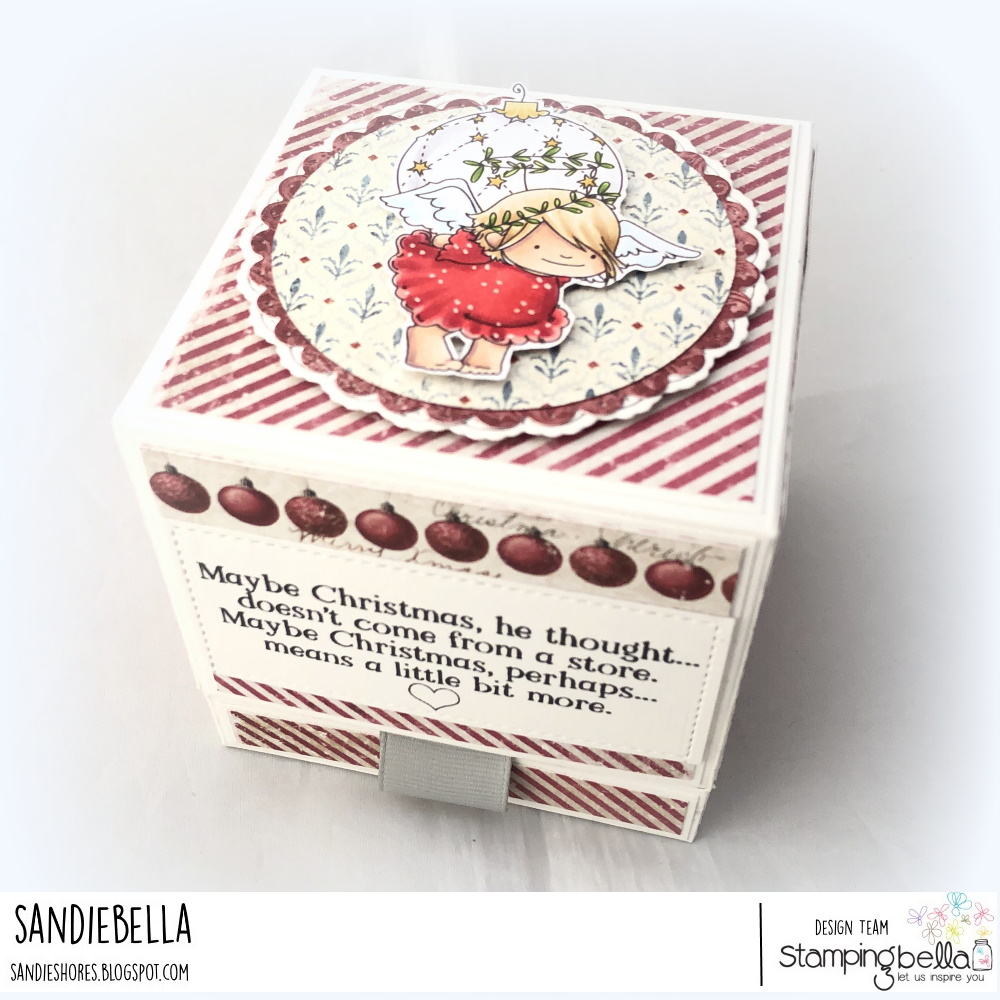
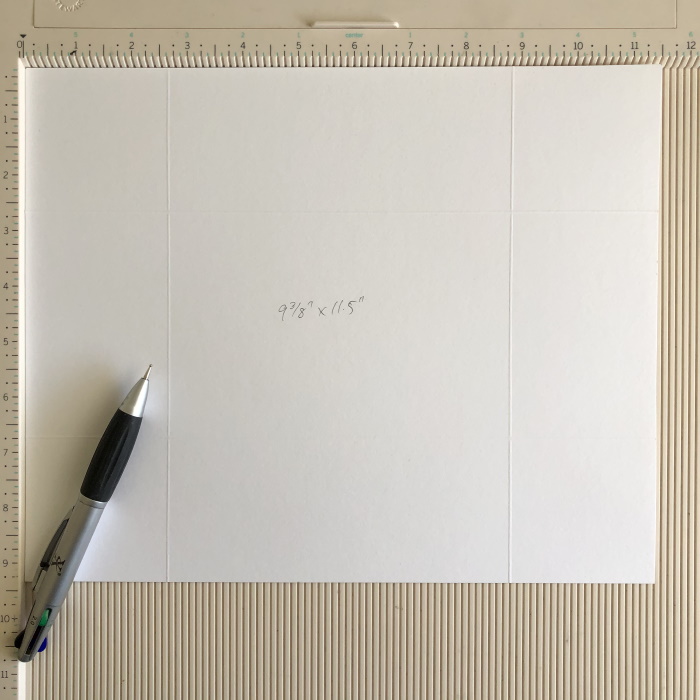
Score the 9-3/8″ x 11.5″ on the 11″ side at 2-5/8″ x 8-7/8″, and on the 9-3/8″ side at 2-5/8″ and 6.75″
Score all three 6.5″ x 8″ pieces at 2″ on all four sides.

Cut on the 8″ side on each of the score lines up to the intersecting line. Taper the edges of all 4 corner sections. Fold and burnish all the score lines.

Apply adhesive to the outside of each of the four corners and adhere to the inside of the longer side panels to create a box.


For each box cut two pieces of paper measuring 1-7/8″ x 3-7/8″ and two pieces measuring 1-7/8″ x 2-3/8″. Adhere to the sides of the boxes.

To make the box lid: take the 6.25″ x 8.25″ piece of card and cut on the long side up to the intersecting score line. Taper the edges of the four outer sections to make tabs.

Adhere the paper layers to the card layers and then adhere them to the top and sides of the lid.

Apply adhesive to the outside of the corner tabs and adhere them to the inside of the longer side panels.

Take the 9-3/8″ x 11.5″ piece of card and cut on the score lines to remove the four corners. Fold and burnish the score lines.


Once all the layers are stuck down, adhere the boxes as shown. Ensure each box is right up to the score line.

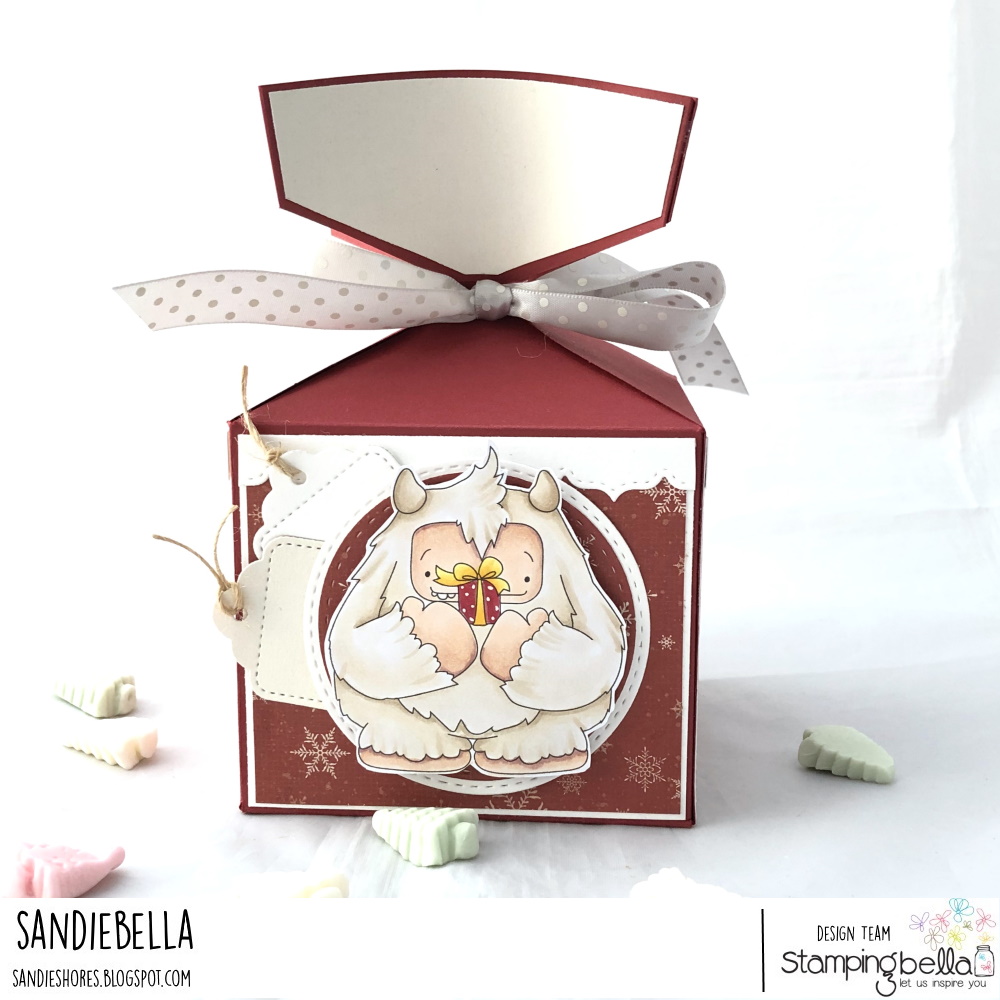
Set the box aside to work on the image.

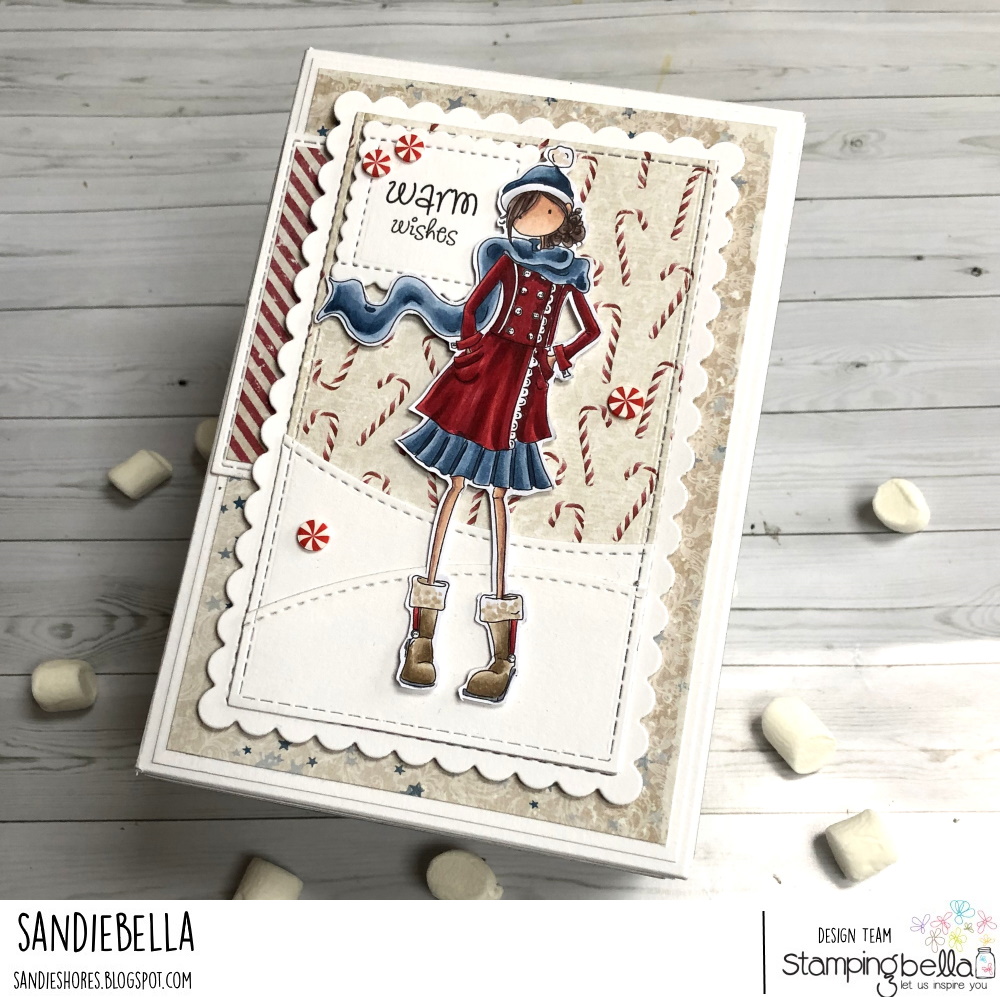
Stamp Quinn onto white card and colour using your preferred medium.

Fussy cut the outline using a precision scissors.

Assemble a panel for the front of the box and adhere down using 3D foam tape/dots.


Stamp the sentiment and cut out using a scalloped die.

Embellish as desired.

Cut three pieces of acetate measuring 6″ x 4.5″ and score on all four sides at 1″

Cut on the score lines to remove the four corners. Cut a slight wedge from each side of the four outer tabs. Fold the score lines gently.

Push the acetate lid into the box – it will be a snug fit so that it stays in place.

Decorate the outer edges of the boxes.

Share your personal favourite Stamping Bella creations with us. We LOVE to see what you’ve been creating with Stamping Bella stamps. Share a link to your latest Stamping Bella card in the comments below, or an old favourite you made a while ago. Tell us what your favourite stamps are. Are there any additions you would like to see to the range? Let us know!
Another way to connect is by joining us in the Stamping Bella Sistahood Facebook Group and share your pictures.
If you are posting your images online, we would love to see them on Instagram and all the platforms mentioned above. To make it easier for us to find you just use #stampingbella as a hashtag. Even better tag me @markergeek and Emily @stampingbella . We love it when you connect, so don’t be shy!
Until next time, HAPPY STAMPING!
MWAH
Elaineabella