


Sandiebella is back with another awesome step by step tutorial for us today, showing how she created a Valentine candy gift box featuring our Special Delivery stamp set. Read on to see how Sandie worked her magic again…
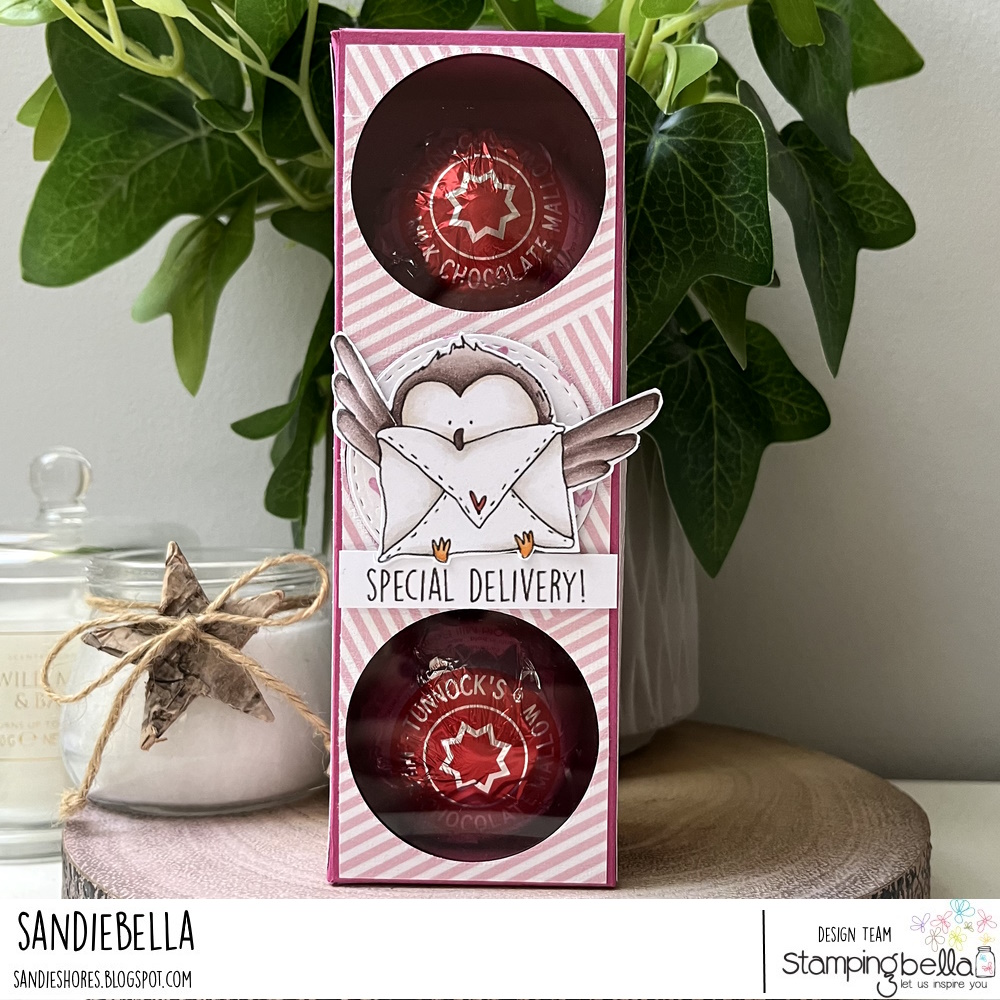
Valentine Candy Gift Box
Supplies:

Score the 3.5″ x 8.25″ piece of pink card on the 3.5″ side at 0.75″ and 3″, and on the 8.25″ side at 0.75″ and 7.5″

On the long side of the 5.75″ x 10.25″ piece, cut the score lines up to the intersecting horizontal score line. Cut a wedge from each side of the four corner tabs.

Fold up the corner tabs and apply adhesive to the outsides. Fold them in and adhere to the inside of the adjacent sides to create the box base.


On the box lid, cut away the end corners from the 1/2″ section. On the opposite side, cut up on the score lines to the intersecting line and wedge each side of the corner tabs.

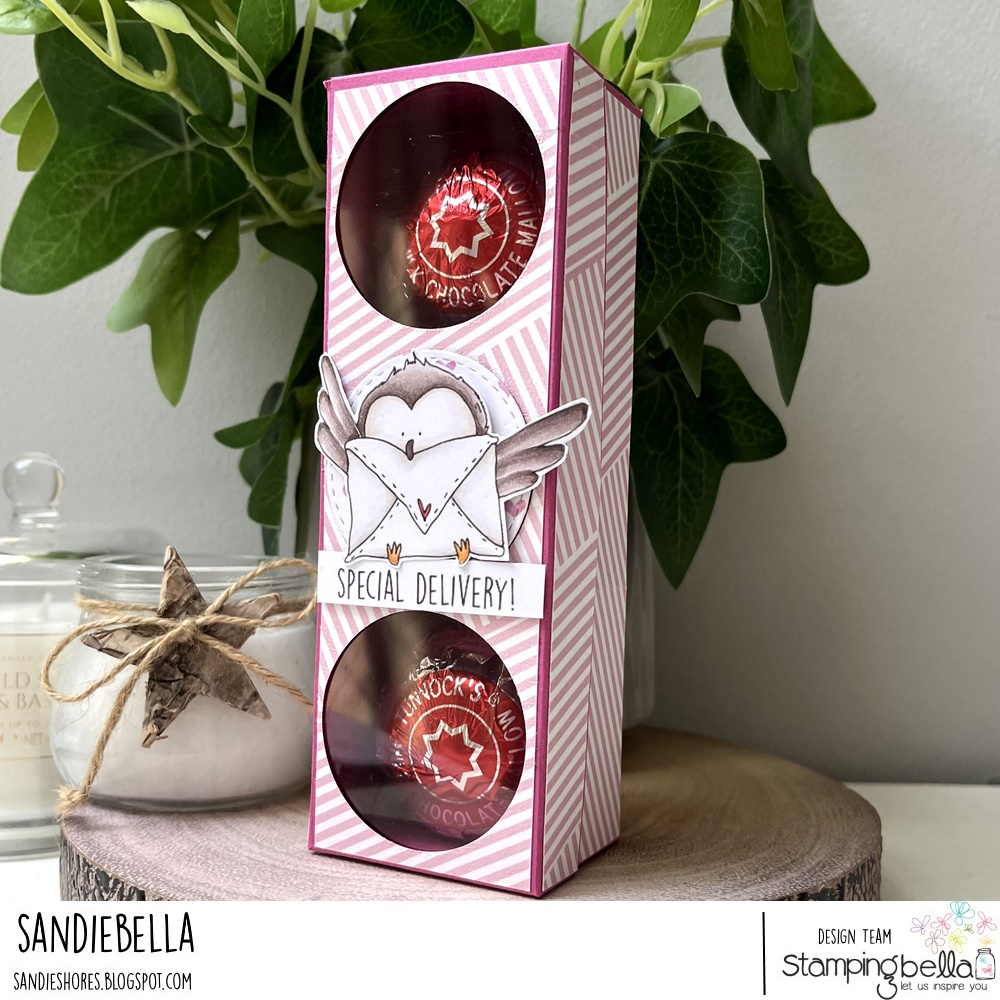
Adhere the papers to the box lid. Taking a 1.75″ – 2″ stitched circle die, cut away three circles – spaced evenly along the top.

Apply adhesive the two end tabs, fold in and adhere to make the box lid.

Cut a piece of acetate approx. 6-5/8″ x 2-1/8″ and adhere to the inside of the lid.

Apply adhesive to the 0.5″ section.

Adhere to the box base, making a flip lid.

Colour thte Special Delivery image and cut around the ouline.

Stamp the sentiment on a strip of white card.

Cut 2 circles using the die use for the box lid.

Adhere the paper circle to the centre circle on the lid, using foam tape.

Adhere the card circle underneath, inside the box lid.

Adhere the Special Delivery image to the box lid using foam tape and then add the sentiment beneath it.

Take the two 3.25″ x 1.25″ pieces of card and score them at 0.5″ and 2.75″

Fold in the 0.5″ sections and crease well so they stay folded down

Apply adhesive to each end.


If you follow any of Sandie’s brilliant tutorials, be sure to tag us on social media – #stampingbella – or leave us a comment with a link. We LOVE to see what the SISTAHOOD have been creating.
MWAH!
Elaineabella
Awesome! Thanks for sharing!