


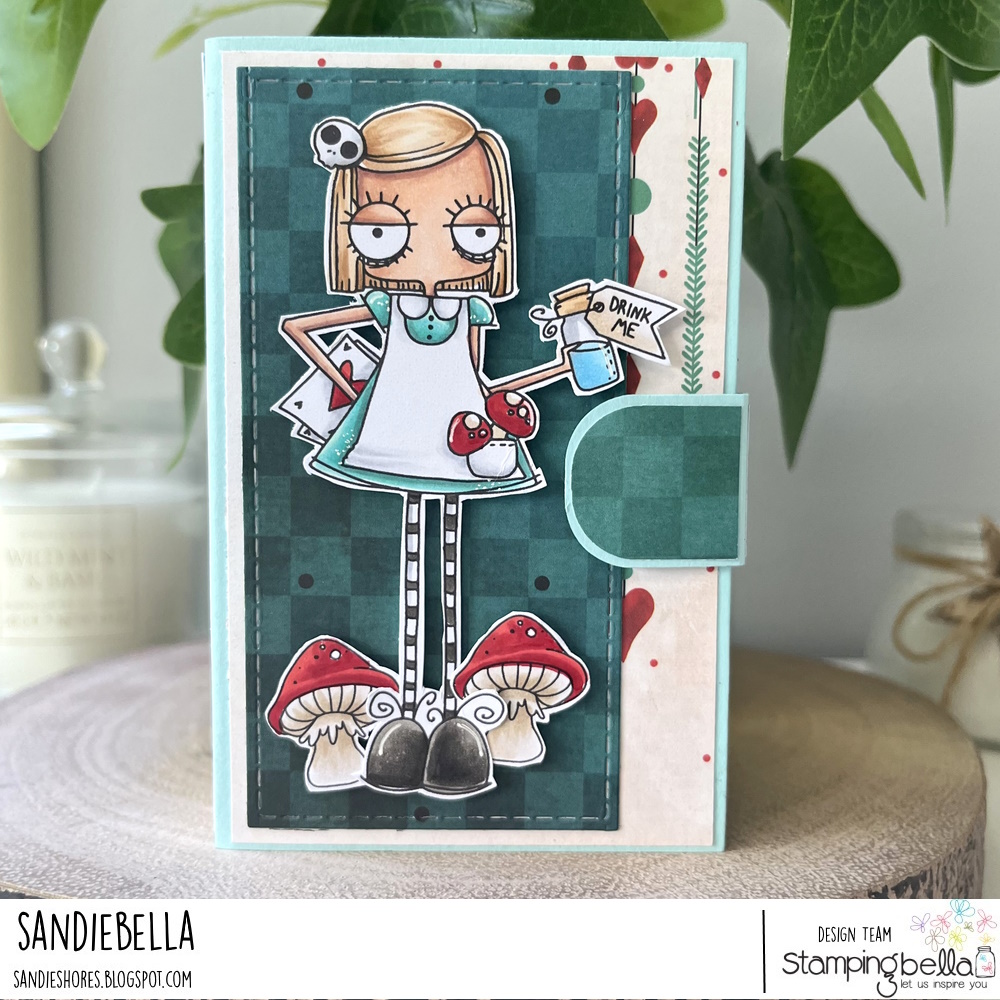
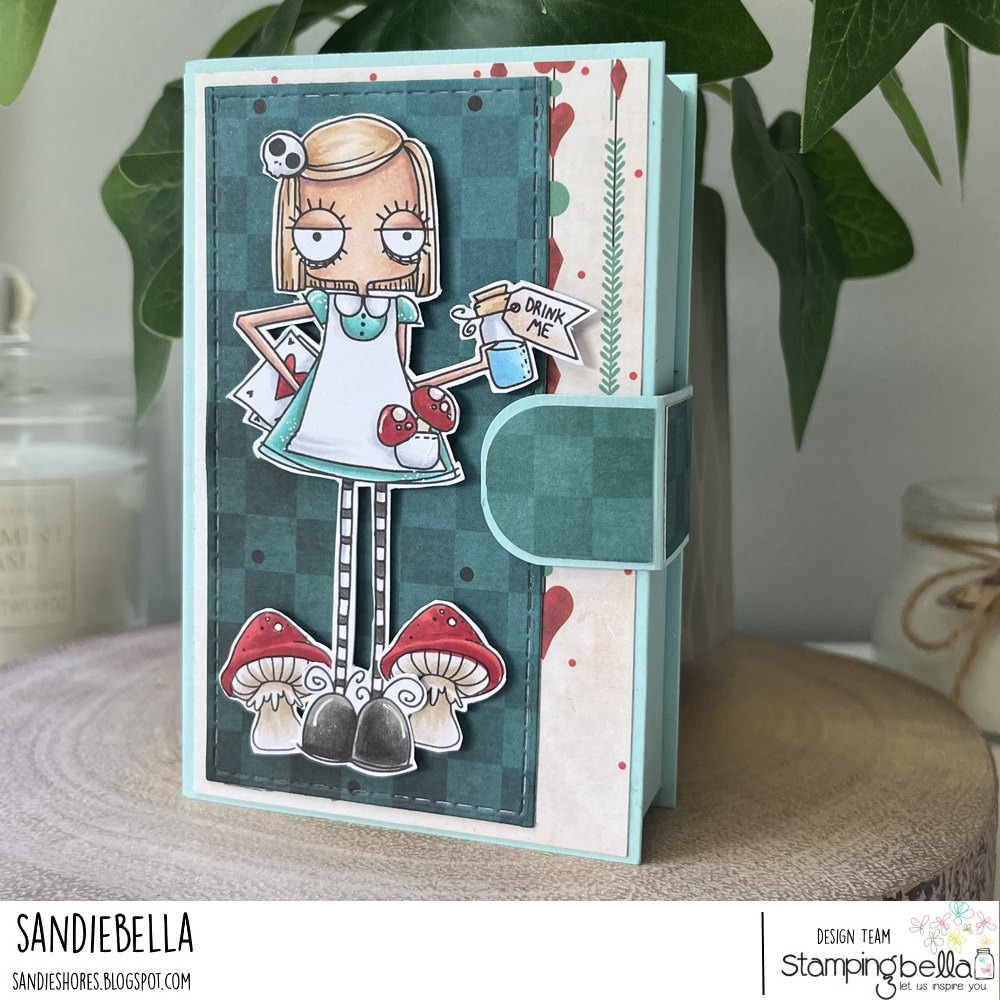
It’s Thursday with Sandiebella…on Sunday! Our Sandie has been super busy, but she still managed to create an amazing tutorial for us again this week. Read on to see how to recreate a Storybook Gift Box featuring ODDBALL ALICE IN WONDERLAND.
Oddball Alice Storybook Gift Box
Supplies:
How to:

Cut as shown below.

Apply adhesive to two of the small tabs and adhere to the inside of the adjacent side


Repeat on the other side to make the box shape.

Apply adhesive to the longer outer section and fold in over the tabs. Use a bone folder to burnish well.


Repeat on the other longer side.

Then adhere the shorter sides down.

Score both 4.75″ x 7-1/16″ pieces of card at 3-1/8″ and 6.25″

Adhere the smallest sections together, one on top of the other.

Trim each of the outer 3-1/8″ sections very slightly (approx 1/16″). Apply adhesive as shown, then fold inwards and burnish well.

Repeat on the opposite end.

Ensure the box fits into the wrap.

Apply adhesive to the bottom of the box and adhere to the inside of the wrap, leaving 1/8″ on the top, bottom, and right side – but ensuring the box is right up to the score line of the spine.


Apply adhesive to the box and adhere the spine of the wrap to the box.


Score the 5″ x 1″ piece of card at 1-1/8″ and 2-1/8″. Round the corners of the end with the 1-1/8″ score line.

Apply adhesive to the 3-7/8″ section, then place the box on top of it – centering it, and ensuring the wrap edge is right up against the 2-1/8″ score line.


Take two small magnets and put them together. Adhere to the 1-1/8″ rounded section, using a strong glue dot. Apply another glue dot to the top magnet, then fold the closure band up around to the front of the box. Push down gently to adhere the top magnet to the front of the wrap.


Adhere the paper layers over the magnets, rounding the corners of the 7/8″ x 1″ piece.

Adhere the paper panels to the back and inside the front cover.

Then, adhere the paper pieces to the outside of the closure band.

Adhere the 0.75″ x 4-5/8″ piece of paper to the spine, adding a strip of contrasting paper to decorate.


Adhere a 2.25″ x 4-3/8″ stitched rectangle to the front cover, then adhere Alice using foam tape/dots.

Finally, adhere the toadstools, also using foam tape/dots.

If you follow any of Sandie’s brilliant tutorials, be sure to tag us on social media – #stampingbella – or leave us a comment with a link. We LOVE to see what the SISTAHOOD have been creating.
MWAH!
Elaineabella
I LOVE THIS!!!!!!!!!!!!
This is sooooo awesome and I can’t wait to try it! Thank you so much for the inspiration.
thank you for the directions! This is a great project.
magnifique, superbe, j’adore tout ce que vous faites, merci de mettre à notre disposition de tels projets avec autant de précision. Thank you very much. I love it !
What a great box! I love the Oddball Alice in Wonderland stamps and I can’t wait to try this. Thanks for the awesome inspiration!