


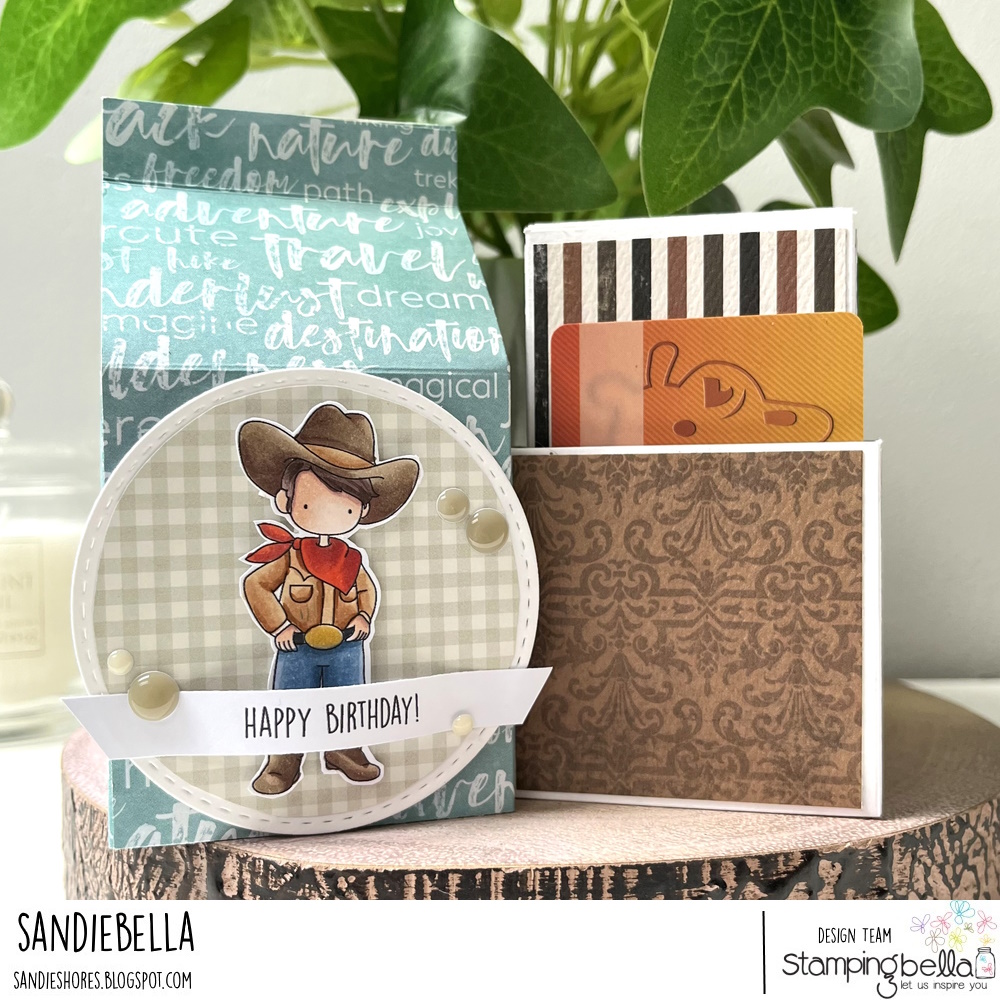
Sandiebella is back with another awesome step by step tutorial for us today, showing how she created a Valentine candy gift box featuring our Uptown Cowboy Kids stamp set. Read on to see how Sandie worked her magic again…
Milk Carton Surprise Gift Box
How to:

Score the 7-9/16″ x 7-9/16″ piece of card at 2.5″ on all four sides.

Score the 9.5″ x 8.25″ piece of card at 2.25″, 4.5″, 6.75″ and 9″ on the 9.5″ side. Flip 90 degrees and score at 0.5″, 2.75″ and 6.75″

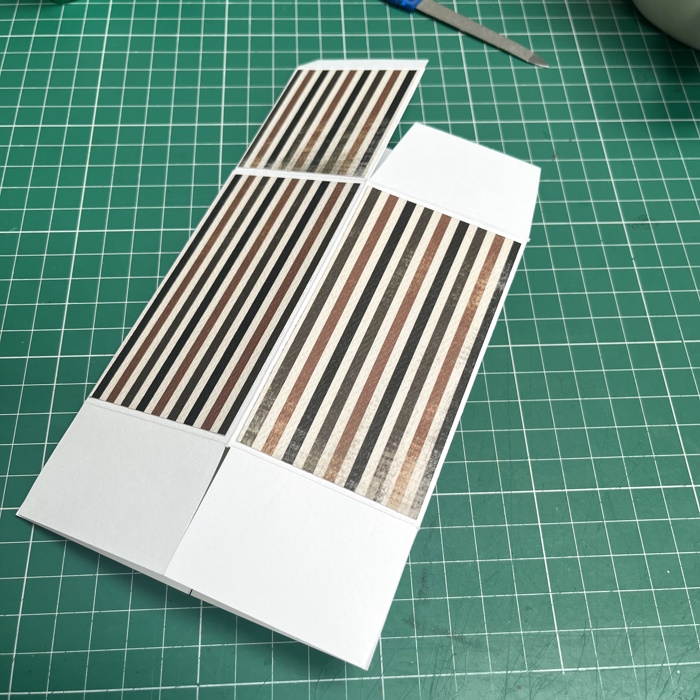
Cut the inner box as shown below.

Cut the milk carton base as shown below.

Take the milk carton top and, in the 2-5/8″ section beside the 0.5″ section, make a notch at the centre point on the 5/8″ horizontal score line. Score a line diagonally from the centre point down to the left and right corners of the 2.5″ score line.

Fold up the diagonal score lines. Repeat this on the third 2-3/8″ section from the 0.5″ section.

Apply adhesive to the 0.5″ section and fold into the middle. Fold over the other end and adhere to the adhesive.


Pinch in the diagonal score lines and apply adhesive to the 5/8″ section, as shown. Repeat on the other side of the carton.

Take the box base piece of card and adhere the small tabs inside to create the box shape.

Adhere the paper panels.

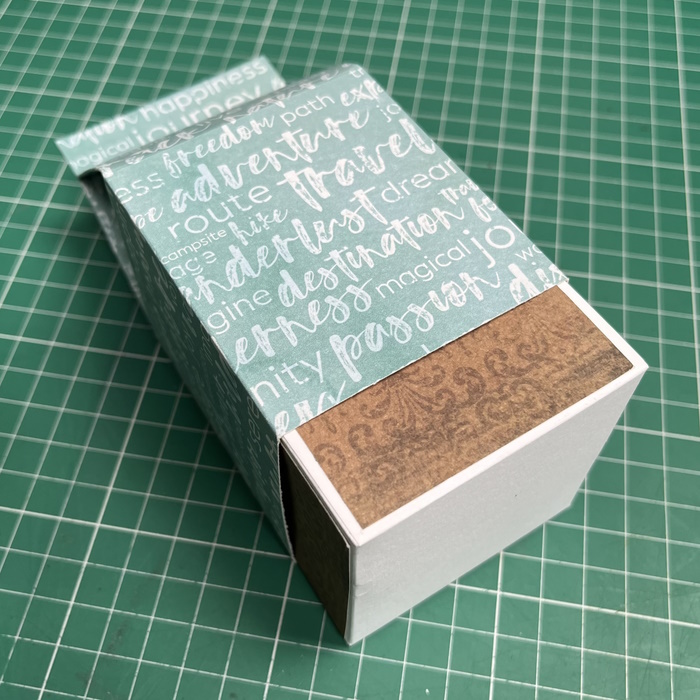
Slide the milk carton lid over the box to ensure it fits.

Take the internal box piece of card, apply adhesive to the 0.5″ tab. Fold the opposite end of the card over and adhere to the 0.5″ section.

Adhere the paper panels to the sides and the lid

Fold in the bottom tabs, applying adhesive to the last one.


Close the top of the box.


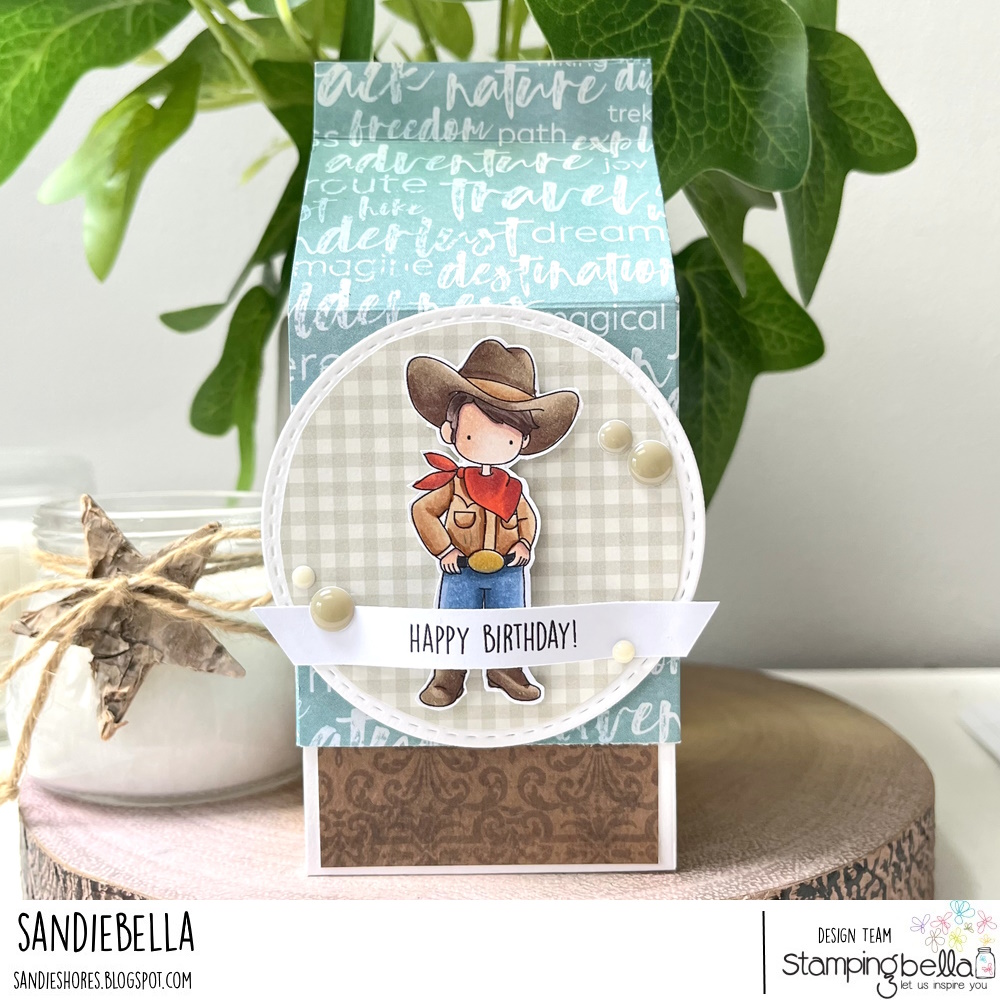
Cut a 3″ stitched circle from white card and paper. Cut the paper circle inside the stitch marks and adhere to the card cirlce.

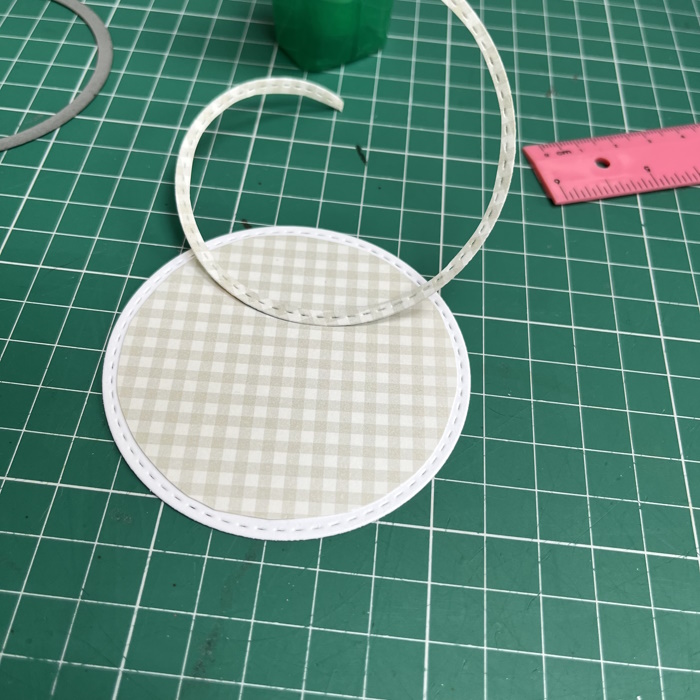
Adhere to the milk carton lid using foam tape/dots.

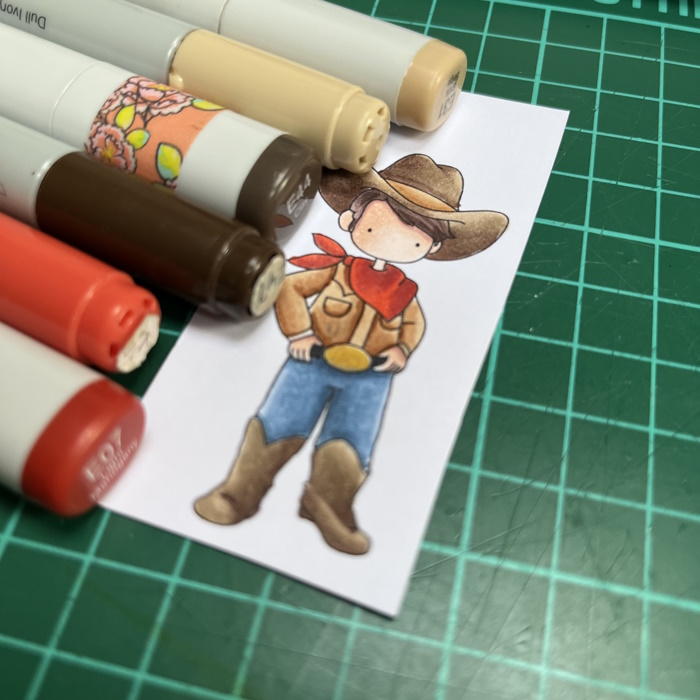
Stamp the boy image from Uptown Cowboy Kids onto white card. Colour, then fussy cut around the outline.

Stamp a sentiment onto a strip of card.

Adhere the image to the stitched circle panel using foam dots.

Curve the sentiment and adhere across the image, trimming the ends.


Add some enamel dots to embellish.

If you follow any of Sandie’s brilliant tutorials, be sure to tag us on social media – #stampingbella – or leave us a comment with a link. We LOVE to see what the SISTAHOOD have been creating.
MWAH!
Elaineabella
I absolutely love this … it’s darling… I have one wish though and that is …please bring back the dies to use with the stamps… not everyone can fussy cut so precisely !!
Hi Cindy, unfortunately the dies just weren’t popular enough to continue producing. Sorry about that!