


Sandie is back, and she has a fantastic tutorial for us today, featuring one of the new release stamps!
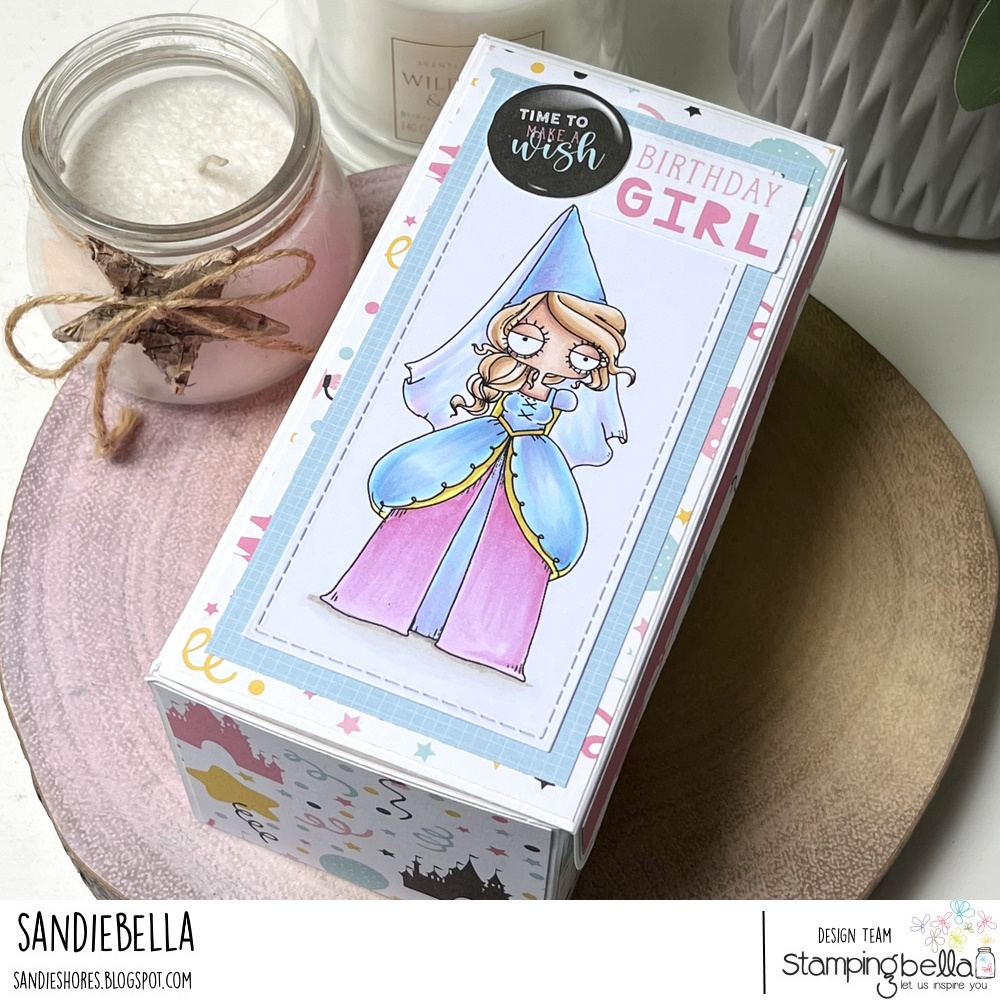
Lift and Reveal Princess Gift Box

Supplies:
How to:


Score the 6″ x 4″ piece of card at 1″ on the 4″ side

Trim the the 12″ x 6″ piece of card to remove approx 1/16″ from the length and width. Score at 3″ on the 6″ side. On the long side score at 3″ then turn 180 degrees and score at 3″ (as the piece is slightly smaller than 12″, it must be scored from each end to ensure both end pieces are 3″)

On the 12″ x 12″ piece, cut up on the 3″, 6″ and 9″ score lines until it meets the intersecting score line. Repeat on the opposite side.

Fold in the side pieces of the second section, apply adhesive, then adhere the outside pieces of the third section to it.


Remove the outer sections on the fourth 3″ section.


Take the 12″ x 6″ piece and fold the score lines, with the short side closest to you. Adhere paper panels to the centre sections.

On the shorter section cut two 1/8″ wide slits approx. 0.5″ in from each side and centred, using a craft knife. This is for threading ribbon through to hold a gift or gift card.

Fold in the 3″ sections on the top apply adhesive then adhere to the inside of the 3″ section on the other half.

Cut up each side diagonally

Open up the 6″ lid of the box, apply adhesive to the inside, then adhere the reveal mechanism to the inside of the lid, as shown.


Fold downwards to ensure the reveal mechanism fits into the box when closed.

Take the 6″ x 4″ piece and fold/burnish the 1″ score line. Round the corners of the 1″ section.
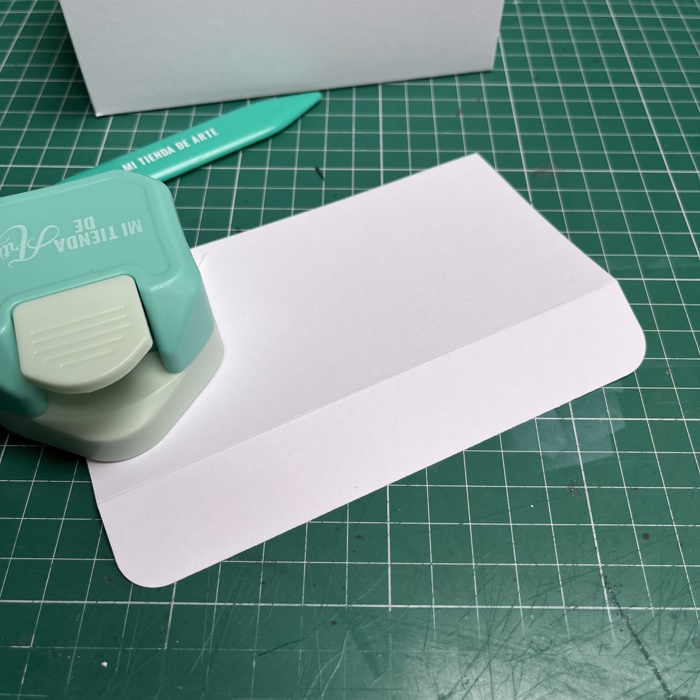
Apply adhesive to the 3″ section and adhere to the outside of the box lid, with the 1″ section forming the front closure.


Adhere two magnets to the inside of the 1″ flap and line them up with magnets on the front of the box.


Once the magnets are lined up and stuck down, cover them with paper panels. Adhere any remaining paper panels to the outside of the box.


Cut out using a narrow stitched rectangle die then add a mat layer behind it.


thank you so much for sharing! I look forward to Thursdays to see what fun you are presenting that day!
Waouh, magnifique.
Amitiés
Rachel
Oh my gosh, I have that paper you used on the inside, the ones with the balloons and Disney castle. My niece got it for me one year. I am going to send this to my friends and we will all try to make it.