


Sandiebella has an absolutely gorgeous project and step by step guide for us today. Such a perfect way to use this Mochi Girl!
Interactive Journaling Folio

Supplies:
How to:

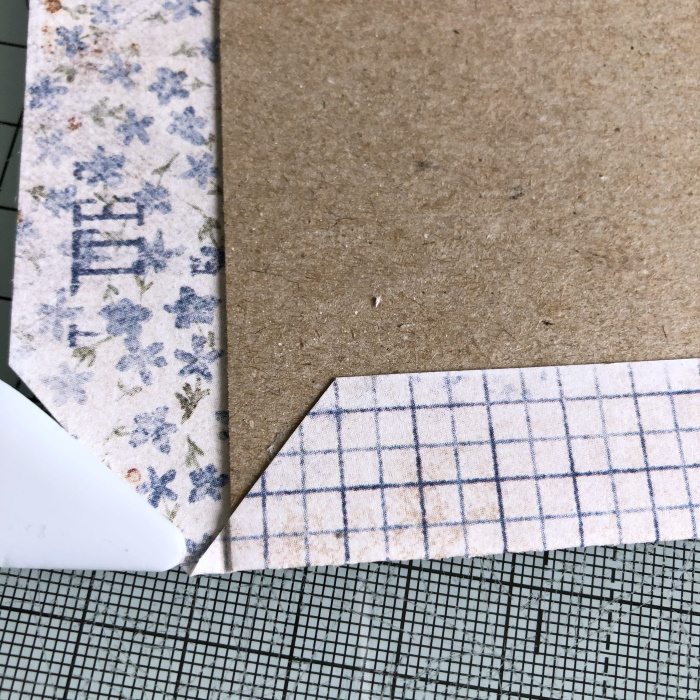
Cut away each of the four corners of patterned paper as shown.

To ensure a neat and tidy fold, first fold up the paper over the bottom of the chipboard, and crease with a bone folder without sticking it down.

Apply double sided tape to the inside of the paper and fold it back up, adhering it to the chipboard. Burnish well.

Repeat on the top of the chipboard.

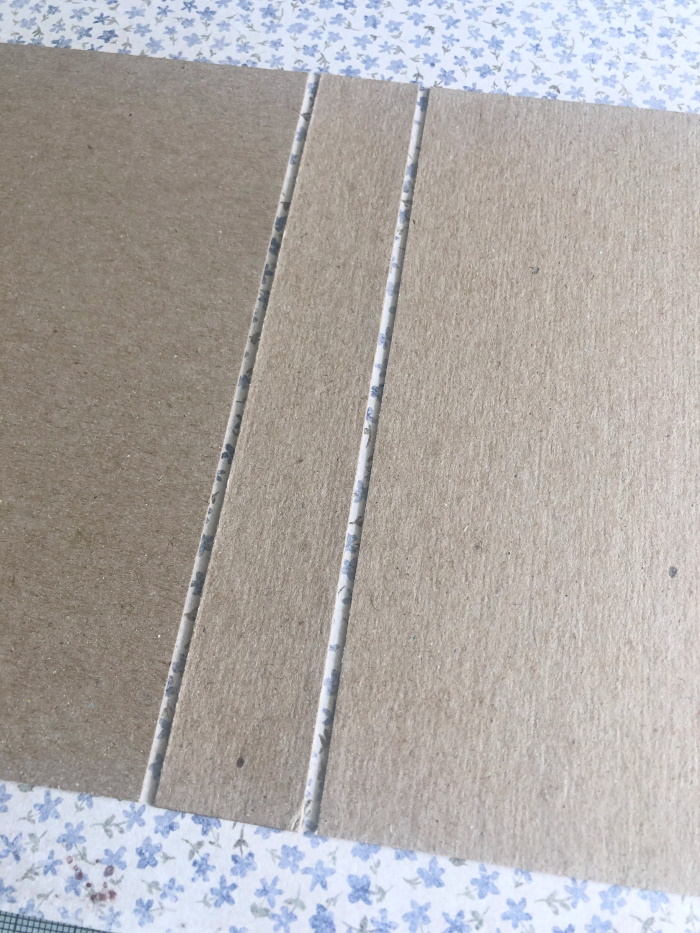
Use a bone folder to make a crease on each side of the spine.

Using a bone folder, crease the corners so that it folds neatly. Cut away and excess as desired.
Fold in the ends of the paper and crease well. Open it back up, apply double sided tape, and fold it back over, burnishing well. Repeat on the other end.

Very gently, rock the back and front of the folio, closing it a little further each time until it resembles a ring binder folder. This ensures you don’t rip the paper.

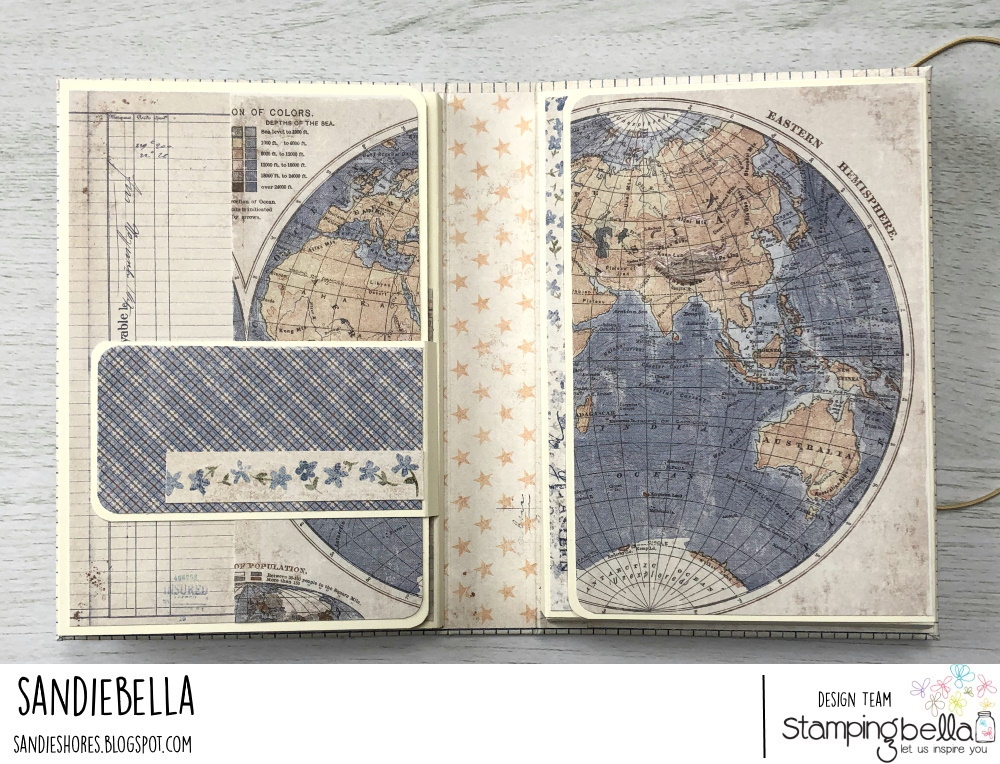
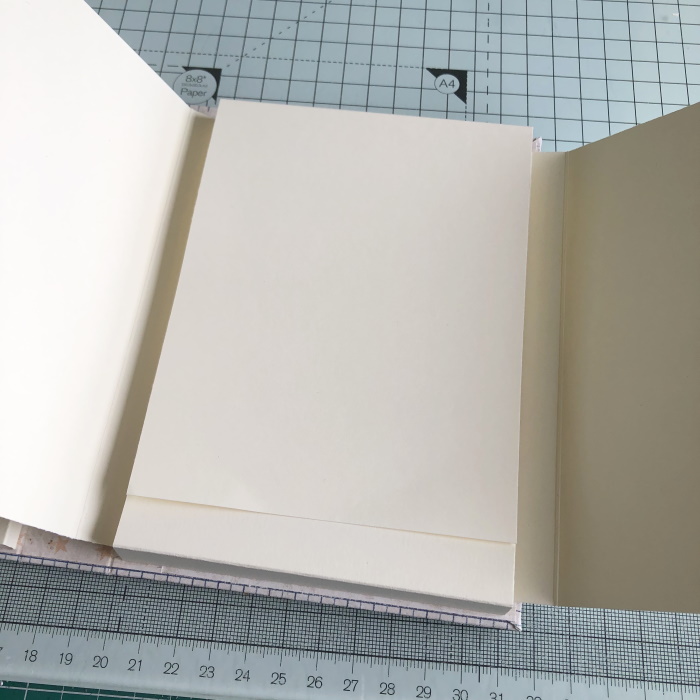
For the inside, cut 2 pieces of paper measuring 4 3/8″W x 6 3/8″H and adhere them to the inside of the front and back. Mine were a little narrower, hence the bare chipboard on the edges. Cut a piece of paper to cover the spine – approx 2″W x 6 3/8″H. Apply wet glue along the spine, and on the paper and adhere it down.


Use a bone folder to crease along each side of the spine.

To create the folio pages, cut some cream card:

Take the 6.25″H x 4.75″W piece and apply wet glue to the 0.5″ section.

Fold the 0.5″ section under and adhere to the right side edge of the front cover, ensuring not to cover the spine.

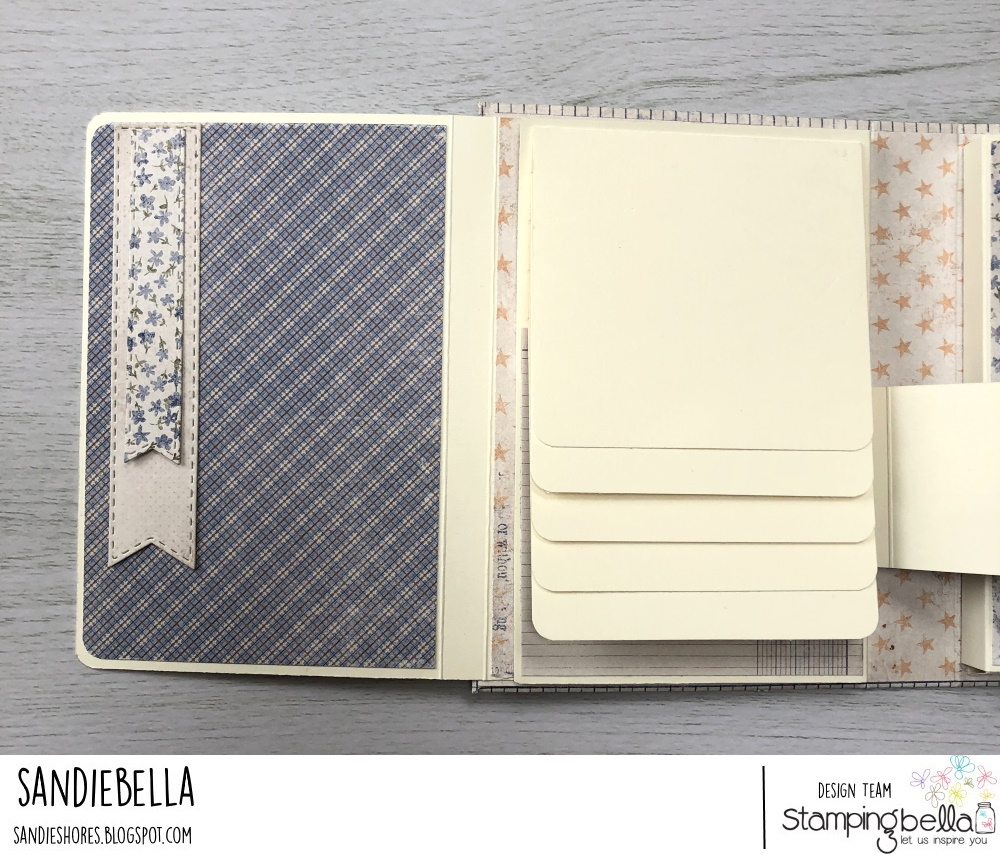
Score all five 4″H x 3.75″W pieces of card on the 4″ side at 0.5″

Round the corners on the opposite end to the scoreline.

Apply glue to the 0.5″ section, fold it under, and adhere it to the front of the page you just inserted.

Repeat with all five pieces, gluing each one down directly under the other.

Fold them all down to make a waterfall.

Take the 6.25″H x 5-1/8″W piece you scored at 0.5″ and 1″ and apply adhesive to the 0.5″ section. Adhere it to the left inside of the front cover. Fold over, to cover the waterfall.


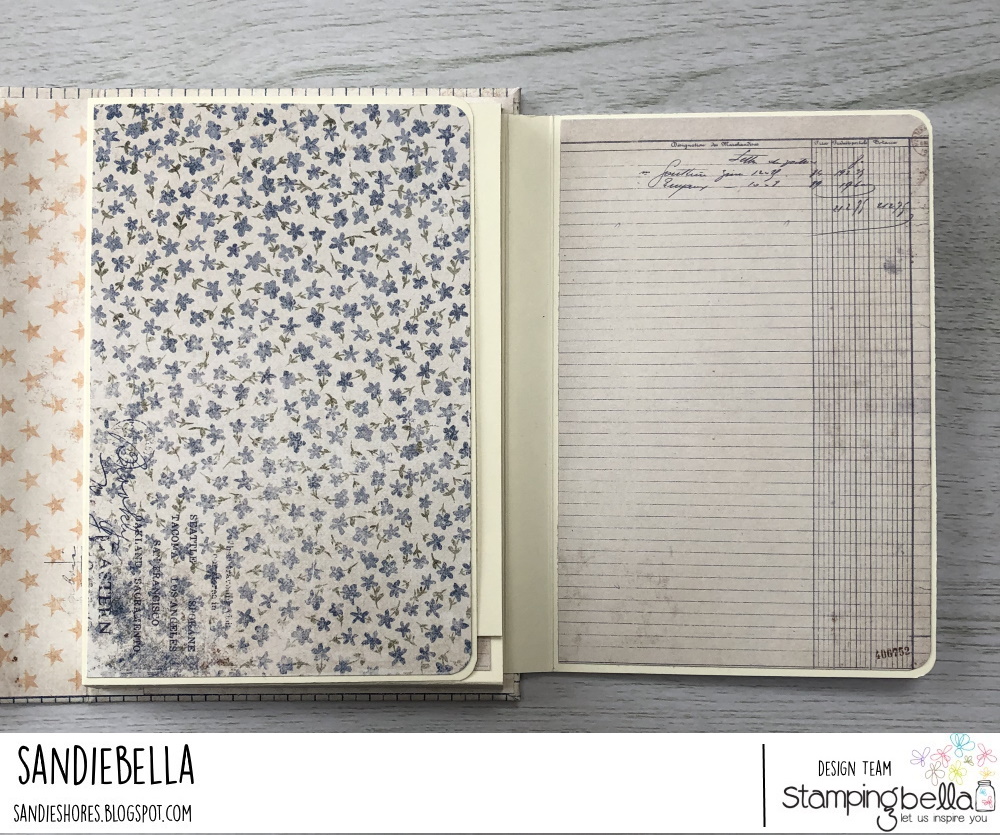
For the inside right of the base, cut 2 pieces of card measuring 4-3/8″H x 6.5″W. On the 6.5″ side, score both at 0.5″ and 1″. Fold the scorelines.

Adhere one piece to the top of the inside back, and other one to the bottom of the inside back, leaving a little border top and bottom.
Cut two more pieces of card measuring 5″W x 6.25″H. Score on the 5″ side at 0.5″ and 1″. Again, fold the scorelines, apply wet glue to the outer 0.5″ section and adhere them to each side of the inside back.
Fold each side in.

Cover the 0.5″ pieces of card for a tidier finish.

To make a closure for the waterfall side, cut a piece of card measuring 2″H x 4.5″W. Score at 0.5″ and 0.75″ on the 4.5″ side.

Lift up the waterfall and adhere the closure underneath.

Fold everything back up, and then fold over the closure.

Because I didn’t want to punch holes in the folio, I took a length of twine, wrapped it around the folio and tied it to size.

Cut a piece of the chipboard measuring 2″H x 4.5″W, apply foam strips leaving a ravine for the elastic and adhere it down across the back, trapping the elastic in between the strips. Set the folio aside.

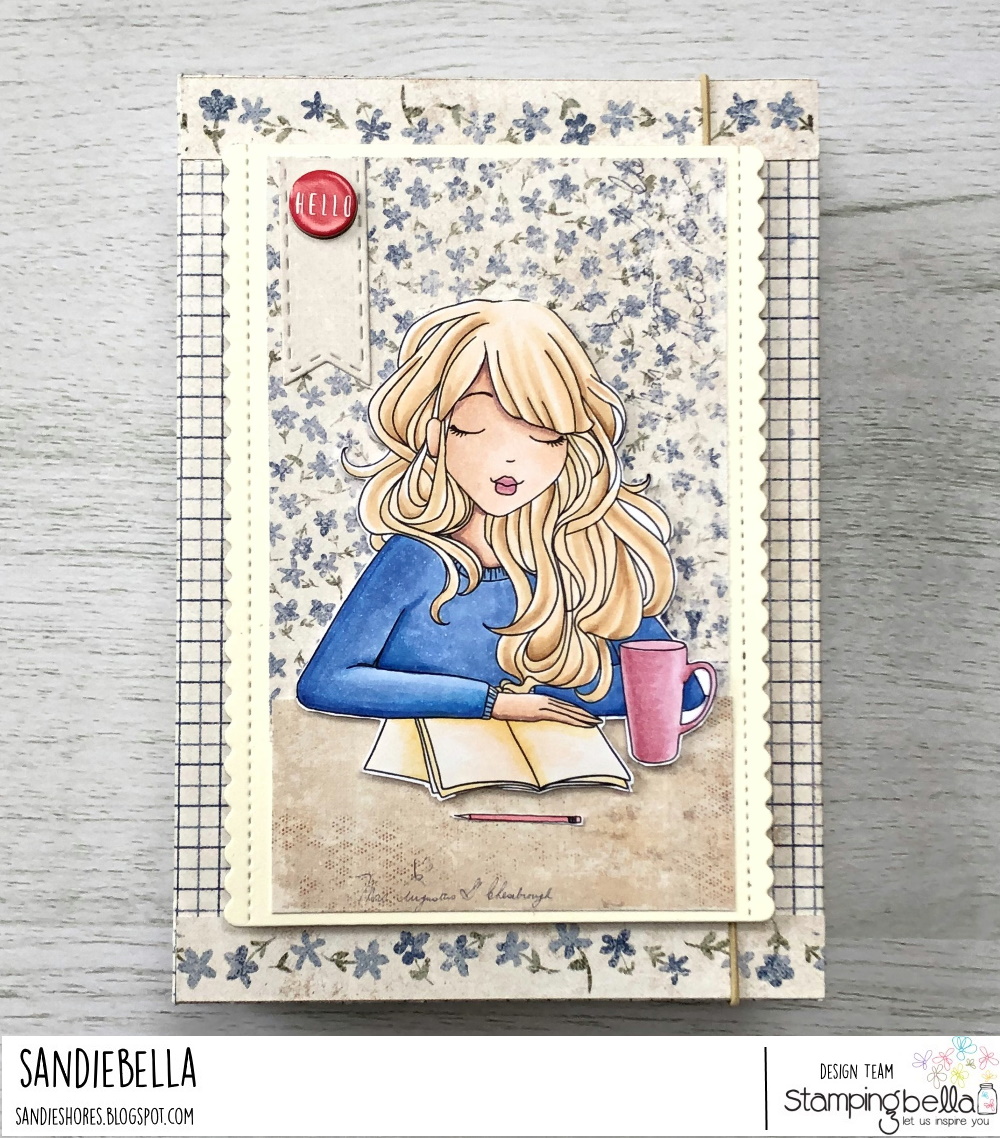
Stamp the Journaling Mochi Girl onto white card and colour using your preferred medium.


Fussy cut the image.

Cut a rectangle approx 5.5″H x 3.75″W. (Die used- Sweet Feline by Mama Elephant.)

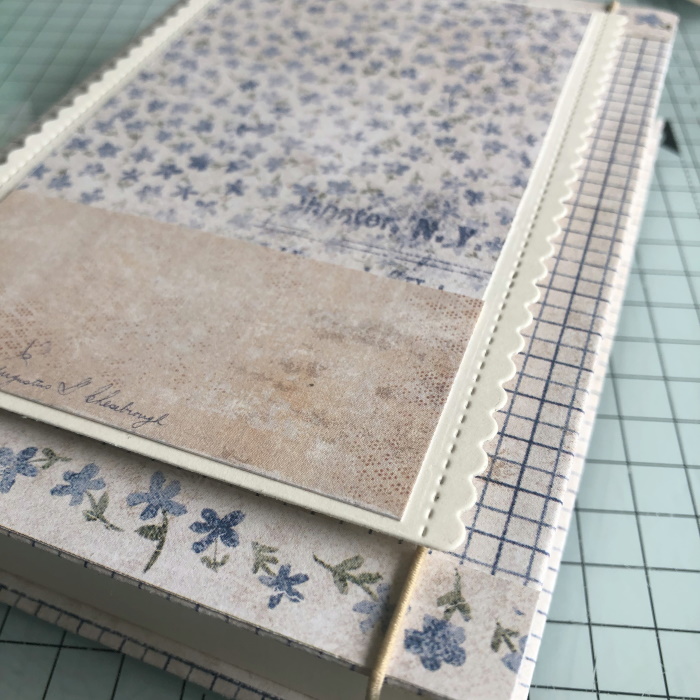
Create a work surface and background using designer paper.

Adhere to the front of the folio, using a deep foam tape, so that the elastic will slide under. Ensure to keep the tape away from the edges of the rectangle or the elastic will catch on it.
Adhere Journaling Mochi Girl to the front using foam dots.

Stamp the sentiment from Mochi Girl Sentiments onto some coordinating paper and adhere over the chipboard securing the elastic on the back

Embellish as desired and decorate the inside pages for photos and journaling.

Over To You!
Share your personal favourite Stamping Bella creations with us. We LOVE to see what you’ve been creating with Stamping Bella stamps. Share a link to your latest Stamping Bella card in the comments below, or an old favourite you made a while ago. Tell us what your favourite stamps are. Are there any additions you would like to see to the range? Let us know!
Another way to connect is by joining us in the Stamping Bella Sistahood Facebook Group and share your pictures.
If you are posting your images online, we would love to see them on Instagram and all the platforms mentioned above. To make it easier for us to find you just use #stampingbella as a hashtag. Even better tag me @markergeek and Emily @stampingbella . We love it when you connect, so don’t be shy!
Until next time, HAPPY STAMPING!
MWAH
Elaineabella
Oh this Canadian girl would love to win and place her first order. Your stamps put a smile on this ?? girls face.
Oddballs are my favorites-! Any chance of seeing a wizard of oz theme in that line?
Love the girls so cute! Gal n CA would enjoy winning ???
The new releases are groovy! (Haven’t used that word in a long time.) I can’t wait to get my hands on that adorable Oddball Hippie. She is my new absolute favorite!
Stampingbella helps me create unique fun projects that I can share with friends and family and know they will enjoy them. I love the craziness!
I have grown to love all you stamps and dies ! They are so much fun to color and send cards to family and friends. They put smiles on everyone’s face that receive them. Keep on designing ! They are habit forming ! Lol. ??
This is fabulous project! Thanks for the tutorial. That stamp set is so sweet.