


Sandie has another fab tutorial to share today!
Exploding Gift Box


Supplies
 Cut away the 4 corner squares. Keep the pieces you cut away and trim them down for the layers.

Cut 9 pieces of card measuring 3 3/8″ x 3 3/8″ – don’t forget to use those squares you cut from the base.

Cut 9 pieces of patterned paper measuring 3.25″ x 3.25″ using double sided or alternatively, use 2 or 3 different papers.

On the outside of the box base, adhere the card and paper layers on all but the centre square. This is the bottom of the box so there is no need to add paper.

On the inside of the base, using a contrasting paper to the outside, adhere the card and paper layers on all five squares.

For the box lid, cut a piece of card measuring 6 9/16″ x 6 9/16″ and score it at .75″ & 1.5″ on all four sides

As with all basic boxes, cut away the outer 3 squares on each corner and create a tab from the remaining square.

Taper all the edges of the tabs to so that the box folds neatly.

Apply adhesive to the outside of the small tabs

Apply adhesive to the inside of the long outer tabs. Remove all the tape backing and assemble the lid.

Ensure the lid fits before decorating it.


To make the smaller box for inside, cut a piece of card 8″ x 8″ and score at 0.5″ and 2.5″ on all four sides

Again, cut away the outer three corner squares and taper all the edges. As the tabs on this box are so long, cut them down to approx 1″, as shown.

Apply the adhesive on the outside of the tabs, and on the inside of the longer outer tabs and assemble the box.

Cut 8 pieces of paper measuing 2 7/8″ x 3/8 for the inside and outside of the box.

Make the lid in same way as you made the larger lid, using a piece of card measuring 5 1/16″ x 5 1/16″ and scoring at 0.5″ and 1″ on all four sides.


Cut a piece of paper measuring 2 7/8″ x 2 7/8″ for the box top and 4 pieces of paper measuring 3/8″ x x 2 7/8″ for the sides. Set all the boxes aside.

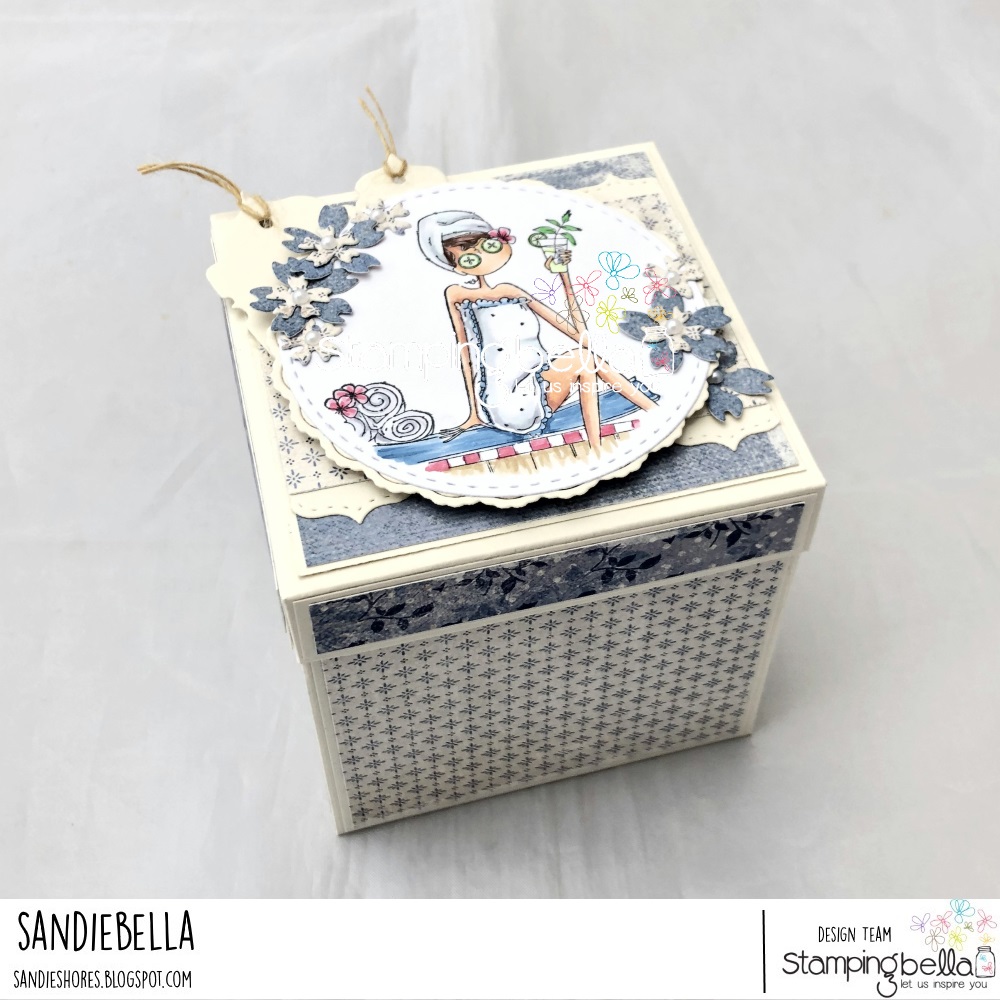
Cut the paper/card you’re using for the image with a 3″ circle die. Do not remove the die.

Stamp the image onto the card, leaving the die in place.

When the die is removed, there is a white border all around the image.

Colour using your desired medium.

Mat the image onto a scalloped circle, decorate the large box lid and adhere the image using foam tape/dots. Add some paper flowers to embellish.

Stamp the sentiment onto the same colour card as your boxes and cut out using a pennant die. Roll over your fingers to curve it, then cut to the size of the smaller box lid.

Decorate each of the inside panels on the exploding box (large box)


Apply adhesive to the bottom of the smaller box and adhere it onto the centre square inside the outer box. Decorate as desired.
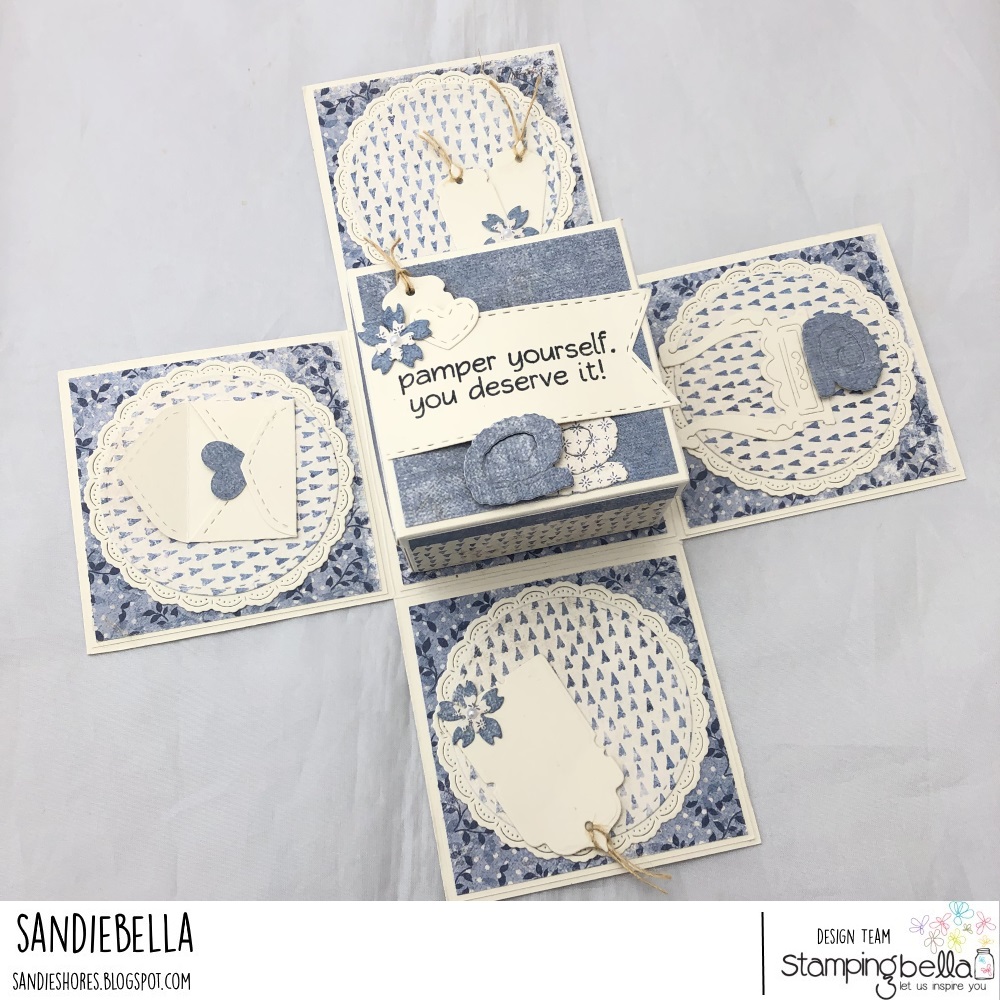
Close up the sides and pop on the lid to hide the inner box.
Over To You!
Share your personal favourite Stamping Bella creations with us. We LOVE to see what you’ve been creating with Stamping Bella stamps. Share a link to your latest Stamping Bella card in the comments below, or an old favourite you made a while ago. Tell us what your favourite stamps are. Are there any additions you would like to see to the range? Let us know!
Another way to connect is by joining us in the Stamping Bella Sistahood Facebook Group and share your pictures.
If you are posting your images online, we would love to see them on Instagram and all the platforms mentioned above. To make it easier for us to find you just use #stampingbella as a hashtag. Even better tag me @markergeek and Emily @stampingbella . We love it when you connect, so don’t be shy!
Until next time, HAPPY STAMPING!
MWAH
Elaineabella
absolutely wonderful project! Love it!
I love this box! The more I saw how it’s made I thought maybe I could make one. I will have to study it & maybe I can try it with scrap paper first to make sure I can make all of it. Thank you for this!