


Sandiebella is sharing a great idea for using the new Edgar & Molly stamp sets to create interactive cards. Even better, she’s showing us exactly how she did it! I love Thursdays.
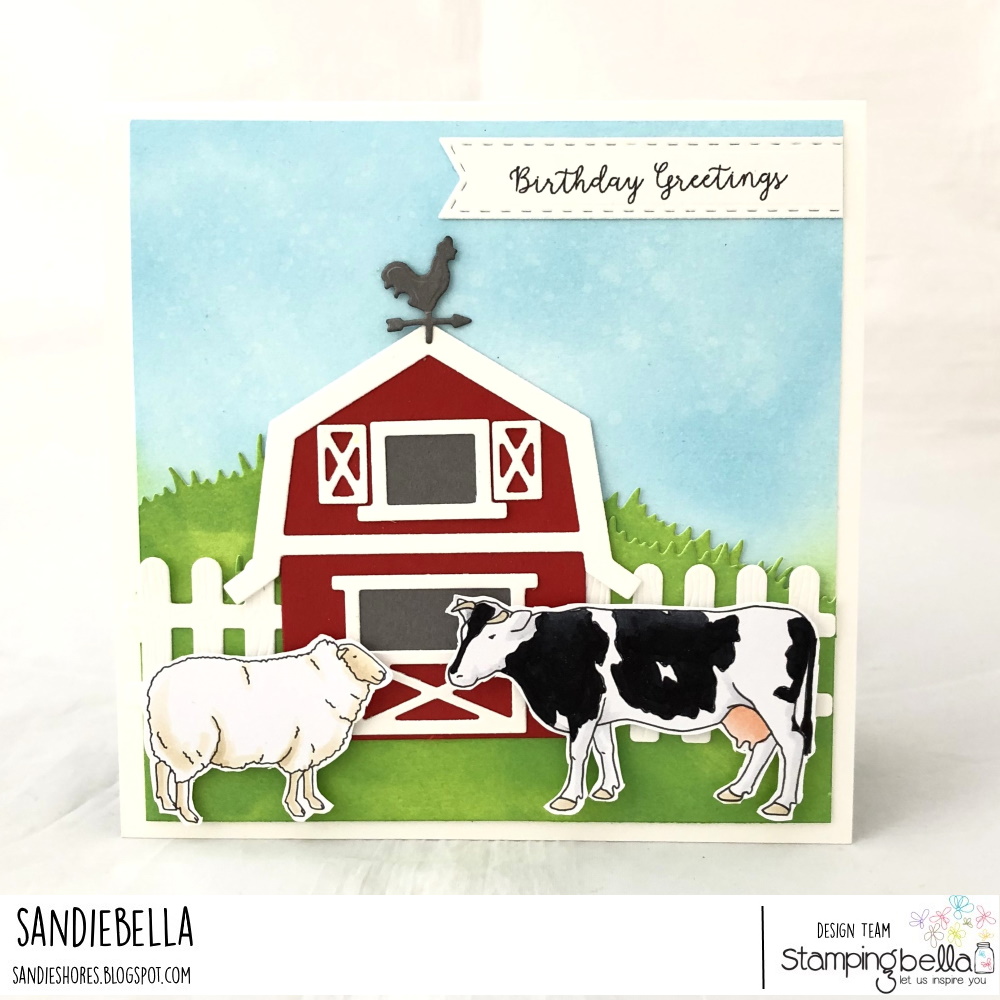
Vintage Farm Animals Pop-Up Insert Card

Supplies:
How to:

Cut 2 pieces of card measuring 5.5″ x 5.5″. Use distress oxide inks to colour one piece blue and the other piece green.

On the blue one, splash some water droplets and dab with a dry cloth. This will give a marbling effect.

Using a grass border die, cut 2 pieces from the green card and layer on the bottom half of the blue piece.

Adhere the panel to the front of the 5 7/8″ square card base. Set aside.

Taking the card insert repeat the inking on the top inside section of the card, down to the centre scoreline, as shown below.


On the scoreline, measure in 1″ from the edge and make a mark with a pencil or craft knife. Then, using the ruler as a guide, cut 1″ up and 1″ down from the centre scoreline.

Repeat on the opposite side.

Score from cut line to cut line, on both sides of the scoreline.

Fold the centre section inwards and fold over the card. Crease with a bone folder.

When you open the card insert, it should look like this.

For the inside, use green card, or use ink on white card and make another 5.5″ wide grassy hill using the grass border die.

Apply adhesive to the bottom section of the pop up mechanism

Adhere the grass hill, ensuring it doesn’t go below the scoreline.


Apply wet glue to the back of the card insert, making sure not to get any on the pop up section. Adhere it to the inside of the large card by matching up the scorelines on both pieces.

Stamp the sent sentiment from Edgar and Molly Vintage Sentiment set onto the centre of a 4 3/8″ x 5 3/8″ piece of white card.

Adhere the animals using wet glue or double sided tape.

When creating the scene on the outside, adhere the animals using foam tape/dots.


Finally, stamp the Birthday Greetings from the Vintage Sentiment set and cut out using a pennant die.

Trim to size and adhere at the top of the card.

Over To You!
Share your personal favourite Stamping Bella creations with us. We LOVE to see what you’ve been creating with Stamping Bella stamps. Share a link to your latest Stamping Bella card in the comments below, or an old favourite you made a while ago. Tell us what your favourite stamps are. Are there any additions you would like to see to the range? Let us know!
Another way to connect is by joining us in the Stamping Bella Sistahood Facebook Group and share your pictures.
If you are posting your images online, we would love to see them on Instagram and all the platforms mentioned above. To make it easier for us to find you just use #stampingbella as a hashtag. Even better tag me @markergeek and Emily @stampingbella . We love it when you connect, so don’t be shy!
Until next time, HAPPY STAMPING!
MWAH
Elaineabella
Love this farm scene.