


It’s Thursday! That means Sandiebella has another fantastic step by step for us.
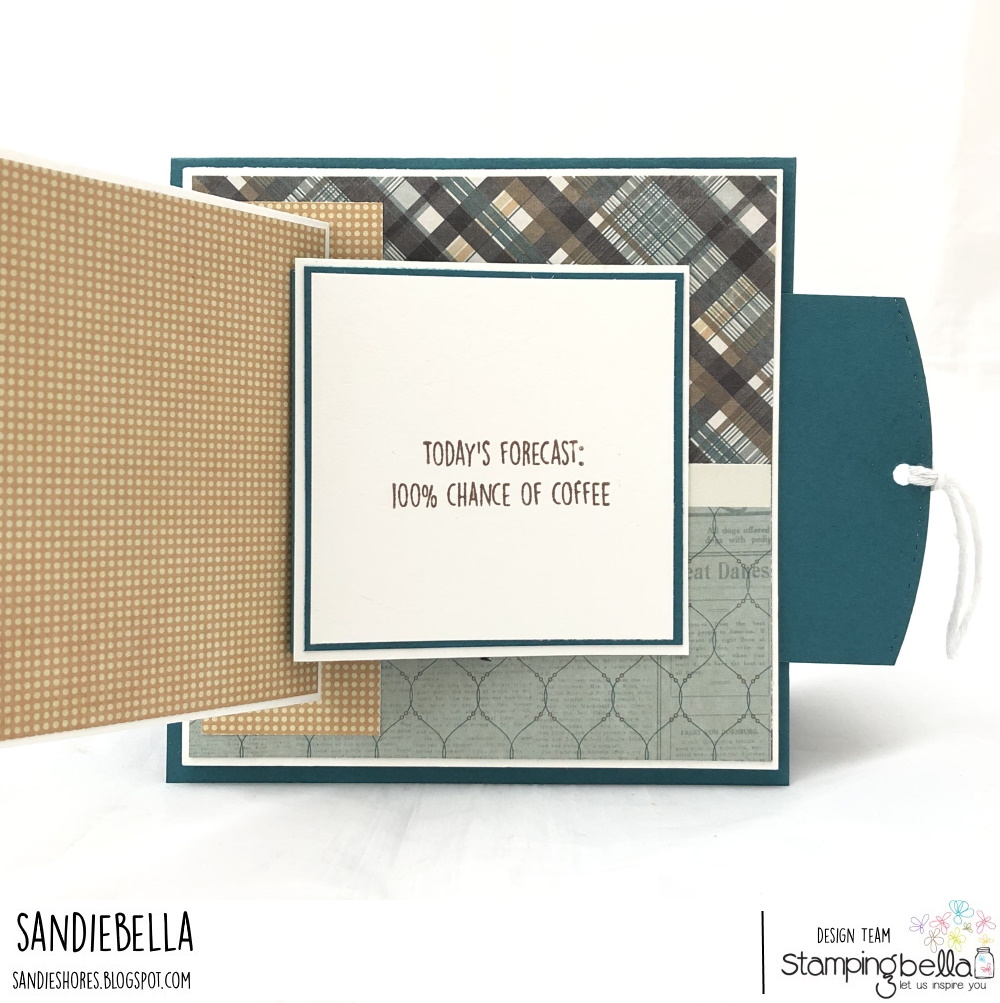
Pull Tab Message Reveal Card

 Supplies:
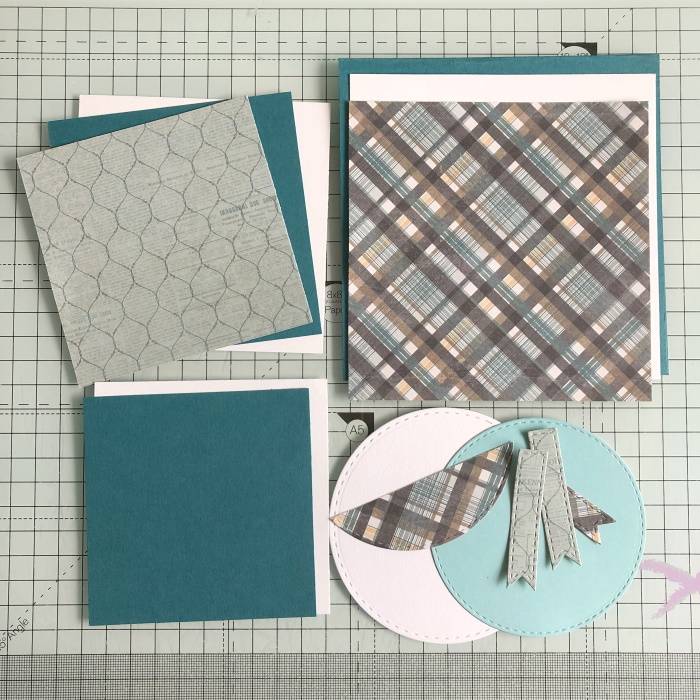
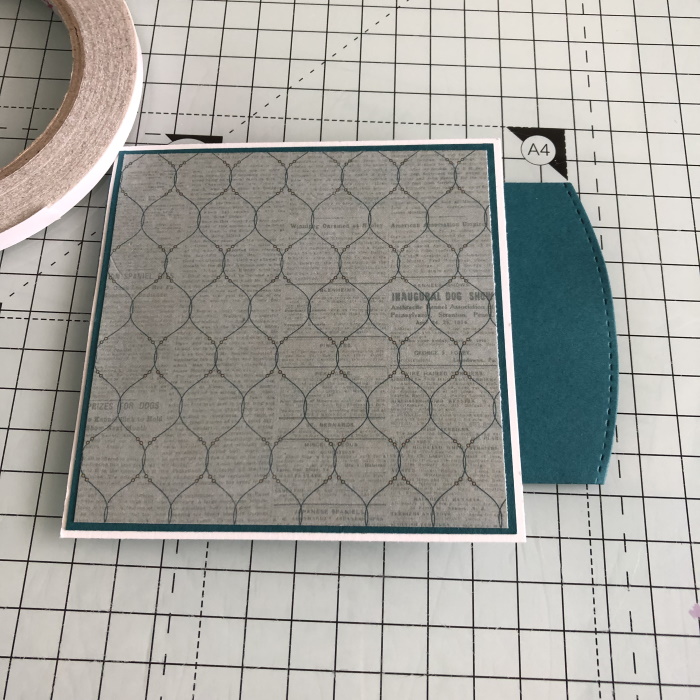
Assemble all the panels, adding paper layers as desired.

Score the flip mechanism at 3 1/8″ and 3 5/8″. Fold and crease well, both ways, to loosen the card so that it flips smoothly.

Use a curved border die to curve the end of the flip mechanism (optional)

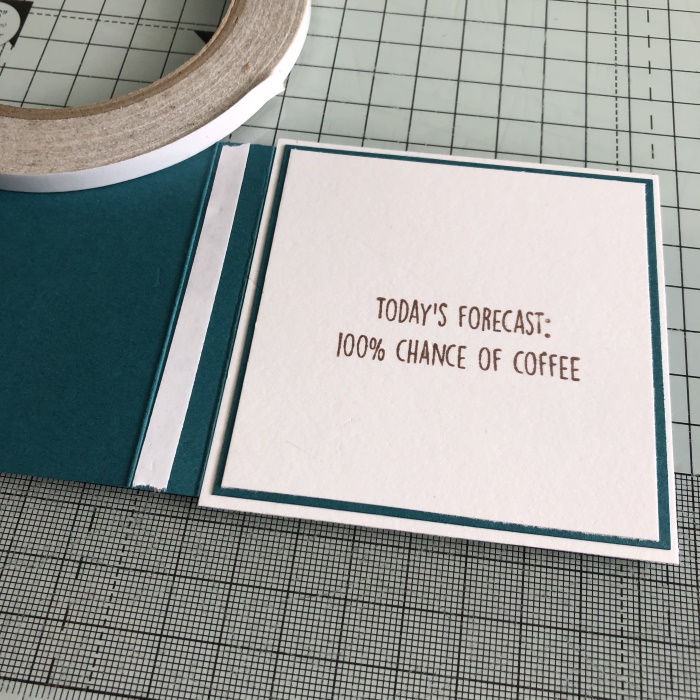
Take the small flip panel and stamp the sentiment into the centre.

Apply adhesive to the mechanism to the 3 1/8″ scoreline and adhere the small flip panel to it, ensuring you don’t go over the scoreline.


Apply a strip of double sided tape in between the scorelines.
Apply double sided tape to the back of the small flip panel, just on the left hand side (this will be the right hand side when you turn it back over. Set the mechanism aside.

Take the card front and measure approx 7/8″ down from the top and up from the bottom. Measure in to 2.5″ from the side and draw a pencil line both sides of the 2.5″ mark, about 1/8″ apart.
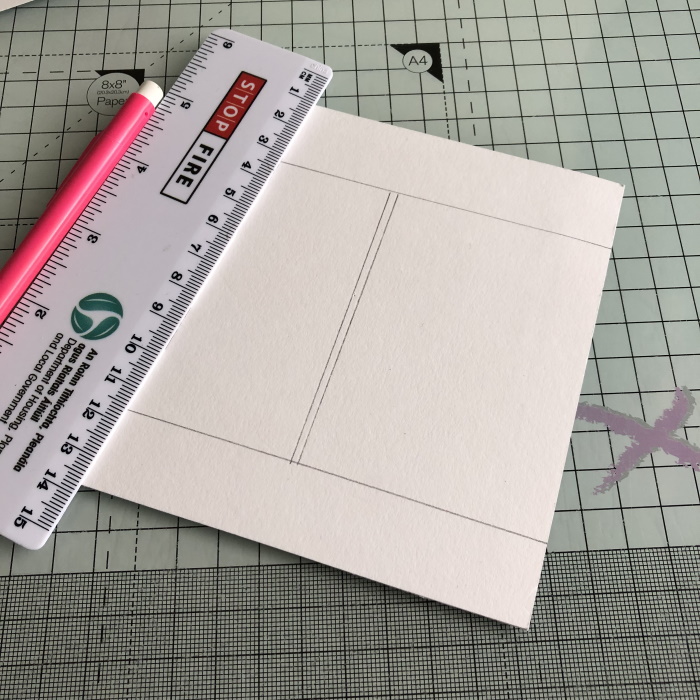
Use a craft knife or paper trimmer to cut along the lines, until you meet the perpendicular lines.
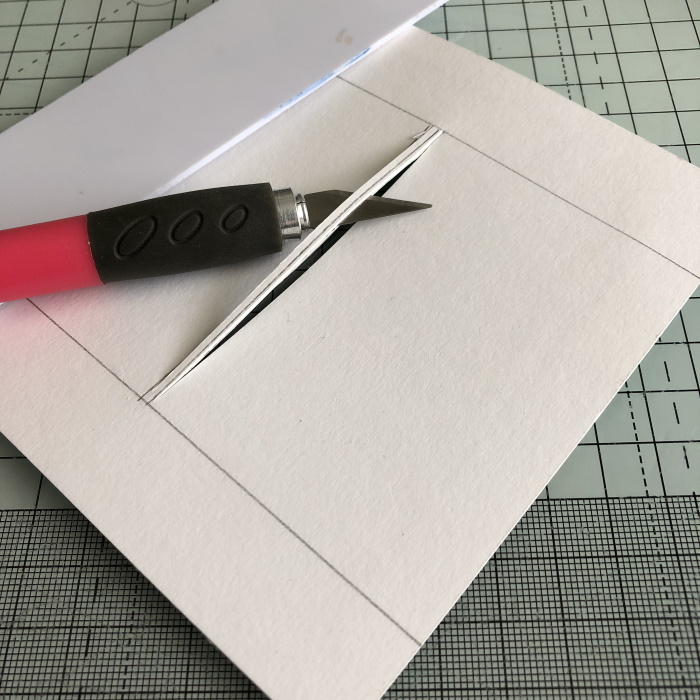
Remove the 1/8″ strip.

Fold the mechanism back over and adhere the large flip panel to the strip of adhesive, ensuring you’re right up to the scoreline.
Slide the pull tab through the 1/8″ strip.

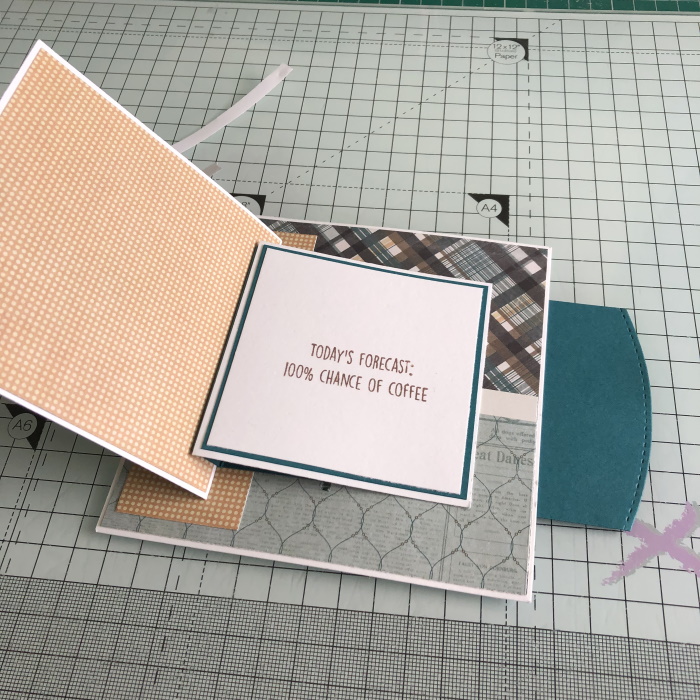
Fold over the front of the mechanism and centre the large panel on the card front. When you’re happy with the position, carefully remove the liner from the tape on the back of the small flip panel and adhere it to the card front.

When you pull the tab, the front flips over to reveal the message.
On the back of the card font, apply some foam tape or dots as shown. Do not put any on the pull tab.

Pull the tab fully and punch a hole at the top.

Stamp the Swimming Gnomes onto some white card and colour using your desired medium. Cut the Gnomes out using the coordinating die, or fussy cut with a precision scissors.

Thread some white twin through the hole at the top of the pull tab and embellish as desired.

Over To You!
Share your personal favourite Stamping Bella creations with us. We LOVE to see what you’ve been creating with Stamping Bella stamps. Share a link to your latest Stamping Bella card in the comments below, or an old favourite you made a while ago. Tell us what your favourite stamps are. Are there any additions you would like to see to the range? Let us know!
Another way to connect is by joining us in the Stamping Bella Sistahood Facebook Group and share your pictures.
If you are posting your images online, we would love to see them on Instagram and all the platforms mentioned above. To make it easier for us to find you just use #stampingbella as a hashtag. Even better tag me @markergeek and Emily @stampingbella . We love it when you connect, so don’t be shy!
Until next time, HAPPY STAMPING!
MWAH
Elaineabella
Thank you for such a clever idea on this interactive card. Again – cool!
sooooo cute! I’m going to share in the Coffee Loving Papercrafters FB group!
This is awesome! Thanks for sharing the “how to”.
wow ! Thank you!