


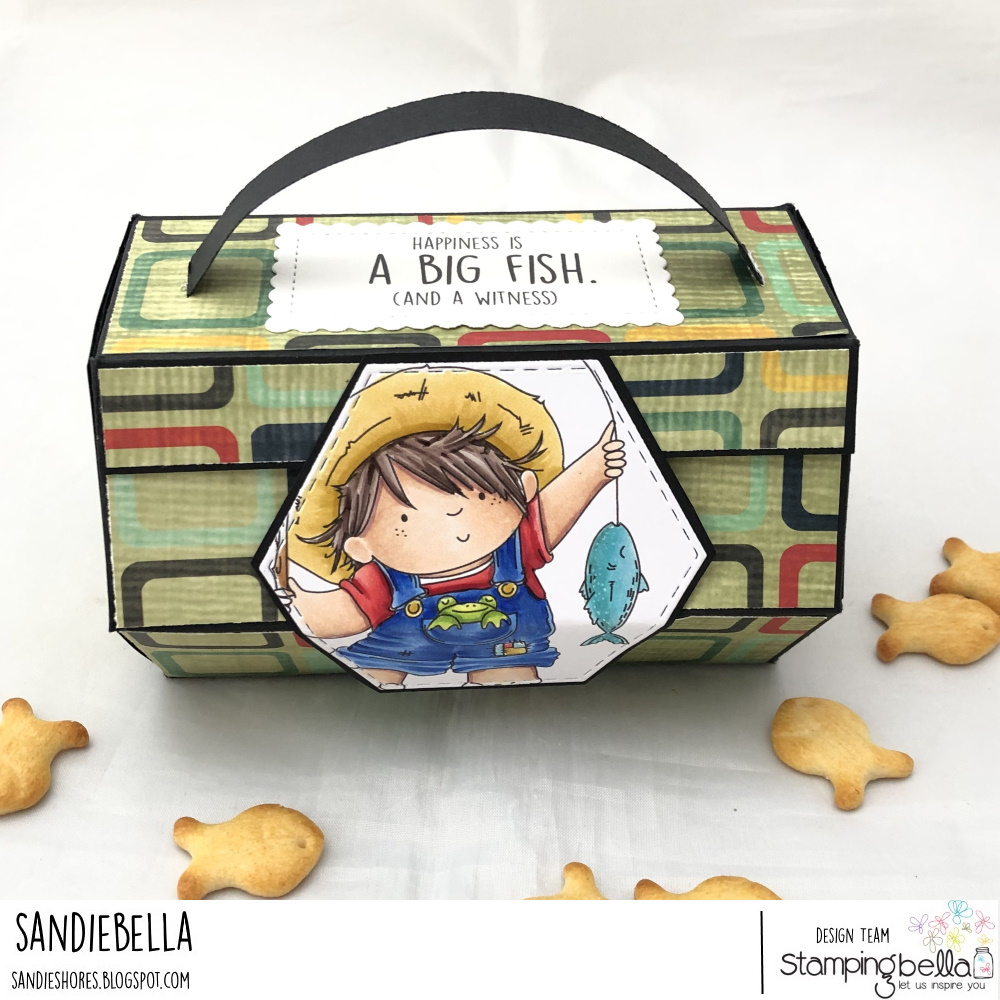
Fishing Squidgy Hexagon Lunch Box
Supplies:
Black card
How to:
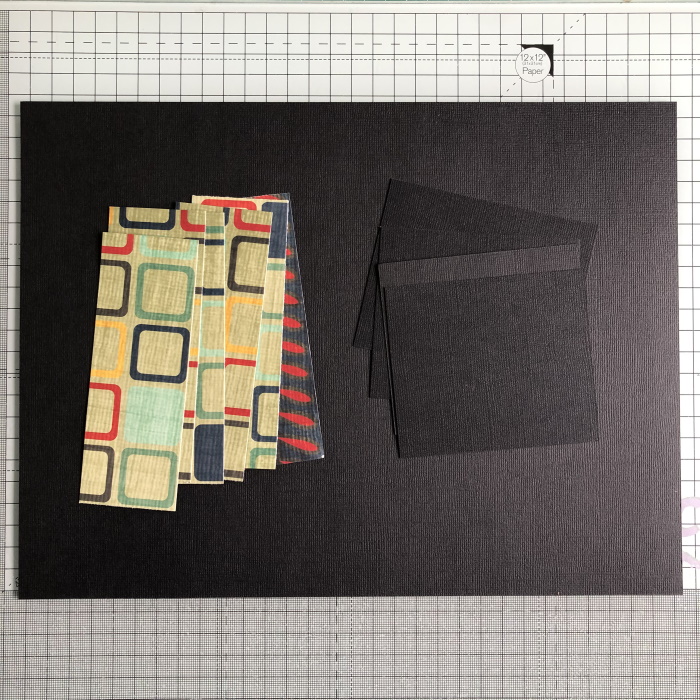
Score the 9″ x 12″ piece of black card on the 12″ side at 1 7/8″, 3.75″, 5 5/8″, 7.5″, 9 3/8″ and 11.25″

On the 9″ side, score at 2″ and 7″

Cut up on the 12″ side, on all of the scorelines, up to the intersecting scoreline – on both sides.

Cut away the outer 0.75″ sections on the end.

Cut the first 2″ sections after the 0.75″ piece down to approx 7/8″ and cut a wedge from the edges as shown. This makes the lid and front flap.

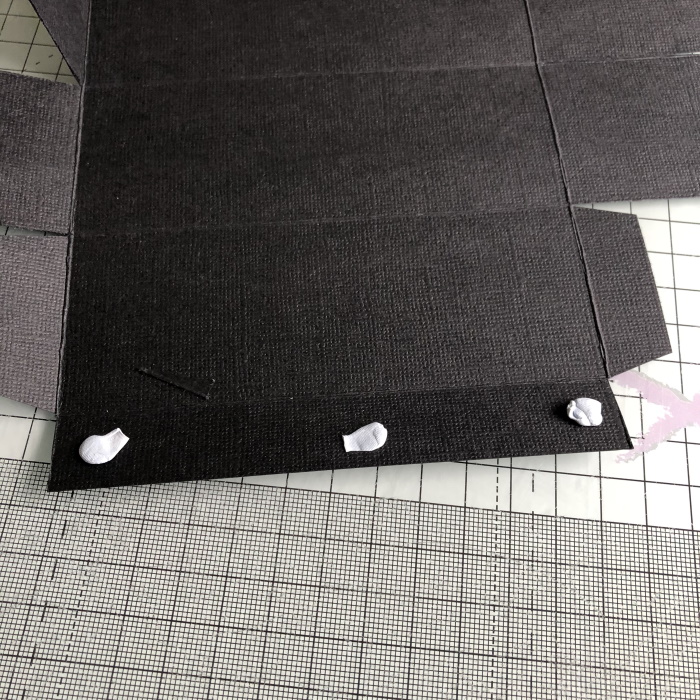
To create the hexagon shape I found it easier to apply blu-tack inside the 0.75″ section, fold over 3 of the 1 7/8″ sides and then fold the 0.75″ piece on top. This holds the whole thing together while you work with it.

Stand the box up so that one end is facing you. Bend the short tab, and the tab directly opposite it, back out of the way.

Fold in one of the side pieces, apply wet glue to the end, then fold it’s opposite side in and adhere them together, ensuring you line up the outer edges. Repeat with the other two end pieces. Lastly, apply wet glue to the side you bent back and adhere it over the other pieces.
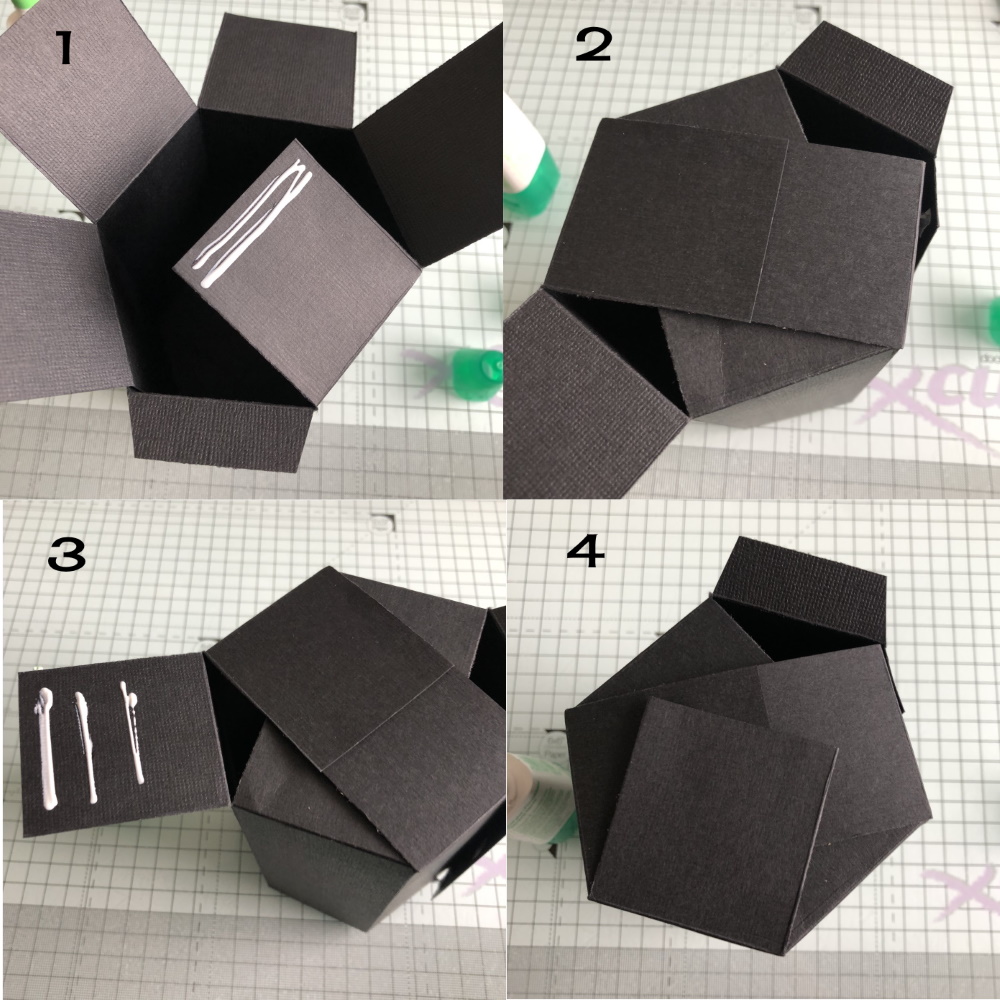
Turn the box around and repeat on the other end. Do not glue the short pieces.

Inside of the box.

Adhere a piece of patterned paper on the top section of the box.

Take the 0.75″ x 7″ piece of card and curl it over your fingers. Bend back approx 0.5″ on each end. On the inside of the lid, measure in approx 0.5″ from each side in the centre of the lid (15/16″). Make a 075″ slit in the lid, equal distance from the centre along the 0.5″ marks. Feed the ends of the handle through the slits and adhere to the underside, trimming off any excess.
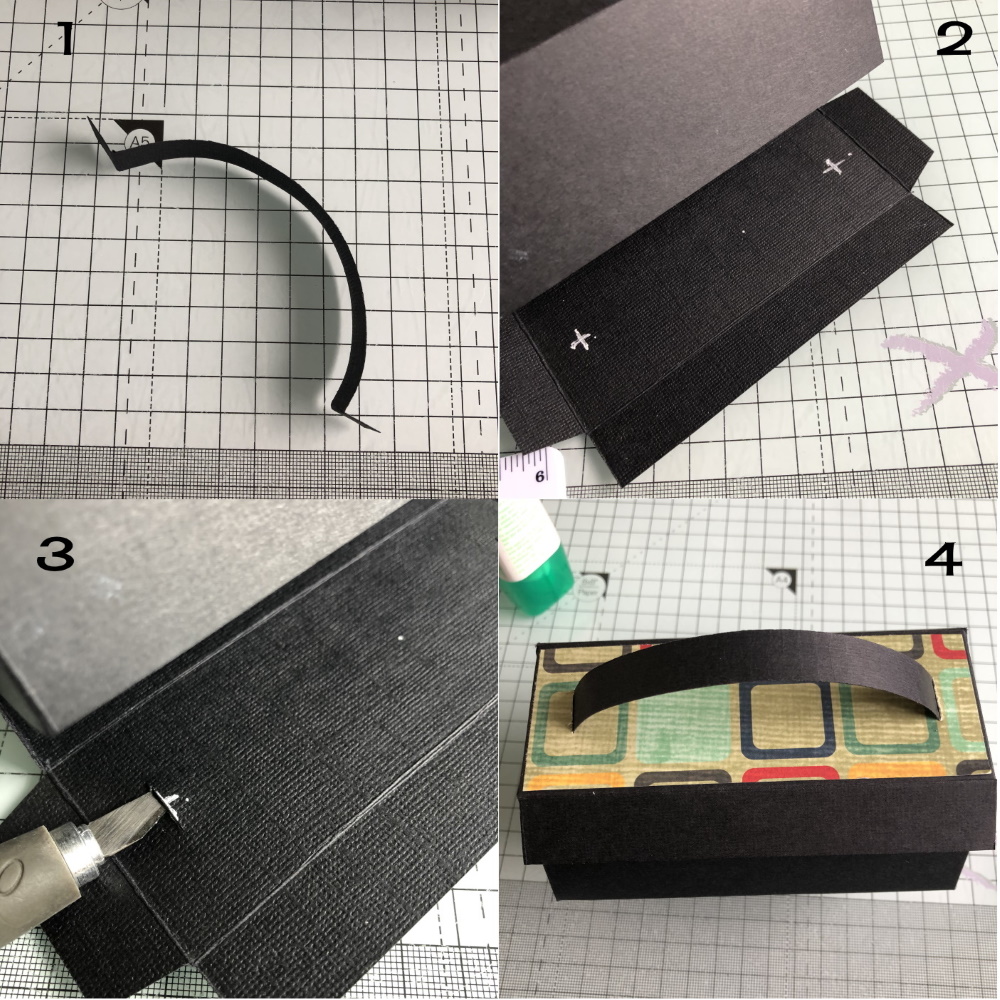

If you have a hexagon die measuring 1 7/8″ on each side, cut five of them. Alternatively, use the instructions below to make them.

Take the 3 1/8″ x 3 5/8″ pieces of black card and on the short side, place a mark in the centre (approx 1 9/16″). On the long sides, place a mark at 7/8″ on each end. Cut from the centre mark on the short side to the 7/8″ marks on the long sides.

Adhere the rest of the paper panels to the box.


Take the hook and loop fasteners and put them together. Cut in half if necessary.

Adhere the 4 7/8″ x 5/8″ pieces of paper on the inside and outside of the front flap. Remove the backing from one side of the hook and loop and adhere to the inside of the front flap. Remove the backing from the other side and fold the flap over until it sticks to the front of the box. Press down to get a good bond.

Open up the lid and the hook and loop separates. Set the box aside.

Stamp Fishing Squidgy onto white card. Position a smaller hexagon die (than the one you used for the ends and inside of the box) over the image until you’re happy with the placement. Cut the image to the die shape. Colour using your desired medium.
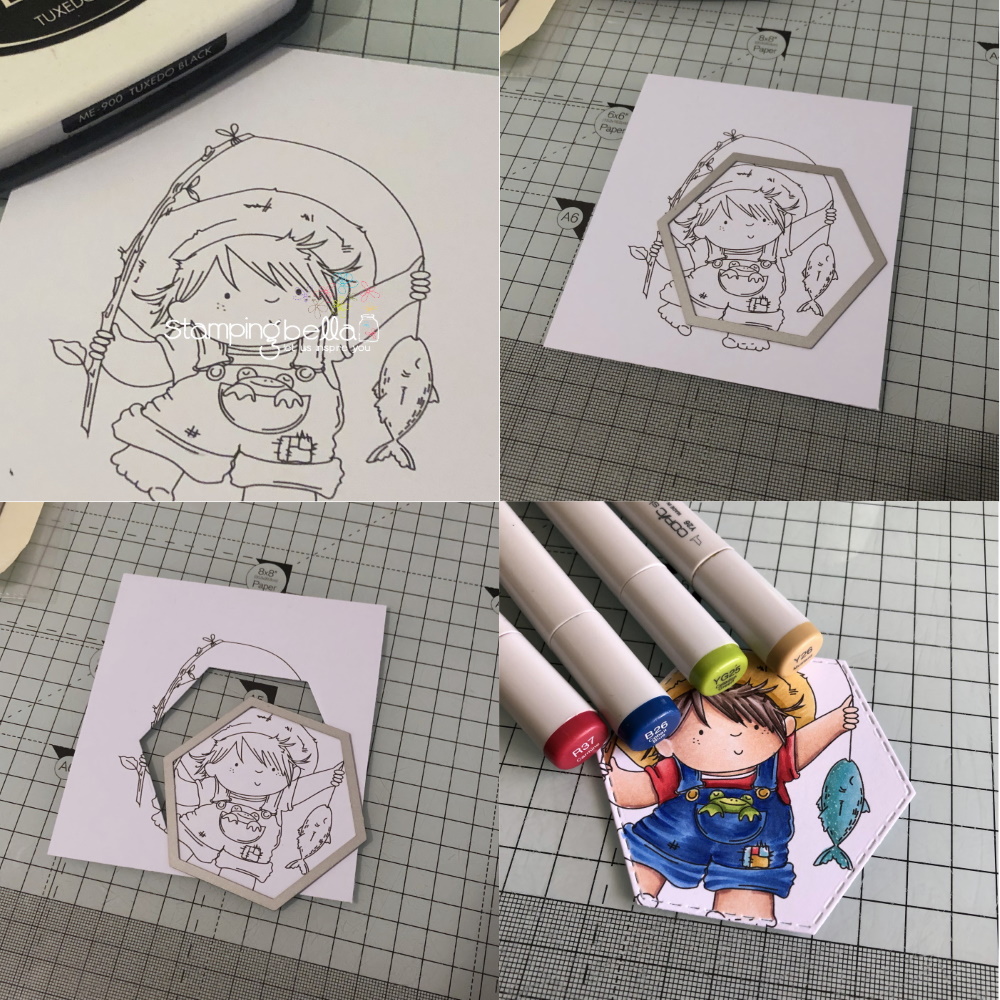
Again, using the smaller hexagon die, cut 2 pieces of patterned paper and layer them onto the ends. If you are going to place the image on the end section of the box you only need a hexagon for the opposite end.

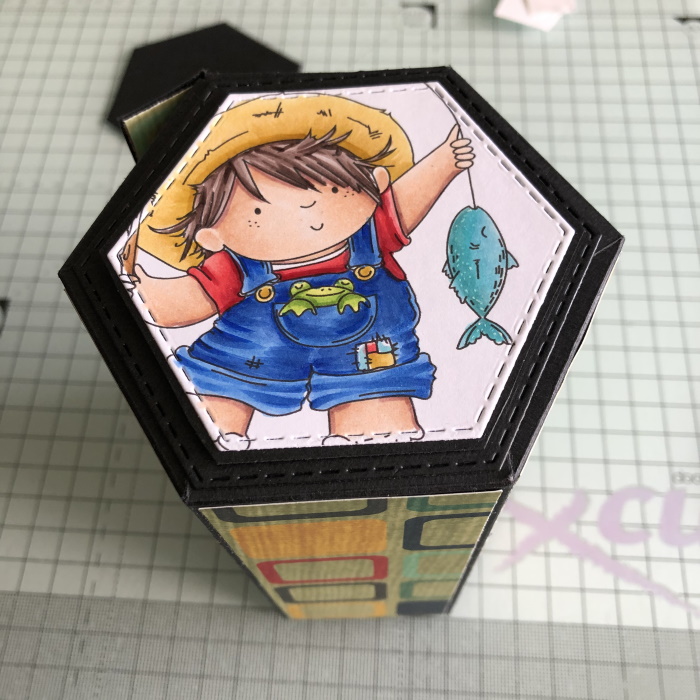


Use a scissors to trim the black hexagon until there is just a little border around the image.

Close up the box fully, ensure you have the paper adhered to the front flap.
Stamp the sentiment onto a piece of white card and cut out using a scalloped rectangle die.

Adhere the sentiment on the lid of the box, under the handle. Apply adhesive only to the top of the image, and line it up with the top of the front flap. Hold in place until it’s stuck, then bend the image around to match the shape of the box front.
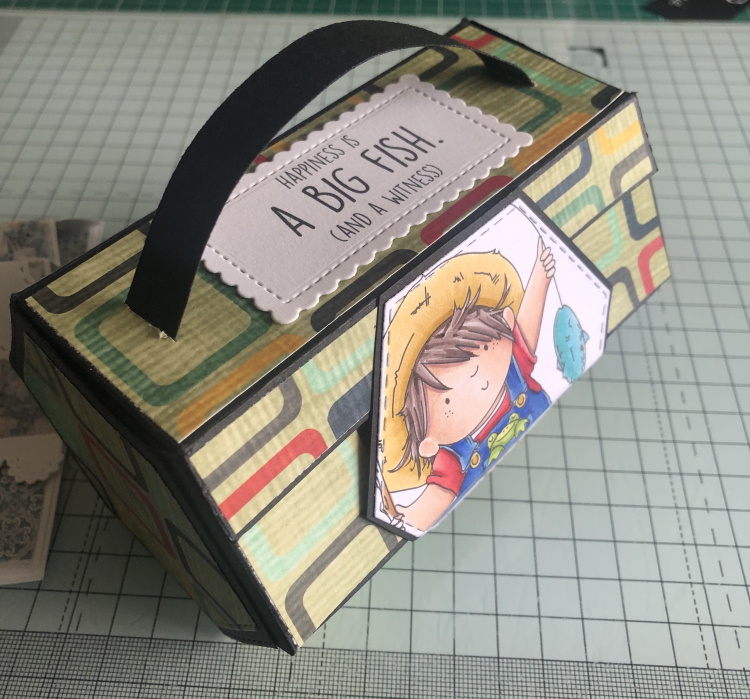

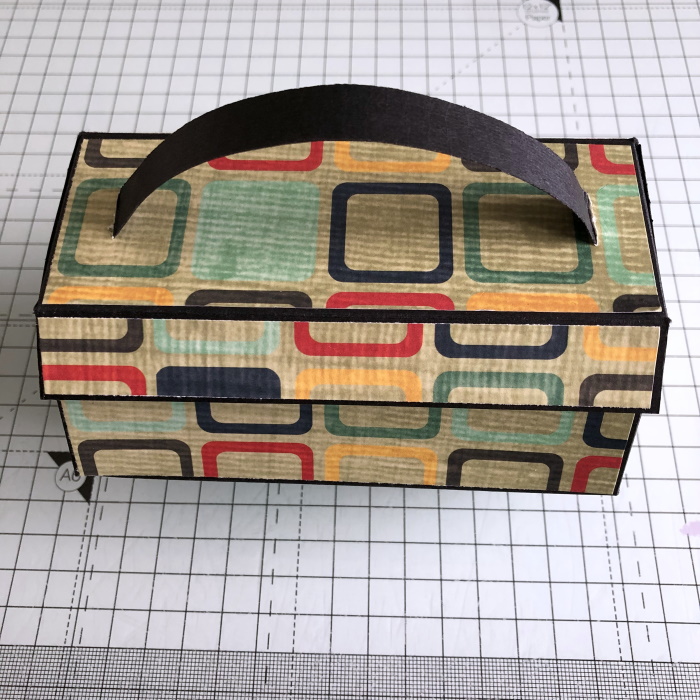
Fill the box with snacks and you’re good to go – the perfect little gift for your fisherman.

Over To You!
Share your personal favourite Stamping Bella creations with us. We LOVE to see what you’ve been creating with Stamping Bella stamps. Share a link to your latest Stamping Bella card in the comments below, or an old favourite you made a while ago. Tell us what your favourite stamps are. Are there any additions you would like to see to the range? Let us know!
Another way to connect is by joining us in the Stamping Bella Sistahood Facebook Group and share your pictures.
If you are posting your images online, we would love to see them on Instagram and all the platforms mentioned above. To make it easier for us to find you just use #stampingbella as a hashtag. Even better tag me @markergeek and Emily @stampingbella . We love it when you connect, so don’t be shy!
Until next time, HAPPY STAMPING!
MWAH
Elaineabella
This project is too adorable. Love the coloring on your little “fisherman”
This project is too adorable. Love the coloring on your little “fisherman”
This is wonderful. Hope you don’t mind if I make one.
Of course, Steph! That’s why Sandie does the step by steps!
Great lunchbox! I love that little boy with the fishing pole! I am going to pass this on. Thanks for sharing this!