


I honestly don’t know how she does it, but Sandiebella is back again with another gorgeous card AND the step by step on how to create it.
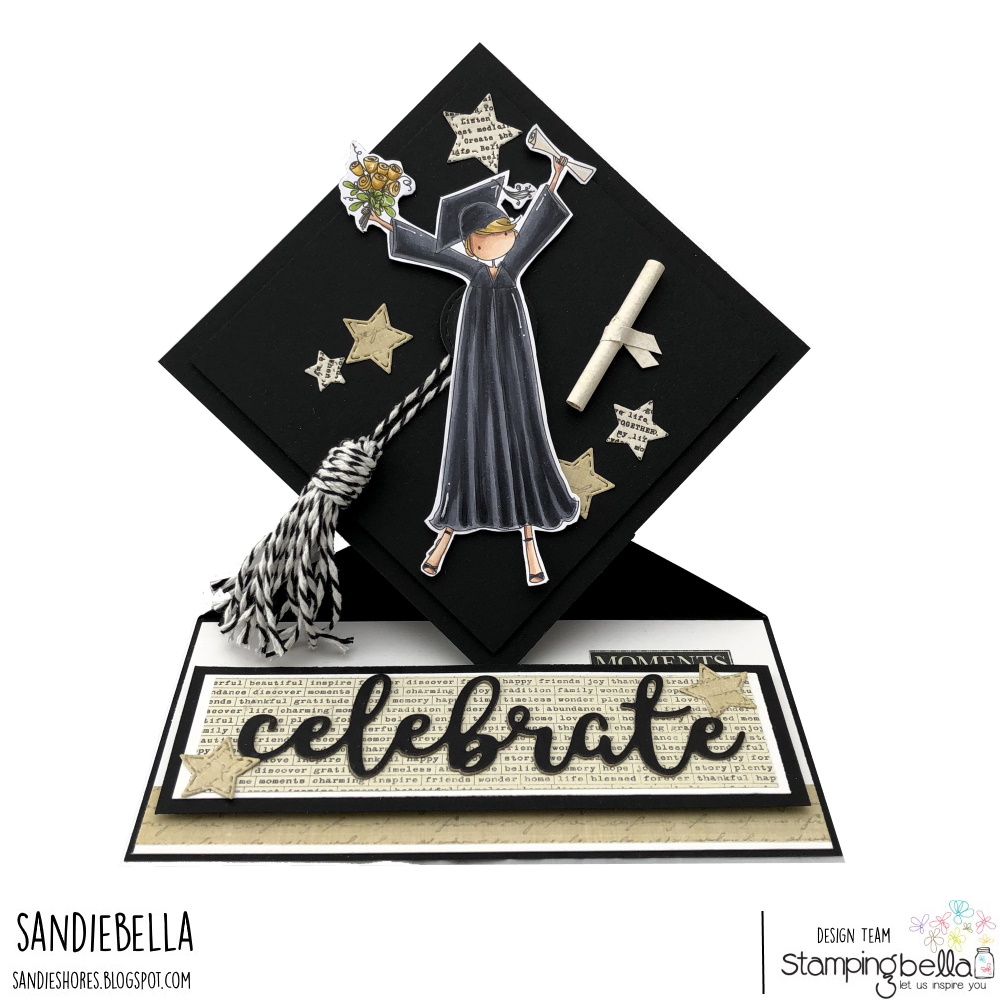
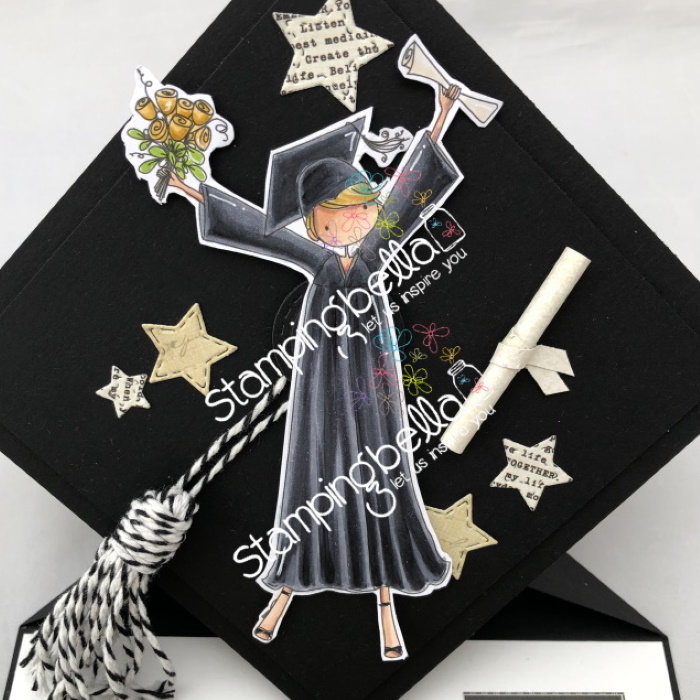
Graduation Cap Card
Supplies:
How to:

Fold on the 5-7/8″ score line to halve the base and then fold on the 9″ score line to make the easel shape.
 On the inside, with the 9″ scoreline at the bottom, measure across the middle of the card at 2-15/16″ and mark with a pencil. (For the 6″ base, mark at 3″)
Measure up on each side and mark at 2- 15/16″ with a pencil
(For the 6″ base, mark at 3″ on each side)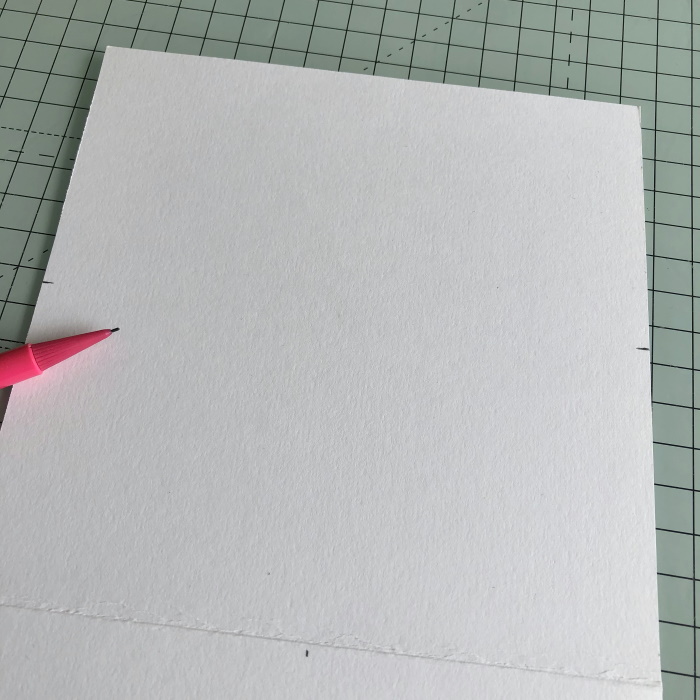
Score diagonally from the 2-15/16″ mark on the side, down through the centre pencil mark and down to the 9″ score line. Repeat on the opposite side.
(This is the same for the 6″ card – score diagonally from the 3″ pencil marks down to the 9″ scoreline, going through the 3″ centre pencil mark”)
On the bottom of the base, mark the centre (2-15/16″) with a pencil.

Cut diagonally from the 9″ scoreline in to the centre pencil mark.

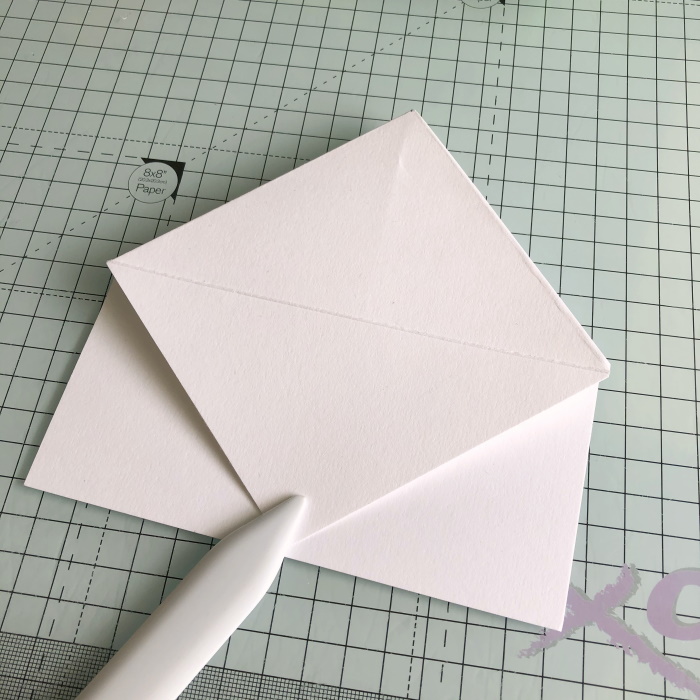
Valley fold the diagonal score lines, and mountain fold the 5-7/8″ (6″) score line pushing it inwards.

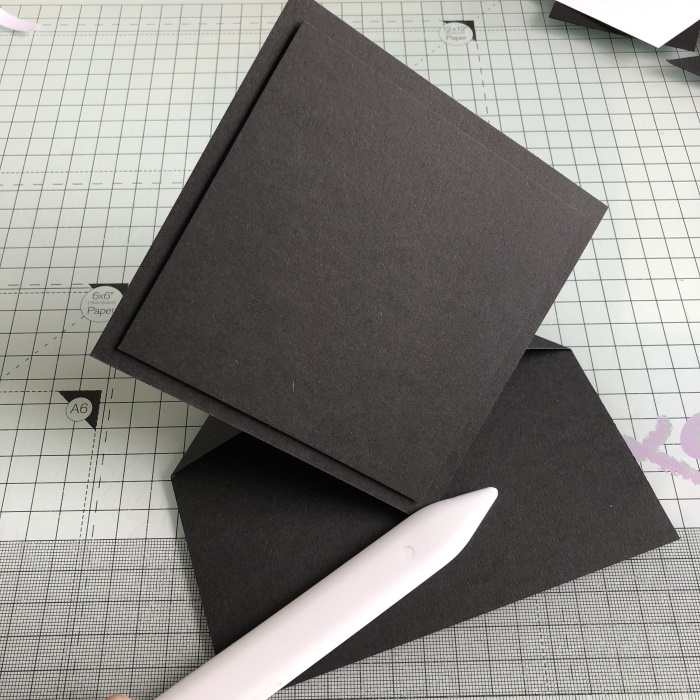
Fold the top down entirely to create the graduation cap shape, and burnish the scorelines well.
Cut a piece of card measuring 4.75″ and another piece measuring 4.25″.
Open the card up and apply glue to the front section below the 9″ score lines.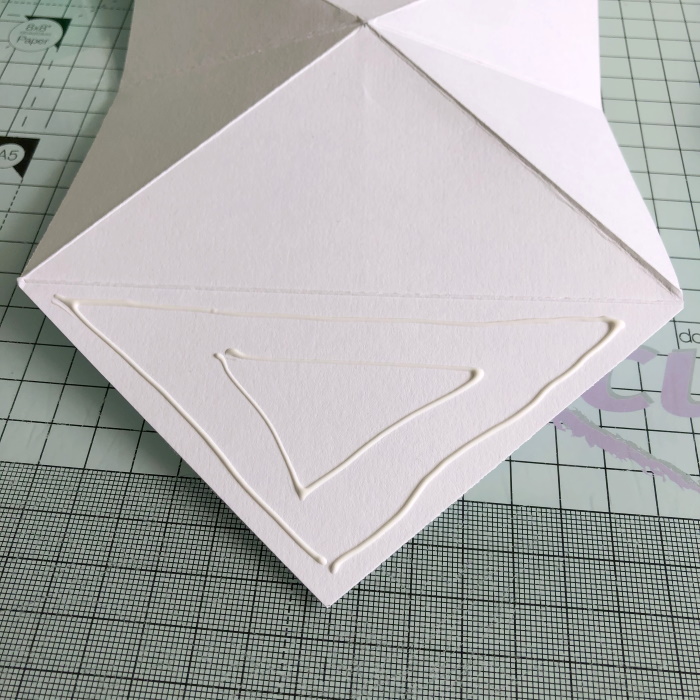
Adhere the 4.75″ piece of card to the front, lining up the points on the card base with the points on the piece of card.


Adhere the 4.25″ piece of card on top using foam tape to give it dimension.

Cut a piece of white card measuring 5.75″ x 2.75″ and adhere on the card base, just below the spring mechanism.
(For the 6″ base, cut at 5-7/8″ x 2-7/8″)
Add a strip of designer paper for decoration (optional)

Create the stopper for the easel by cutting some black card at 5.5″ x 1.75″, white card at 5.25 x 1.5″, and some paper at 5″x 1.25″
(measurements are the same for the 6″ card)
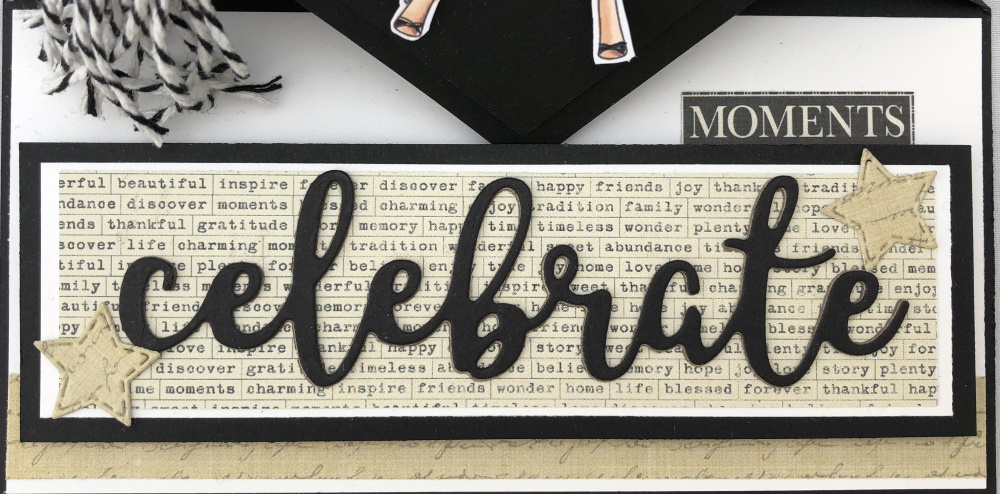
Using the largest of the Celebrate sentiment dies, cut one from black card and the other from lightweight chipboard. Adhere both together, black on top.

Adhere to the easel stopper.

Apply foam tape to the stopper.

Bring the front of the card up to where it’s touching off the spring mechanism behind it and adhere the stopper down so that it holds the ‘cap’ in place.

For the cap button, cut a 1″ circle and a 0.75″ circle, and adhere them together.

Using bakers twine, make a tassel with a 2″ string loop

Position the tassel as desired and, using foam tape, adhere the button on top to secure it. Apply wet glue or use a glue gun to secure the end of the tassel to the edge of the card.

Stamp Grace the Graduate onto white card, colour and cut out using either the coordinating die, or a scissors.


Decorate the front of the card as desired. To create the scroll, cut a piece of paper approx 1.5″ x 2″. Roll up into a tube shape and use glue to secure the end. Wrap a piece of paper around it and cut into a ribbon shape.
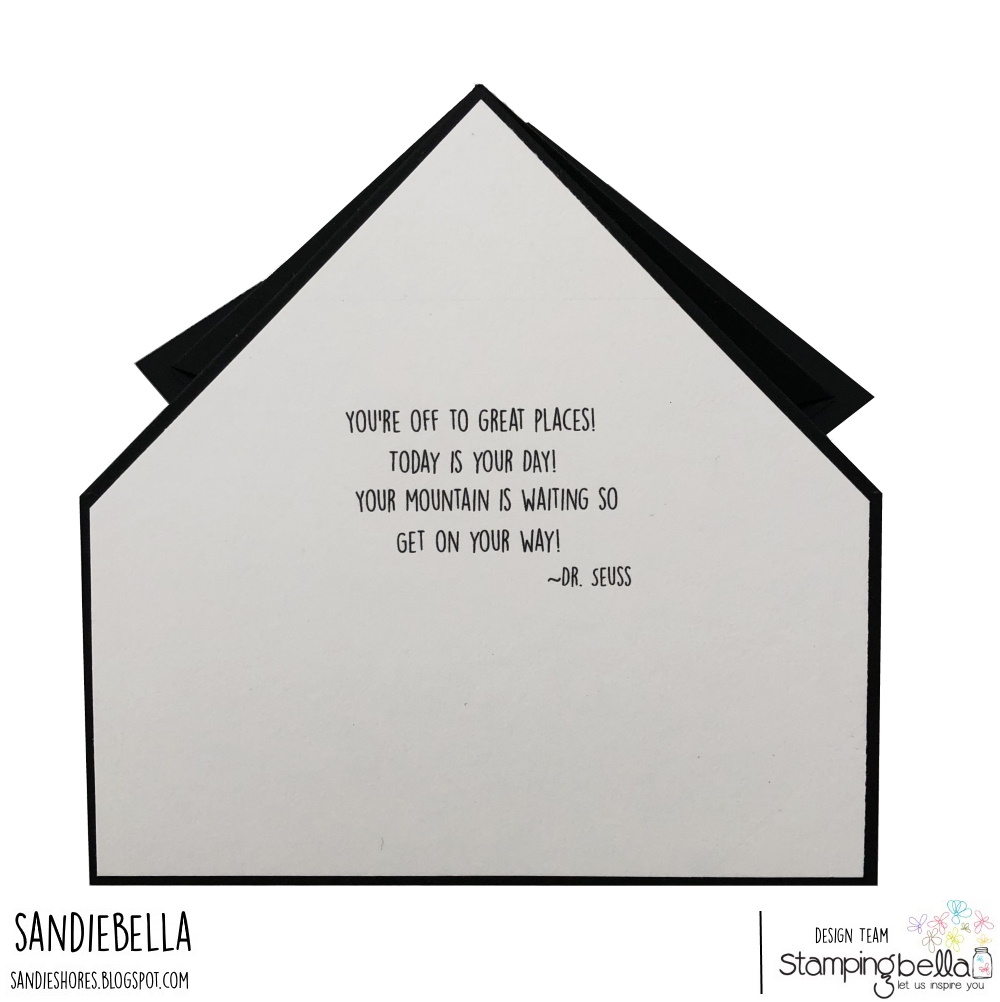
Use the card base as a guide to create a white layer for the back of the card. Stamp the the sentiment and adhere using wet glue or double sided tape.

Over To You!
Share your personal favourite Stamping Bella creations with us. We LOVE to see what you’ve been creating with Stamping Bella stamps. Share a link to your latest Stamping Bella card in the comments below, or an old favourite you made a while ago. Tell us what your favourite stamps are. Are there any additions you would like to see to the range? Let us know!
Another way to connect is by joining us in the Stamping Bella Sistahood Facebook Group and share your pictures.
If you are posting your images online, we would love to see them on Instagram and all the platforms mentioned above. To make it easier for us to find you just use #stampingbella as a hashtag. Even better tag me @markergeek and Emily @stampingbella . We love it when you connect, so don’t be shy!
Until next time, HAPPY STAMPING!
MWAH
Elaineabella
WOW!!! What a fantastically clever card!!! Excellent, Sandie!!!
Great card Sandie. I can see using this design for so many celebration reasons. I would love to climb inside your mind and see how this all comes together for you 🙂