


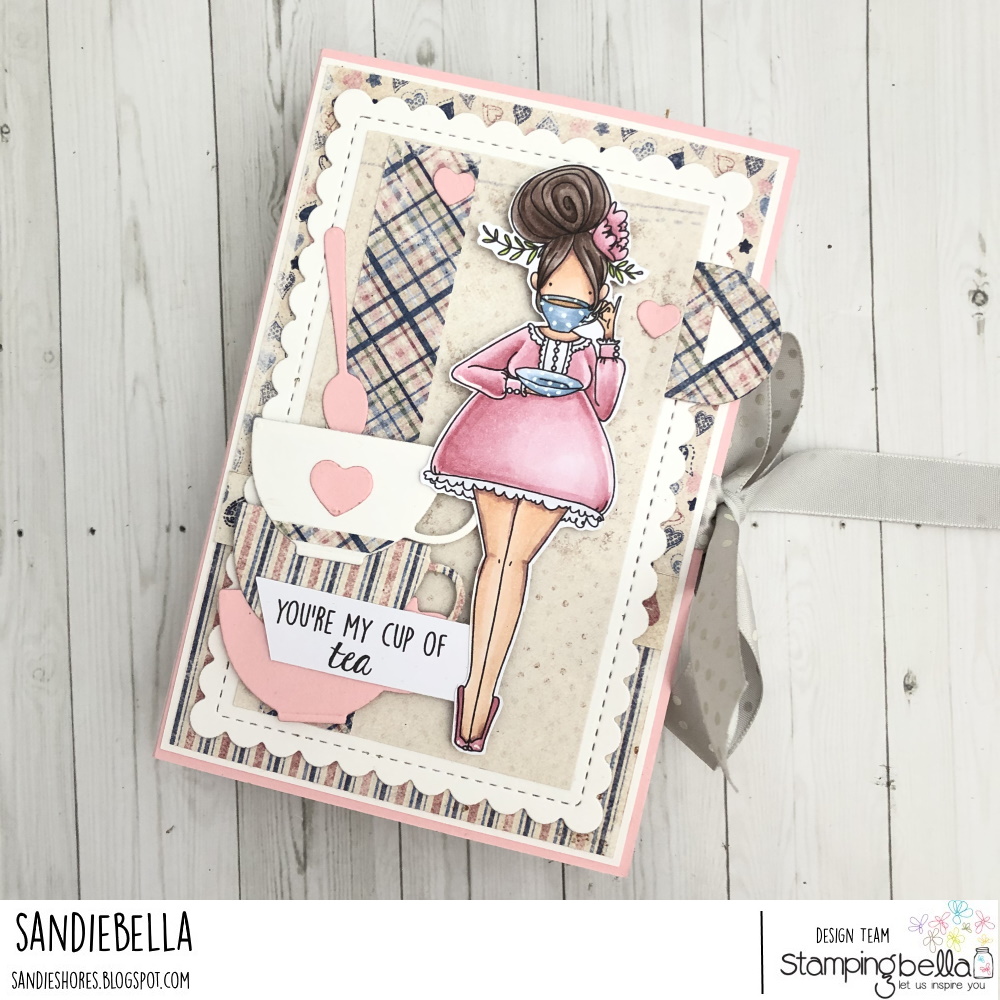
Time for another fab Thursday with Sandiebella, and well, it’s always time for some tea!
Curvy Girl Loves Tea Gift Set

Supplies:
How to:


Score the pink card on the 9″ side at 4″ and 5″
Set aside.

Score the large piece of white card on the long side at 0.5″, 1″, 6.5″ and 7″. Flip 90 degrees and score at 0.5″ and 1″.

Fold all the scorelines. Cut away the outer three squares from bottom corners where the score lines intersect. Create a tab from the remaining square. Taper the edges of the tabs and outer 0.5″ sections as shown.

Repeat for all three white pieces.

For the layering panels cut:

Adhere one of the 2 3/8″ x 2 1/8″ pieces of paper to the one of the smaller white card pieces.

Apply adhesive to the tabs and adhere them to the inside of the adjacent section.

Apply adhesive to the edges of the bottom section and fold up to make a box shape.
Repeat this with the other small box and the larger box.

Adhere the panels to the inside of the box base.

On the outside, apply some double sided tape about half way down on the sides, as shown.

Adhere a length of ribbon to each side (approx 8″ for each piece)

When the ribbon is secured, adhere the front, back and spine panels.

Apply glue to back of the large box and centre along the inside back of the base.

Adhere the two smaller boxes to the inside of the front, as shown.

Using die cuts, create a panel for the front of the box, and adhere the image using 3D foam tape/dots.

Adhere to the box front.

Open up and fill the large box with chocolate or cookies. Add flavoured tea bags to the smaller boxes.


Over To You!
Share your personal favourite Stamping Bella creations with us. We LOVE to see what you’ve been creating with Stamping Bella stamps. Share a link to your latest Stamping Bella card in the comments below, or an old favourite you made a while ago. Tell us what your favourite stamps are. Are there any additions you would like to see to the range? Let us know!
Another way to connect is by joining us in the Stamping Bella Sistahood Facebook Group and share your pictures.
If you are posting your images online, we would love to see them on Instagram and all the platforms mentioned above. To make it easier for us to find you just use #stampingbella as a hashtag. Even better tag me @markergeek and Emily @stampingbella . We love it when you connect, so don’t be shy!
Until next time, HAPPY STAMPING!
MWAH
Elaineabella
What an adorable image and gift set.
What is the name of this designer series you used for the curvy girl likes tea card? I love it.
Really cute idea!!!!! Hv to archive it for a special gift to a special person. Thank you for the inspiration!!!!
This is adorable!! Love it!
Love your gorgeous creations Sandy, this is awesome xoxo