


These weeks are whizzing by like crazy! Sandiebella has another fab step by step make for us today.
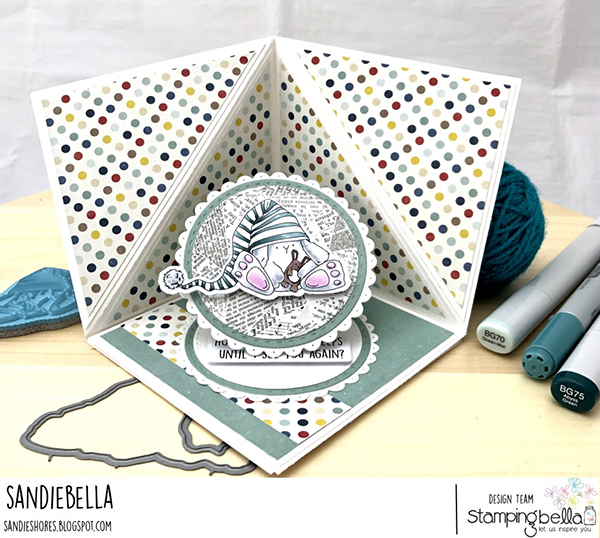
Corner Pop Up Card
Supplies:
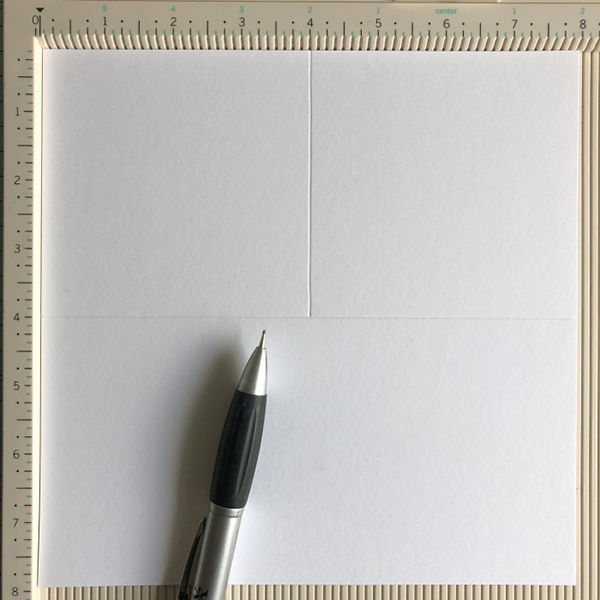
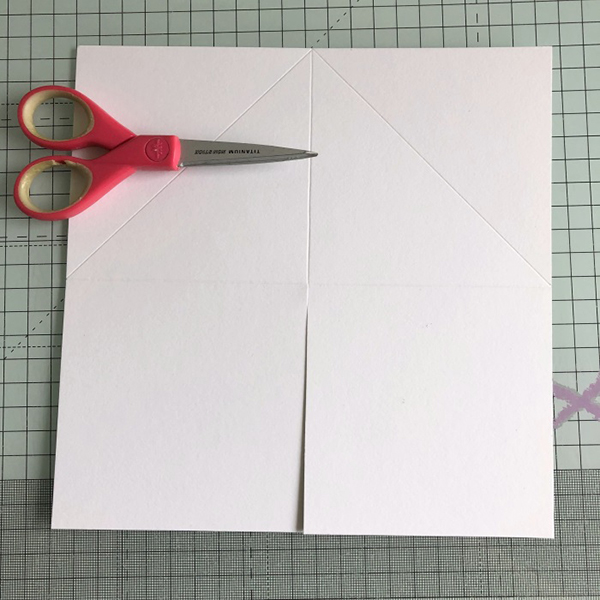
Flip the card 90 degrees and score at 4” down to the intersecting scoreline.
Using a ruler and scoring tool, score at the same centre 4″ mark, diagonally, down to the 4″ horizontal scoreline.
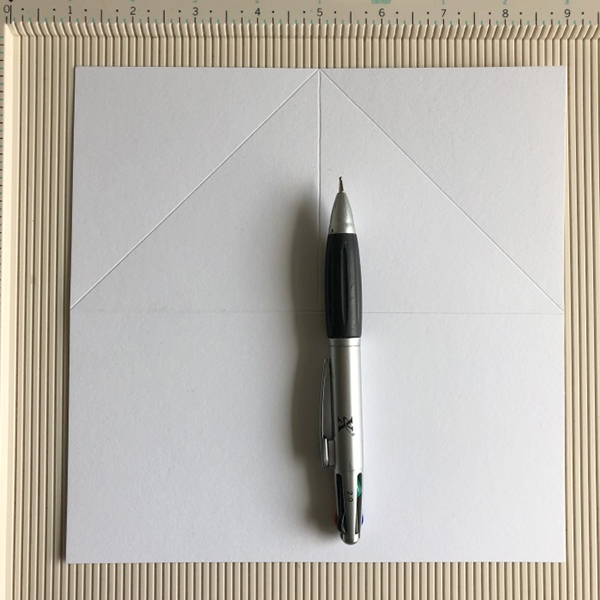
Cut the bottom section at 4″ up to the horizontal scoreline.
For the panels cut:

Cut the 3.75″ x 3.75″ pieces of white card and the 3.5″ x 3.5″ pieces of patterned paper diagonally to make triangles. Adhere a piece of patterned paper to each of the pieces of card.
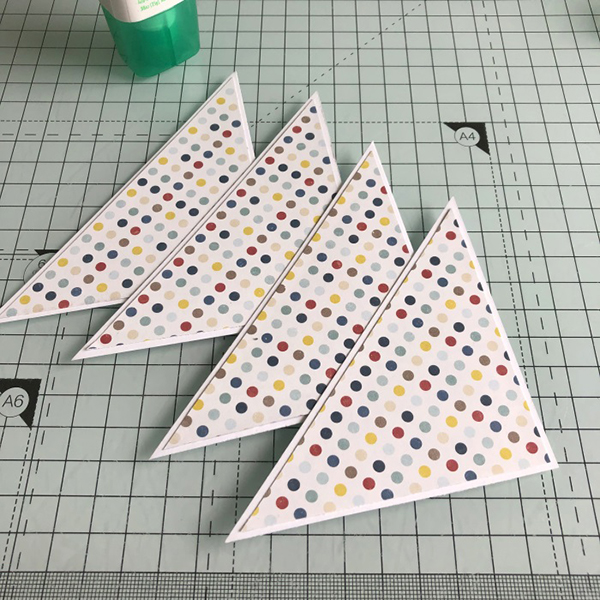
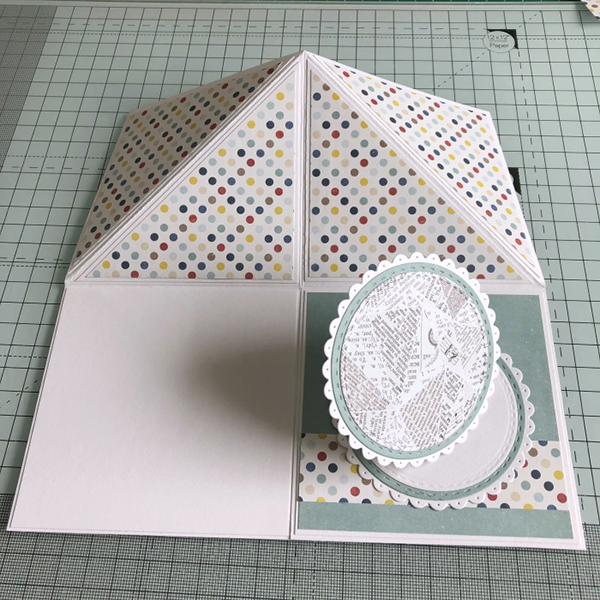
Adhere the triangles to the top sections of the card base.

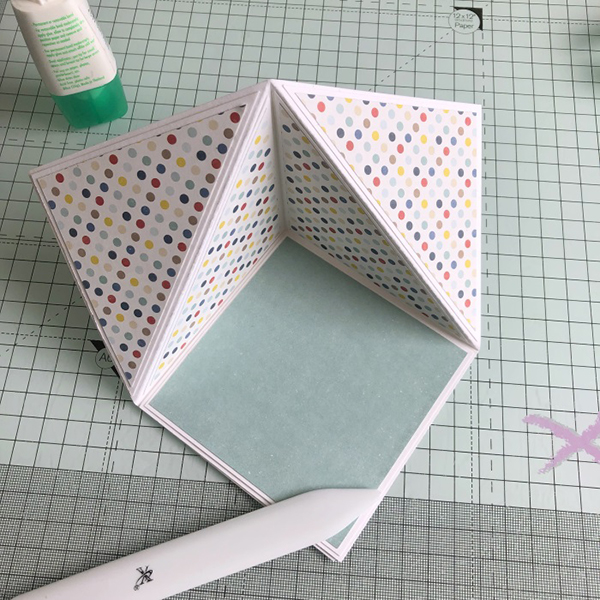
Adhere the 3.75″ x 3.75″ piece of patterned paper to one of the 3 7/8″ x 3 7/8″ pieces of white card and stick down on the right hand side of the bottom section. Adhere the second 3 7/8″ x 3 7/8″ piece of white card to the left hand section (this will fold underneath and can be used to write a personal message).

Fold the bottom left section under the bottom right section and your card base should look like this. If you’re having trouble with it popping open, crease all of you scorelines well, especially the centre scoreline of the top section. Set the card base aside for now.
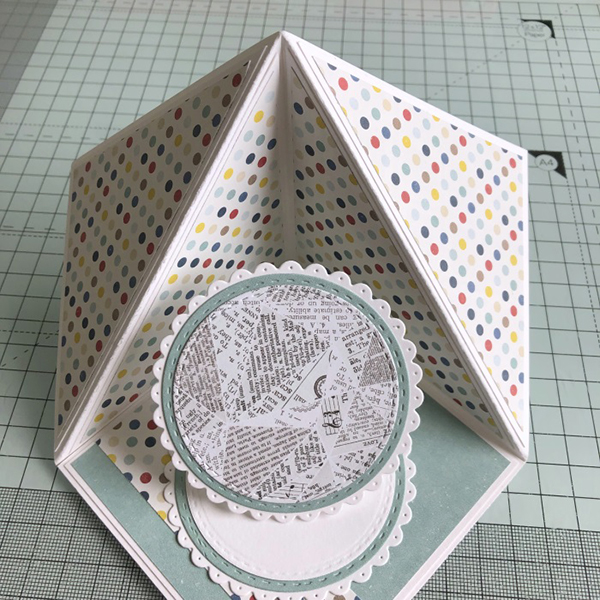
To make the easel card I used a 3″ scalloped circle die, a 2.75″ double stitched circle die, and a 2.5″ stitched circle die. Instructions on how to make a circle easel card can be found in one of my previous tutorials HERE.
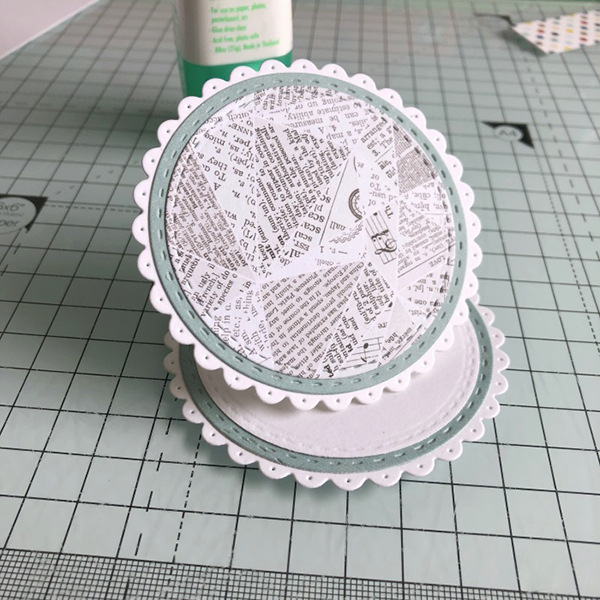
Apply adhesive to the bottom of the easel card and adhere it to the bottom right section, ensuring it’s going to face forward when the card is folded into postion.
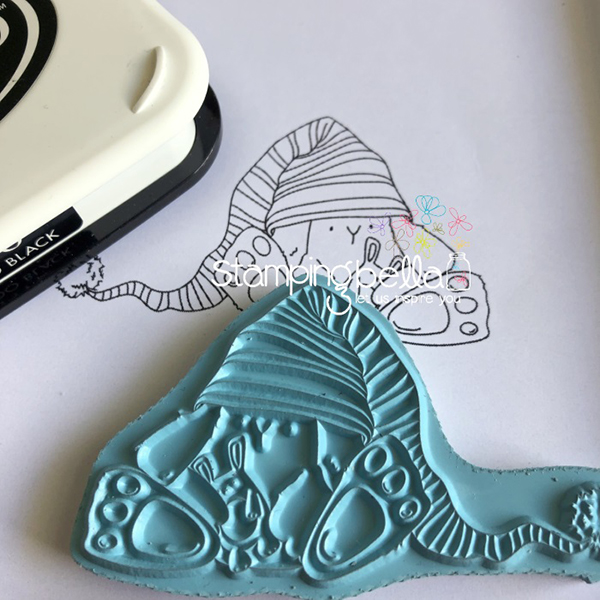
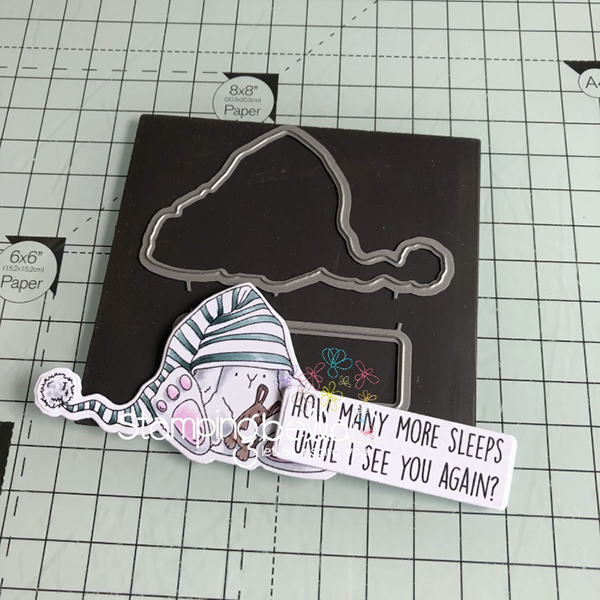
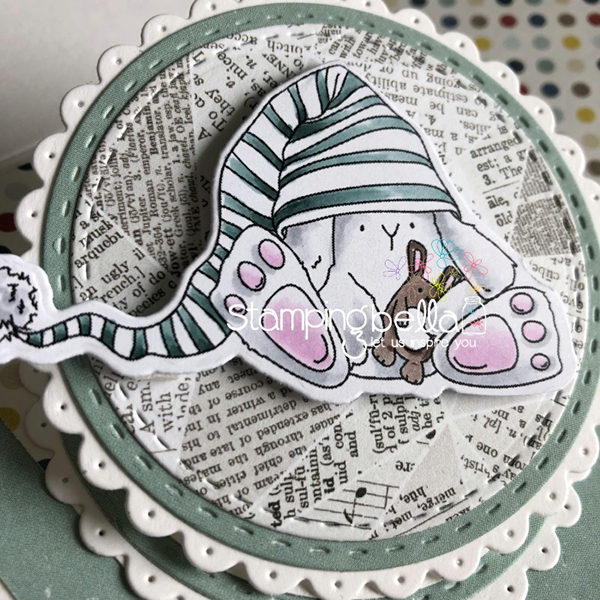
Stamp Sleepy Bunny Wobble onto white card and colour using your preferred medium.

Over To You!
Share your personal favourite Stamping Bella creations with us. We LOVE to see what you’ve been creating with Stamping Bella stamps. Share a link to your latest Stamping Bella card in the comments below, or an old favourite you made a while ago. Tell us what your favourite stamps are. Are there any additions you would like to see to the range? Let us know!
Another way to connect is by joining us in the Stamping Bella Sistahood Facebook Group and share your pictures.
If you are posting your images online, we would love to see them on Instagram and all the platforms mentioned above. To make it easier for us to find you just use #stampingbella as a hashtag. Even better tag me @markergeek and Emily @stampingbella . We love it when you connect, so don’t be shy!
Until next time, HAPPY STAMPING!
MWAH
Elaineabella
This is so cool & I have this stamp! I might have to try this! I love it!
Do you use magnets to secure it ans if so what sisize please and where to purchase them