


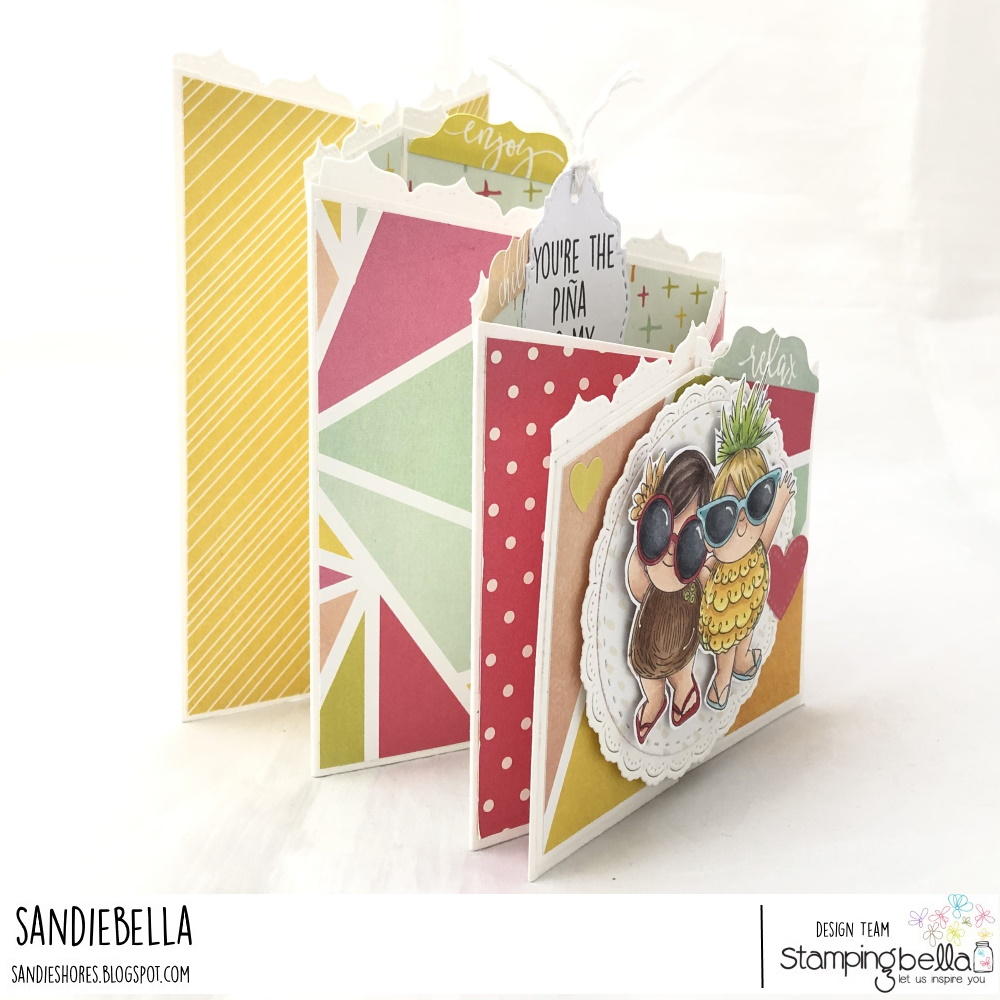
Cascading Card

Supplies:
How to:

On each piece, measure up 3″ on one side (of the 5.5″ side) and cut diagonally to the opposite corner.


Score both pieces at 4″ and 8″

On both pieces, measure up half way on both sides (2.75″ on the 5.5″ side, and 1.5″ on the 3″ side) and draw a line from one side to the other.

On ONE piece, cut at the 6″ mark down to the pencil line. On the bottom, cut upwards at 2″ and 10″ to the pencil line.
On the second piece, cut down from the top at 2″ and 10″, and up from the bottom at 6″, to the pencil line.
Erase the pencil lines.

Fold and crease the scorelines.

Lay the two pieces flat, with the 5.5″ sides together, slip one piece into the other at the cut marks.

Fold both pieces inwards and again, slip one piece into the other at the cut lines. Repeat for the last set of cut lines.


To create a panel for the front, cut a piece of card measuring 3.25″ x 3-7/8″ and lay it onto the front of the card. There should be a small border around the sides and the bottom. Use a pencil to mark where the top of the card is, on each side, and make a pencil mark at the centre of the top.

Cut diagonally from just under the side pencil marks to the pencil mark at the top.

Adhere to front of the card.

For the decorative panels, cut two each of:
1-7/8″ x 5-3/8″
1-7/8″ x 4.5″
1-7/8″ x 3-5/8″
Without applying adhesive, place a piece of the paper into the card and move into position.

Turn over to the back and make a pencil mark on the shortest side to get the angle.

Cut approx 1/16″ below the pencil line up to the opposite corner. Use this piece as a guide to angle the other five pieces, paying attention to which side the angle falls. Adhere all the pieces to the card base.

For the front panel, cut one piece measuring 3-1/8″ x 3.75″. Using card panel as a guide, cut the top at an angle and stick it down.

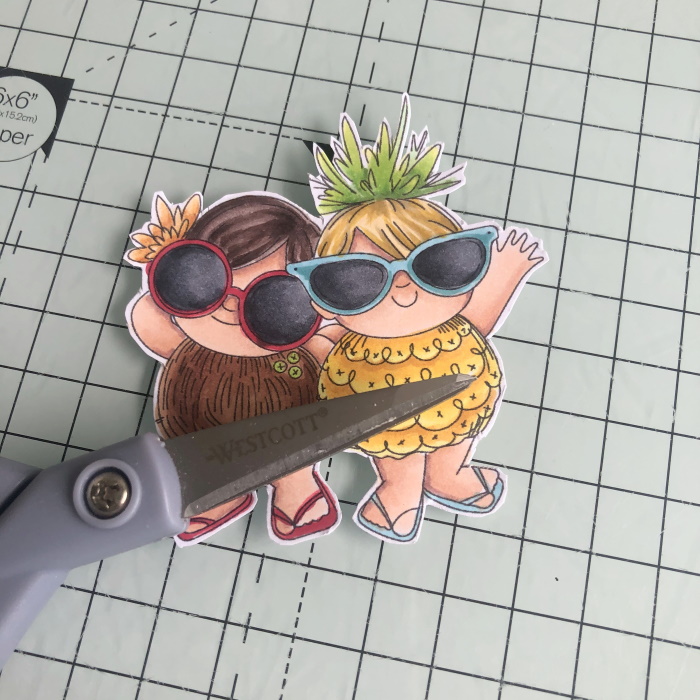
Stamp Tropical Squidgiesonto white card and colour using your desired medium.


Fussy cut around the image.
Cut a scalloped circle (3.25″) from card, and smaller stitched circle (2.75″) from paper and adhere them together.

Cut some borders – enough for the top of each section of the card base.

Cut the borders to size and stick at top of the card, as shown. Adhere the circle panel to the card front.

Using foam tape/dots adhere the Tropical Squidgies onto the circle panel.
Stamp the sentiment onto card and cut out using a label or tag die, string some white twine though the hole and then, with the card open and in the standing position, adhere the sentiment to the panels behind the image.


Over To You!
Share your personal favourite Stamping Bella creations with us. We LOVE to see what you’ve been creating with Stamping Bella stamps. Share a link to your latest Stamping Bella card in the comments below, or an old favourite you made a while ago. Tell us what your favourite stamps are. Are there any additions you would like to see to the range? Let us know!
Another way to connect is by joining us in the Stamping Bella Sistahood Facebook Group and share your pictures.
If you are posting your images online, we would love to see them on Instagram and all the platforms mentioned above. To make it easier for us to find you just use #stampingbella as a hashtag. Even better tag me @markergeek and Emily @stampingbella . We love it when you connect, so don’t be shy!
Until next time, HAPPY STAMPING!
MWAH
Elaineabella
Sandiebella,
Thank you for the squidgies girls cascading card and tutorial.
I have tried countless times to make a cascading card and each time- failed.
Your tutorial is very explicit and much easier to follow- thank you, thank you.
I will be trying the cascading card this weekend.
What a fun card and I love these little equities! Too cute!
Really cute card! I’m not sure I can do it but I am going to pass it on to people who can. Thanks for showing us how!