


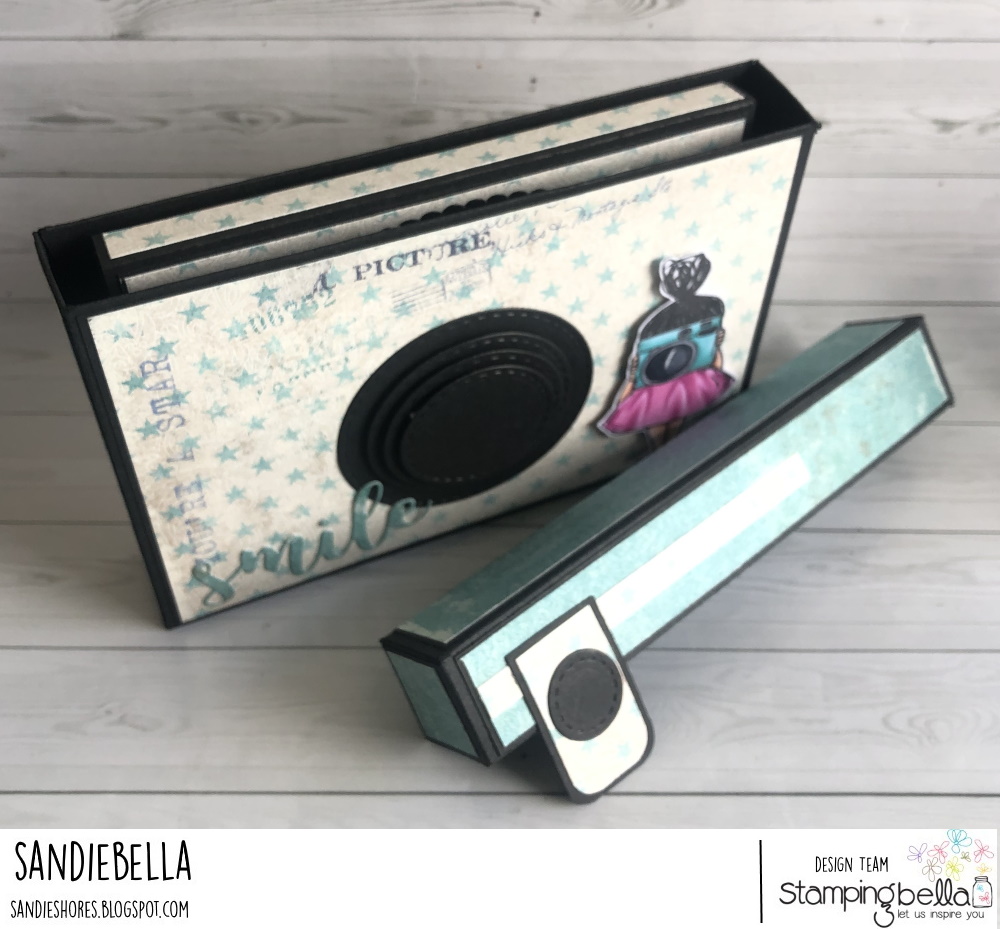
Camera Box Photo Album
Supplies:
How to:
Card (4x) 8.5″ x 5.5″For the layers, cut:
Front
Card 4″ x 5″
Paper 3-7/8″ x 4-7/8″
Front flap
Card – 3-3/8″ x 5-3/8″
Paper – 3.25″ x 5.25″
Back
Paper – 3.75″ x 5.25″Inside panels (x12)
Paper – 3-7/8″ x 5-3/8″
Extra panels (top & bottom)
Card – 5.75″ x 3-7/8″ Score at 0.5″
Paper – 5.25″ x 3.75″
Extra panels (side opening)
Card – 4.25″ x 5.5″
Paper – 4-1/8″ x 5-3/8″
Top, Bottom, and inside spines
Paper – 5-3/8″ x 3/8″
Score one of the 8.5″ x 5.5″ pieces of card at 3.5″, 4″, and 8″.

Apply double sided tape on the 0.5″ section of the first piece.

Remove the backing from the end of the first scored piece and adhere it to the 0.5″ section on one of the three other pieces. Apply double sided tape to each of the 0.5″ section on the remaining two pieces and adhere each to the end of the previous piece to make one long album.

To make some flip pages, take the 5.75″ x 3-7/8″ pieces of card and score at 0.5″

Adhere the 0.5″ section to the top of the inside panel. Round the corners of the end. Repeat on the bottom.


On the last section of the album, add two more side opening pages using the 4.25″ x 5.5″ pieces of card. Score at 0.25″ and round the ends of the opposite side.


Adhere all the paper pieces to it’s corresponding card piece to create layered panels for the front, back and inside/outside of front flap. (There is no card layer on the inside pages.)

Adhere the front outside panel.

Take the two sides of the magnet closure and stick them together with the stickers to the outside.

Remove the backing from one of the magnet sides and adhere it on the inside front flap.

Remove the backing from the other side of the magnet, close the front flap down onto the front of the album and press down well to secure.


Adhere the inside flap and front panels over the magnets.

Adhere the paper panels to each of the ‘pages’ and flip pages.


Adhere the paper strips into spines.

Adhere the back panel.

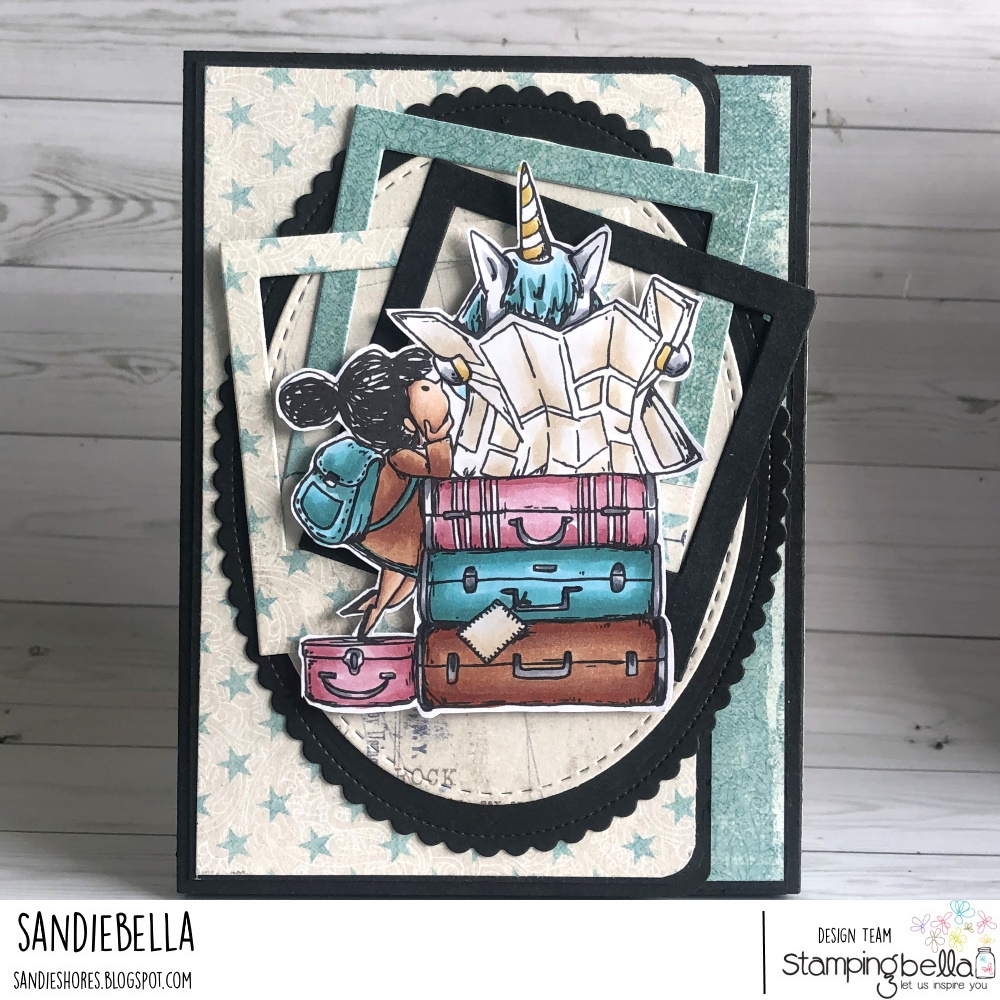
Stamp Rosie and Bernie Plan a Trip onto white card and colour using your preferred medium


Fussy cut using a scissors and craft knife.

Cut three Polaroids from paper and card.

Cut a large scalloped oval (3.75″W x 5.5″H) from card and a smaller stitched oval (3.25″W x 4.5″H) from paper. Adhere them together.

Apply adhesive to one half of the oval and adhere to the front flap, centered over the whole front.


Adhere the three Polaroids as shown.

Apply a generous amount of foam tape/dots to the back of Rosie and Bernie Plan a Trip

Adhere the image onto the ovals and add any other embellishments if desired.

The album fits into the Camera Photo Album Box from last week’s tutorial.

Over To You!
Share your personal favourite Stamping Bella creations with us. We LOVE to see what you’ve been creating with Stamping Bella stamps. Share a link to your latest Stamping Bella card in the comments below, or an old favourite you made a while ago. Tell us what your favourite stamps are. Are there any additions you would like to see to the range? Let us know!
Another way to connect is by joining us in the Stamping Bella Sistahood Facebook Group and share your pictures.
If you are posting your images online, we would love to see them on Instagram and all the platforms mentioned above. To make it easier for us to find you just use #stampingbella as a hashtag. Even better tag me @markergeek and Emily @stampingbella . We love it when you connect, so don’t be shy!
Until next time, HAPPY STAMPING!
MWAH
Elaineabella
Sandiebella,
Thank you very much for the fantastic tutorial of the camera album.
I love the vibrant coloring of your chosen cute stamp too.
I saved the tutorial on the camera box as well.
Kudos to you and your creative talents!!
What a CUTE book and card! I can’t believe I missed it, except of course, I DID miss it!
Thank you for re-sharing for those of us who let Covid get in the way of our TRUE lives!!