


Sandie has a beautiful card and step by step for us today, featuring the adorable Bundle Girl!
Bundle Girl Diamond Easel Card
Supplies:
How to:

With the card base closed, cut on each side, from the 2.75″ pencil mark, diagonally to the pencil mark on the bottom.

Open the card base and, on the top half, score at 2.75″

Fold down the scoreline to make the easel base.

Cut 2 pieces of card measuring 3.75″ square, and one piece measuring 5 3/8″ x 2 5/8″

Adhere each of the paper pieces to its coordinating card piece.

On the inside of the card, adhere the 3.75″ square as shown, making sure the points on the diamond match up to where the card base tapers in.

For the card front, apply adhesive only to the bottom half of the diamond.

Adhere the panel to the front section the easel.

Turn over and adhere the last panel to the outside back


Cut one piece of card measuring 2 5/8″ square and cut it diagonally.

Cut a piece of paper measuring 2.5″ and cut that diagonally. Glue the paper pieces to the card pieces to make two triangle panels.

Adhere the triangle panels to the inside of the card, each side of the diamond.


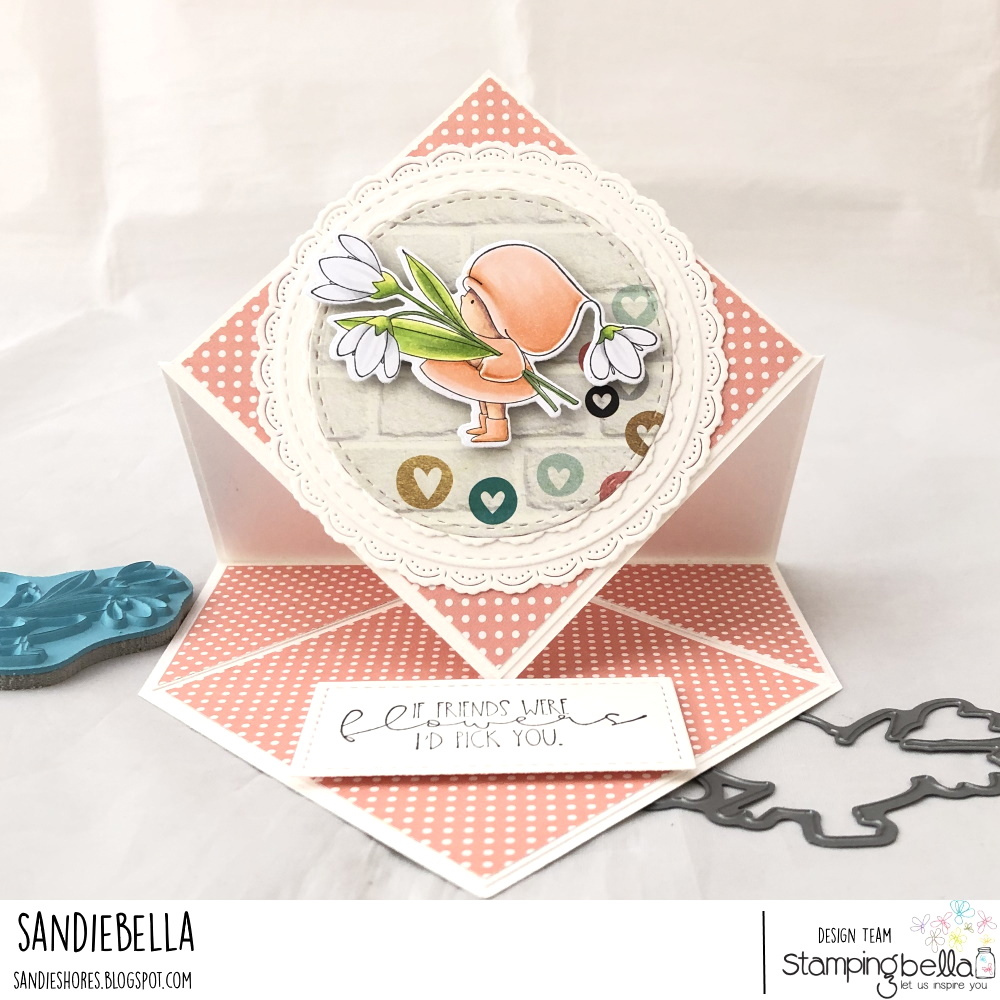
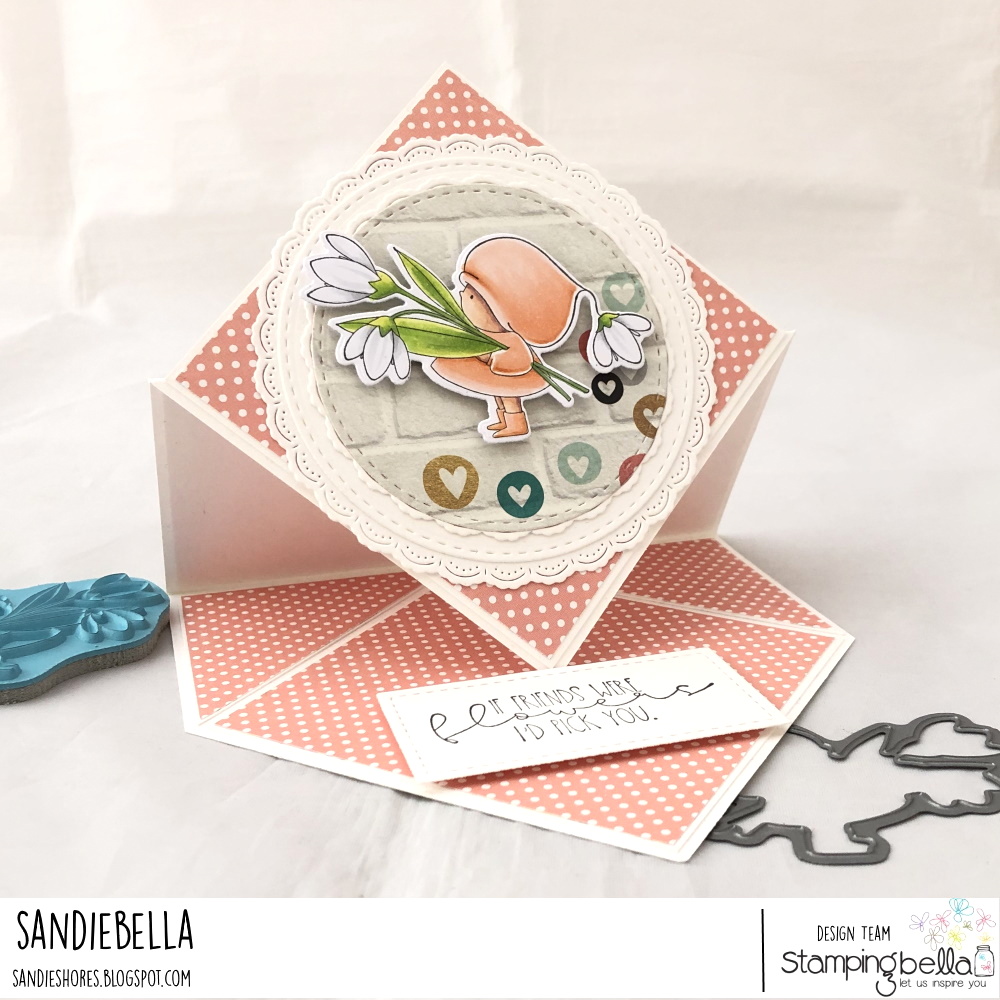
Stamp Bundle Girl with a Snowdrop on a piece of white card and colour using your desired medium.


Cut out using the coordinating CUT-IT-OUT Die

Stamp the Spring Sentiment onto white card and cut out using a rectangle die, or cut to size using a paper trimmer.

Cut a selection of different sized circles and adhere them all together.

On the inside of the card, adhere the sentiment using foam tape or dots. This will be used as a stopper to prop the card front open.

Adhere the image onto the circles using foam tape/dots.

Optional – Cut a piece of white card for the inside, measuring 5 3/8″ x 2 5/8″

Adhere the circles to the card front.

Pop the card front behind the sentiment to hold it open.


Over To You!
Share your personal favourite Stamping Bella creations with us. We LOVE to see what you’ve been creating with Stamping Bella stamps. Share a link to your latest Stamping Bella card in the comments below, or an old favourite you made a while ago. Tell us what your favourite stamps are. Are there any additions you would like to see to the range? Let us know!
Another way to connect is by joining us in the Stamping Bella Sistahood Facebook Group and share your pictures.
If you are posting your images online, we would love to see them on Instagram and all the platforms mentioned above. To make it easier for us to find you just use #stampingbella as a hashtag. Even better tag me @markergeek and Emily @stampingbella . We love it when you connect, so don’t be shy!
Until next time, HAPPY STAMPING!
MWAH
Elaineabella