


Happy Stamp It Saturday! I’ve got a little crafty inspiration for you again this weekend, featuring some of my favourite recently released Stamping Bella stamps.
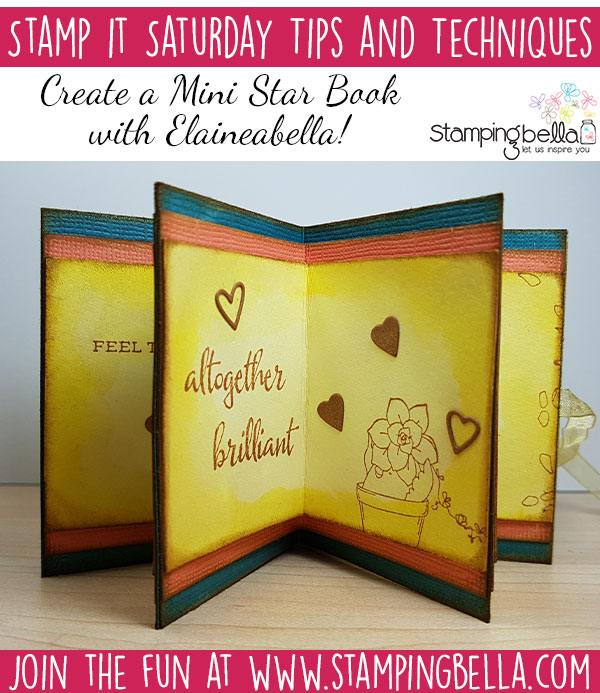
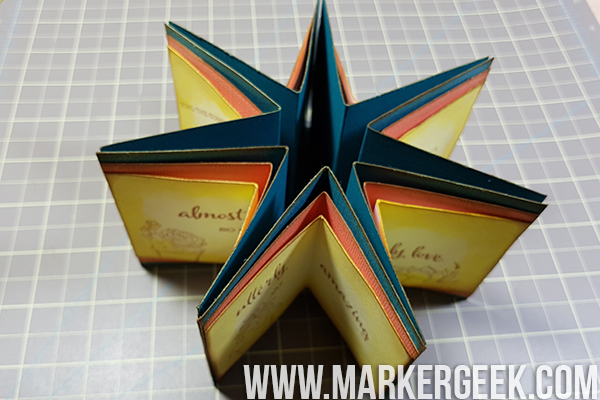
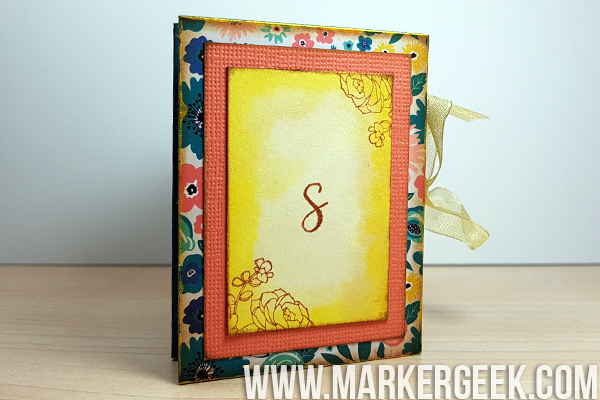
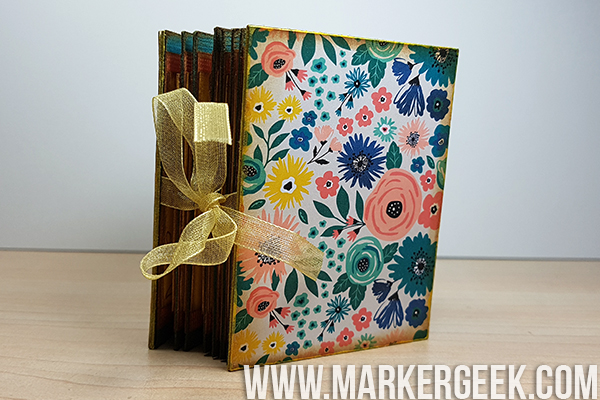
Succulent Chick Star Book
I’ve been getting back to having a little more crafty fun lately, venturing outside of simple cards and colouring. Thanks to a video from one of my favourite crafty YouTubers RachO113 I was inspired to create a fun little project using one of the recently released Stamping Bella stamp sets.
I’m not going to provide a complete and comprehensive step by step in this post, as Rachel’s YouTube video shows the process beautifully and all I did was follow along with her. You can view Rachel’s video here: Mixed Media Mini Star Book. You can see how my version came together in the pics below.
Since this sort of project is hard to show off properly in photos, I’ve popped a really quick video on YouTube so you can take a good look!
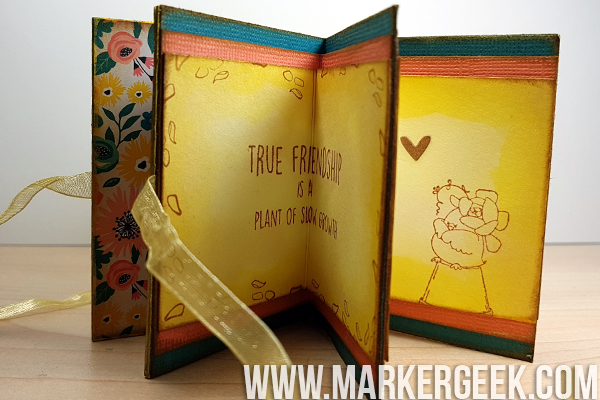
Love those Succulent Chicks so much.
I used a number of different stamp sets to create the star book, to add all the sentiments. Many of the sentiments came from the Danielle Donaldson CreativeGirls stamp sets. You can buy these individually or in a complete set with a 15% discount.
- Stamping Bella Succulent Chicks rubber stamp set (coordinating Cut It Out die set also available)
- Stamping Bella Tiny Townie Susie the Succulent rubber stamp set (coordinating Cut It Out die set also available)
- Stamping Bella Danielle Donaldson CreativeGirl rubber stamp sets (discounted bundle also available)
You can create these in any size you like, and I’m already working on a couple more in a larger size!
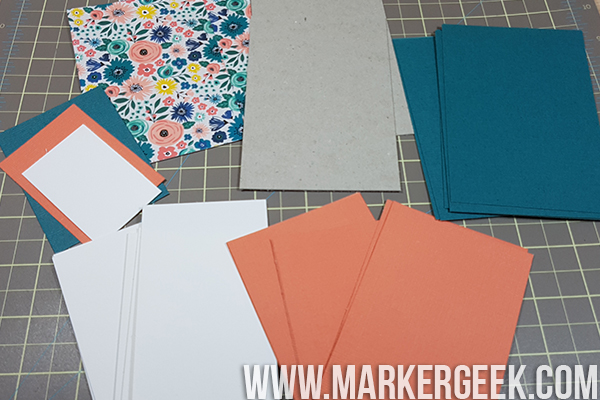
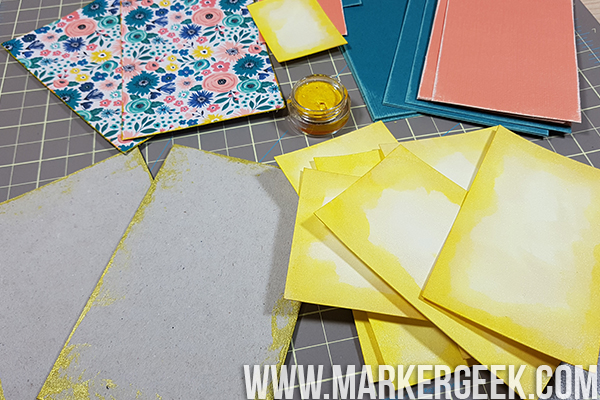
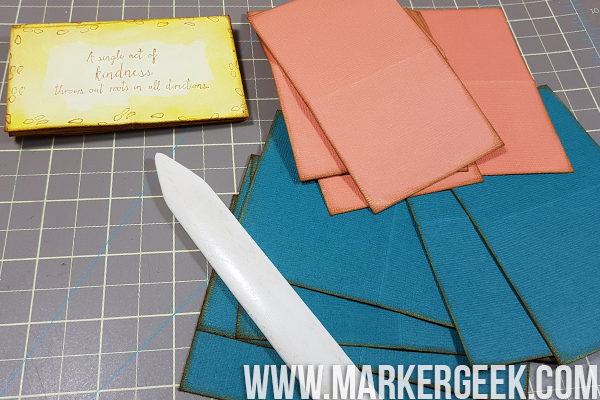
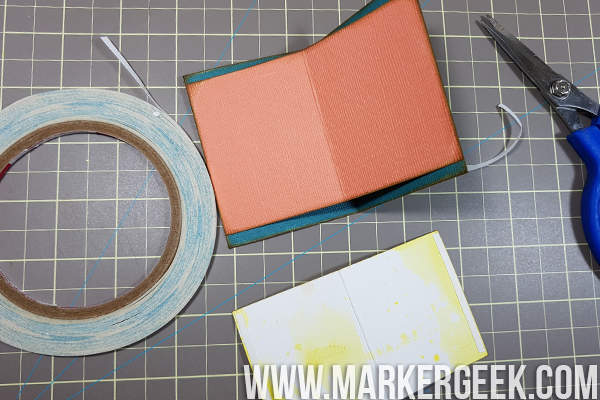
Cut all the papers down to size. The coloured papers I have used here are from a Tim Holtz Coredinations 12×12 textured cardstock pack. The patterned paper is from Echo Park’s Just Be You collection – I used the digital paper pack printed on my Canon Pixma inkjet printer. I also have some chipboard for the covers. I also used a hot pressed watercolour paper for the small panels.
Paper Sizes:
Pages:
7 pcs at 8cm x 12cm
7 pcs at 7cm x 11cm
7 pcs at 6cm x 10cm (watercolour paper)
Covers:
2 pcs at 6cm x 8cm (patterned paper)
2 pcs at 6cm x 8cm (chipboard)
1 pc at 5cm x 7cm (Coredinations)
1 pc at 4cm x 6cm (watercolour paper)
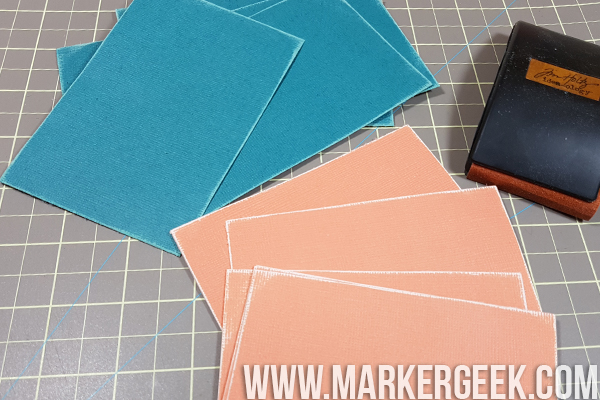
I distressed the edges of all of the Coredinations pieces using a sanding block.
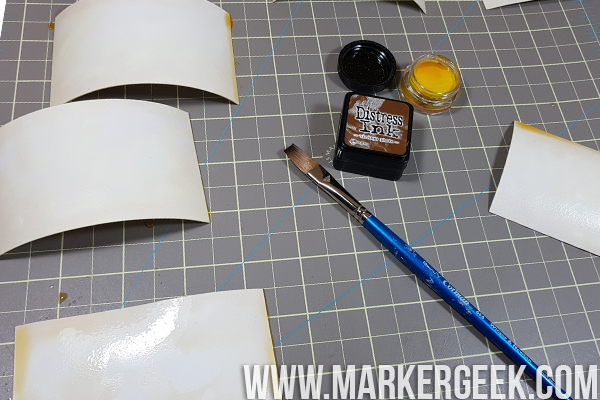
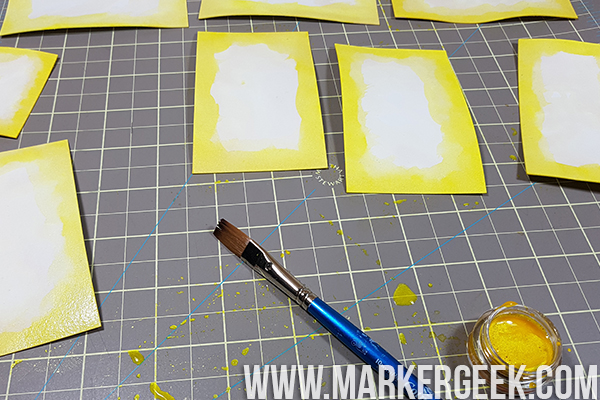
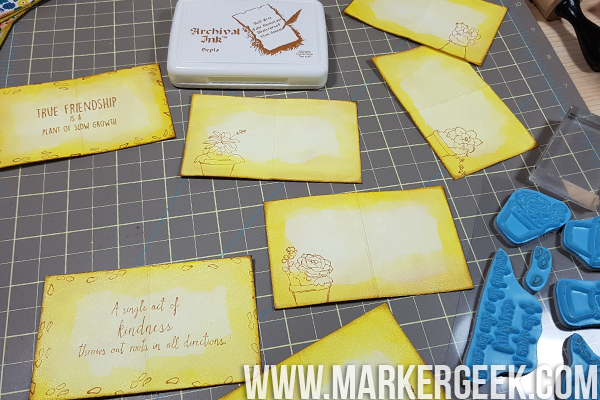
I used Distress Ink in Vintage Photo and Twinkling H20 in Sunburst to colour the watercolour paper pieces.
I also used the Twinkling H20 to colour the edges of the chipboard and patterned paper pieces.
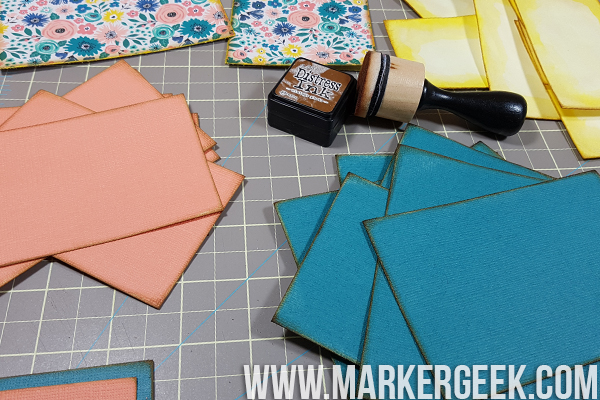
I then inked all of the edges using Distress Ink in Vintage Photo and a blending tool.
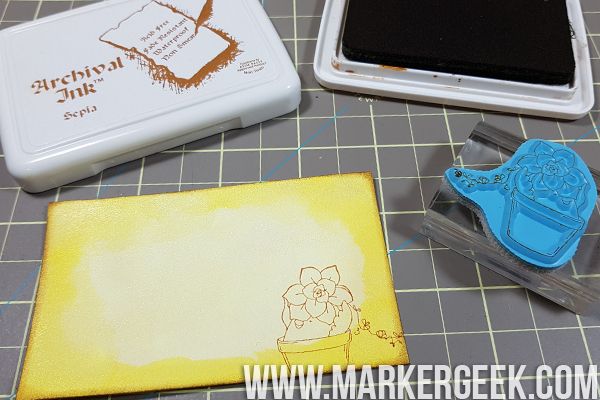
I then stamped all of my images and sentiments using Ranger Archival Ink in Sepia.
I then scored and folded all of the pieces.
Time to assemble the book!
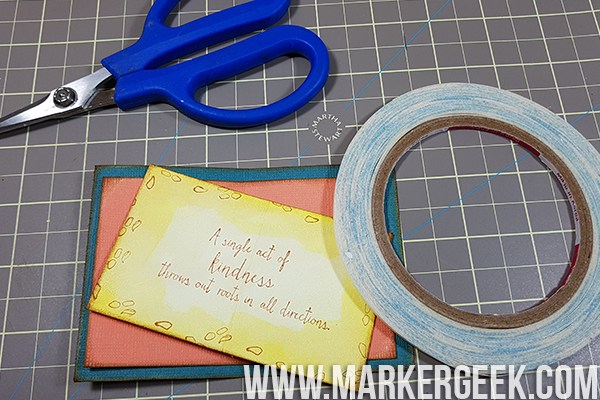
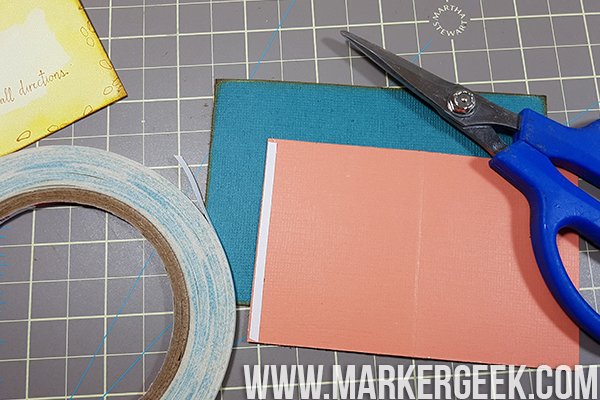
You can see exactly how this is done on Rach’s video as linked above. Basically, using double sided tape stick down the smaller piece of coloured cardstock to the larger piece, on the short edges, lining up the edges of the smaller piece with the edges of the larger piece.
It should look like this!
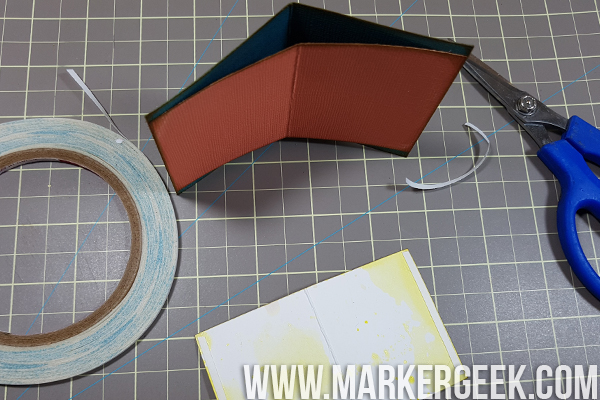
Repeat the process with the stamped piece and you will have a page done!
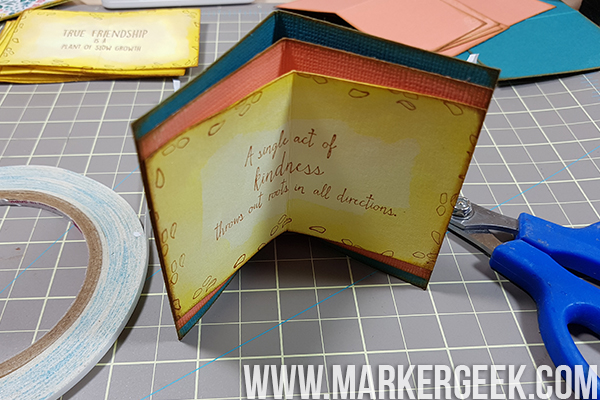
Repeat until all of the pages are assembled, then assemble the whole book, using double sided tape on the edges. You will need to leave the start and end unattached so you can add the covers and ribbon to tie it closed.
I then finished the book off by attaching the ribbon on the first and last pieces, and covering it with the patterned paper/chipboard covers. I also went back and embellished some of the pages using some little die cut hearts as a finishing touch.
For some reason I completely failed at taking photos of the final steps, so you should definitely go and watch Rach’s video to see how it is done! You can view Rachel’s video here: Mixed Media Mini Star Book.
Over To You!
If you try out the techniques shown in any of the posts with your Stamping Bella stamps, be sure to share! We would love to see the results and hear how you feel about them. Show off your creations in the comments below and even better, share your own favourite tips with us. Let’s talk stamping!
If you are posting your images online, we would love to see them on Instagram and all the platforms mentioned above. To make it easier for us to find you just use #markergeekmonday and/or #stampingbella as a hashtag. Even better tag me @markergeek and @stampingbella . We love it when you connect, so don’t be shy!
If you’re on Facebook join us in our private chat group Stamping Bella Sistahood to share your creations there and chat all things Stamping Bella related!
Until next time, HAPPY STAMPING!
MWAH
Elaineabella
Oh my ..I do love little books.
I’m lousy at inches vs metrics, but I love your mini star book. Love those chicks. Beautiful project.
Thanks Susan! You can easily convert by popping them into a Google search like “8 cm in inches” and it will return the converted measurement for you.
wow wonderful! i have never tried this so i will give it a go.
Oh my gosh! This is so totally cool! I would have to watch the video because even though you did a good job of explaining it, it looks very complicated and you used double sided tape. I bought some double sided tape at Dollar General and I bought their brand. Bad idea. It feels very sticky but when I used it on a card, it didn’t stick. I can’t imagine why it didn’t stick. I too am bad at metric but I know there are conversions out there. In Physical Science in high school there was a ton of metric and I just barely passed. I will watch the video and thanks for the tons of yellow in your book. Love it!
Oh how cute! Thanks so much for sharing this and for making the video! 🙂