Hiya sistahs, happy Thursday with Sandiebella !
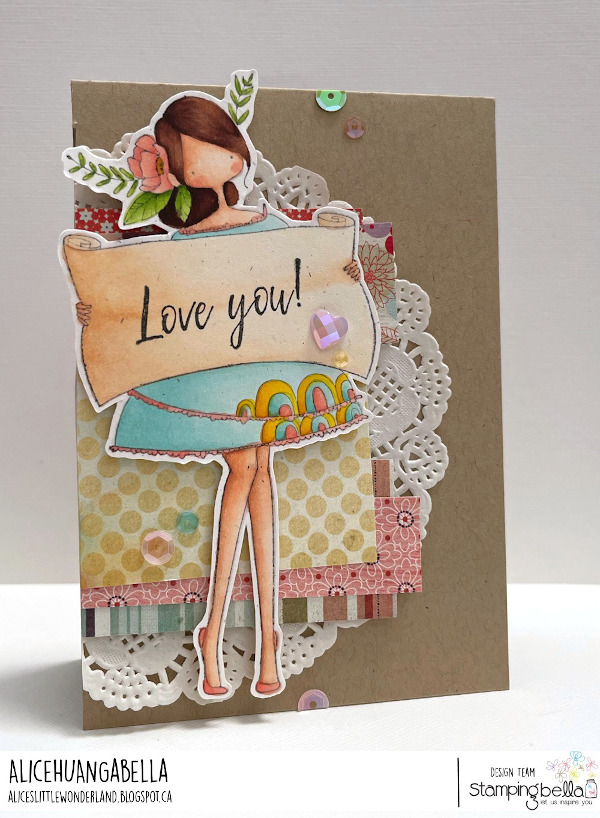
Today Sandiebella teaches us how to make a Triple Tier Slider Card
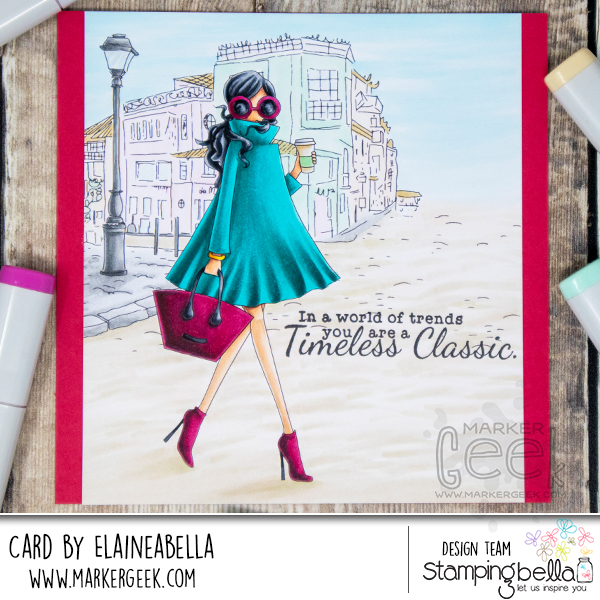
They don’t come more stylish than Uptown Girl Fashionista. I just had to pair her with the new Sketchy Corner Backdrop stamp to create a quick and easy scene for her to strut through. Watch my Uptown Girl Fashionista Copic Video below to see how this stylish lady came to life.
You get a great sentiment in the set with her, but I chose one from one of the older sentiment sets.

Stamps Used: Uptown Girl Fashionista, Sketchy Corner Backdrop, Timeless Classic Sentiment set,
I stamped the images on my favourite Make it Colour Blending Card before colouring with Copic Markers*.
Watch me colour this stamp in the video below. If you enjoy watching please do like the video and subscribe over on my YouTube channel.
MWAH!
Elaineabella
It’s that time of the week again. I’ve got my spotlight out and I’m shining it on another amazing stamp – I’m here to show you why you need it. If you already have it, I’m here to remind you why you needed it, and inspire you to get it inky!
The weather here is still on the warmer side, but I am full invested in autumn at this point. No going back, I’ve got my boots out and that’s it. So I decided to go with a Halloween vibe for today’s post.

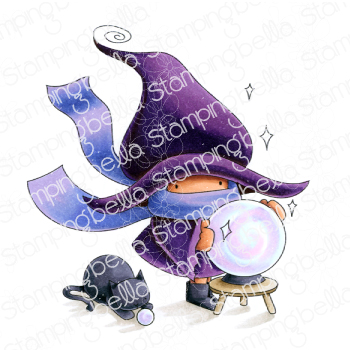
Isn’t she adorable? The little kitty with his own crystal ball? I can’t cope… Creating this post I’m thinking I may just have to colour this cutie again soon.
Make sure you check out all of the other amazing BUNDLE GIRL STAMPS in the collection too for more fun, and our awesome SENTIMENT STAMP SETS for the perfect sentiments to go with all of your stamps.
Watch me colour this stamp set in the video below or in HD over on YouTube. If you enjoy watching please do like the video and subscribe over on my YouTube channel.
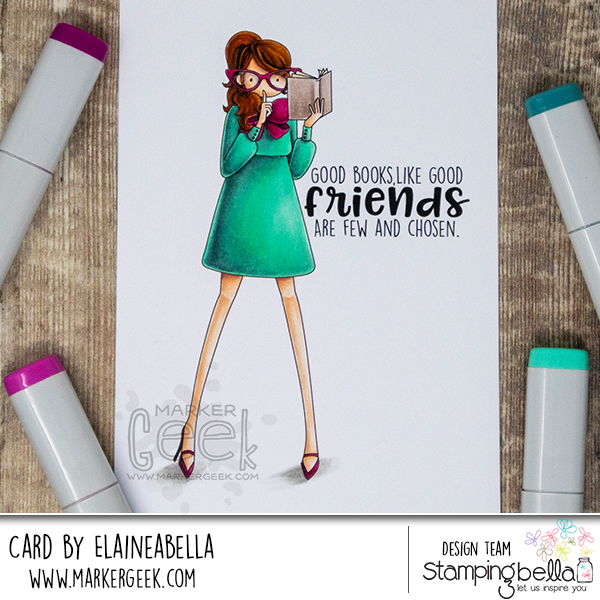
As an avid reader, the new Uptown Girl Librarian is just perfect! Watch my Uptown Girl Librarian Copic Video below to see how this beautiful bibliophile came to life.
The sentiment comes in the set with this Uptown Girl!

Stamps Used: Uptown Girl Librarian,
Watch me colour this stamp in the video below. If you enjoy watching please do like the video and subscribe over on my YouTube channel.
MWAH!
Elaineabella
Hiya sistahs!
hope you had a great week!
let’s see what our baberoonis have been up to shall we?

Hiya sistahs, happy Thursday with Sandiebella !
Today Sandiebella teaches us how to make a Back to School Folio Card
Slide the card base into the flap and adhere the 1″ section of the flap to the back of the card. Open up the card and adhere two of the 6.75″ x 4.75″ pieces of paper.
Take the 5.25″ x 2″ piece of card and score at 0.25″ on each of the short sides and one of the long sides.
Fold in both side and burnish well, then apply a little dot of glue to the bottom 0.25″ section and fold up.
To make the booklet, fold the 8.5″ x 4″ & 7.75″ x 3.5″ pieces of card in half. Round the outer edges.
Apply adhesive to the back of the larger pages and adhere down on the inside left, leaving approx 0.75″ gap between it and the pocket at the bottom of the page. Adhere the paper layers to the inside and outside.
Place the 6.75″ x 3,.75″ piece of paper on the inside of the front flap. Using a pencil, mark the centre top and approx 1/8″ down on each side. Cut diagonally from the centre pencil mark down to the outside pencil marks. Repeat on the outside piece.
Fold down the flap, let it dry for a few minutes and then lift up the flap. This should leave the 2nd magnet piece stuck to the front of the card. Adhere the front paper layer over the magnet.
Cut two stitched pennants approx 6.5″ long and 2.25″ wide. Cut inside the stitches on the paper pennant, and adhere to the black card pennant.
Embellish the inside using stickers and die cuts. As the card needs to fold up the inside elements need to be kept flat.
Finally, add some enamel dots to finish off.
Another way to connect is by joining us in the Stamping Bella Sistahood Facebook Group and share your pictures.
If you are posting your images online, we would love to see them on Instagram and all the platforms mentioned above. To make it easier for us to find you just use #stampingbella as a hashtag. Even better tag me @stampingbella . We love it when you connect, so don’t be shy!
Until next time, HAPPY STAMPING!
MWAH