Flitterfly Spring Seeds Gift Bag

Stamps:
How to:
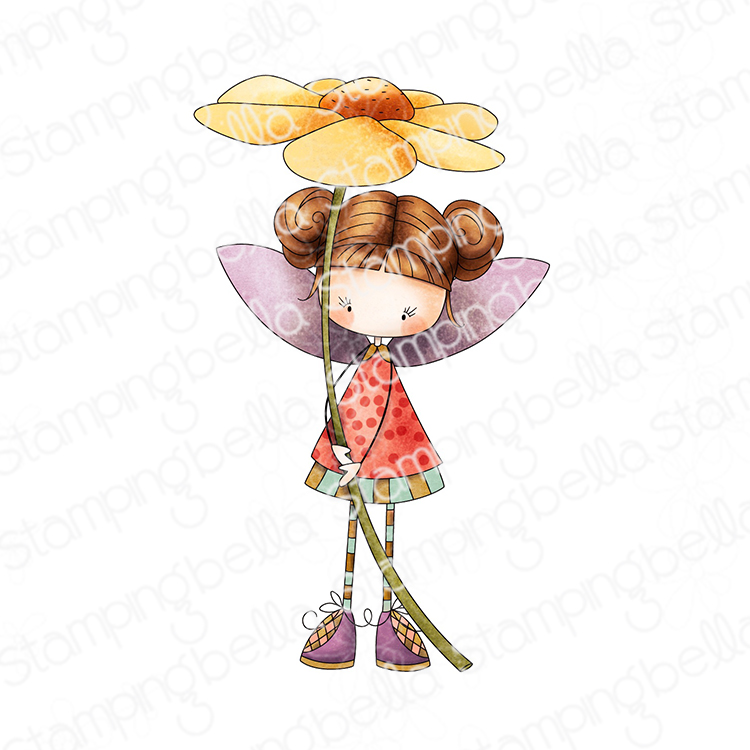
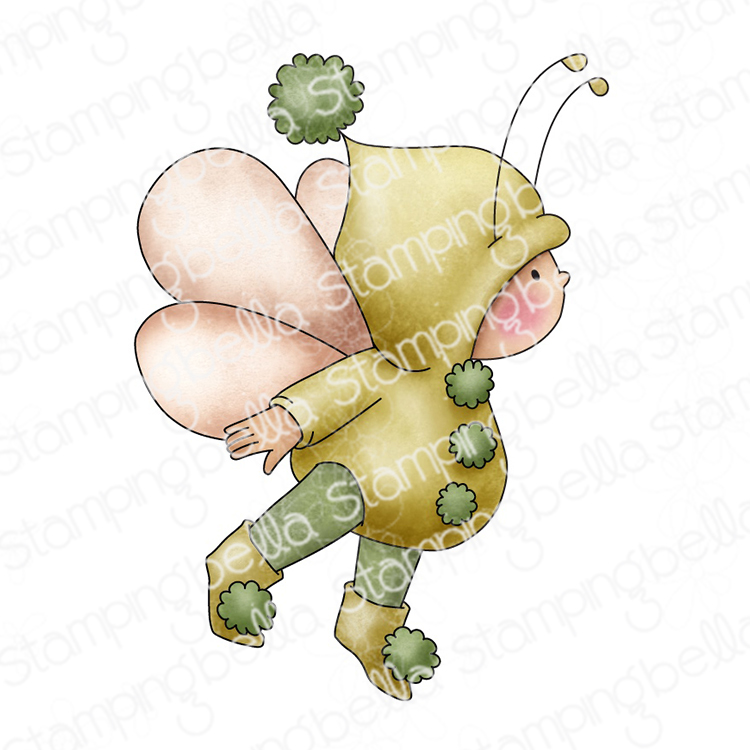
Mask Whimsabella Flitterfly so that she appears to be sitting on the tree stump on the Spring Backdrop. Fussy cut around the whole piece.


Cut 2 pieces of double sided paper measuring 7″ x 5.75″. Score on the 7″ side at 1.5″ and 5.75″. Flip 90 degrees and score at 1.25″ and 4.75″. This makes a gift back that is 4.25H x 3.25W x 1.25D


Fold and burnish all the score lines. Fold back the 1.5″ section and crease well.

On one piece, cut on the 5.75″ score lines from the edges in to the intersecting score line. Taper in the edges of the tab.

On the second piece, remove the 1.25″ squares in the bottom corner and taper the edges of the centre section. This will be adhered to the inside of the first section to create one long piece (see below)


Fold back the tabs and apply adhesive. Fold up one side of the bag and adhere to the tabs.

Apply adhesive to the side sections of the other side of the bag and adhere inside.

Trim the outer sections of the 1.5″ piece as shown below.

Apply adhesive to the trimmed tabs and slide in under the opposite side. Repeat on both sides.

Pinch in both sides of the bag.

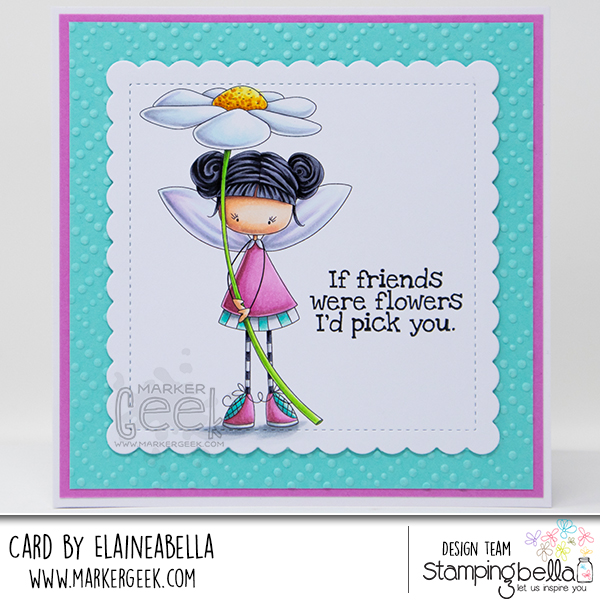
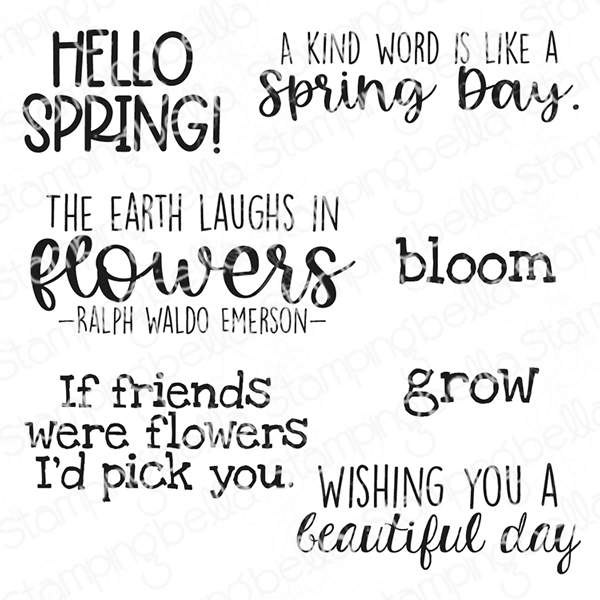
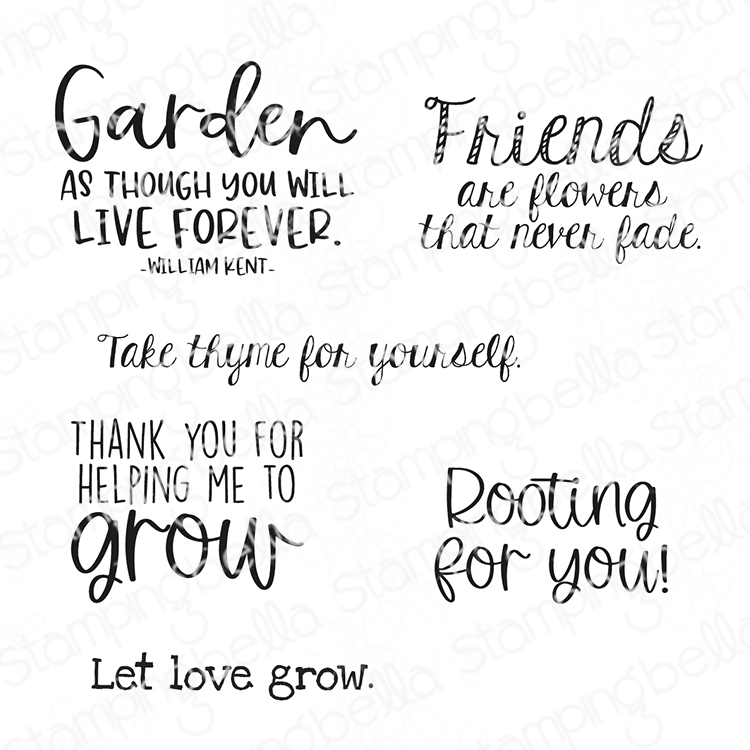
Cut some stitched circles to make a decorative panel for the box front. Stamp the Hello Spring! sentiment from the Hello Spring Sentiments set and cut out using a circle die. cut the top off the sentiment circle.

Arrange the circles on the front of the box then adhere the image down using foam tape or dots.


Grab some seed packs – these measure 3″ x 4.75″. I made the box a little shorter so that the seeds are peeking out the top. Pop them into some tissue paper and place in the bag.

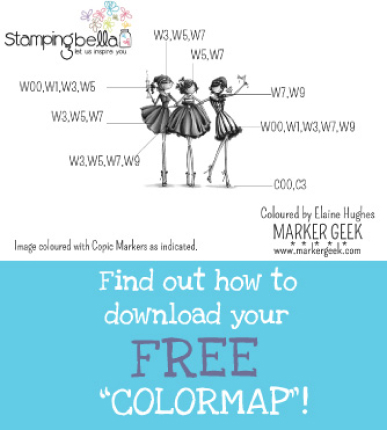
More Whimsabella fun from me today!
Isn’t she gorgeous?
Watch me colour this stamp in the video below. If you enjoy watching please do like the video and subscribe over on my YouTube channel.
That’s it for today! Happy stamping and colouring.
MWAH!
Elaineabella
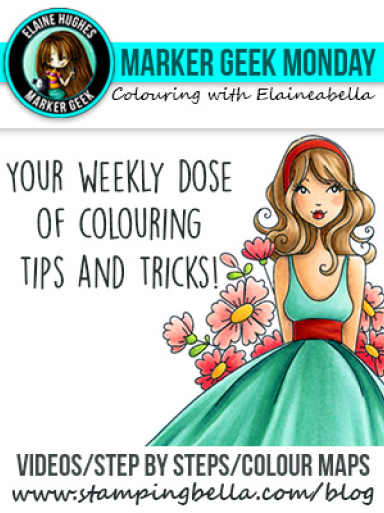
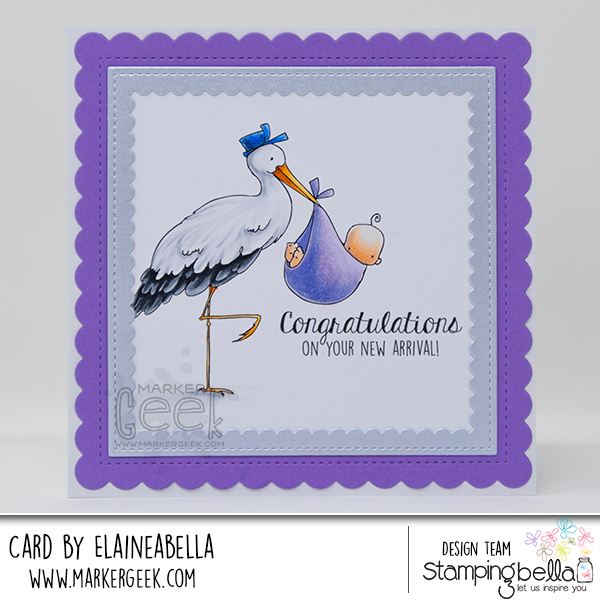
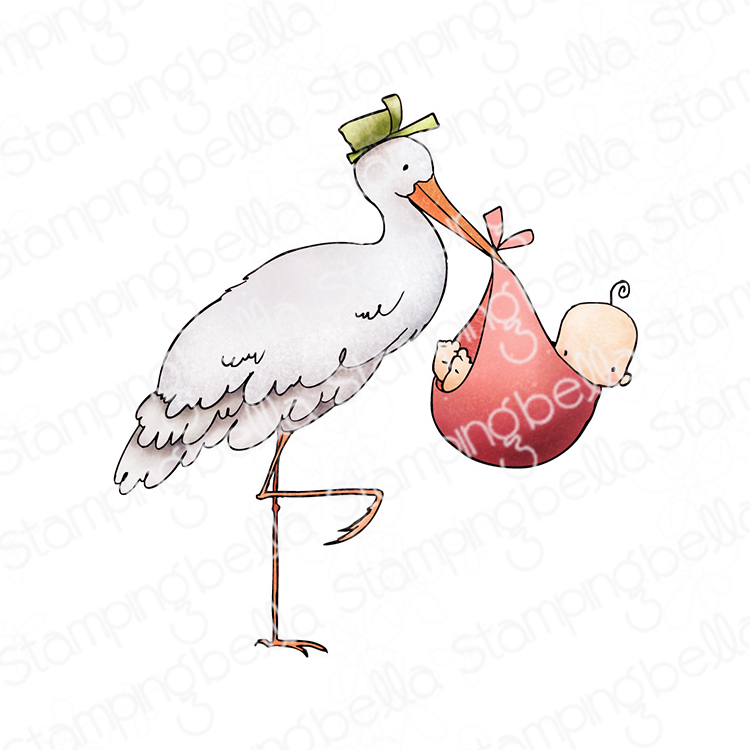
Happy Monday! I’ve got a card and Copic video to share today featuring another of the baby themed stamps from the latest release.
Watch me colour this stamp in the video below. If you enjoy watching please do like the video and subscribe over on my YouTube channel.
That’s it for today! I’ll be back on Wednesday with another colouring video and card featuring one of the new stamps.
MWAH!
Elaineabella
Hello friends!
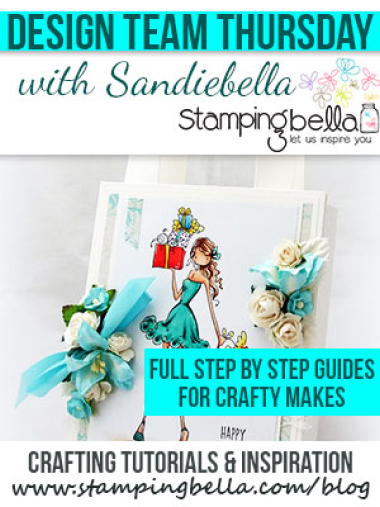
Amy here with a new Scenic Saturday post on the Blogabella. With the addition of some adorable Easter themed Bundle Girls in the Spring release I couldn’t resist inking one up for my card today.
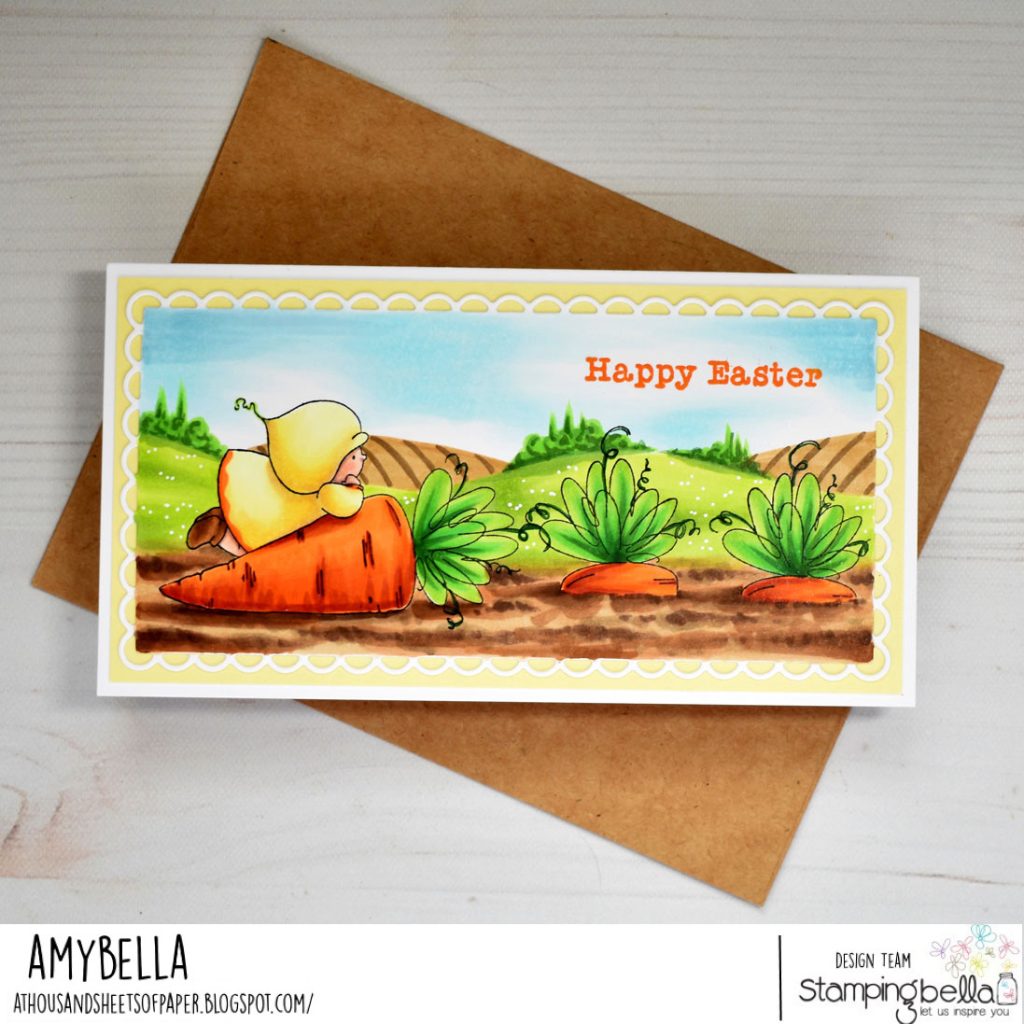
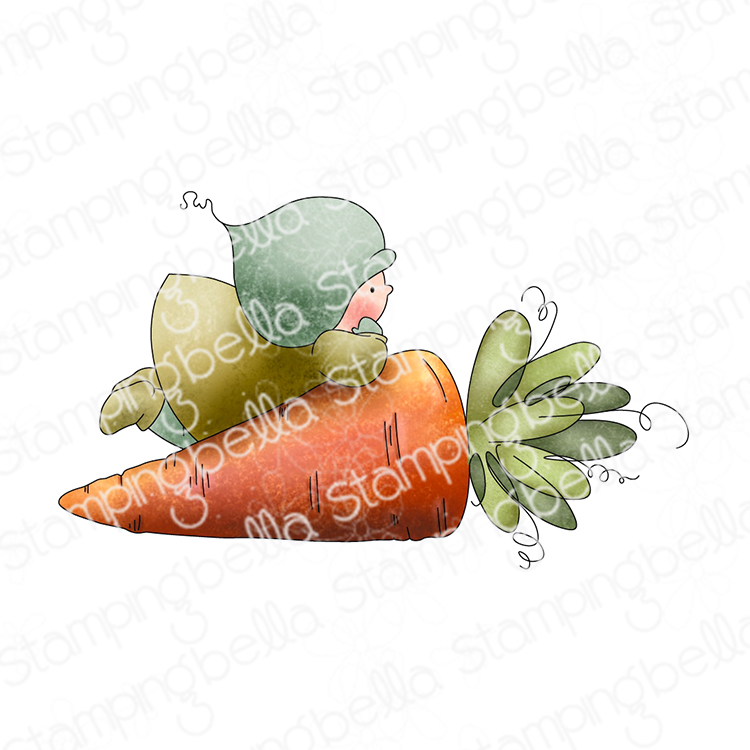

I chose Bundle Girl with a Carrot as she sweetly rests atop the orange veggie, probably in hopes of luring the Easter Bunny to her garden. To help create that garden, I made the image stretch a bit by laying down a strip of masking tape before flipping the Bundle Girl with a Carrot stamp on its side and stamping just the carrot top a couple more times. Once I colored the brown soil around them it really looks like they are growing out of the ground. Clear blue skies and rolling hills fill the background of this mini slimline scene that may be a little non-traditional for an Easter card but I like to think that some cotton tailed cutie will be arriving shortly with a basket full of eggs and yummy chocolate. That’s why I went with the simple message from the Easter Sentiment set stamped in an orange ink to match the carrots and tie the whole design together.
Stay crafty my friends!
Amybella
I hope your week has been Bellarific, but if not, we’ve got an absolutely Bellarific Friday post to cheer you up! This week the Babes have been playing with older but still amazing stamps from our collection. It’s always fun to play with the LATEST RELEASE stamps, but there’s something special about all those older loves too, and creating new things with them. Or perhaps some of these are new to you, if you’ve only recently found us! Either way, happy Friday and enjoy.
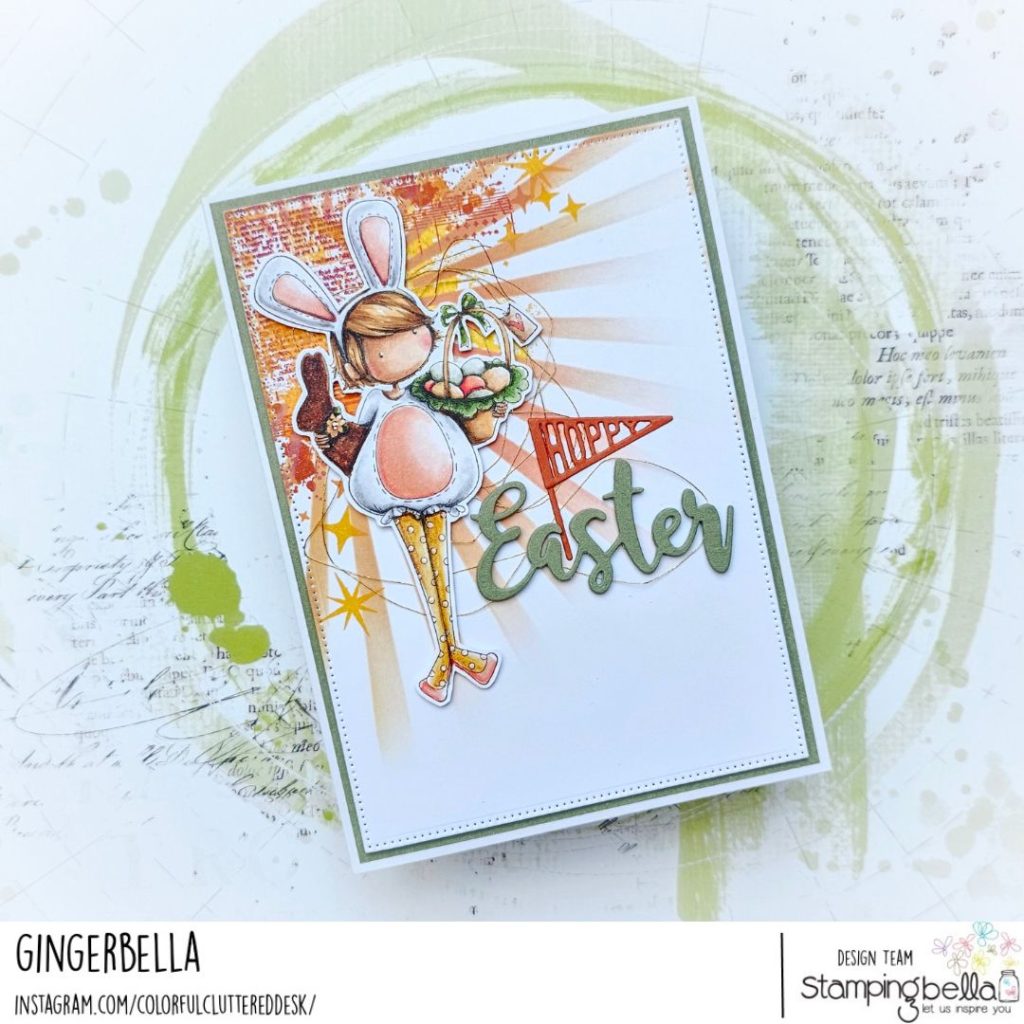
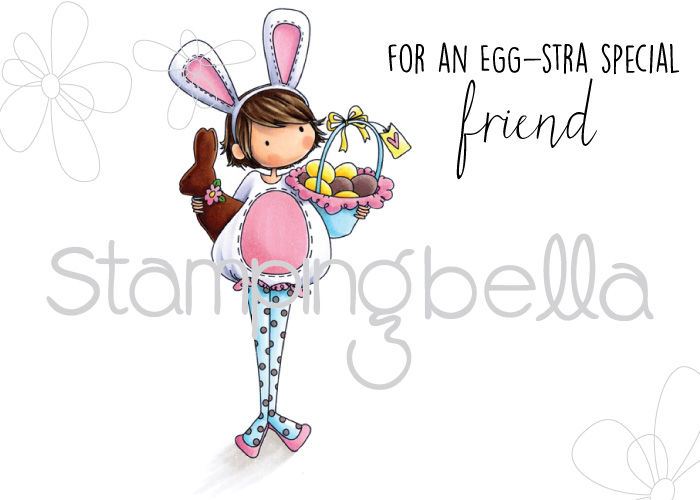
A true old favourite here on Ginger’s fab Easter card!
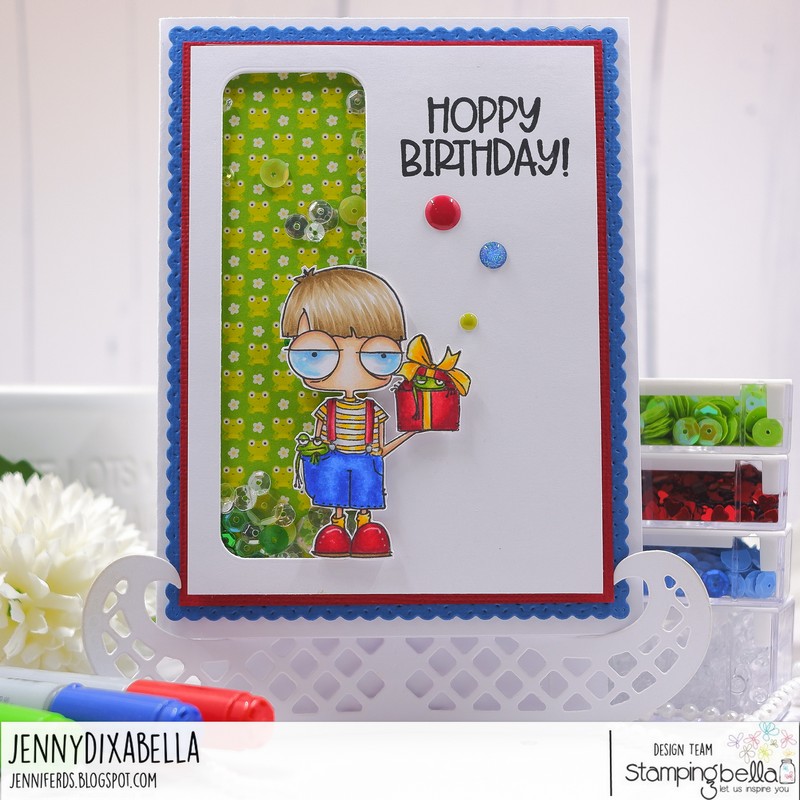
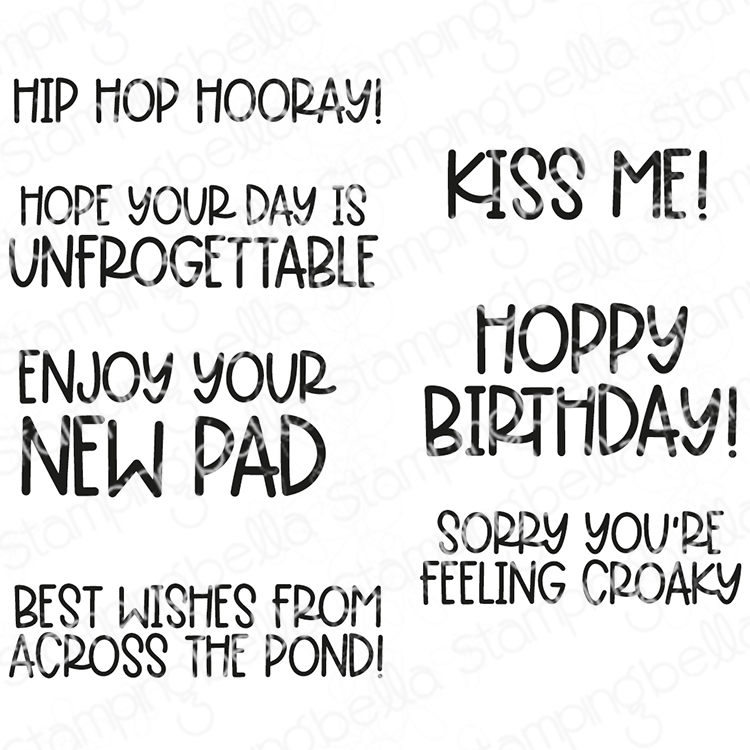
A frogtastic birthday card from Jenny featuring a Mini Oddball stamp!

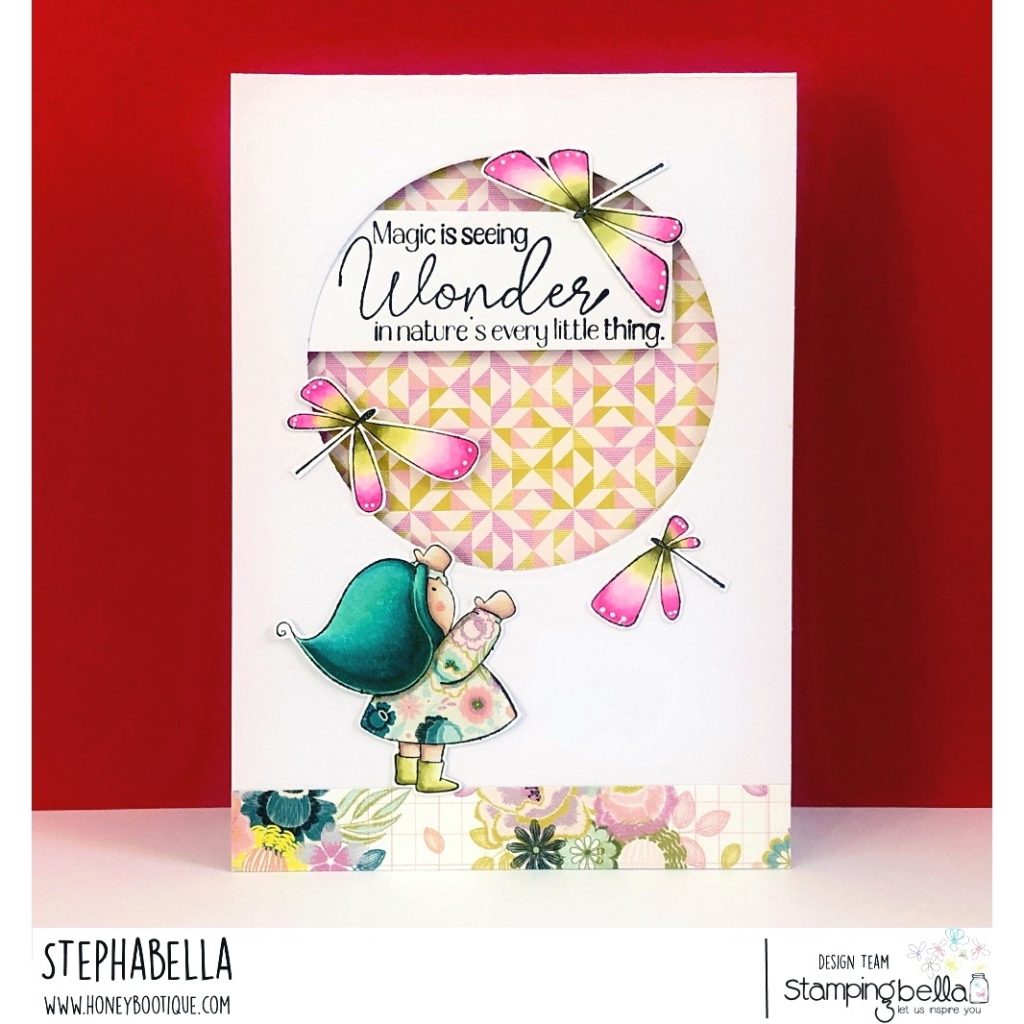
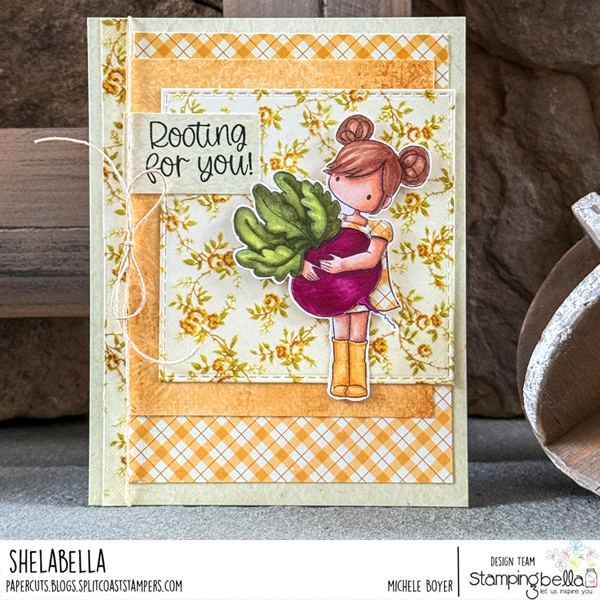
Such a pretty card from Steph featuring one of our adorable Bundle Girl stamps.
Spring is all about growth, and Michele has picked the perfect Tiny Townie stamp for her card!
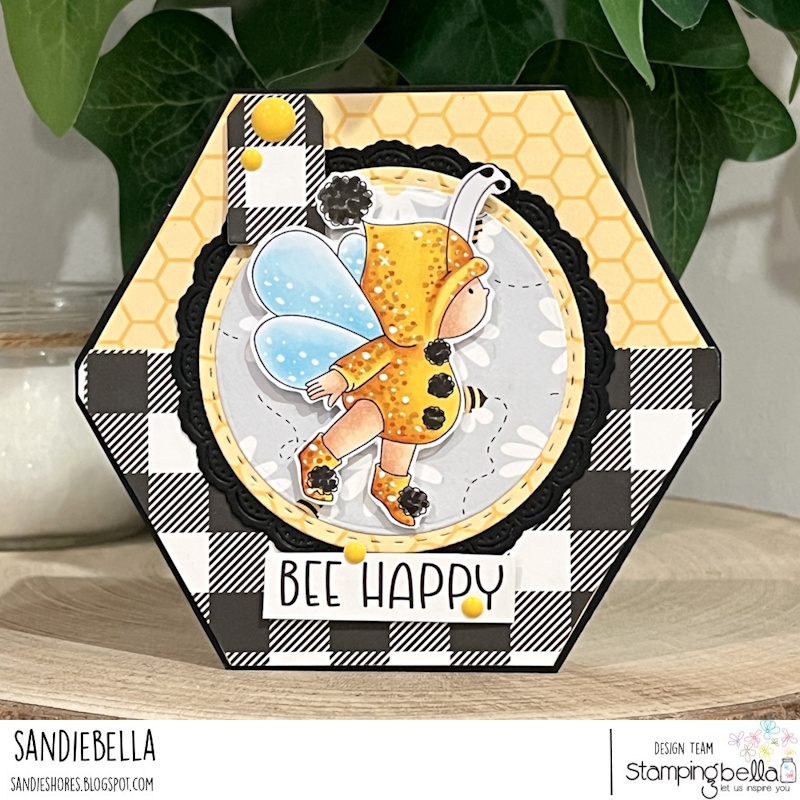
It’s always a joy to see the first bees buzzing around in Spring. Love this cute card from Sandie!
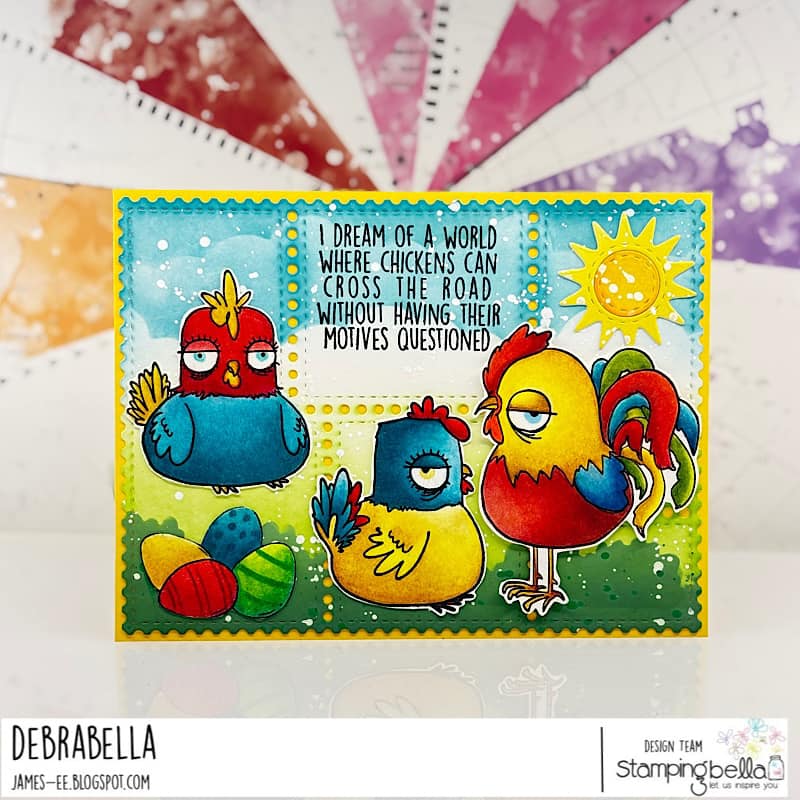
Love all the bright colours on this fun card from Debra!
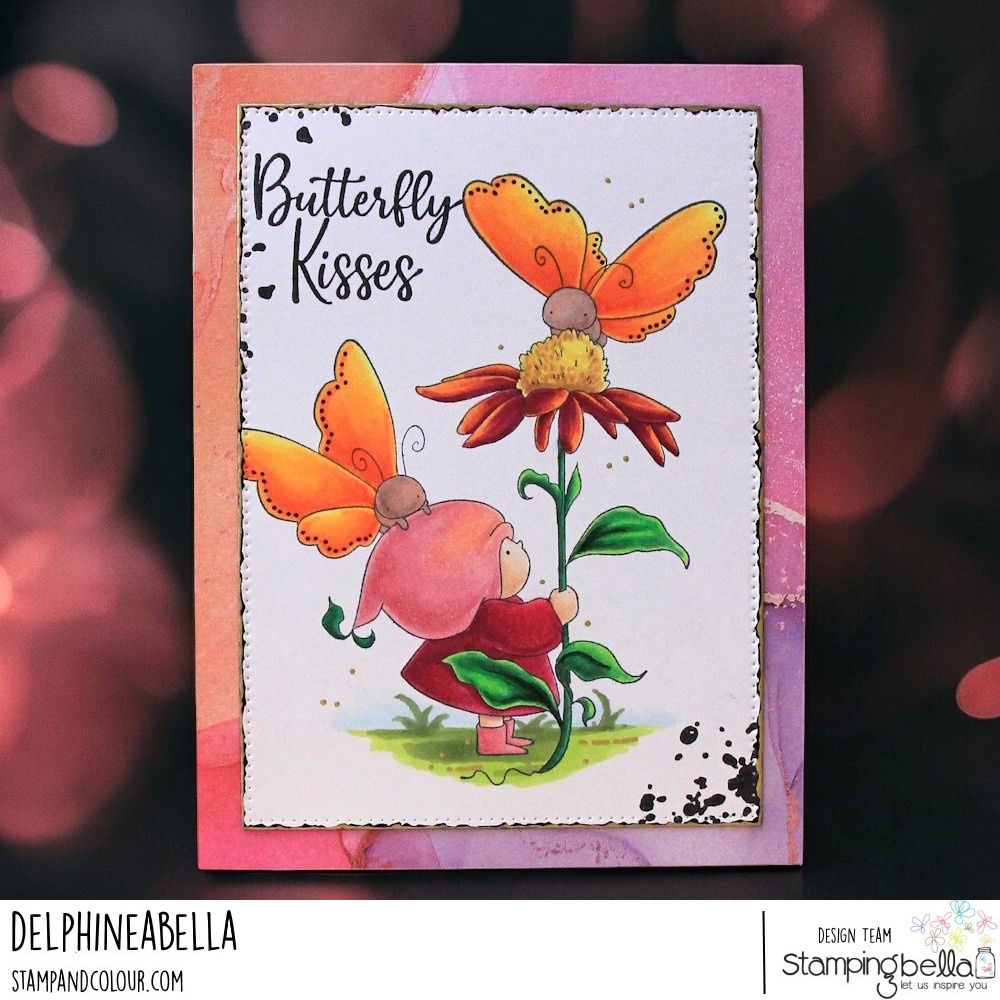
Finishing today on a gorgeous card from Delphine!
That’s it for today! Hopefully you’re feeling inspired to go and create. Don’t forget to leave us a comment below with some love for our Babes and all their hard work.
MWAH!
Elaineabella

Colour the strawberry from the Spec-tacular Strawberries and Cream set. Fussy cut around the outline.


Cut a piece of card measuring 5.75″ x 8.5″. Score on the 8.5″ side at 2″, 4″, 6″ and 8″.
Flip 90 degrees and score at 0.5″, 1.75″ and 4.5″.
Fold and crease all the score lines.
On the 8.5″ side, cut away the first, third and fifth 0.5″ sections.
On the bottom, cut each of the 1.25″ sections up to the first score line. These are the tabs for the bottom of the carton.
On the 0.5″ side section, cut away the bottom 1.25″ section and make tabs from the 2 remaining sections.

On the top, where you cut away the three 0.5″ sections, measure and mark the first section in the centre, at 1″. Score diagonally, on each side, into the corners of the next score line down.

Pinch the score lines to fold inwards.

Repeat for the other side of the carton. Use paper panels to decorate the 4 sides of the box, and the 2 upper sections not scored.

Apply tape or wet glue to the two side tabs and fold so that the tabs are adhered to the inside of the opposite end of the base.

To create the closure, fold out the 4 bottom flaps of the box. Using a ruler and craft knife, cut a 0.5″ slit by placing a ruler across and cutting from 0.75″ to 1.25″. Bring the ruler down slightly and repeat, then remove the excess. Repeat on the opposite flap.


Cut a small strip of card and slip it through one of the openings. Adhere to the inside.

Close up the box and insert the other end into the opening. Push closed.

Apply glue to the inside of the top of the box and secure.

Cut a piece of paper 7/8″ x 1-7/8″ and fold in half. Apply glue to the inside and slide on over the box top.


Cut decorative shapes to create a matt for the image

Adhere to the front of the box

Adhere the image to the box using foam tape/dots.

Stamp the sentiment from the Work Life Sentiments set and cut out using a pennant die. Adhere to the top of the box and add a little heart for decoration.