
Stamp Bundle Girl with a Carrot onto blending card and colour with Copic markers before fussy cutting around the outline.


For the box, cut one piece of card measuring 7″ x 9.75″. Score on the long side at 1″, 4.5″, 8″ and 9″ and on the short side at 1″ and 6″
With the 0.75″ section at the bottom, cut on each of the score lines from the edge to the intersecting score line. Cut a wedge from all of the bottom tabs to create the same as below.

Using a shape die, cut a window from the centre.

Cut a piece of paper measuring 3.5″ x 5″ and cut the same shape from the centre. Trim down as necessary to fit over the window on the box base.


Cut a piece of acetate meausring just under 3.5″ x 5″ and adhere inside box base to cover the window.

Decorate the outside of the box using designer paper.

Decorate the inside base with a piece of patterned paper before applying glue to the outside of the 1″ tabs and adhering them to the inside of the box base.

Cover the tabs with paper.

Fold up the box and if the front flap stops the lid from closing properly, trim it down to around 0.5″

Create a mat layer using scalloped oval and oval dies, then adhere it to the bottom left of the box lid.


Add a sentiment to the front and then fill the box with candy, a small gift, or tea light candles.

Today I thought I would share a simple but fun card featuring one of the Spec-Tacular stamps from the latest release!
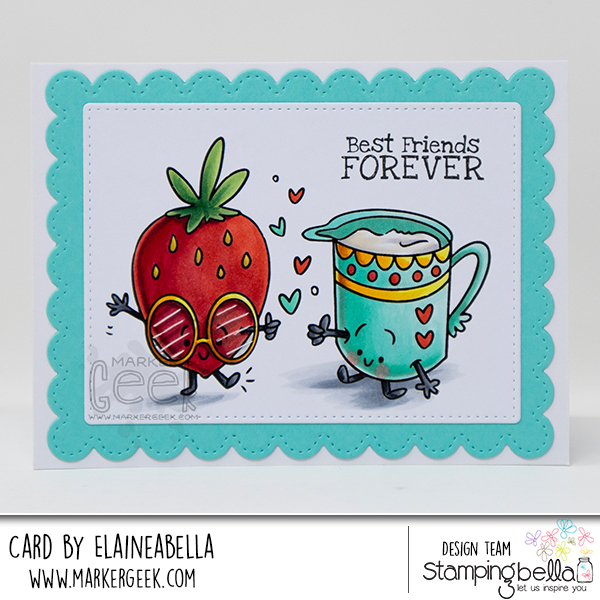
Love this duo! The coordinating sentiment set gives a great selection of options so you can get lots of use out of this stamp too.

Watch me colour this stamp in the video below. If you enjoy watching please do like the video and subscribe over on my YouTube channel.
That’s it for today! Happy stamping and colouring.
MWAH!
Elaineabella
Starting the week with a little Bundle Girl cuteness! I picked one of the new release stamps for this card, and paired it with an older sentiment set to create an encouragement card.
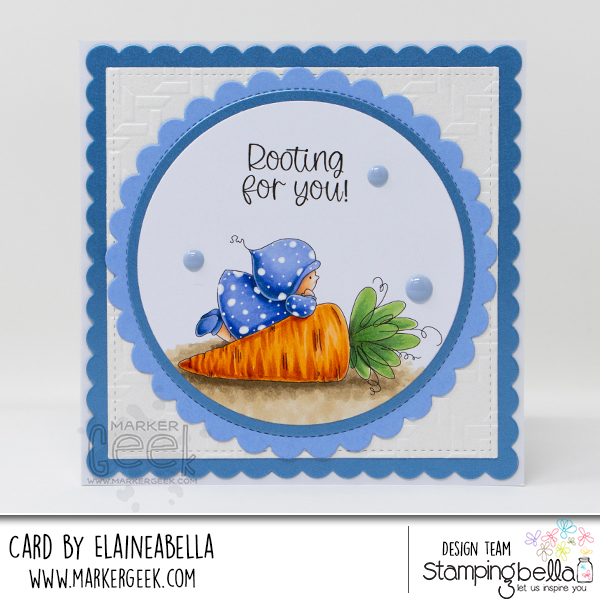
Isn’t she cute?
Watch me colour this stamp in the video below. If you enjoy watching please do like the video and subscribe over on my YouTube channel.
That’s it for today! I’ll be back on Wednesday with another colouring video and card featuring one of the new stamps.
MWAH!
Elaineabella
Hello everyone! I’m back to share a baby card – and oh it’s a girl! I went for a very pink theme in my card – pink mood today – and decided to create a simple scene.
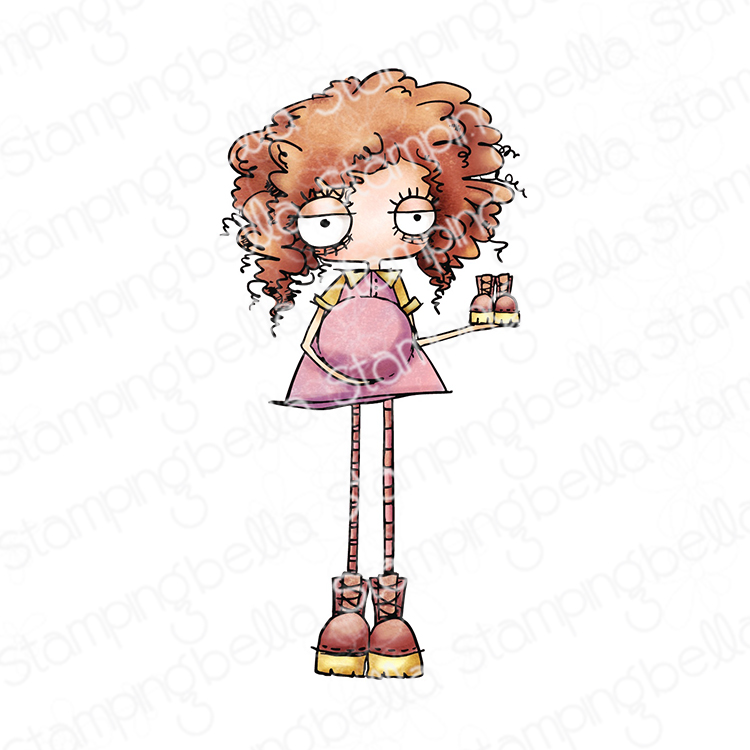
For my scene, I used the amazing Oddball Baby On the Way and masked her to stamp the Window. I traced a skirting board with a black fineliner and added a sentiment from the Baby Sentiment set. I wanted to use some soft colours meant for a baby card – except for the curtains for a bit of contrast – and you can also see I chose not to colour the wall but only added touches of colour at the top and at the bottom, leaving a lot of white space.
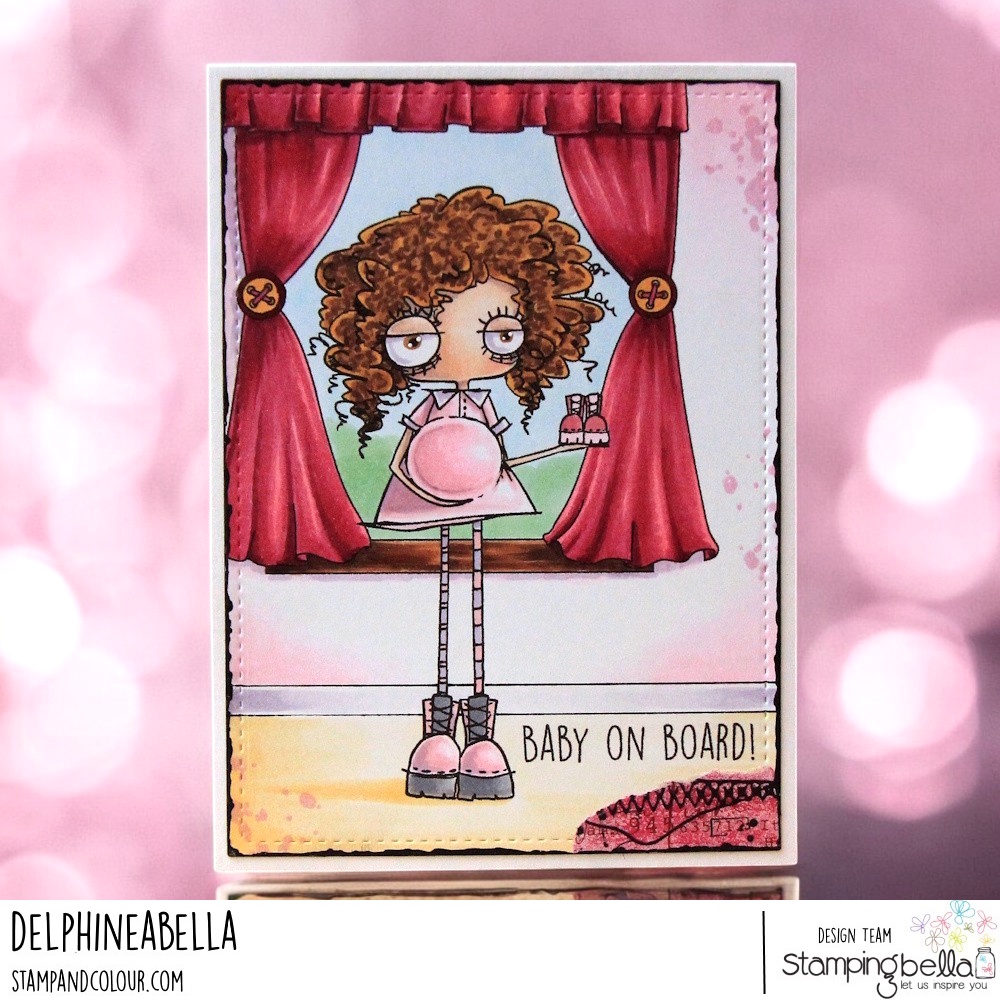

I coloured everything in Copics then stamped a bit of texture in Versafine Baby Pink and added a piece of white washi tape coloured in RV19 Copic, one of the markers I used to colour my scene.
Copic markers used:
Skin: E000, 00, 11, 71, RV42
Eyes: BV00, E35
Hair: E35, 59, YR23
Clothes: BV00, RV10, 11
Shoes: BV00, C3, 5, RV10, 11
Curtain: RV13, 17, 19, 69
Windowsill: E33, 37, 59
Outside: B000, G12
Wall: RV000, 10 + BV00
Skirting board: BV0000, 000, 00
Floor: YR30, 31
Thanks for stopping by, have a lovely day! Hugs,
Delphineabella
Happy Friday! We’re back with more gorgeous inspiration from the Babes today, this time following a sketch challenge. Let’s take a look and see what the Babes have come up with.
Here’s the sketch:
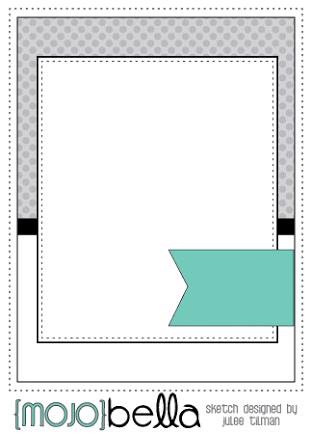
We’ve got a lovely mixture of fun themes going on, and a wide selection of different stamps. I know I say it often, but I do enjoy seeing what everyone picks to work with.
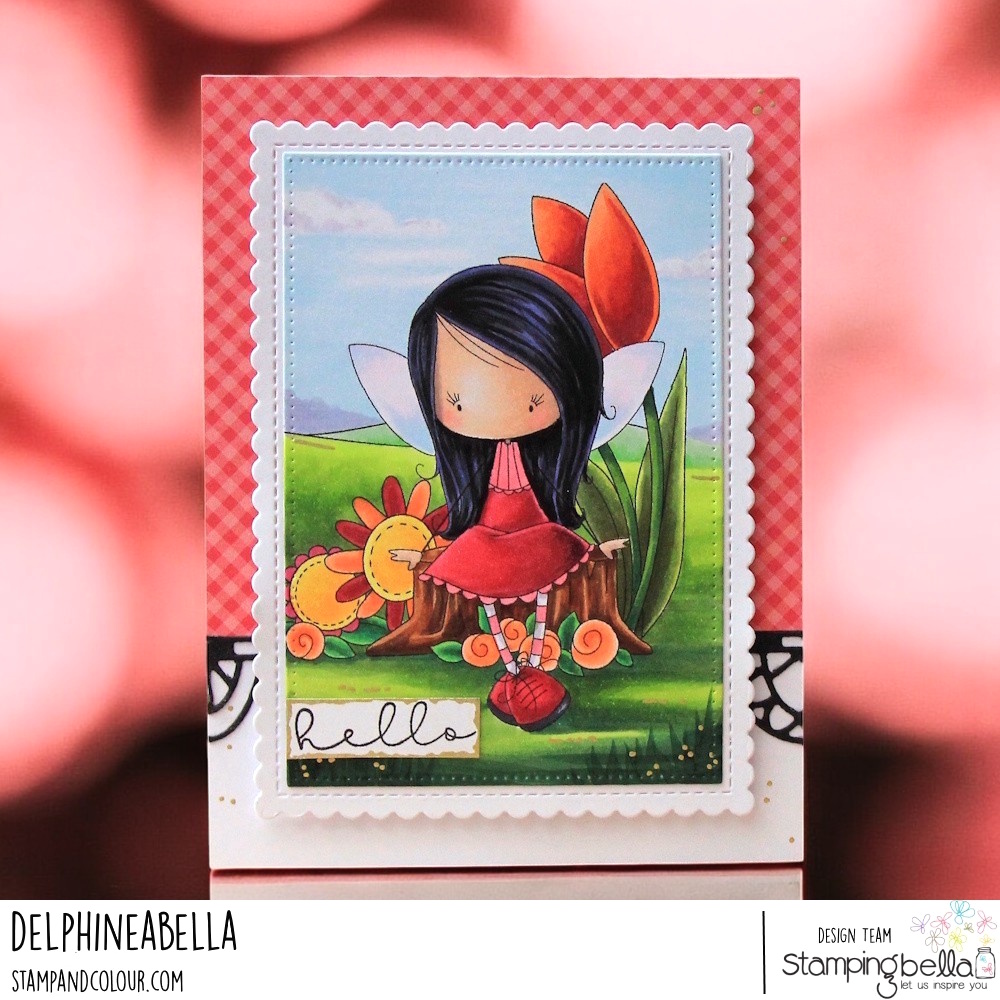
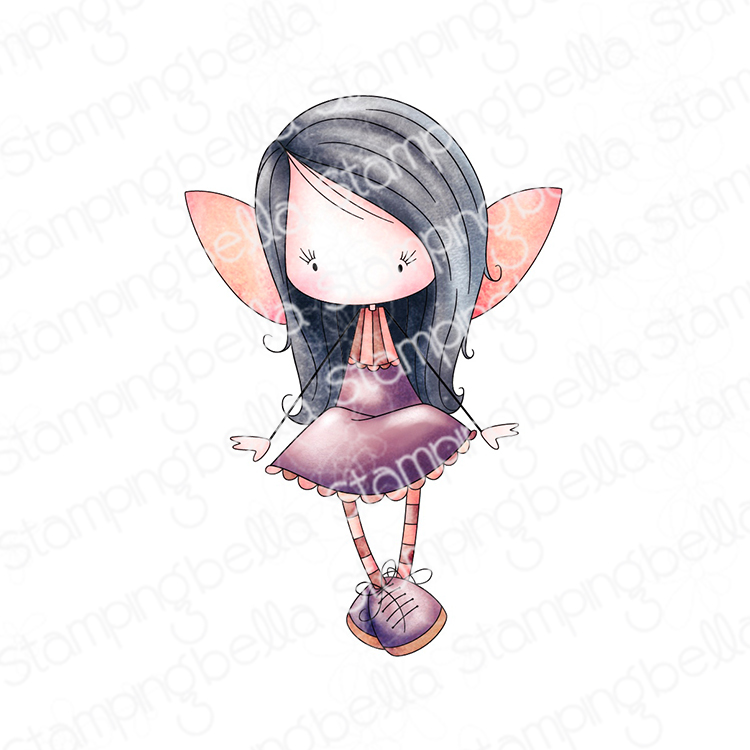
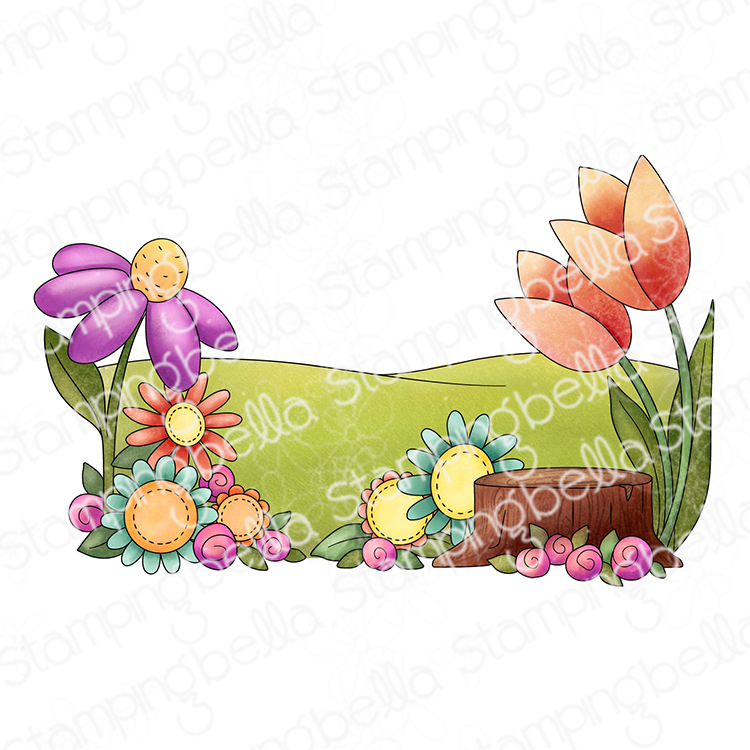
Delphine created a charming scene using two of our new release stamps. One of the Whimsabellas with our new backdrop. She also used part of a sentiment from our Love Sentiment Set.

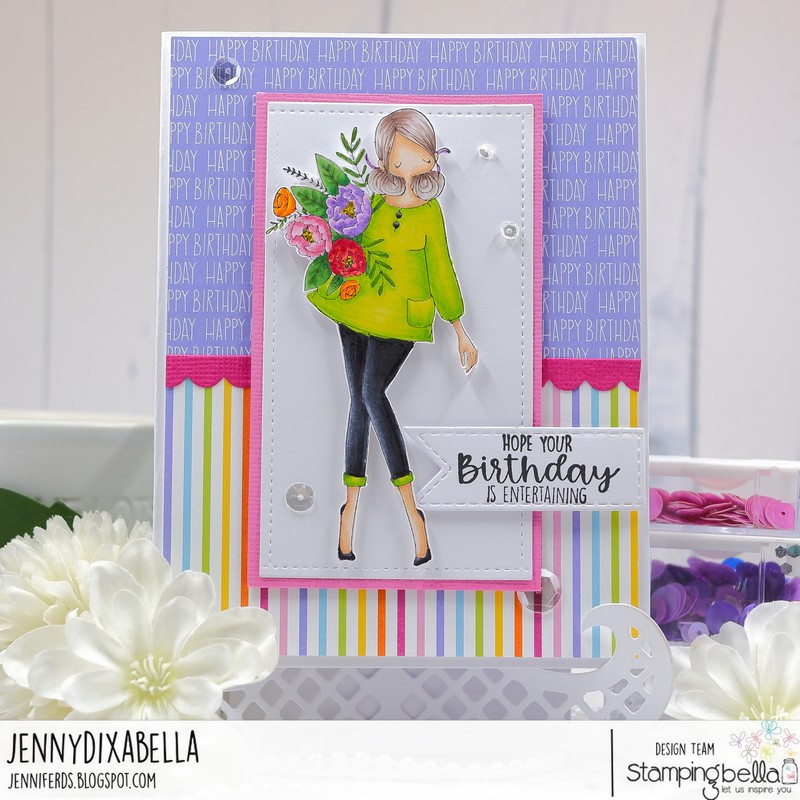
Jenny used just part of this Curvy Girl stamp and I love it! Such a simple way to stretch the stamp and get even more use from it.
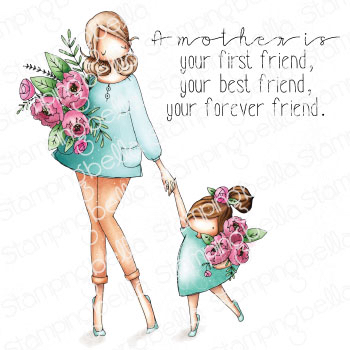
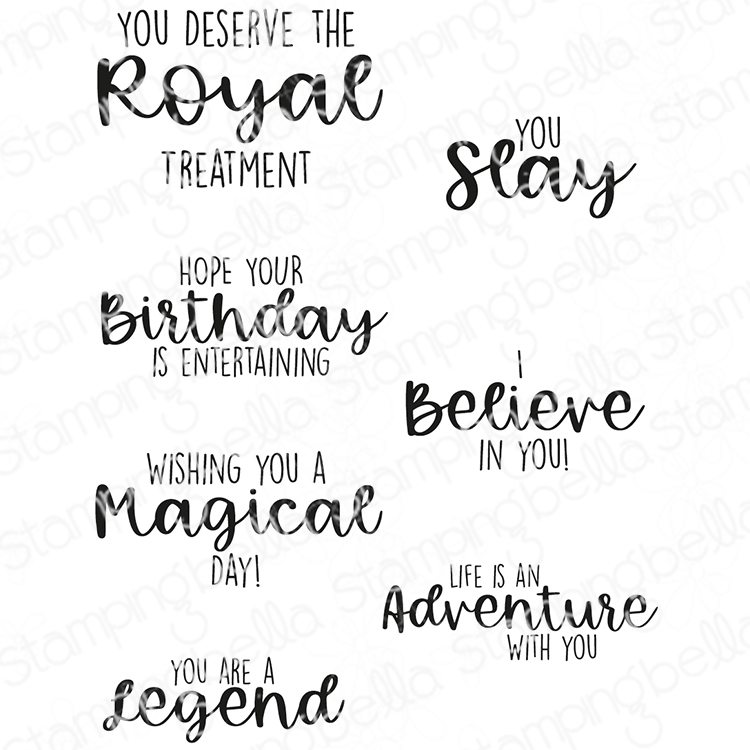
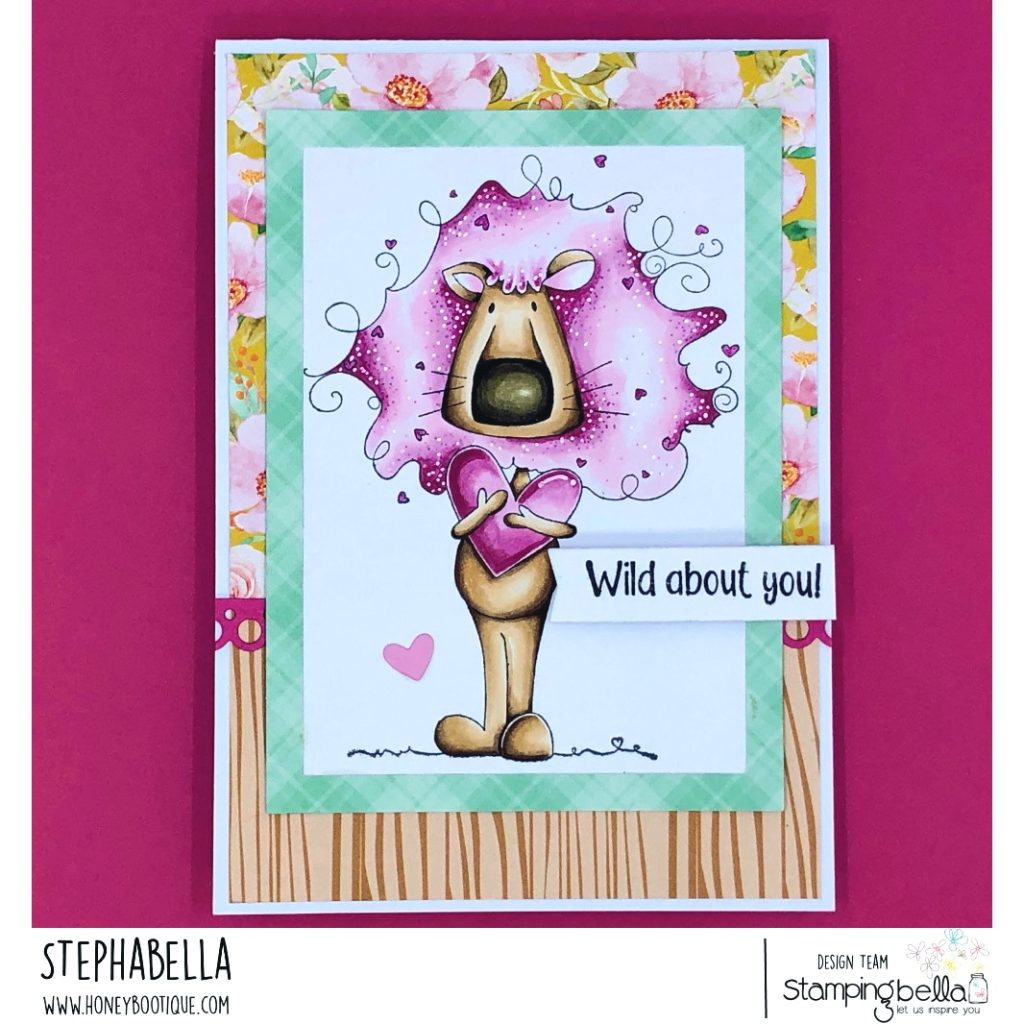
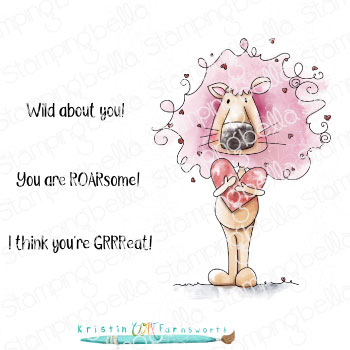
Steph is keeping the love theme going, and we’re all about that here at Stamping Bella!


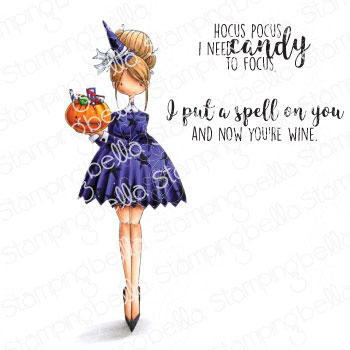
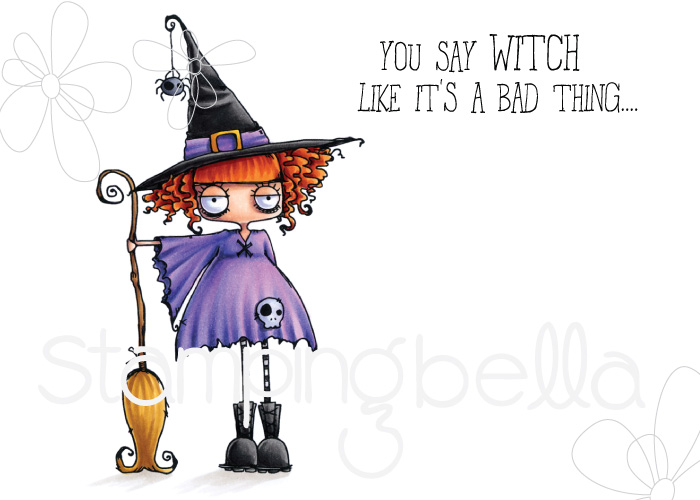
I’m in love with this WICKED card from Ginger. Such a fantastic transformation of this Curvy Girl stamp.
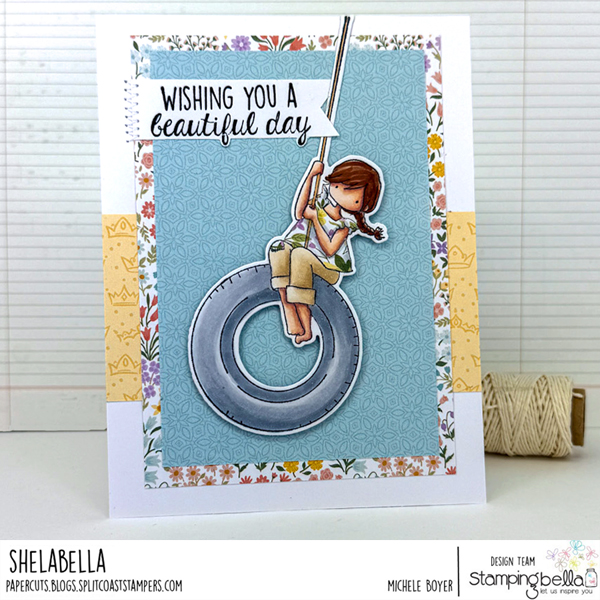
Michele’s choice of patterned papers is always lovely, and her paper piecing is *chef’s kiss*.
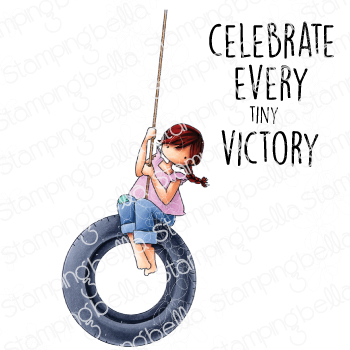
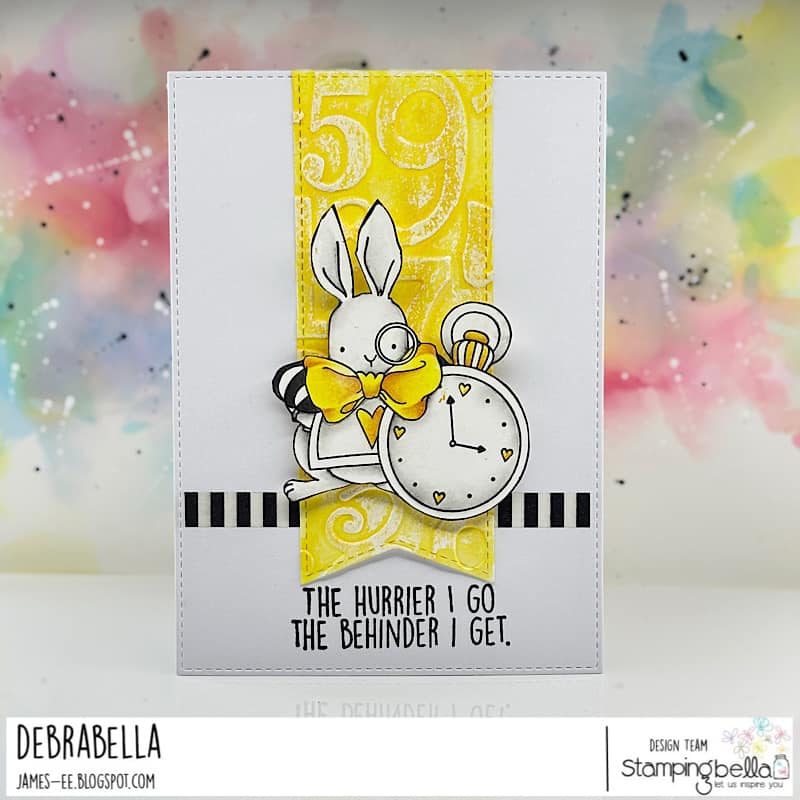
Debra opted for a visit to Tiny Townie Wonderland, and I love the cheery sunshine yellow!
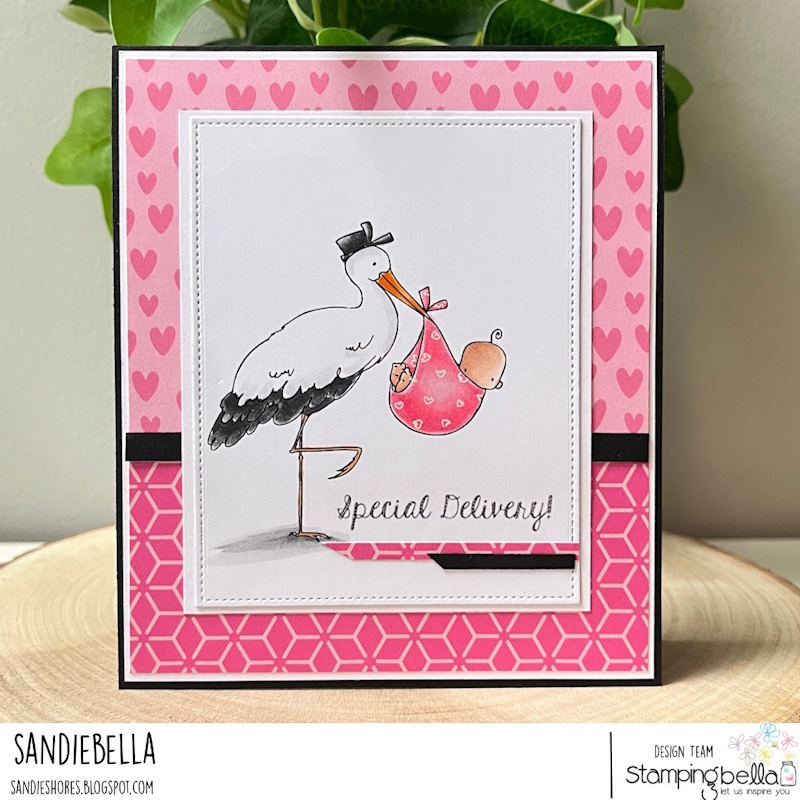
Sandie went with our new release and the baby theme!
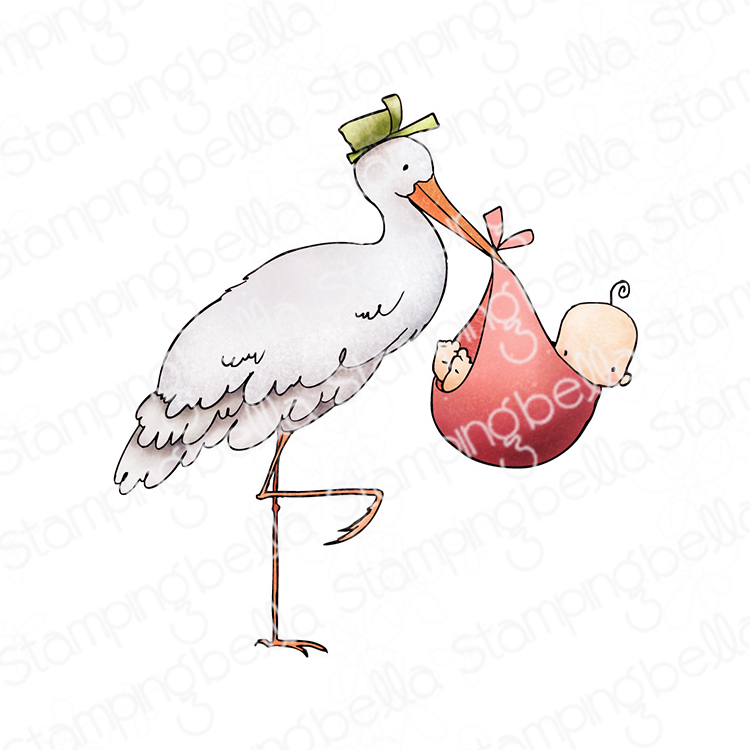

That’s it for today! Hopefully you’re feeling inspired to go and create. Don’t forget to leave us a comment below with some love for our Babes and all their hard work.
MWAH!
Elaineabella
Hi all,
I recently came across garlic bread pizzas in Lidl and instantly thought what a cool gift the box would make. When I opened it up, the bread inside was wrapped in plastic so the box was clean and perfect for altering!


The stamp I used is Oddball Girl Power, which I stamped on copic blending card and coloured with Copic markers before fussy cutting around the outline.


The box measures approx. 7″ x 7″ and I shaped the papers by using the box as a template – drawing around it with a pencil.


When I had the sides and top covered I layered papers onto the front using various dies for the stars, circles and letters.

I used 3D foam strips to adhere Oddball Girl Power to the front.

Finally, I cut out the sentiment using a stitched rectangle die and positioned it behind the image.

The box can be used for a small gift, candy or anything else you like. I baked a 6″ chocolate chip cookie which fit perfectly inside.