Before I get into sharing the Bellariffic Friday cards from our amazing Babes this week, a quick reminder! Our STOREWIDE SALE ends at midnight (EST) tonight, so this is your last chance to shop! The sale applies to all of the stamps in our store, except for our Uptown Girl Emily da Bella charity fundraiser stamp, and stamps in our retirement section.
Don’t forget that our Stamp of the Month offer for December is 50% off until midnight EST on 31st December, so it’s a perfect time for that one to sneak into your basket too!
You might find some inspiration for your shopping list below! The Babes have all used older but still absolutely amazing and still available stamps from our store. You will also find a pencil colouring video and full pencil list to go with it from me at the end of the post.
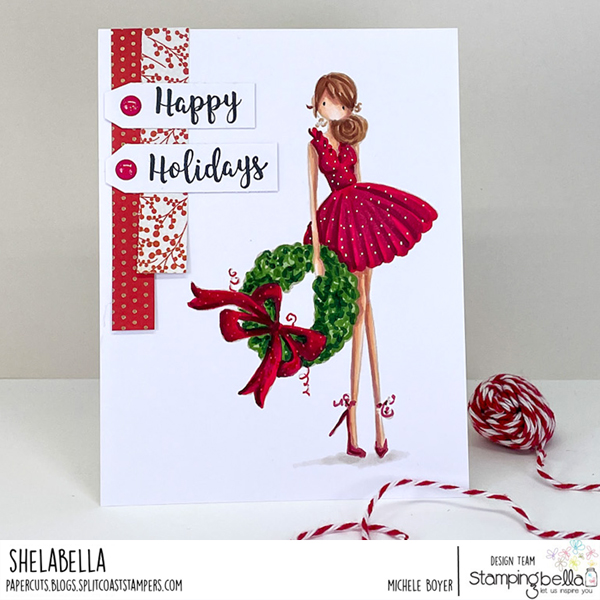
Michele used UPTOWN GIRL WREN AND HER WREATH
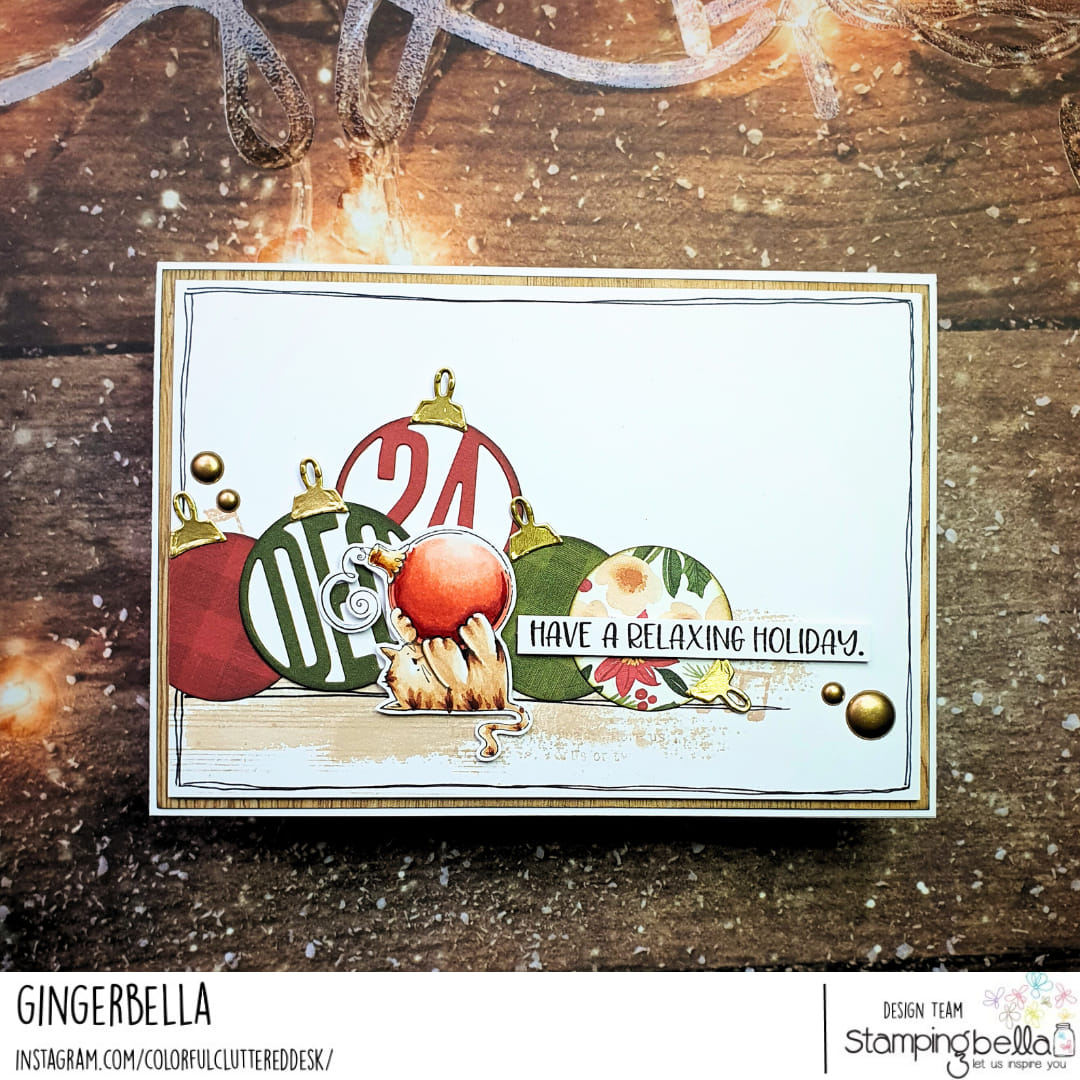
Ginger used MEOWY CHRISTMAS
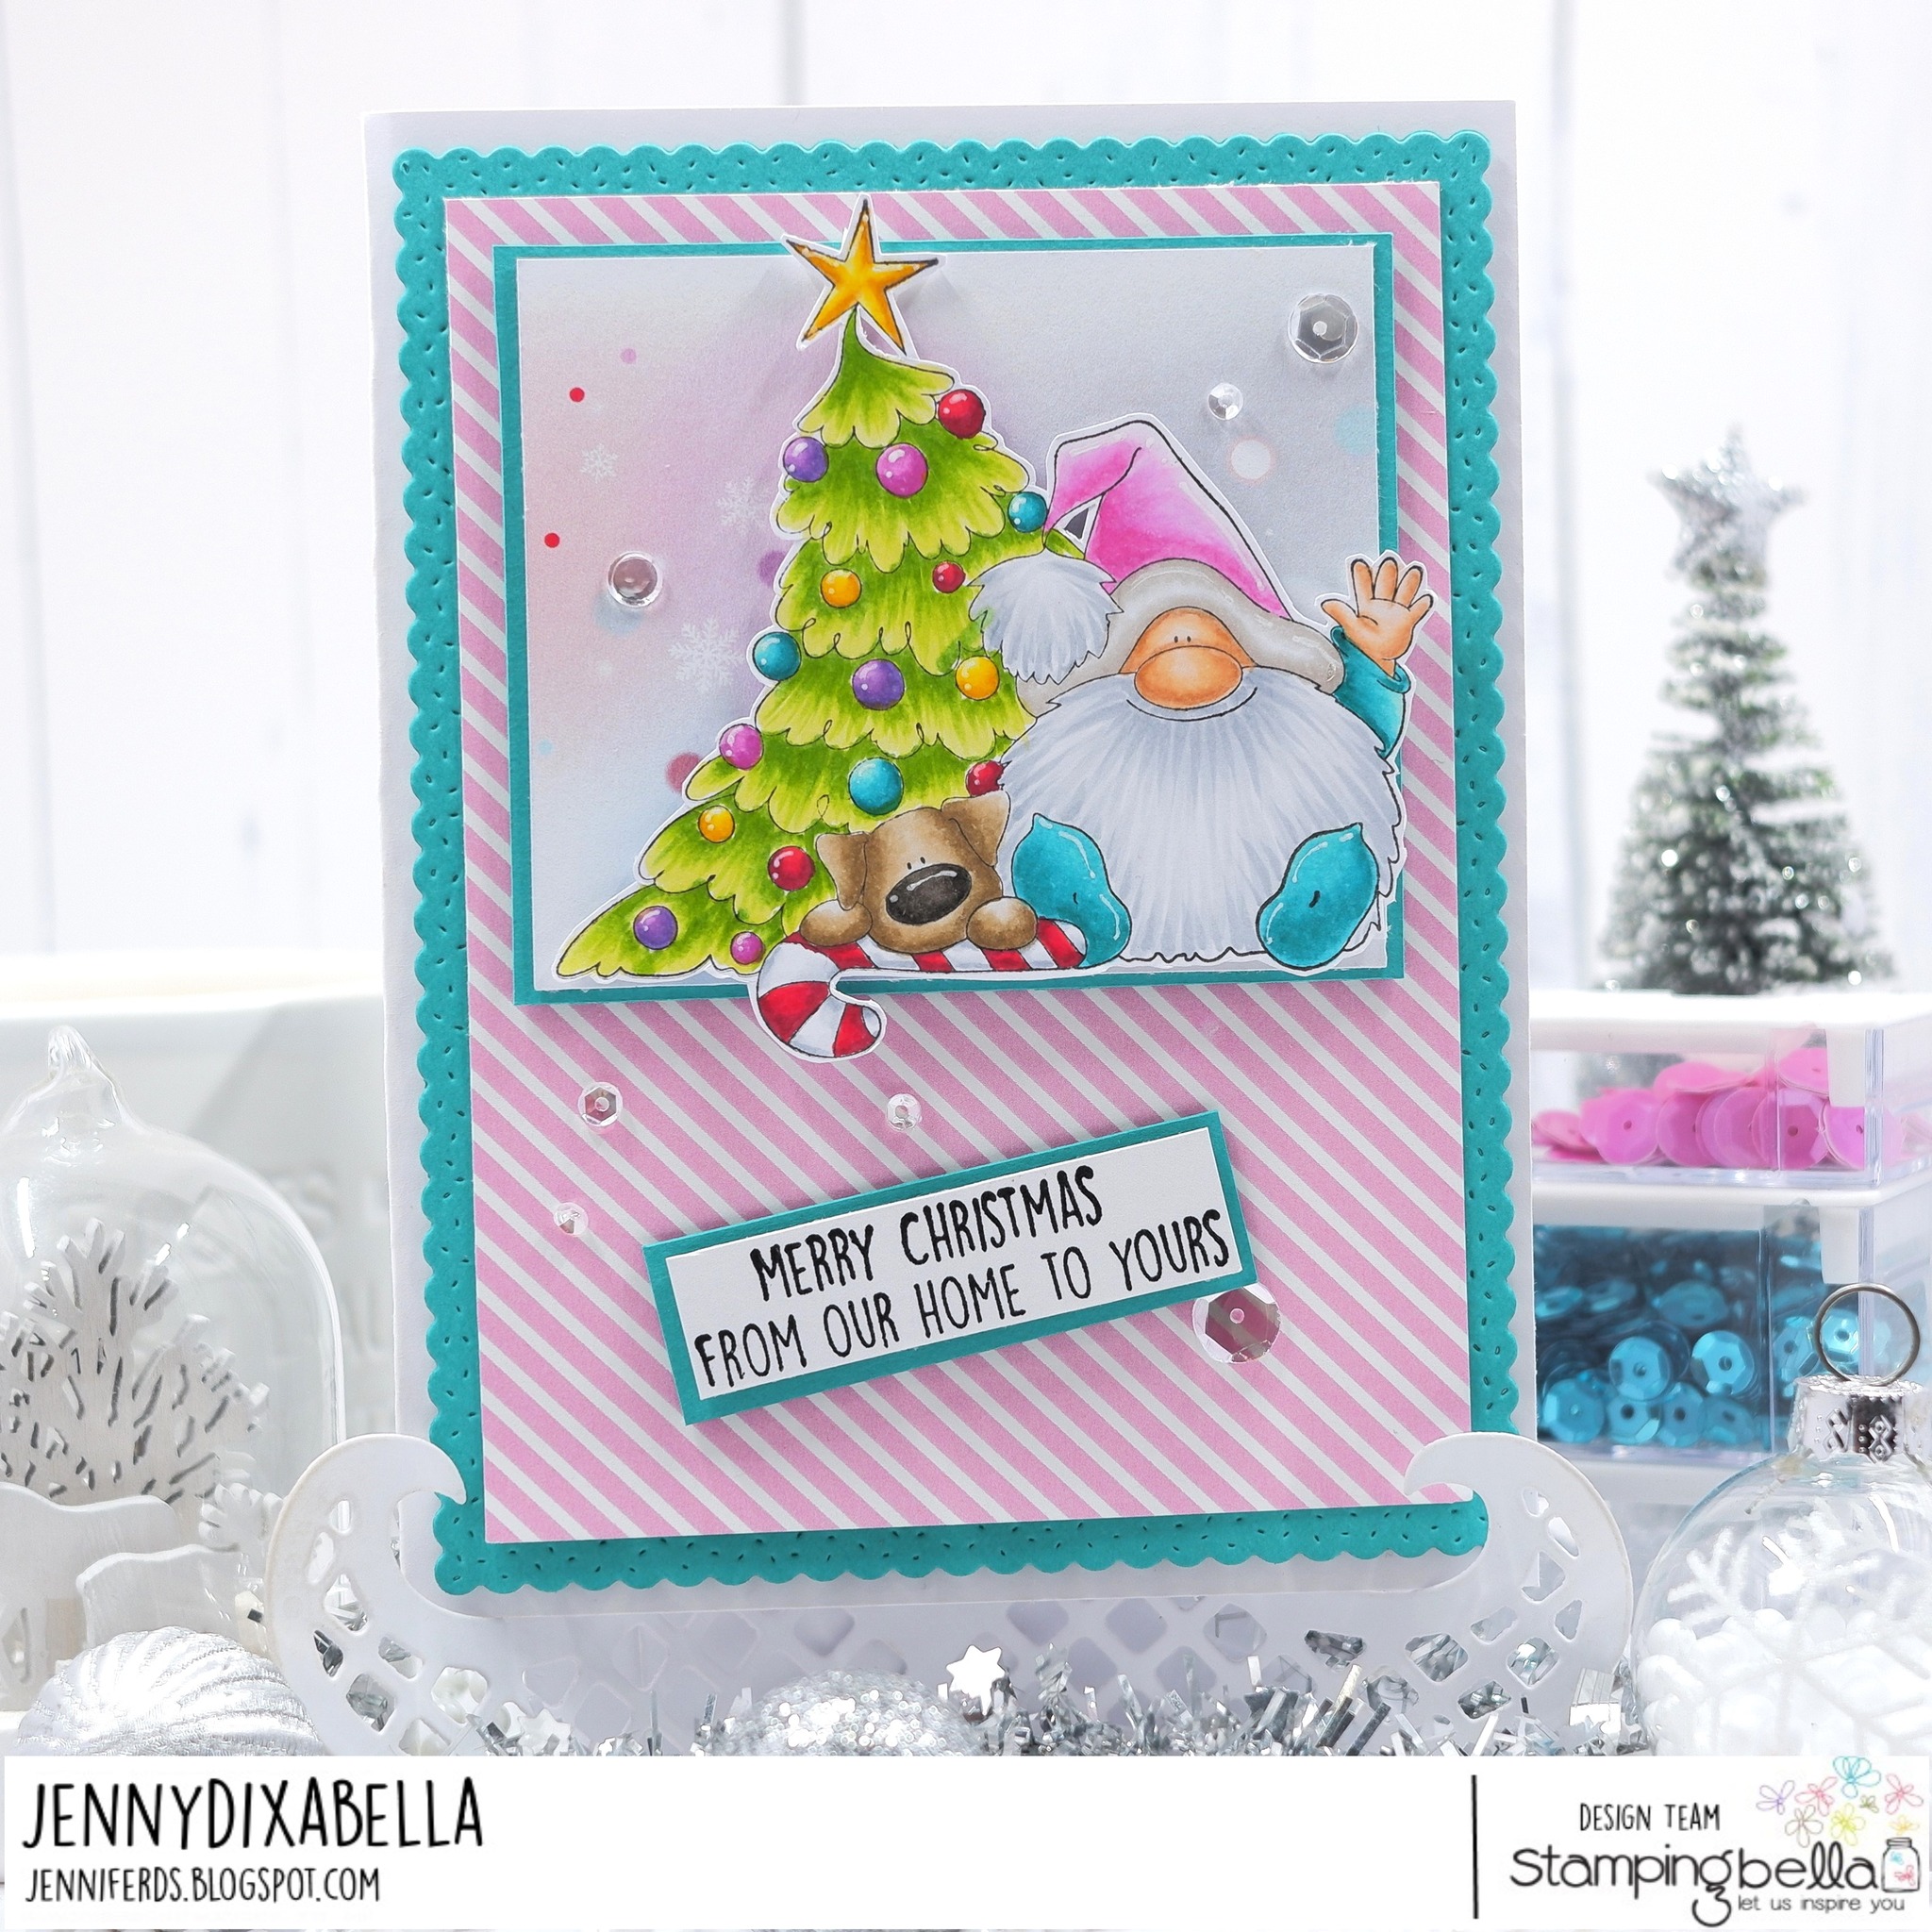
Jenny used THE GNOME AND THE CHRISTMAS TREE
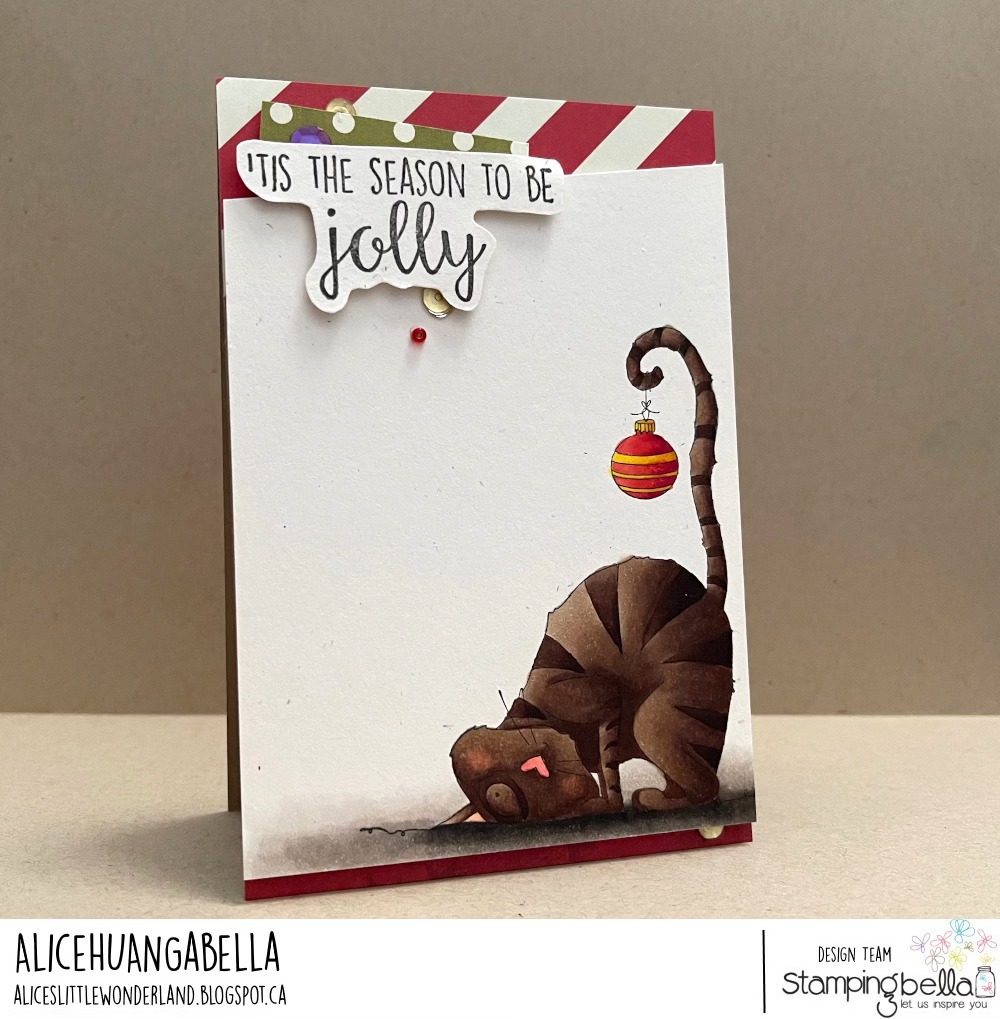
Alice used THE CAT AND THE ORNAMENT
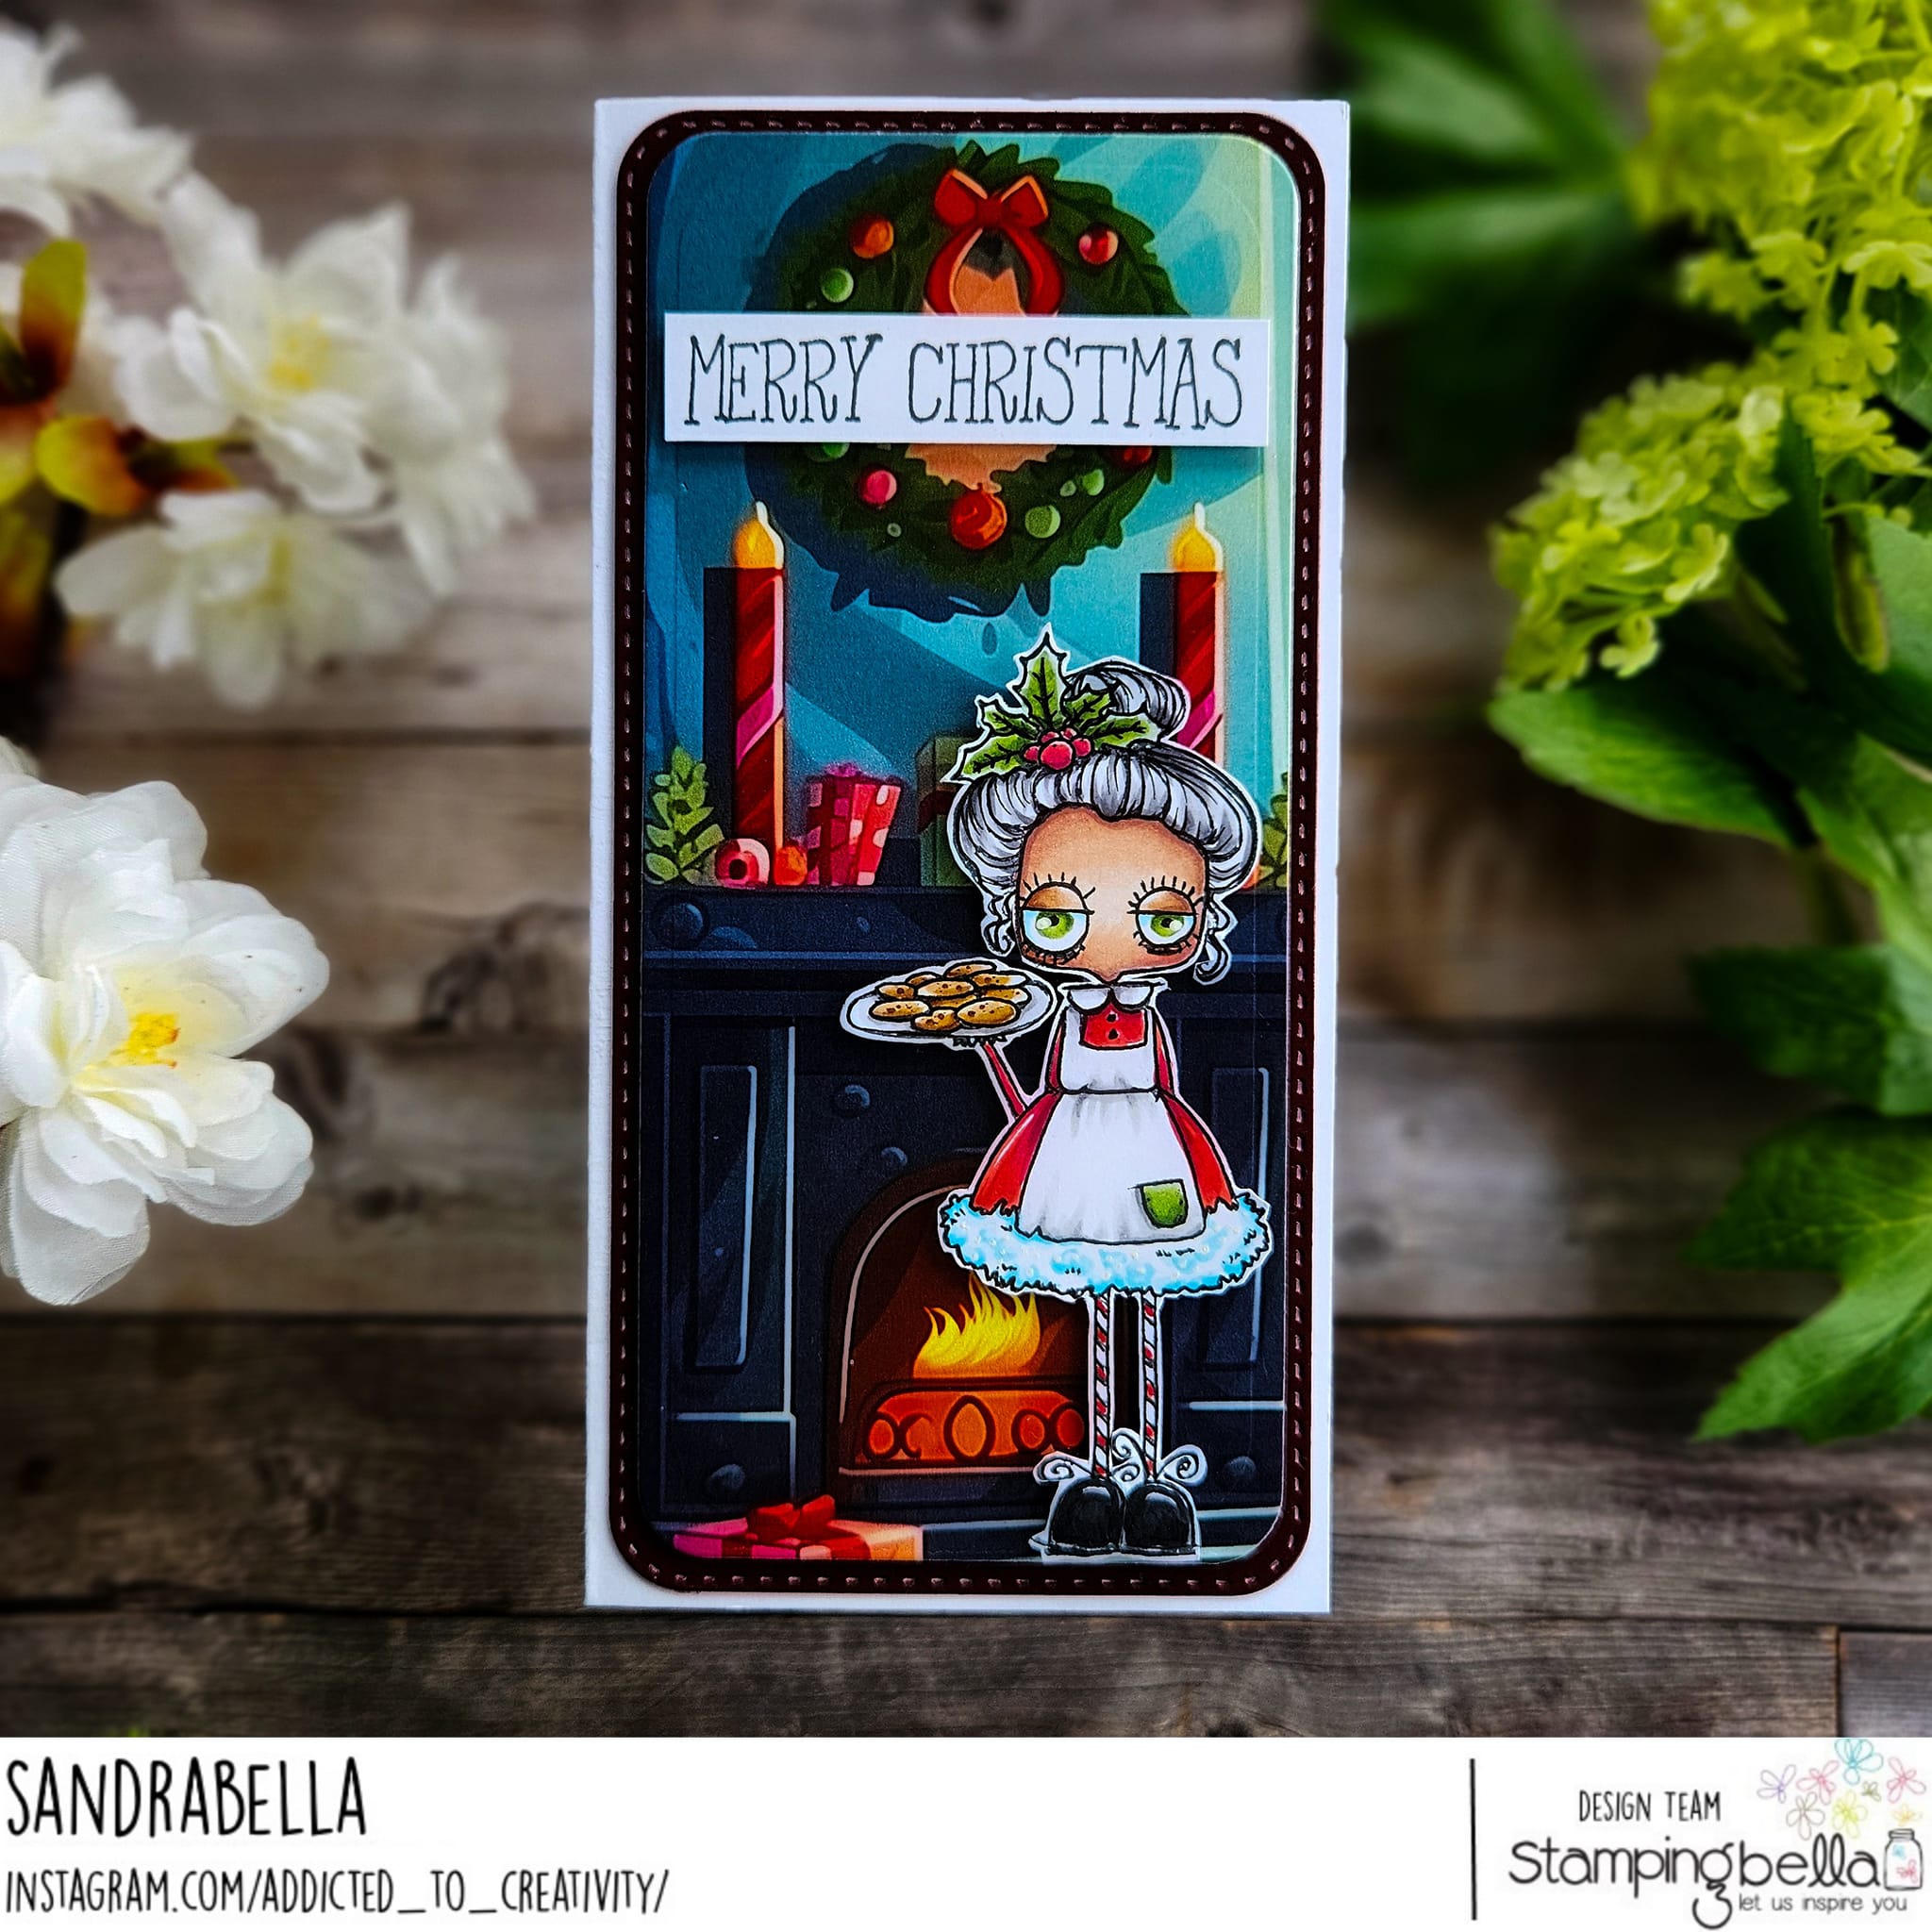
Sandra used ODDBALL SANTA AND THE MISSUS
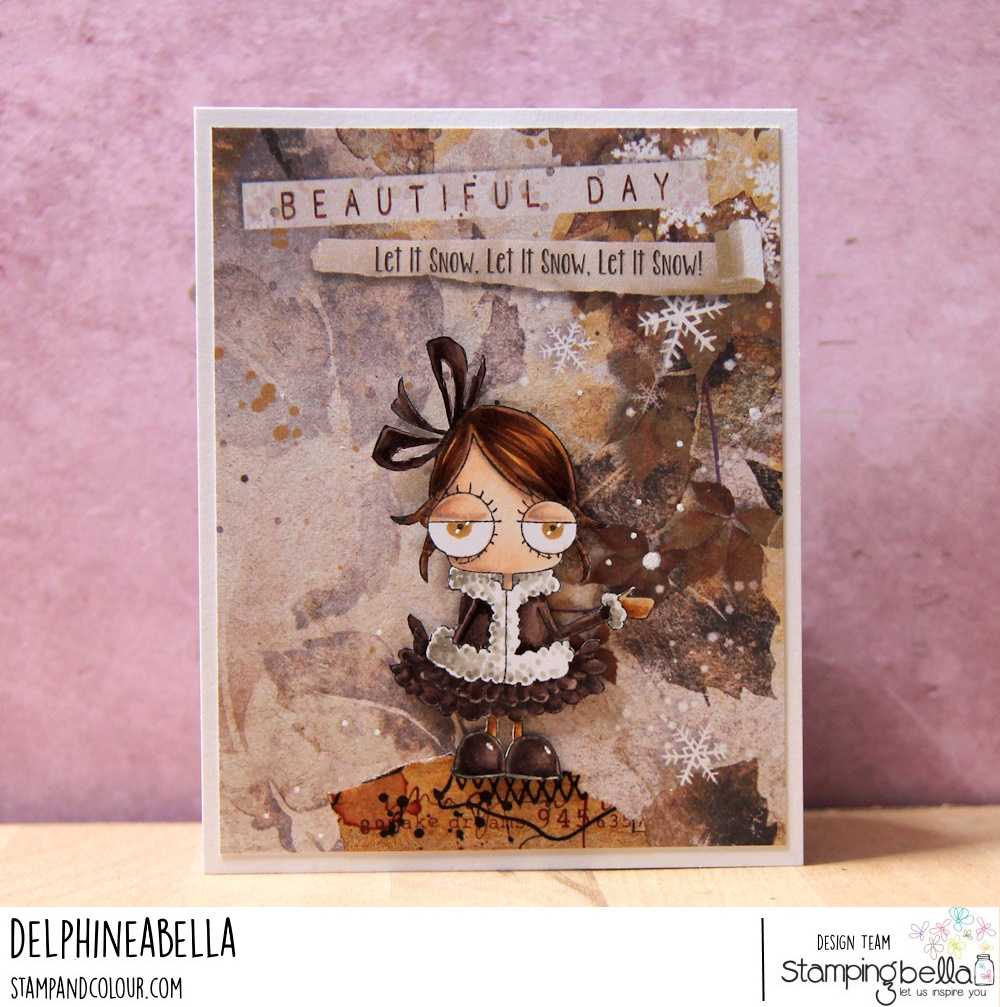
Delphine used MINI SNOWFLAKE ODDBALL
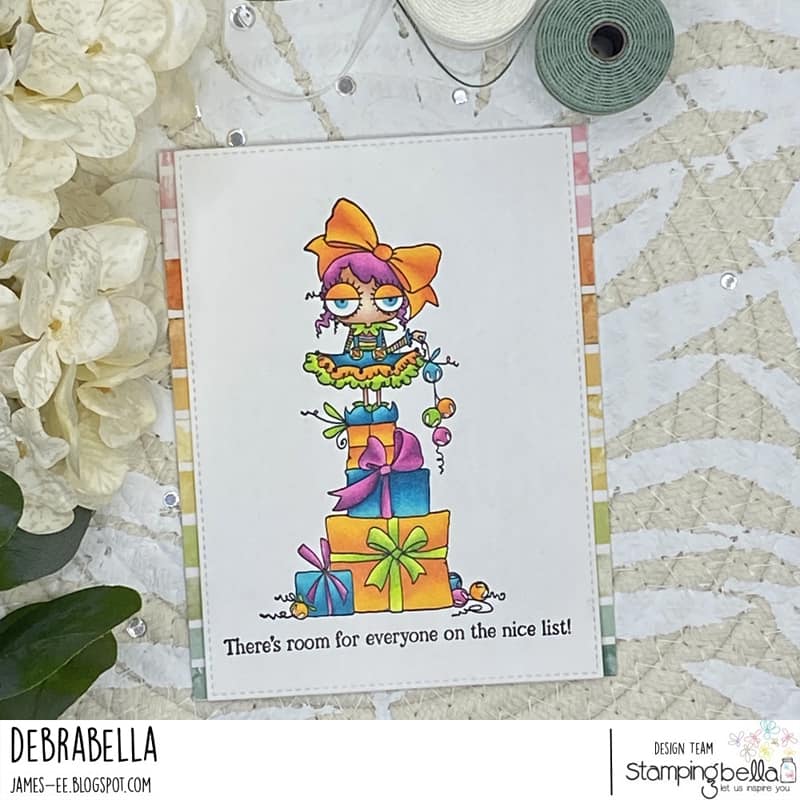
Debra used MINI ODDBALL ON A STACK OF GIFTS and our CHRISTMAS SENTIMENT SET
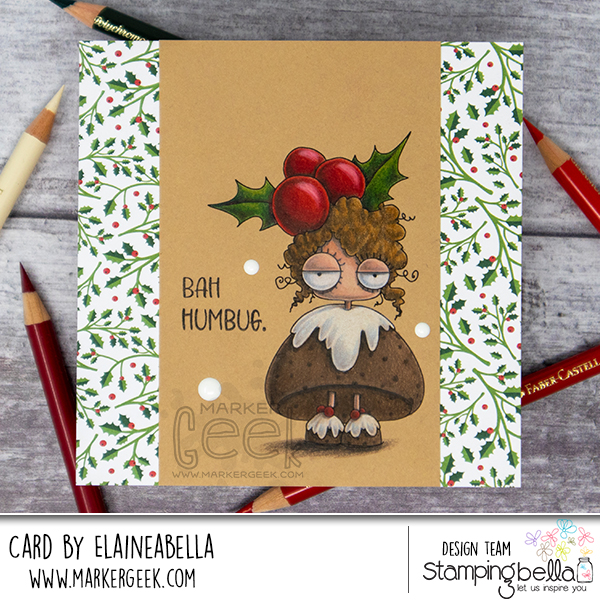
Elaine used MINI ODDBALL CHRISTMAS PUDDING and the FESTIVE ODDBALL SENTIMENT SET
Watch Elaine colour this stamp in the video below. If you enjoy watching please do like the video and subscribe over on her YouTube channel.
I have a little stack of images stamped up awaiting the coloured pencils on kraft treatment. This week it was Oddball Boy Elf’s turn! You can watch my Oddball Boy Elf Pencil Video below to see how this oh so festive character came to life using Prismacolor coloured pencils (full pencil list at the end of this post).
Before I share my card and video, just a quick reminder! The Stamping Bella STOREWIDE SALE is still on, but it finishes at midnight EST on Friday 8th December 2023. So make sure you get your order in by then!
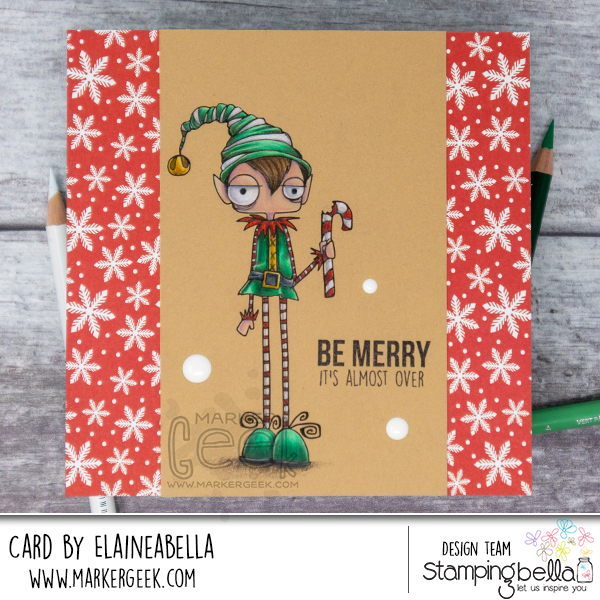
Stamps Used: Stamping Bella Oddball Boy Elf, Festive Oddball Sentiment Set,
Watch me colour this stamp in the video below. If you enjoy watching please do like the video and subscribe over on my YouTube channel.
It’s the first Tuesday of the month which means it’s CRAZY TUESDAY! PLUS our STOREWIDE SALE is still on, so it’s the perfect time to grab some of the stamps from your wish list!
Grab this month’s offers at crazy prices today and only for today! Check out the inspiration below to see why you need them, then click on over to the store to grab them before the prices return to the 25% off sale price (by midnight on 5th December 2023).
I’m here to share another of the newest stamps with you! Watch my Frogs & Flowers Copic Video below to see how this stamp came to life using Copic markers.
This little frog line up just makes me smile. The little froggy bum in the middle…
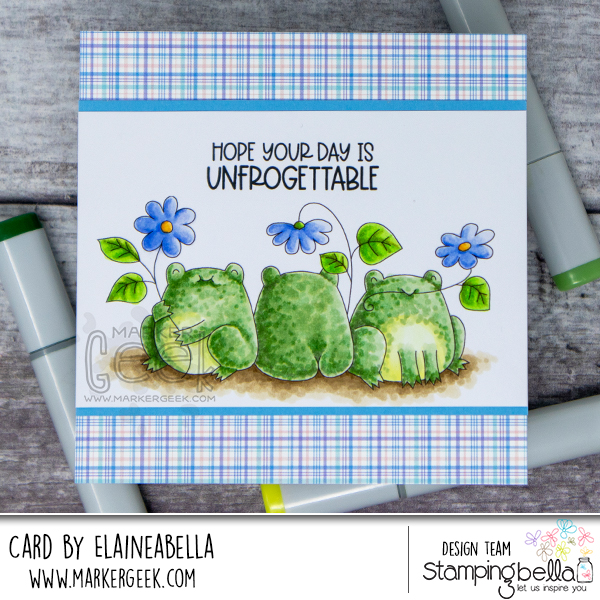
Stamps Used: Frogs & Flowers, Froggy Sentiment Set,
Watch me colour this stamp in the video below. If you enjoy watching please do like the video and subscribe over on my YouTube channel.
MWAH!
Elaineabella
Hello bellas!
Amy here with my Scenic Saturday card and with the new release hitting the store yesterday I just had to color up another one of the gorgeous Uptown Girl princesses. The classic fairy tale theme of these beauties lends them so well to fantastical scene building opportunities. Uptown Girl Snow White challenged me to create a background that would transport us right into her story book world.
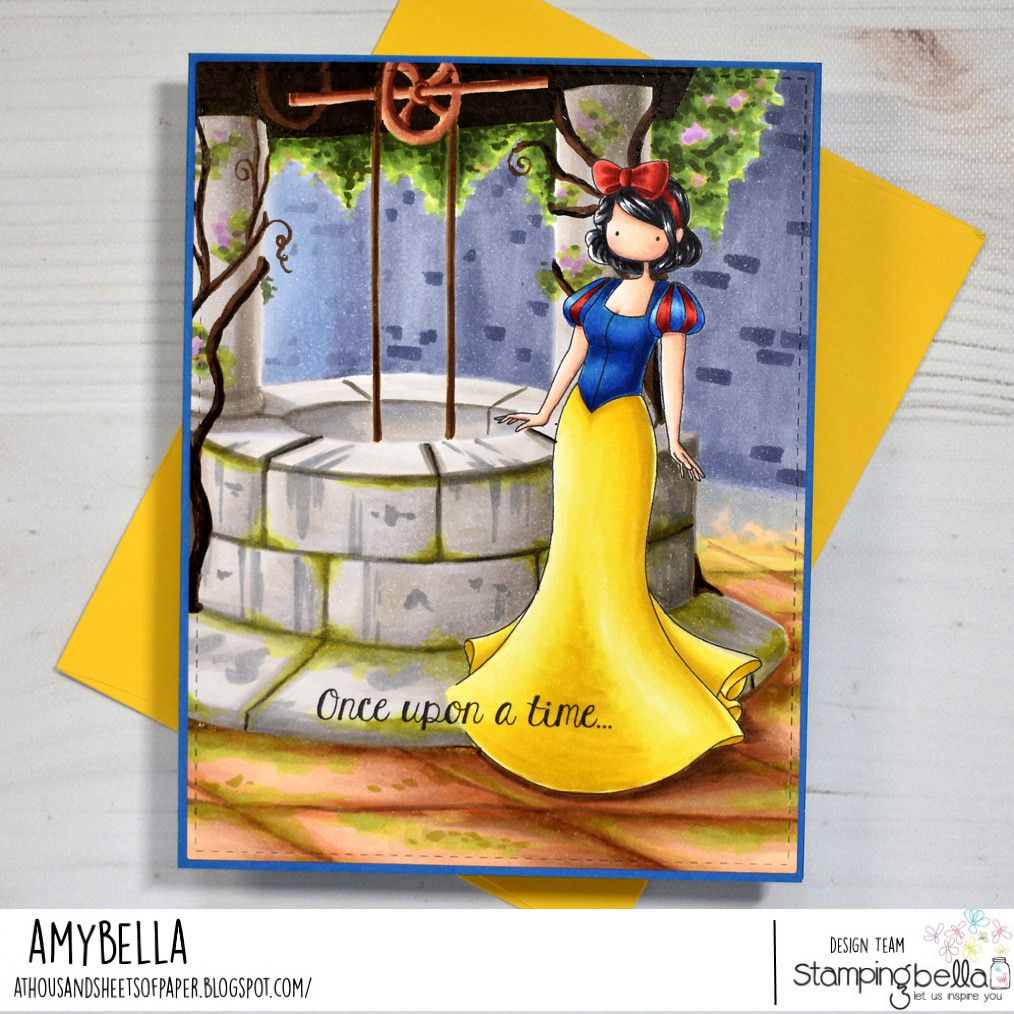
First things first, I went straight to Pinterest and searched for a reference to Snow White’s wishing well that I could use as a visual aid when sketching in the scene. I found a still from the old animated feature that was the perfect jumping off point, so I grabbed a very light Copic marker, E40 in this case, and roughly sketched in the well behind her. I prefer this method over using a pencil because the graphite in pencil lines can gunk up your marker nibs, which is never a good thing. The E40 is so light that once I start adding in my darker colors, the lines virtually disappear which allows me shift and modify lines if the perspective looks off on anything. As detailed as this finished scene appears on my card, it is actually quite stripped down and simplified from the original inspiration photo because while I want Snow White to look right at home within it, at the end of the day she is still the star of the show. The sentiment is from the new Princess Sentiment set and I added it at the bottom of the card. This is definitely a more advanced background which takes time and practice to be comfortable attempting but I hope it inspires you to see that coloring scenes on your own cards can start simply and eventually lead you to all sorts of imaginative places if you just stick with it. 🙂
Stay crafty my friends!
Today is probably the most Bellariffic of Fridays! Not only do we have our usual Bellariffic Friday featuring the new December Stamp of the Month offer, but we have our incredible NEW RELEASE
and we also have a fantastic STOREWIDE SALE with up to 25% off the whole store. 
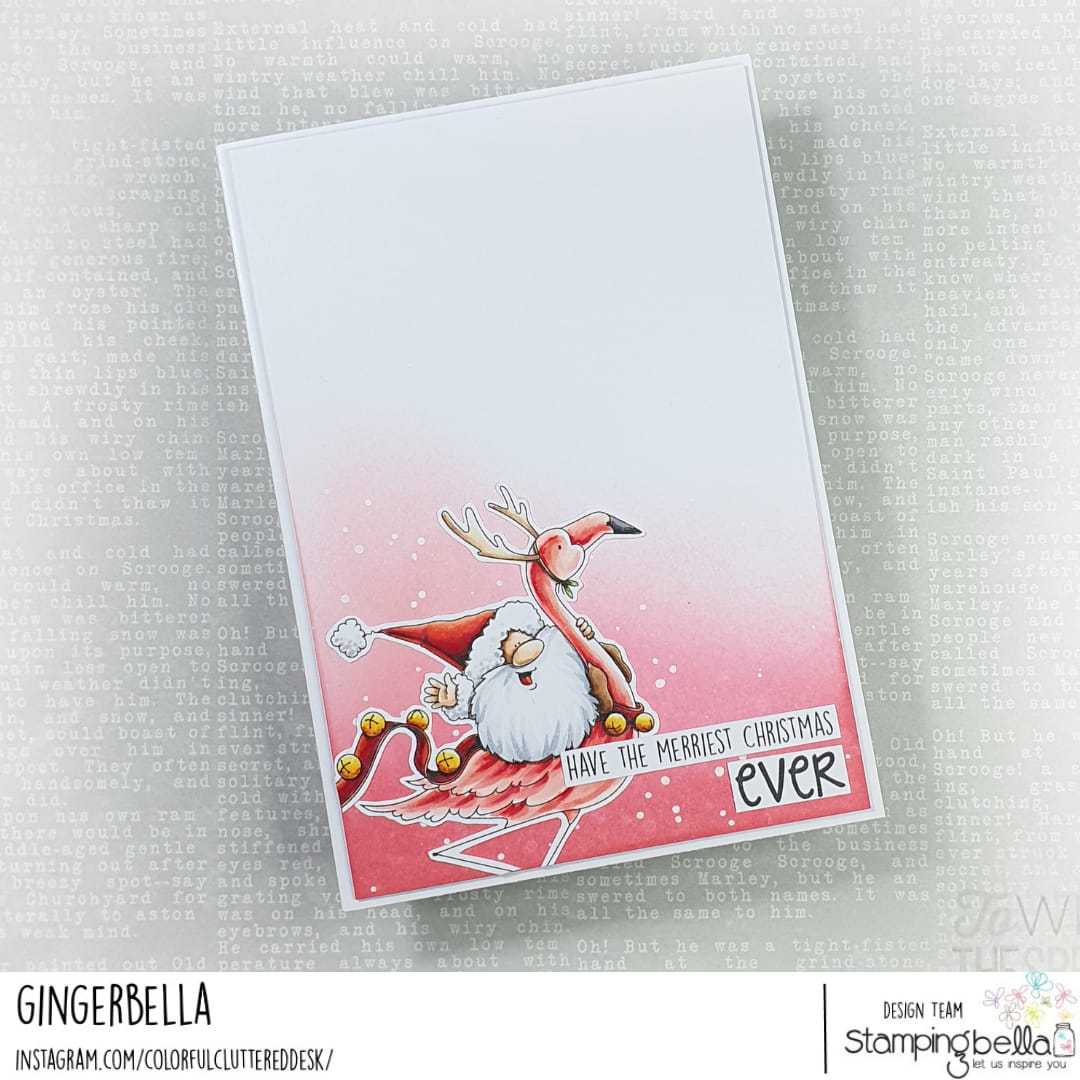
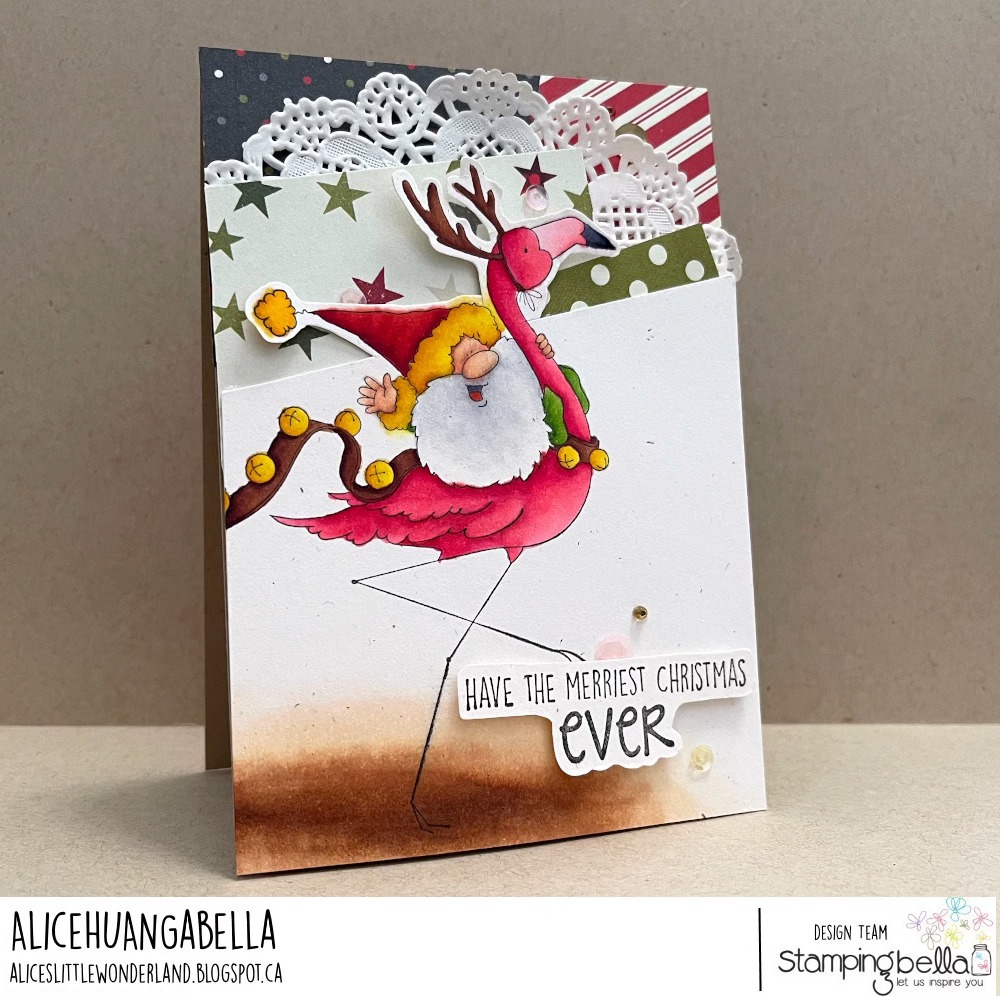
Happy December! Not only have the Babes created some spectacular inspiration for us in the release previews this week, but they have created some stunning new cards to showcase our December Stamp of the Month: The Gnome & The Flamingo. If you weren’t sure that you needed it in your collection, they are going to have you fully convinced by the end of this post! You will also find a new colouring video from me at the end of the post.
Let’s check out all the inspiration!
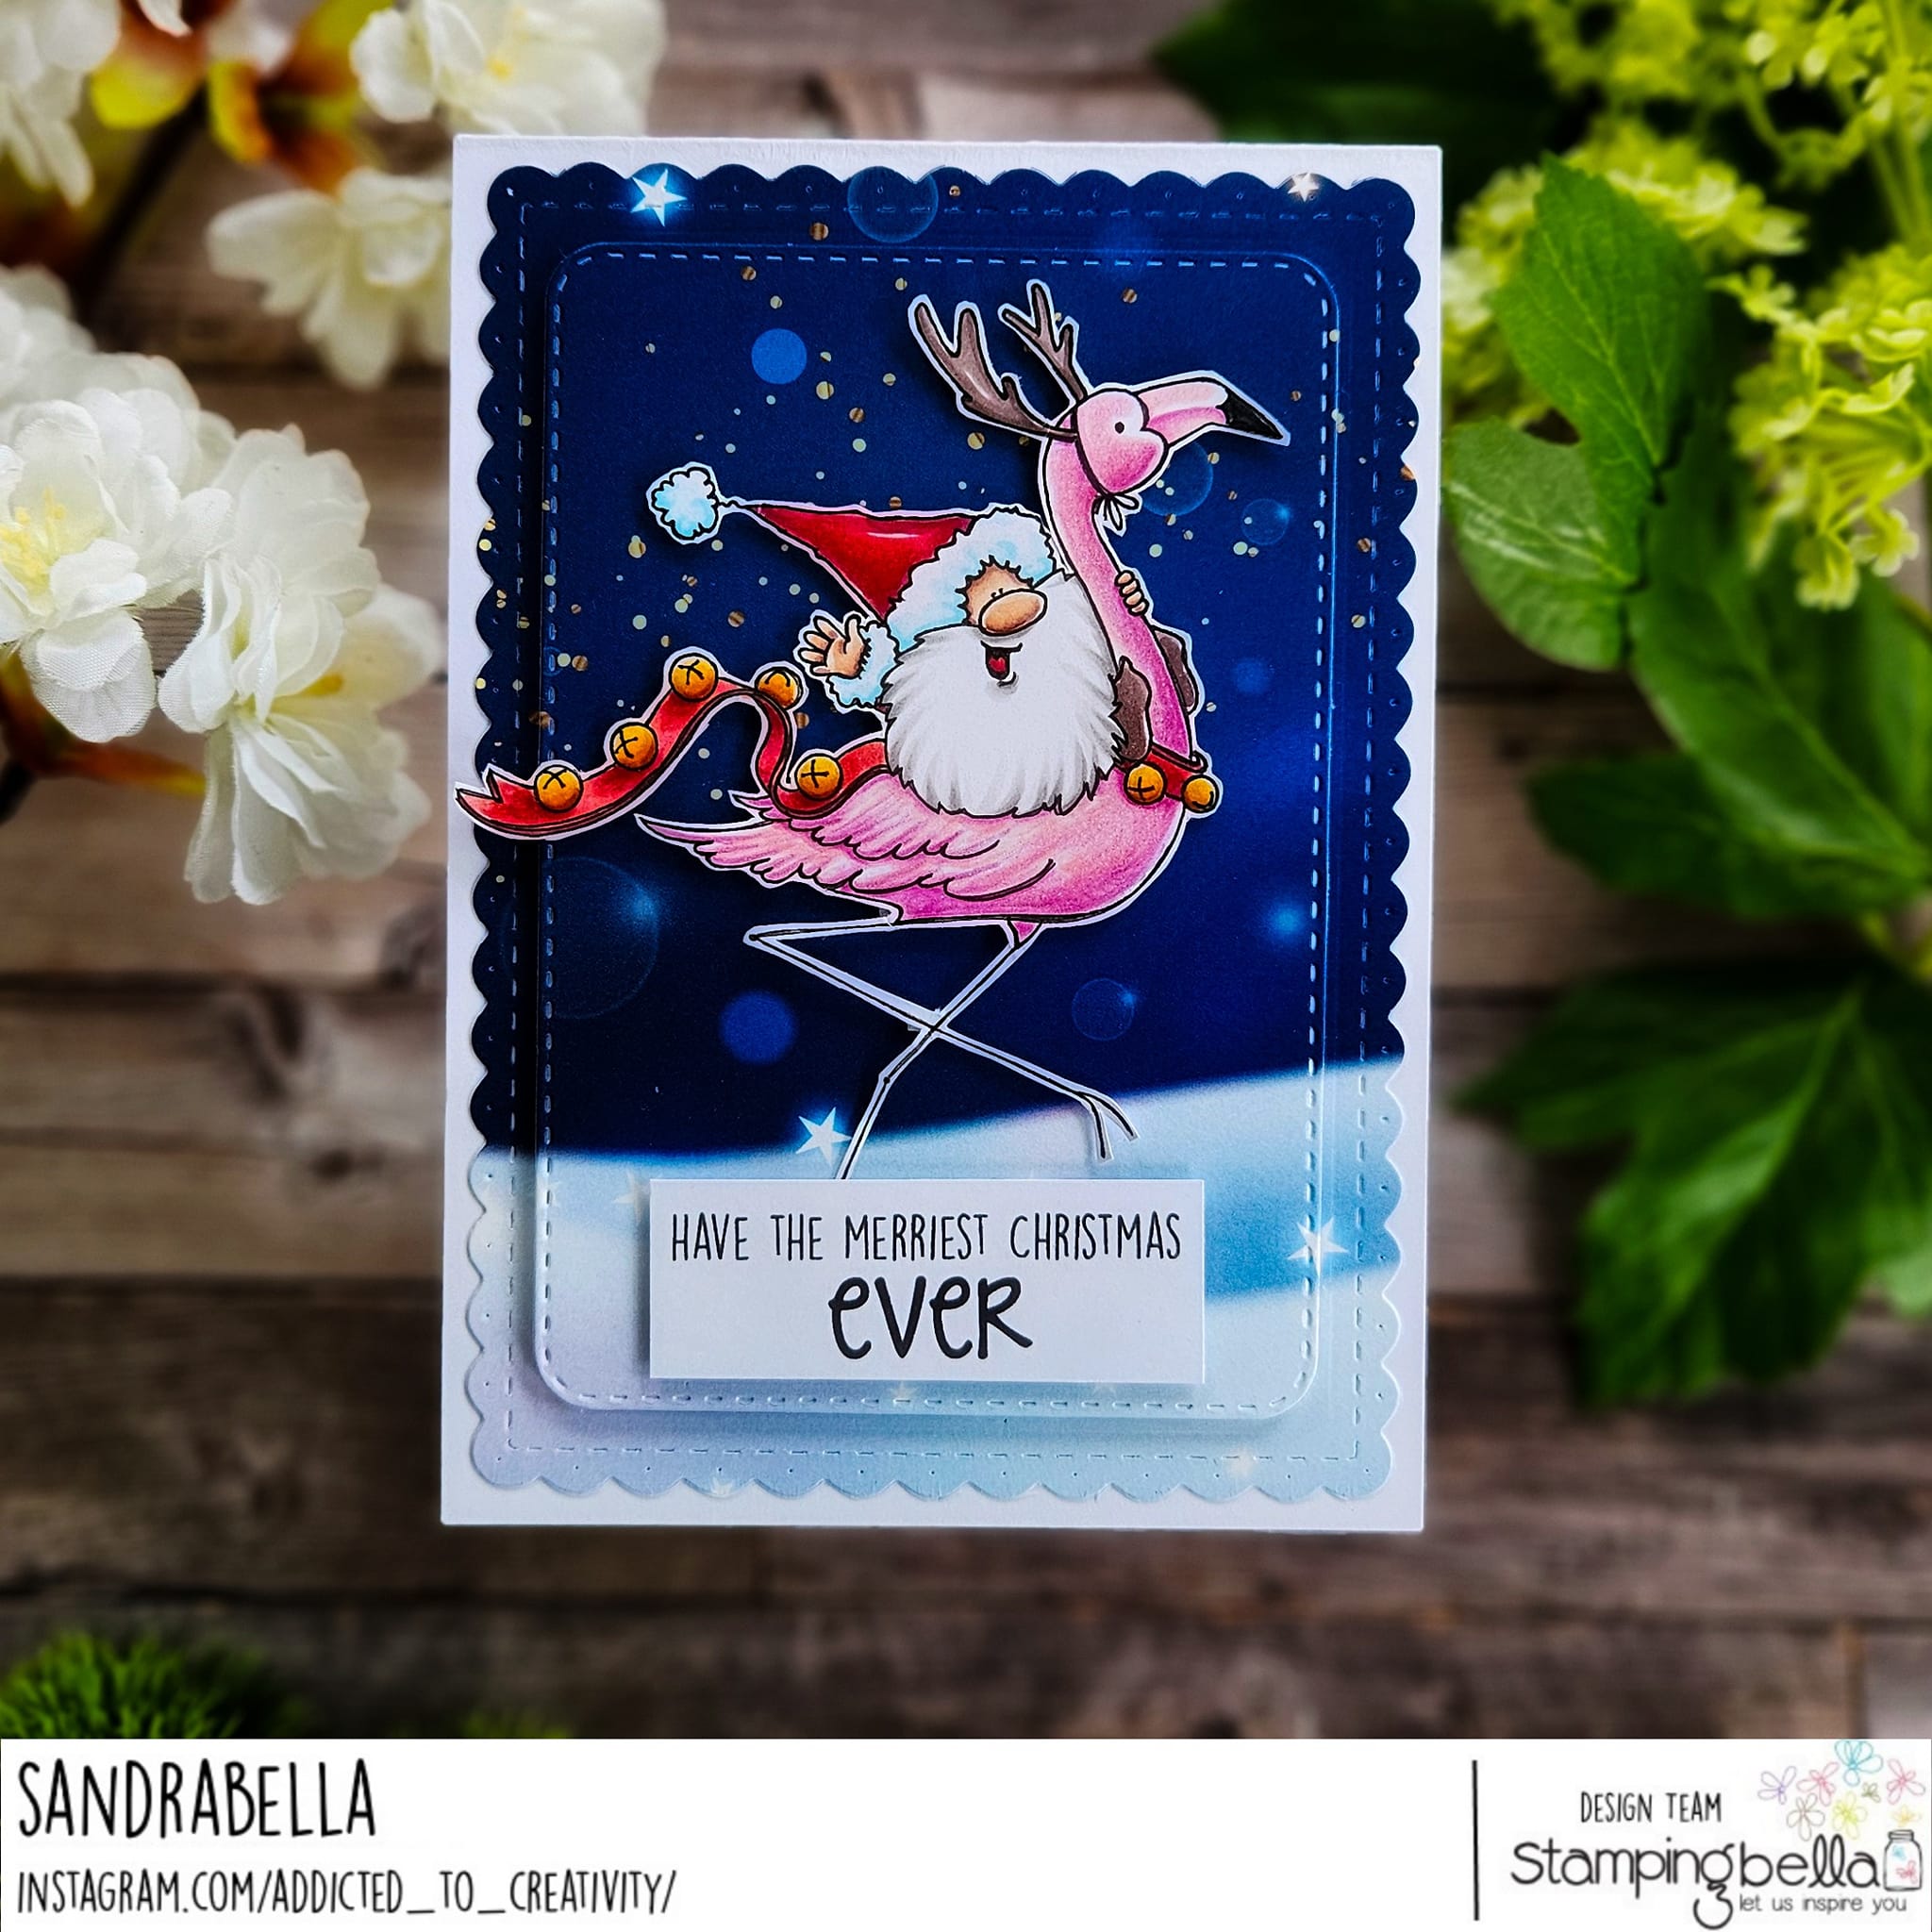
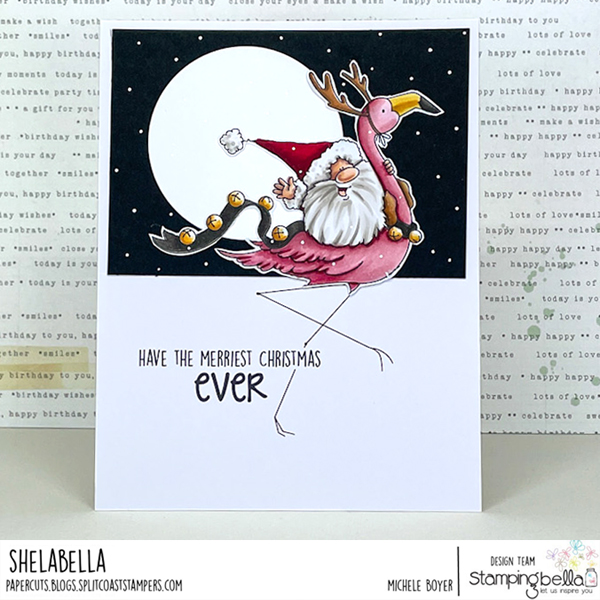
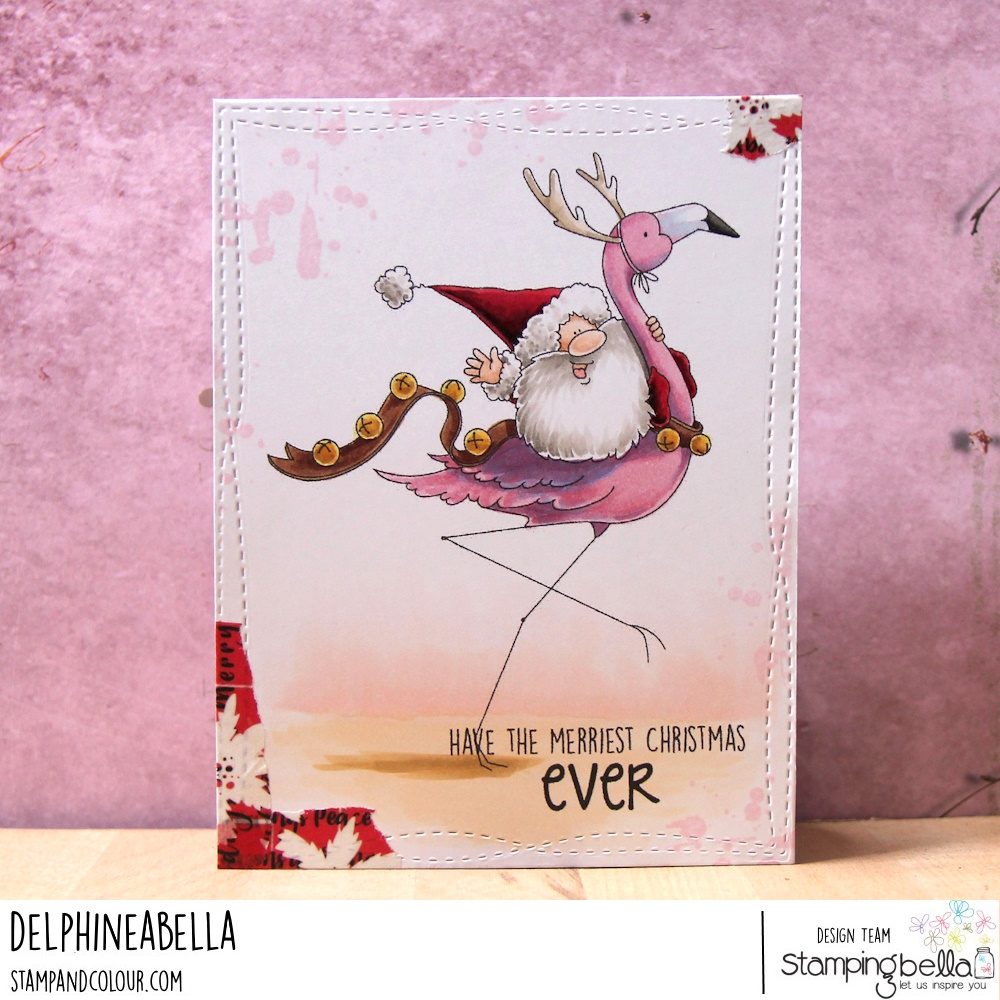
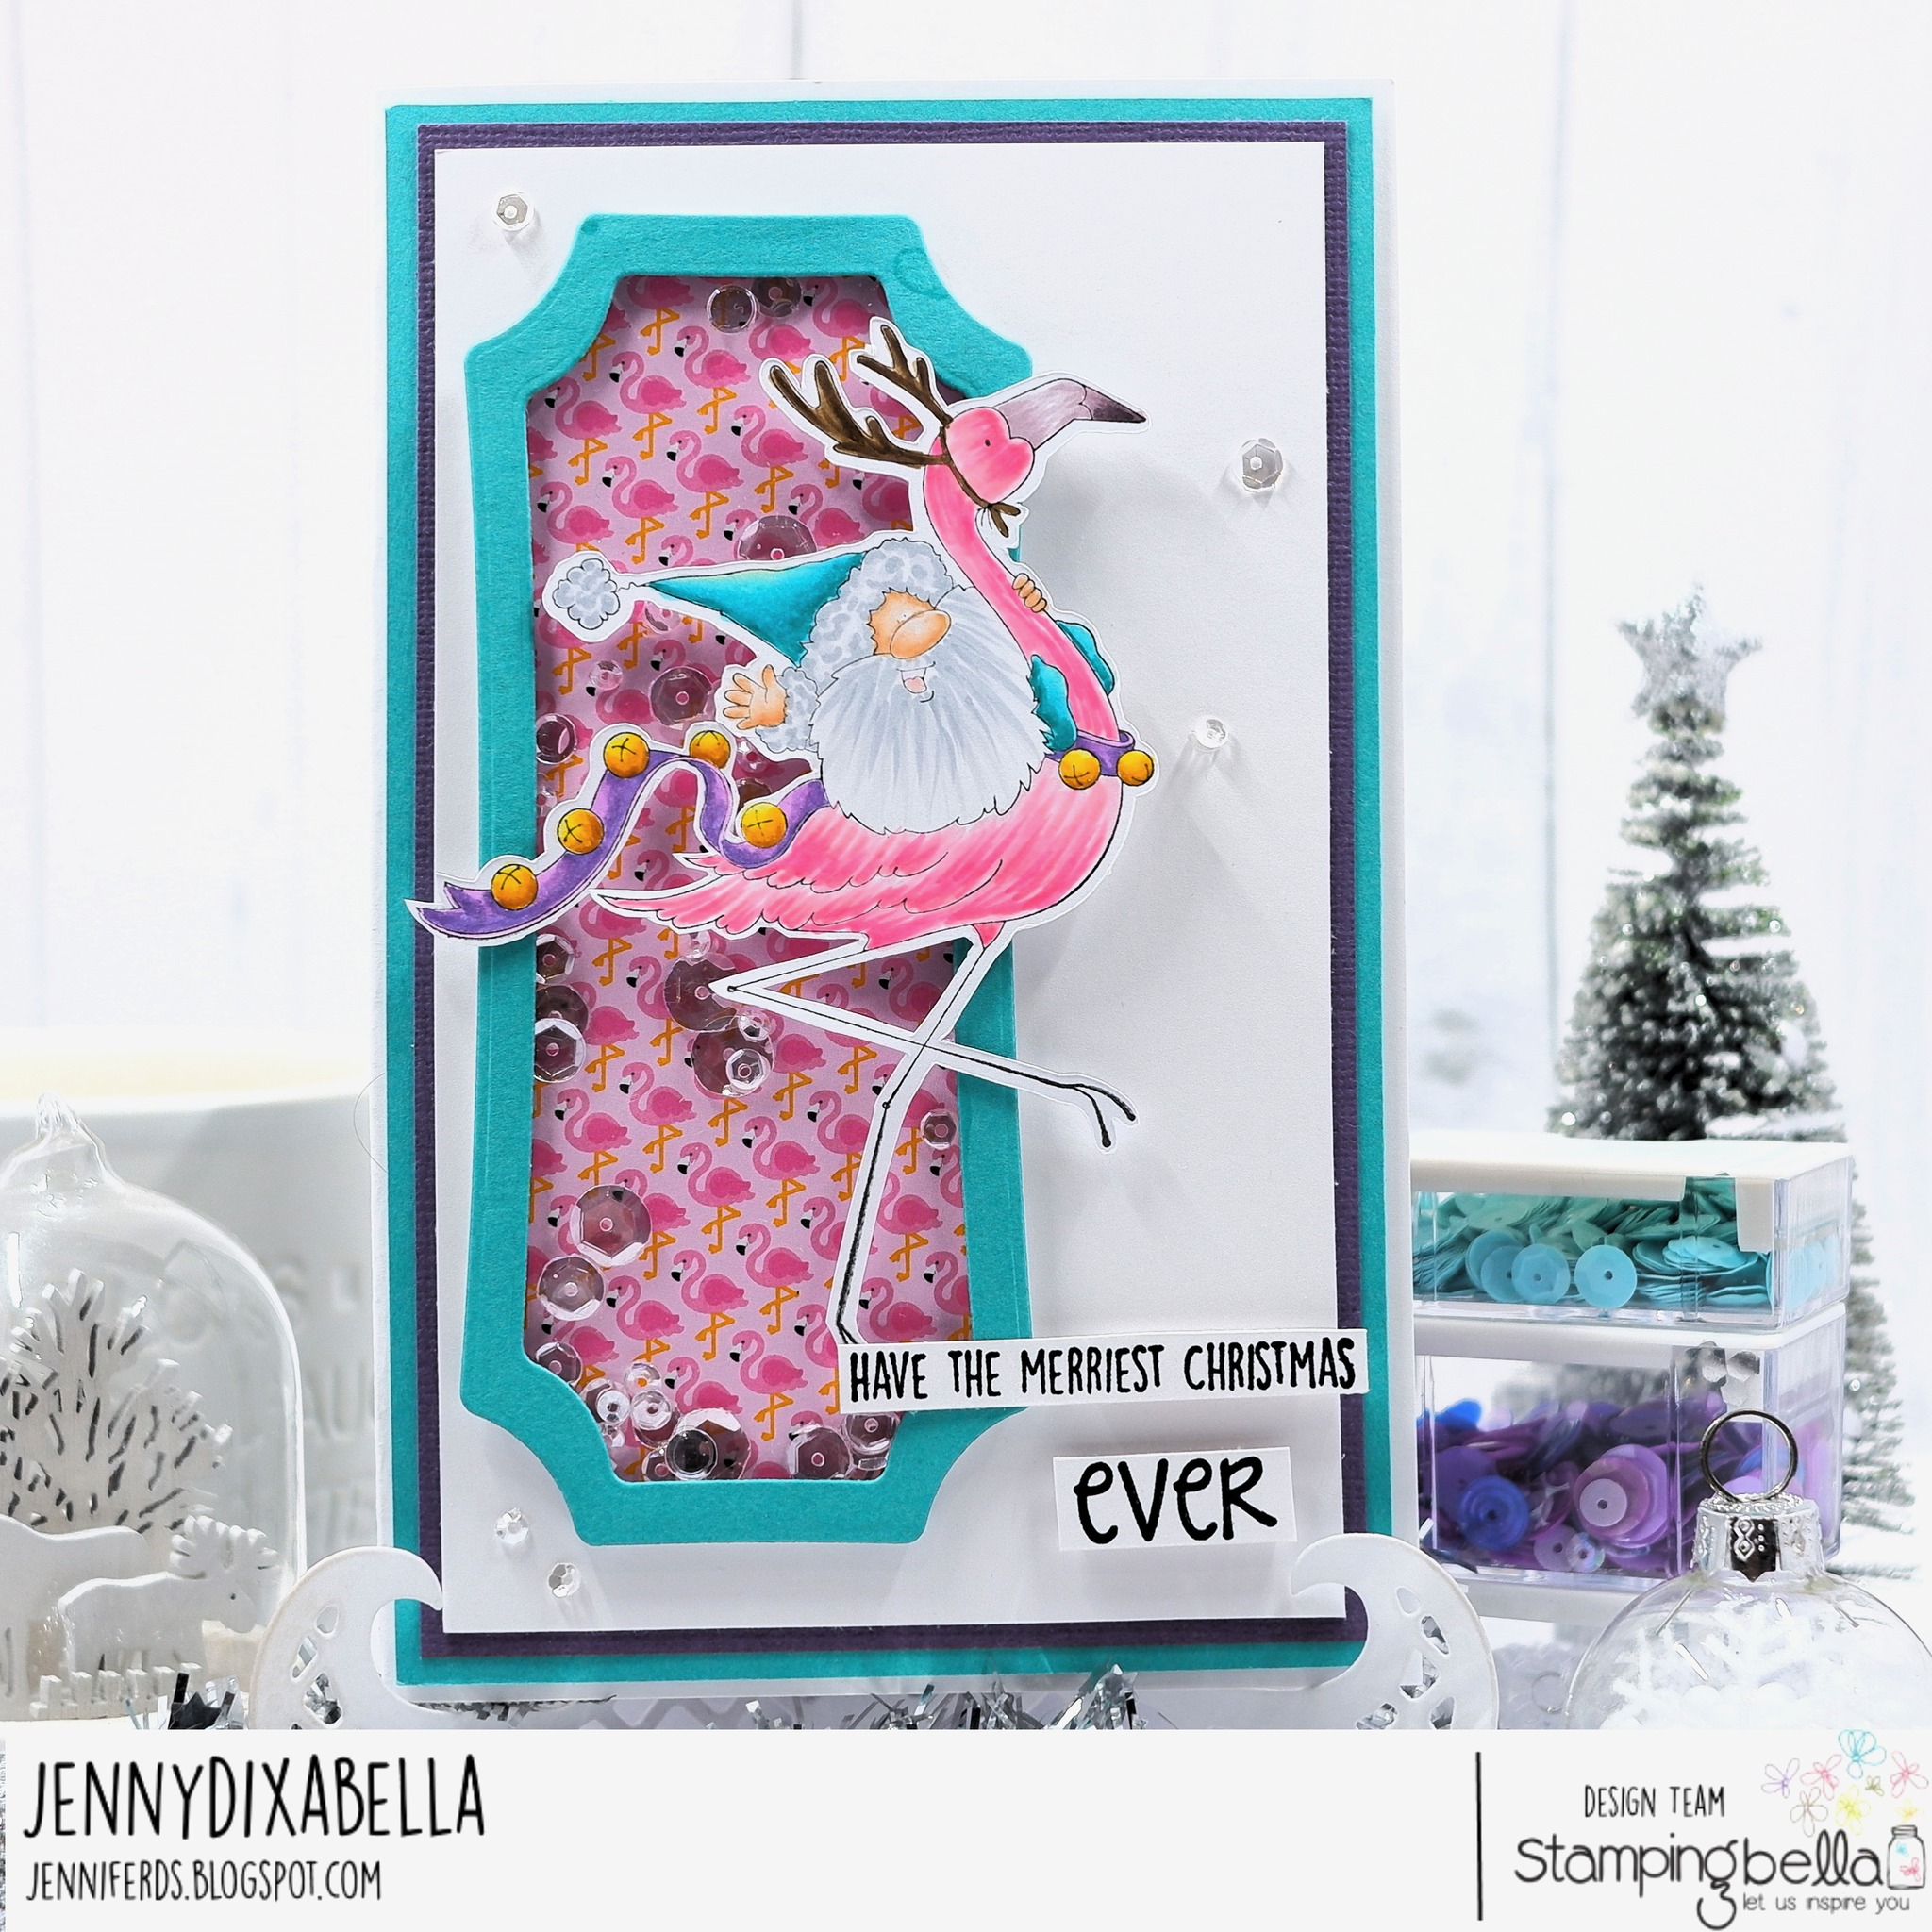
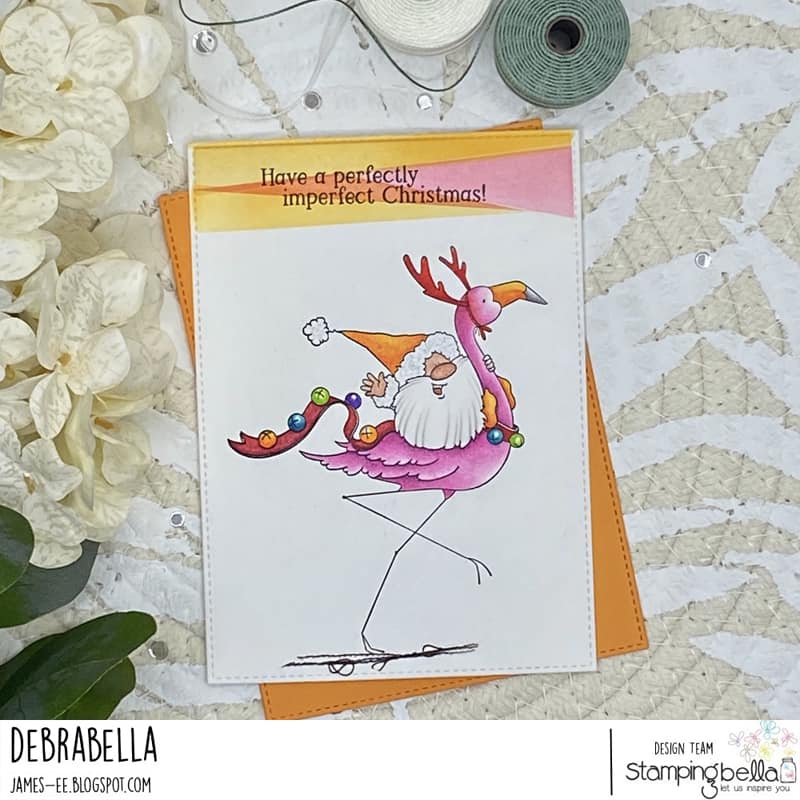
Debra also used our CHRISTMAS SENTIMENT SET
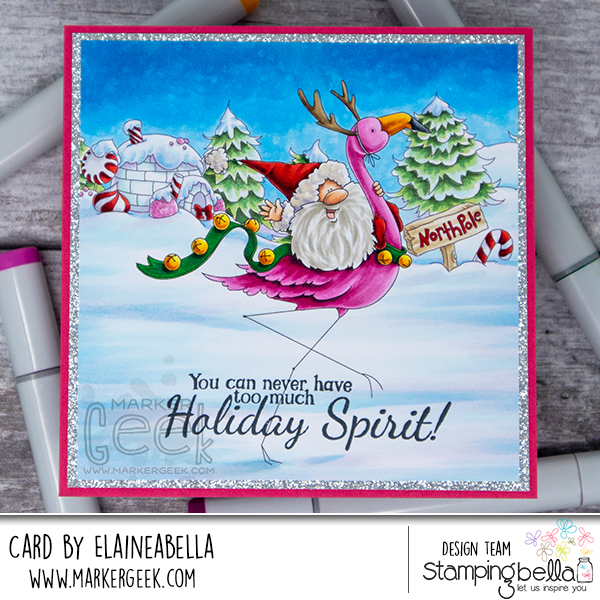
Elaine also used our NORTH POLE BACKDROP and the FESTIVE GNOME SENTIMENT SET
Watch her colour this stamped scene in the video below. If you enjoy watching please do like the video and subscribe over on her YouTube channel.
MWAH!
Elaineabella